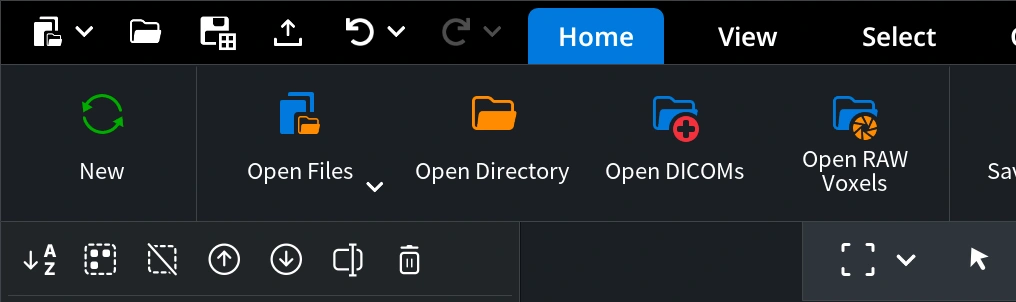
Opening a Point Cloud
- Start MeshInspector and navigate to the Home tab.
- Click on Open Files and select the point cloud file you wish to work with. MeshInspector efficiently handles the file loading, allowing you to quickly begin your analysis or editing.
Navigating the Points Tab
Once your file is open, find the Points tab in the menu. This section is your central hub for all point cloud-related functionalities within MeshInspector.

Understanding Your Point Cloud
In the Information section, visible immediately after loading your file, you'll see the total number of points in your point cloud.
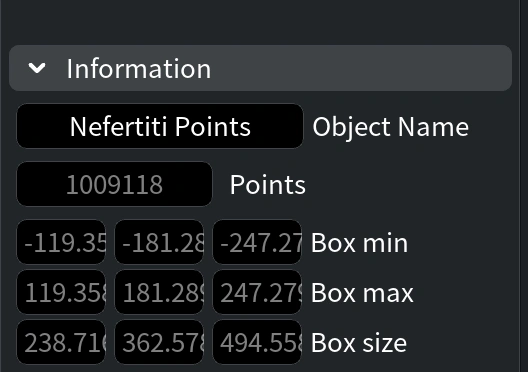
For more detailed insights, click the dropdown arrow next to the model name. This action reveals additional data about your point cloud, such as its structure and composition, providing valuable context for your work.

Managing Large Files
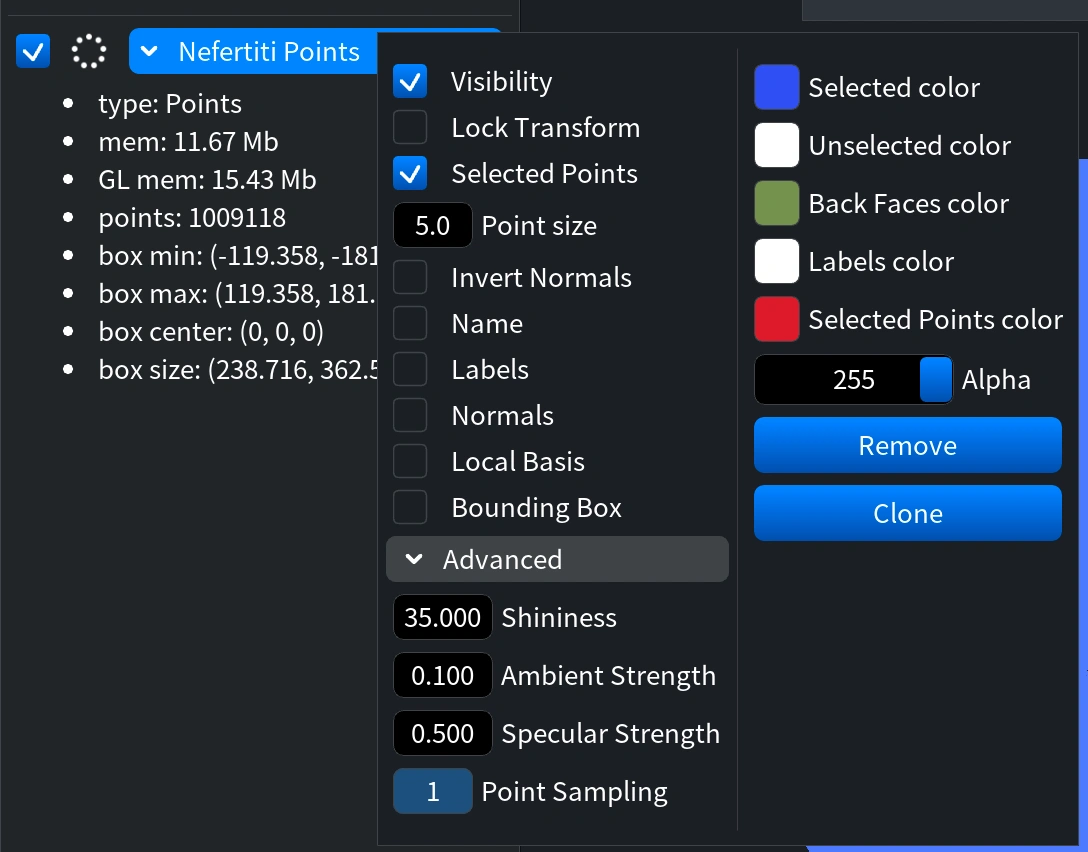
For extensive datasets, right-click to access the Control Window section. Here, you can adjust the sample points for rendering in the Advanced Settings. This optimization ensures a smoother visualization process, crucial for interacting with large point clouds.
Utilizing Point Cloud Tools
Under the Points tab, you'll find a variety of tools categorized into three main sections:
Selection Tools
Select specific areas within your point cloud for detailed analysis or modification.

Editing Tools
Make necessary changes to your point cloud with these specialized tools.

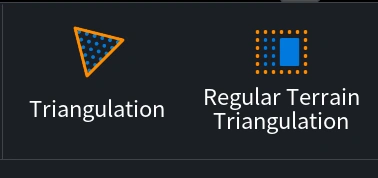
Transformation Tools
Convert your point cloud into meshes with ease, a critical step for many 3D processing workflows.
Transitioning to Mesh
After completing the triangulation of your model, move to the Mesh tab to further refine and work with your data. MeshInspector ensures a seamless transition from point cloud to mesh, optimizing your workflow.

Thank you for using MeshInspector. We're excited to see how our tool enhances your 3D data processing projects. For more guides and support, please visit our knowledge base or contact our support team.