Introduction
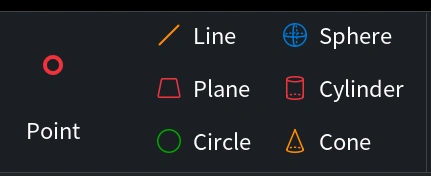
Welcome to MeshInspector's "Features" tutorial! In this guide, we will explore the powerful "Features" functionality to enhance your 3D modeling and inspection capabilities. Whether you're a beginner or an advanced user, this step-by-step tutorial will help you create and manipulate features such as points, lines, planes, circles, spheres, cylinders, and cones. Let's dive in!
Creating Features
Planes
-
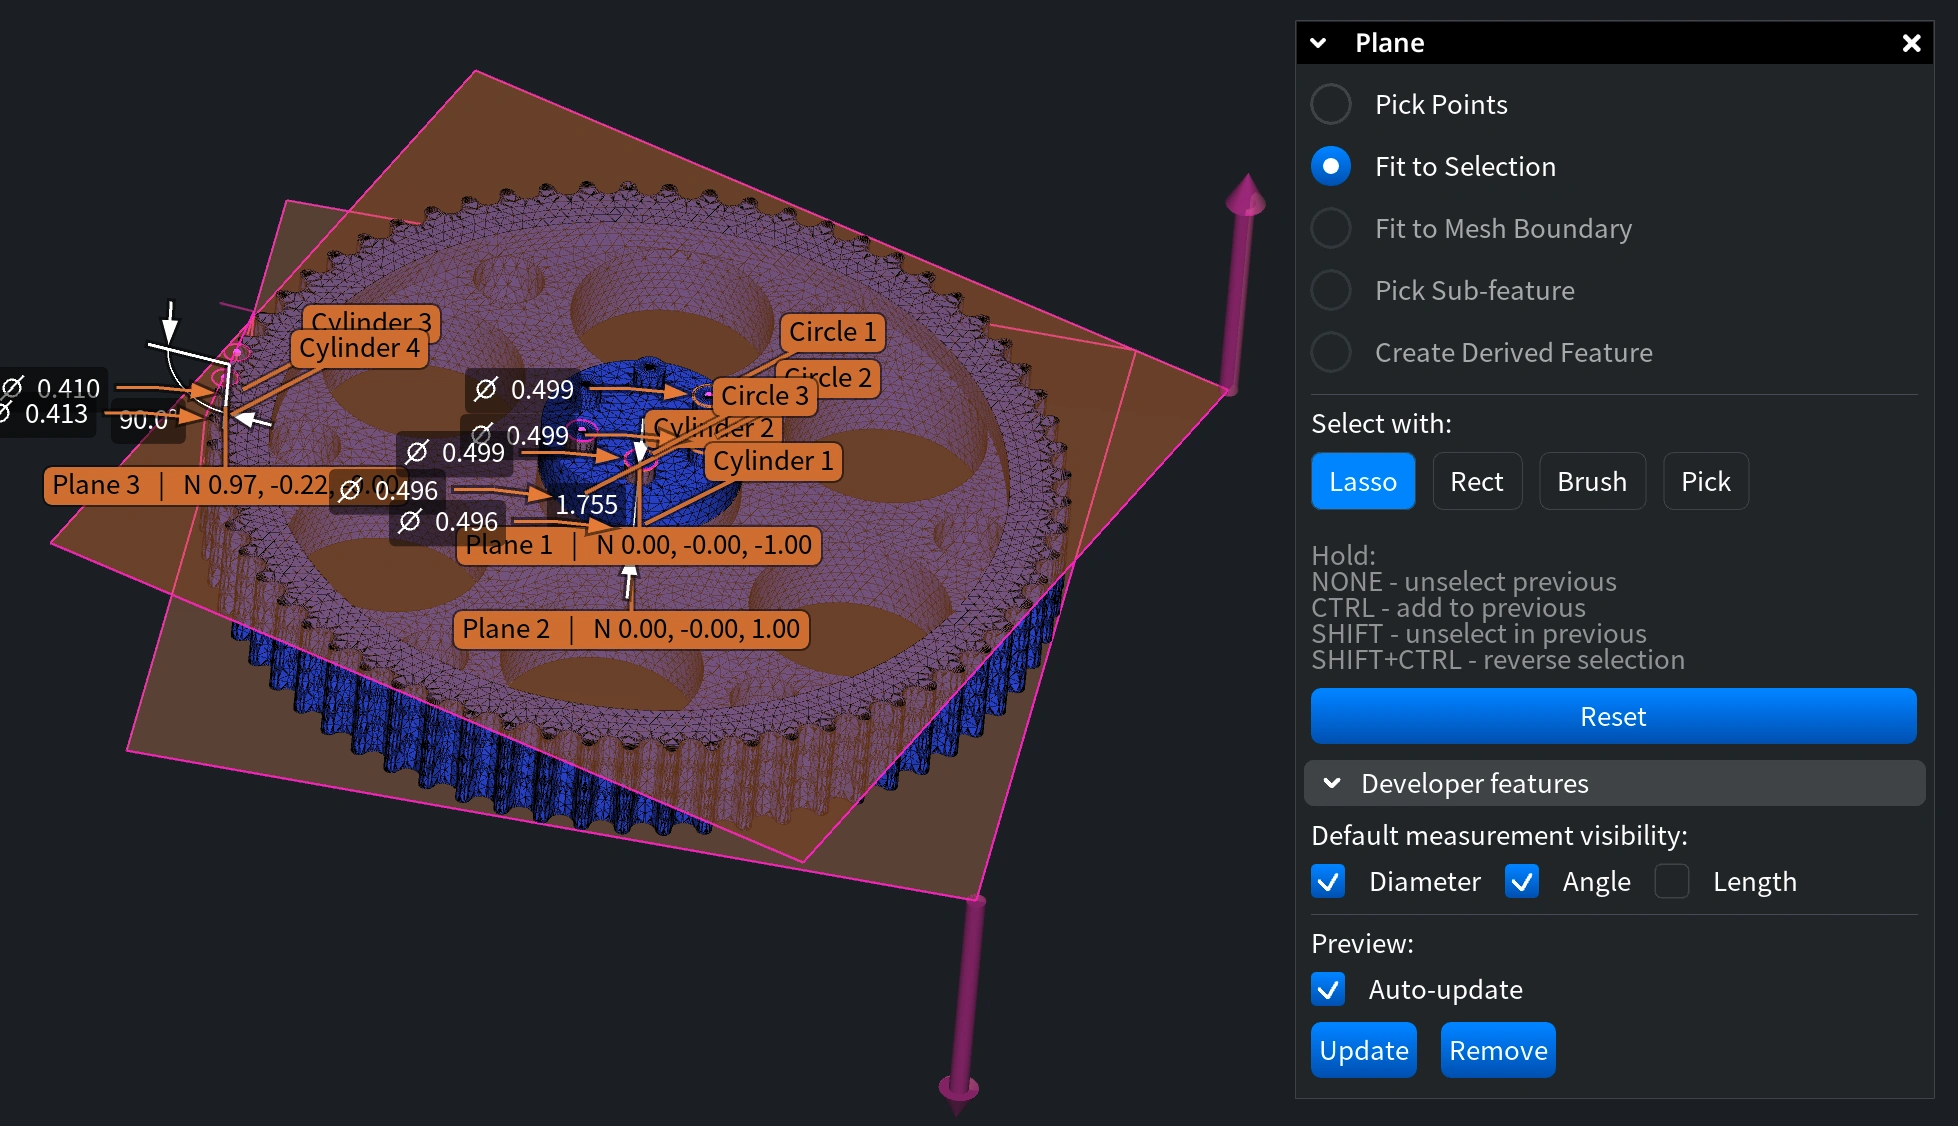
Select the "Plane" Tool:
-
Go to the "Features" tab and click on "Plane".
-
Choose the "Pick Points" mode.
-
-
Pick Points:
-
Click on several points on your gear model.
-
Click "Refine" to ensure the plane fully covers the model.
-
-
Add the Plane:
-
Click "New Feature" to add the plane to the left menu.
-
Repeat to create additional planes as needed.
-
Circles
-
Select the "Circle" Tool:
-
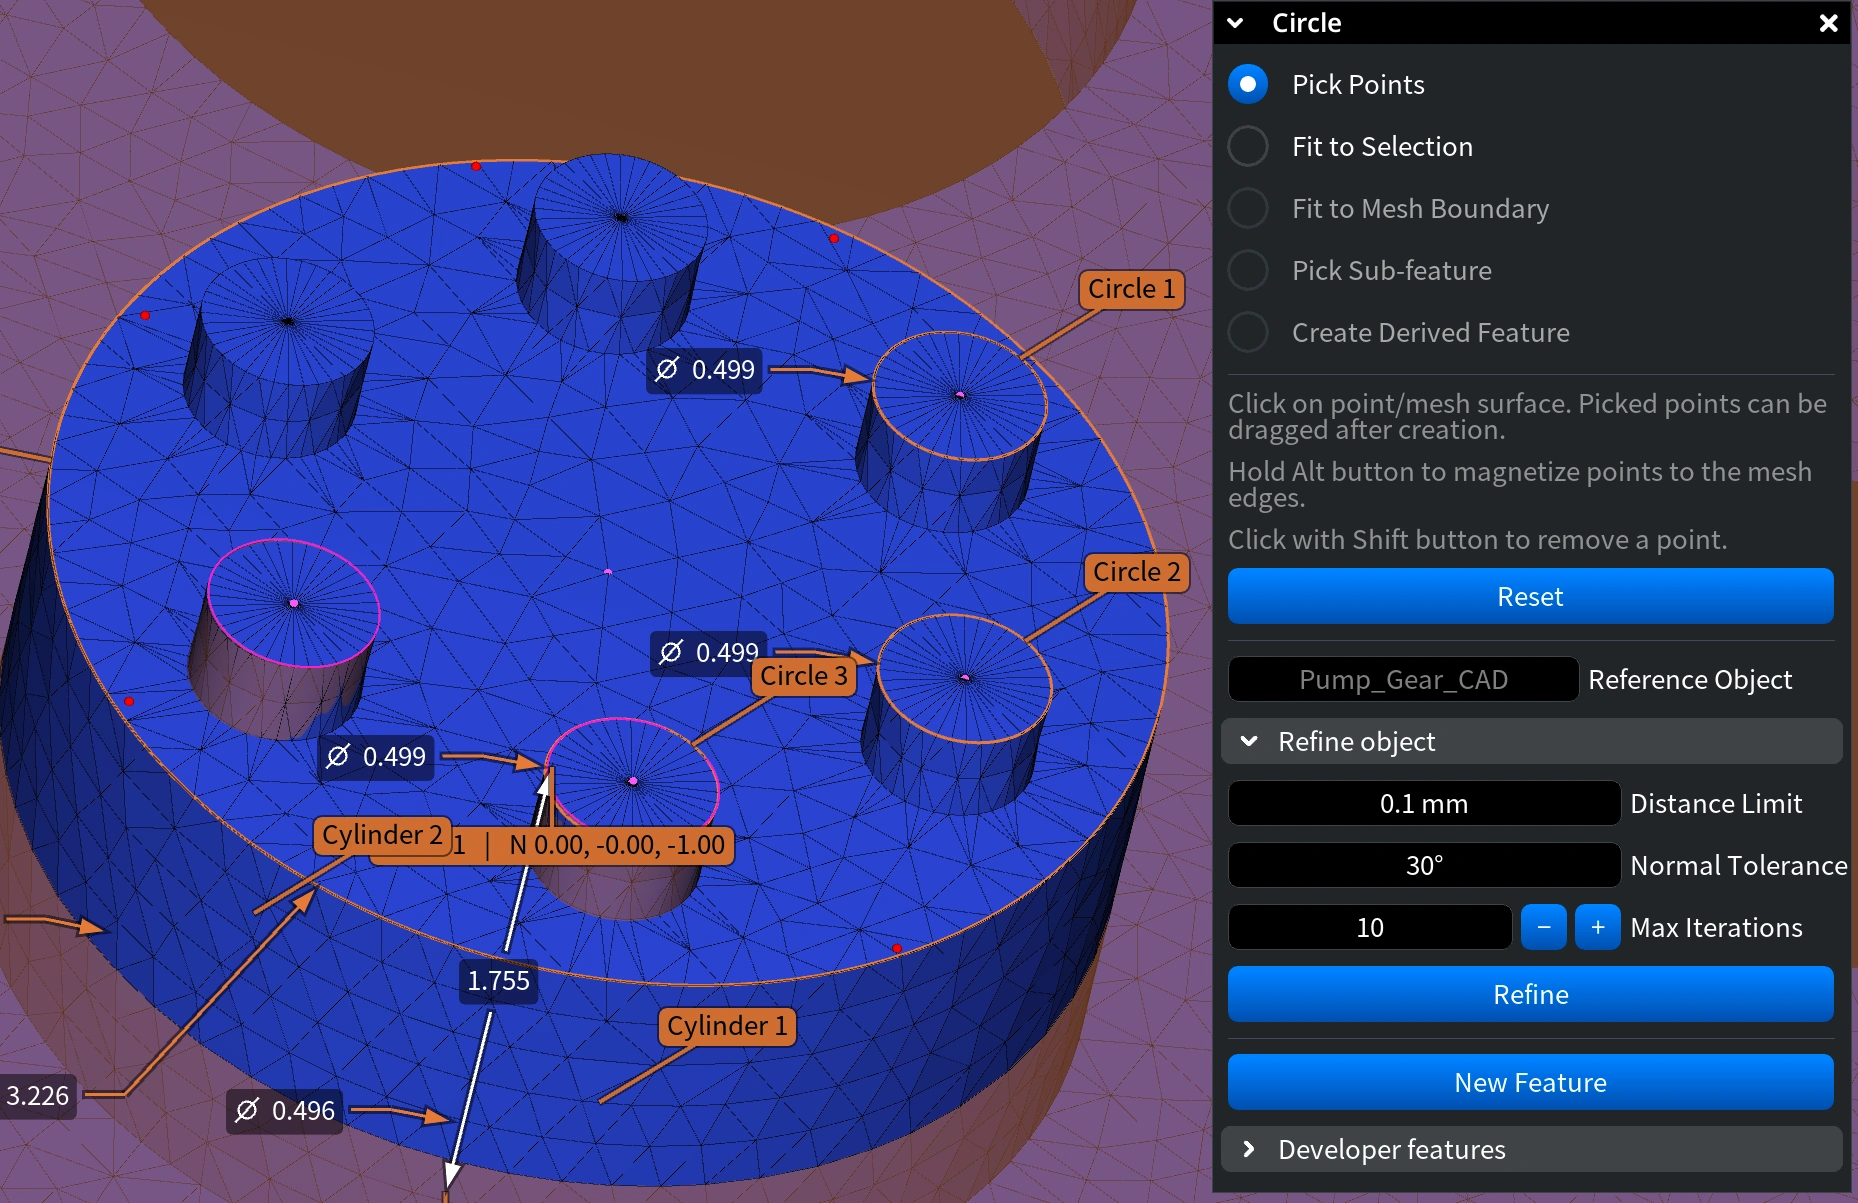
Go to the "Features" tab and click on "Circle".
-
Choose the "Fit to Selection" mode and select "Select with Lasso".
-
-
Select Points:
-
Use the lasso tool to select points on the model.
-
Apply selection shortcuts:
-
Hold NONE to deselect previous selections.
-
Hold CTRL to add to the previous selection.
-
Hold SHIFT to deselect within the previous selection.
-
Hold CTRL+SHIFT for reverse selection.
-
-
-
Add the Circle:
-
Click "New Feature" to add the circle to the left menu.
-
Cylinders
-
Select the "Cylinder" Tool:
-
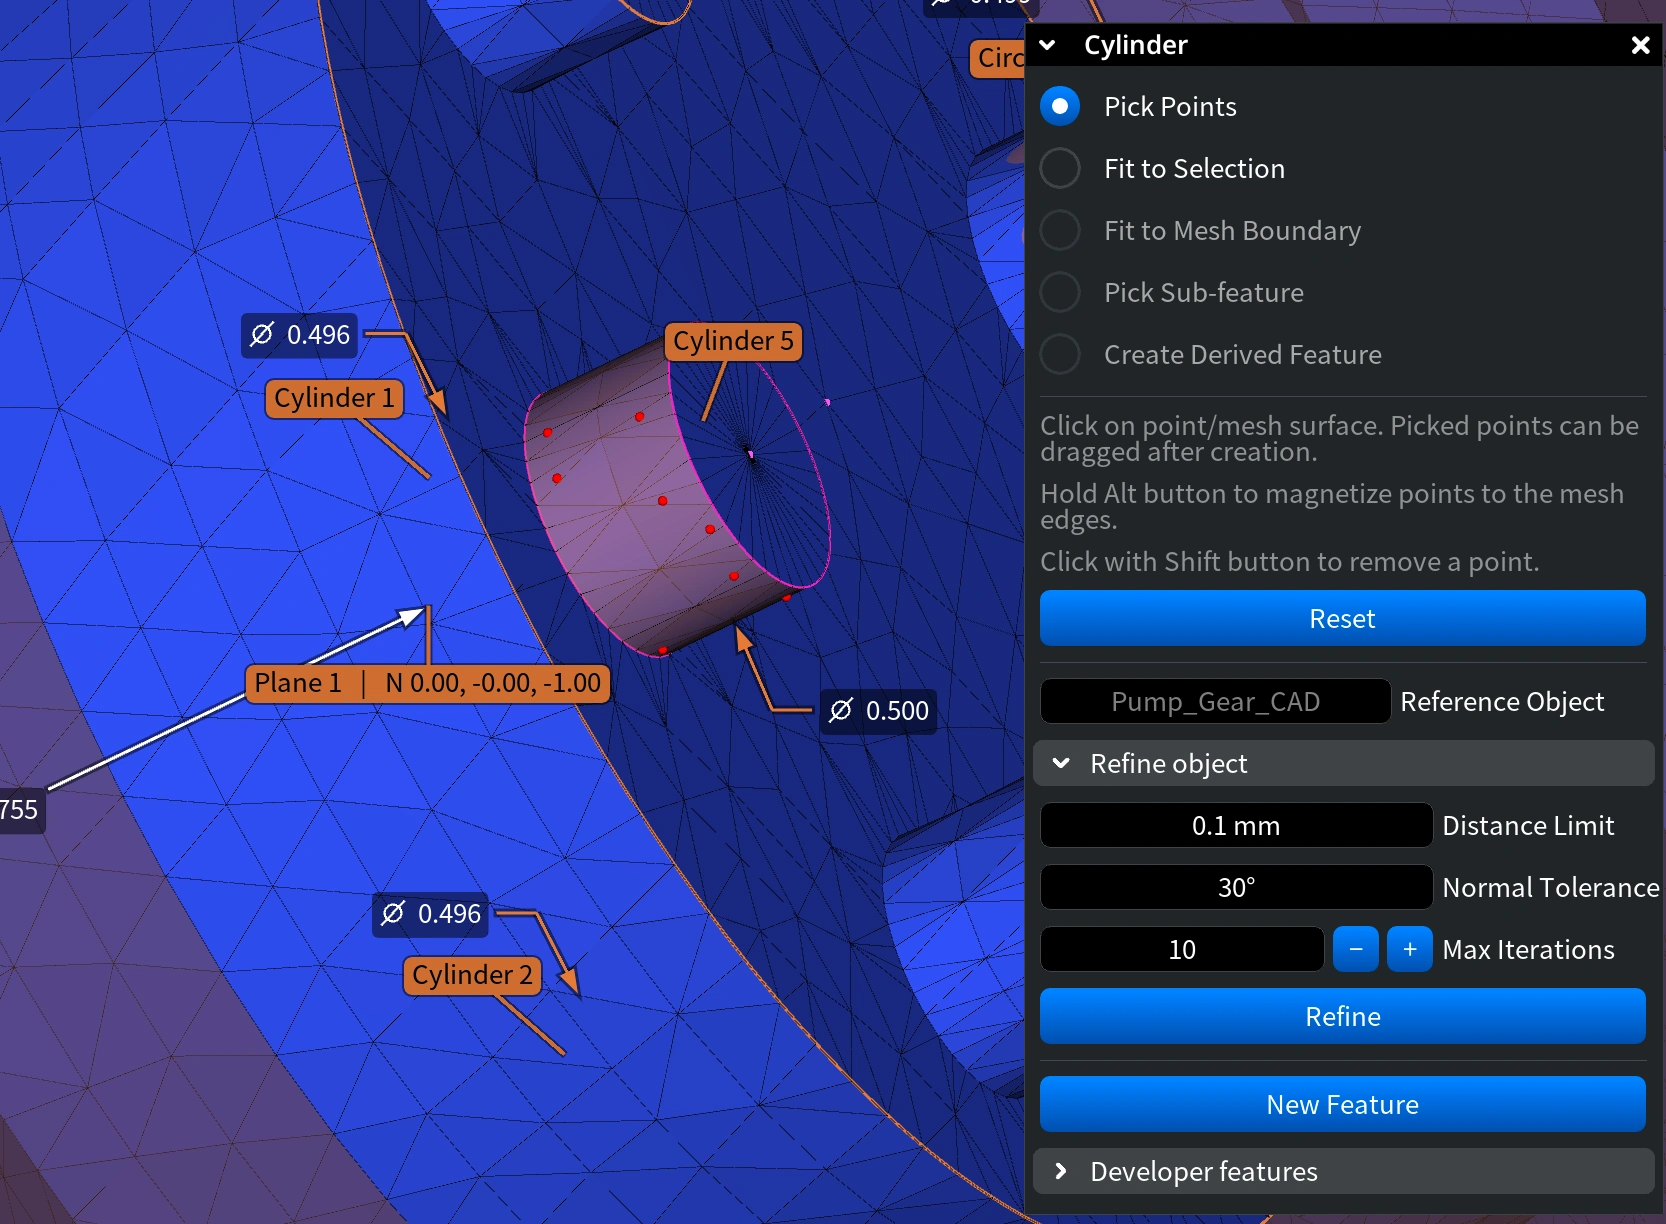
Go to the "Features" tab and click on "Cylinder".
-
Choose the "Pick Points" mode.
-
-
Pick Points:
-
Click on points on your model.
-
Click "Refine" to adjust the cylinder.
-
-
Add the Cylinder:
-
Click "New Feature" to add the cylinder to the left menu.
-
Measuring Features
Measure Distance
-
Activate the "Measure Distance" Tool:
-
Select the tool from the "Features" tab.
-
-
Select Features:
-
Click on two features to measure the distance between them.
-
-
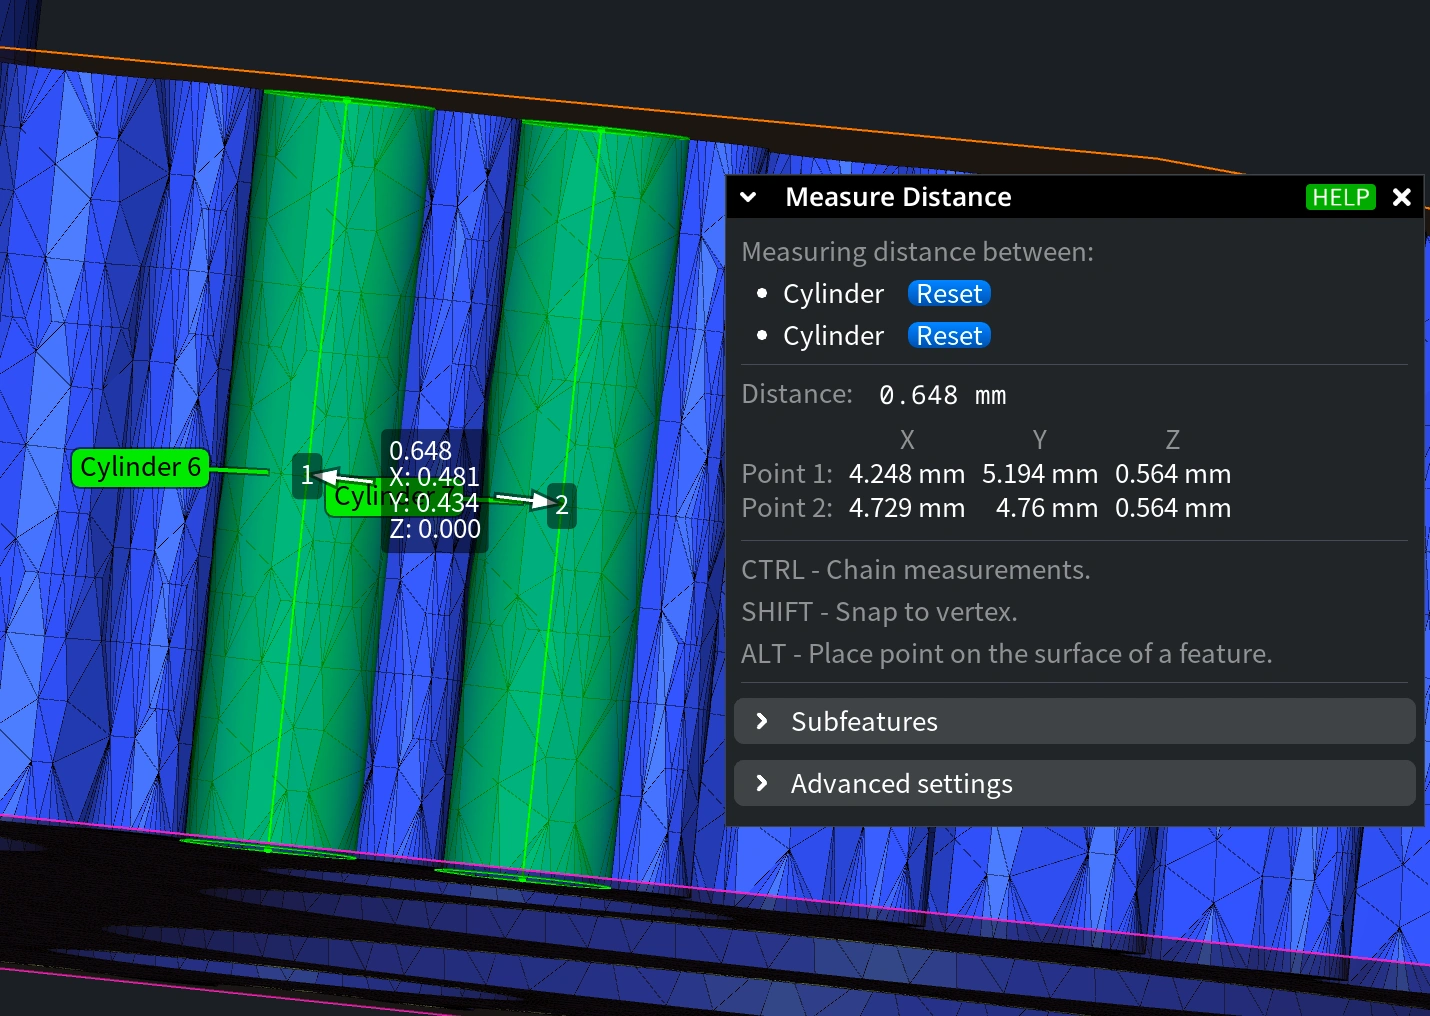
View Distance:
-
The distance will display in the control window, calculated between the centers of the features.
-
Measure Angle
-
Create a New Plane:
-
Create a plane on the edge and add it as a new feature.
-
-
Activate the "Measure Angle" Tool:
-
Select the tool from the "Features" tab.
-
-
Select Features:
-
Click on two features to measure the angle between them.
-
-
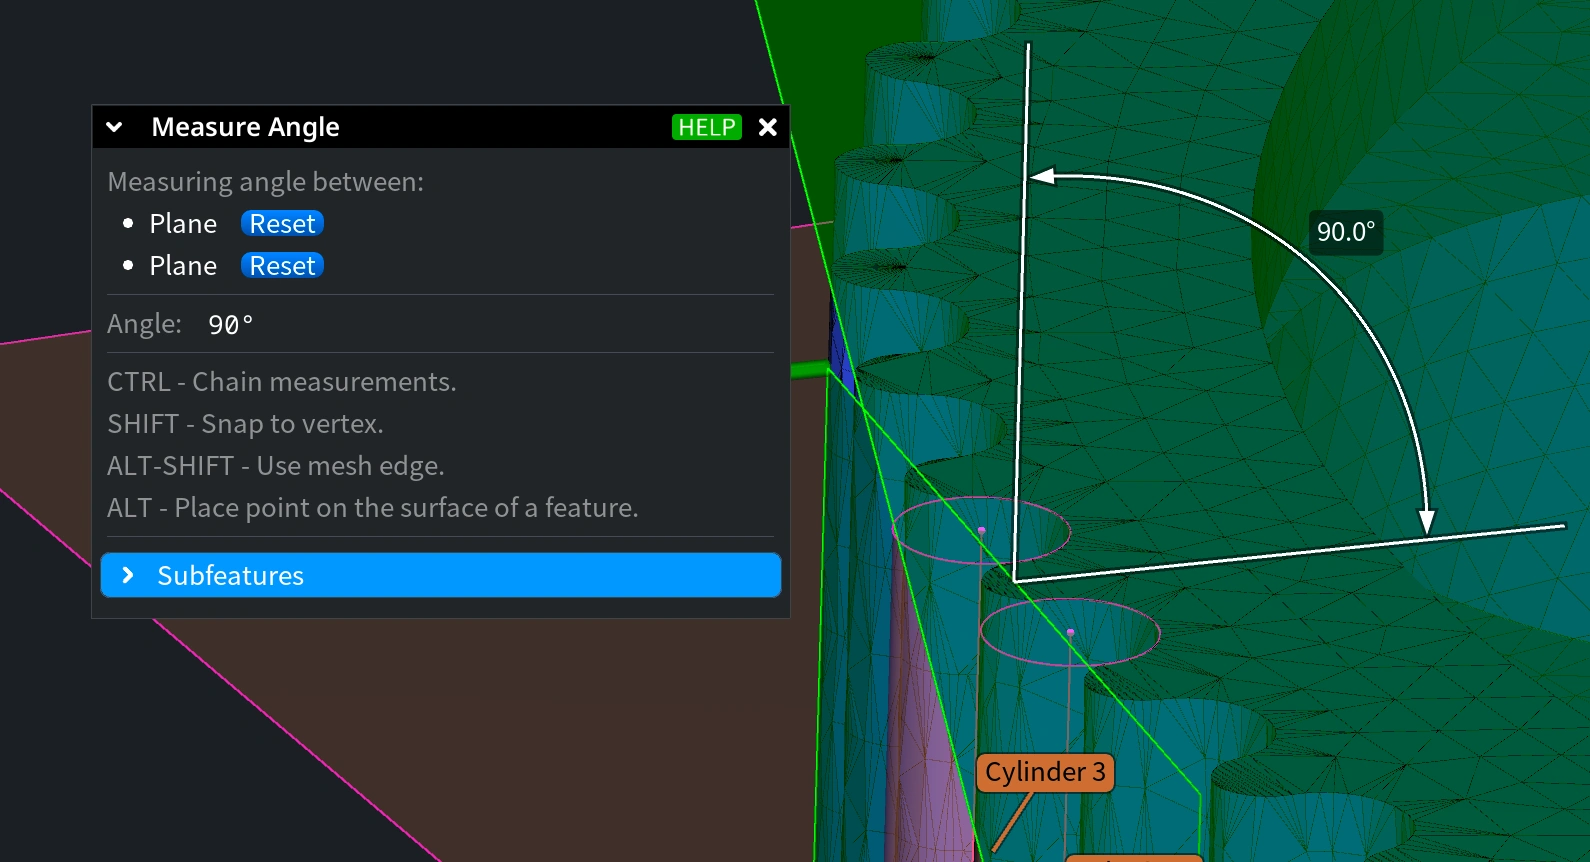
View Angle:
-
The angle will appear visually in the workspace.
-
Orienting Models
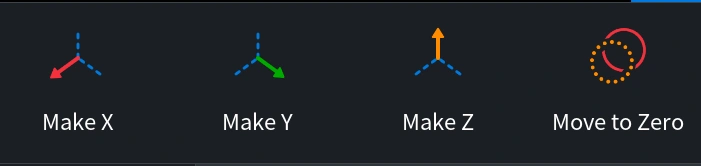
Make X, Y, Z Tools
-
Make X:
-
Aligns the model with the YZ plane, making the X-axis the normal.
-
Hold SHIFT to orient in the opposite direction.
-
-
Make Y:
-
Aligns the model with the ZX plane, making the Y-axis the normal.
-
Hold SHIFT to orient in the opposite direction.
-
-
Make Z:
-
Aligns the model with the XY plane, making the Z-axis the normal.
-
Hold SHIFT to orient in the opposite direction.
-
Moving to Zero
-
Move to Zero Tool:
-
Adjusts the object’s transform visually while moving the geometry's center to the zero point.
-
Conclusion
You've now mastered the "Features" functionality in MeshInspector! From creating planes and circles to measuring distances and angles, you're equipped to handle any 3D modeling task.
FAQ
1. How do I create a plane in MeshInspector?
-
To create a plane, go to the "Features" tab, select "Plane", choose the "Pick Points" mode, click on points on the model, and click "Refine". Finally, add the plane by clicking "New Feature".
2. What are the shortcuts for selection in MeshInspector?
-
Hold NONE to deselect previous selections, hold CTRL to add to the previous selection, hold SHIFT to deselect within the previous selection, and hold CTRL+SHIFT for reverse selection.
3. How can I measure the distance between two features?
-
Activate the "Measure Distance" tool, select the two features, and the distance will display in the control window, calculated between the centers of the features.
4. How do I use the 'Make X, Y, Z' tools?
-
The 'Make X, Y, Z' tools align the model with the respective planes (YZ, ZX, XY), making the corresponding axis the normal. Hold SHIFT to orient in the opposite direction.
5. What does the "Move to Zero" tool do?
-
The "Move to Zero" tool adjusts the object's transform visually while moving the geometry's center to the zero point, helping in accurate alignment and positioning.
For more detailed tutorials and support, reach out to support@meshinspector.com.