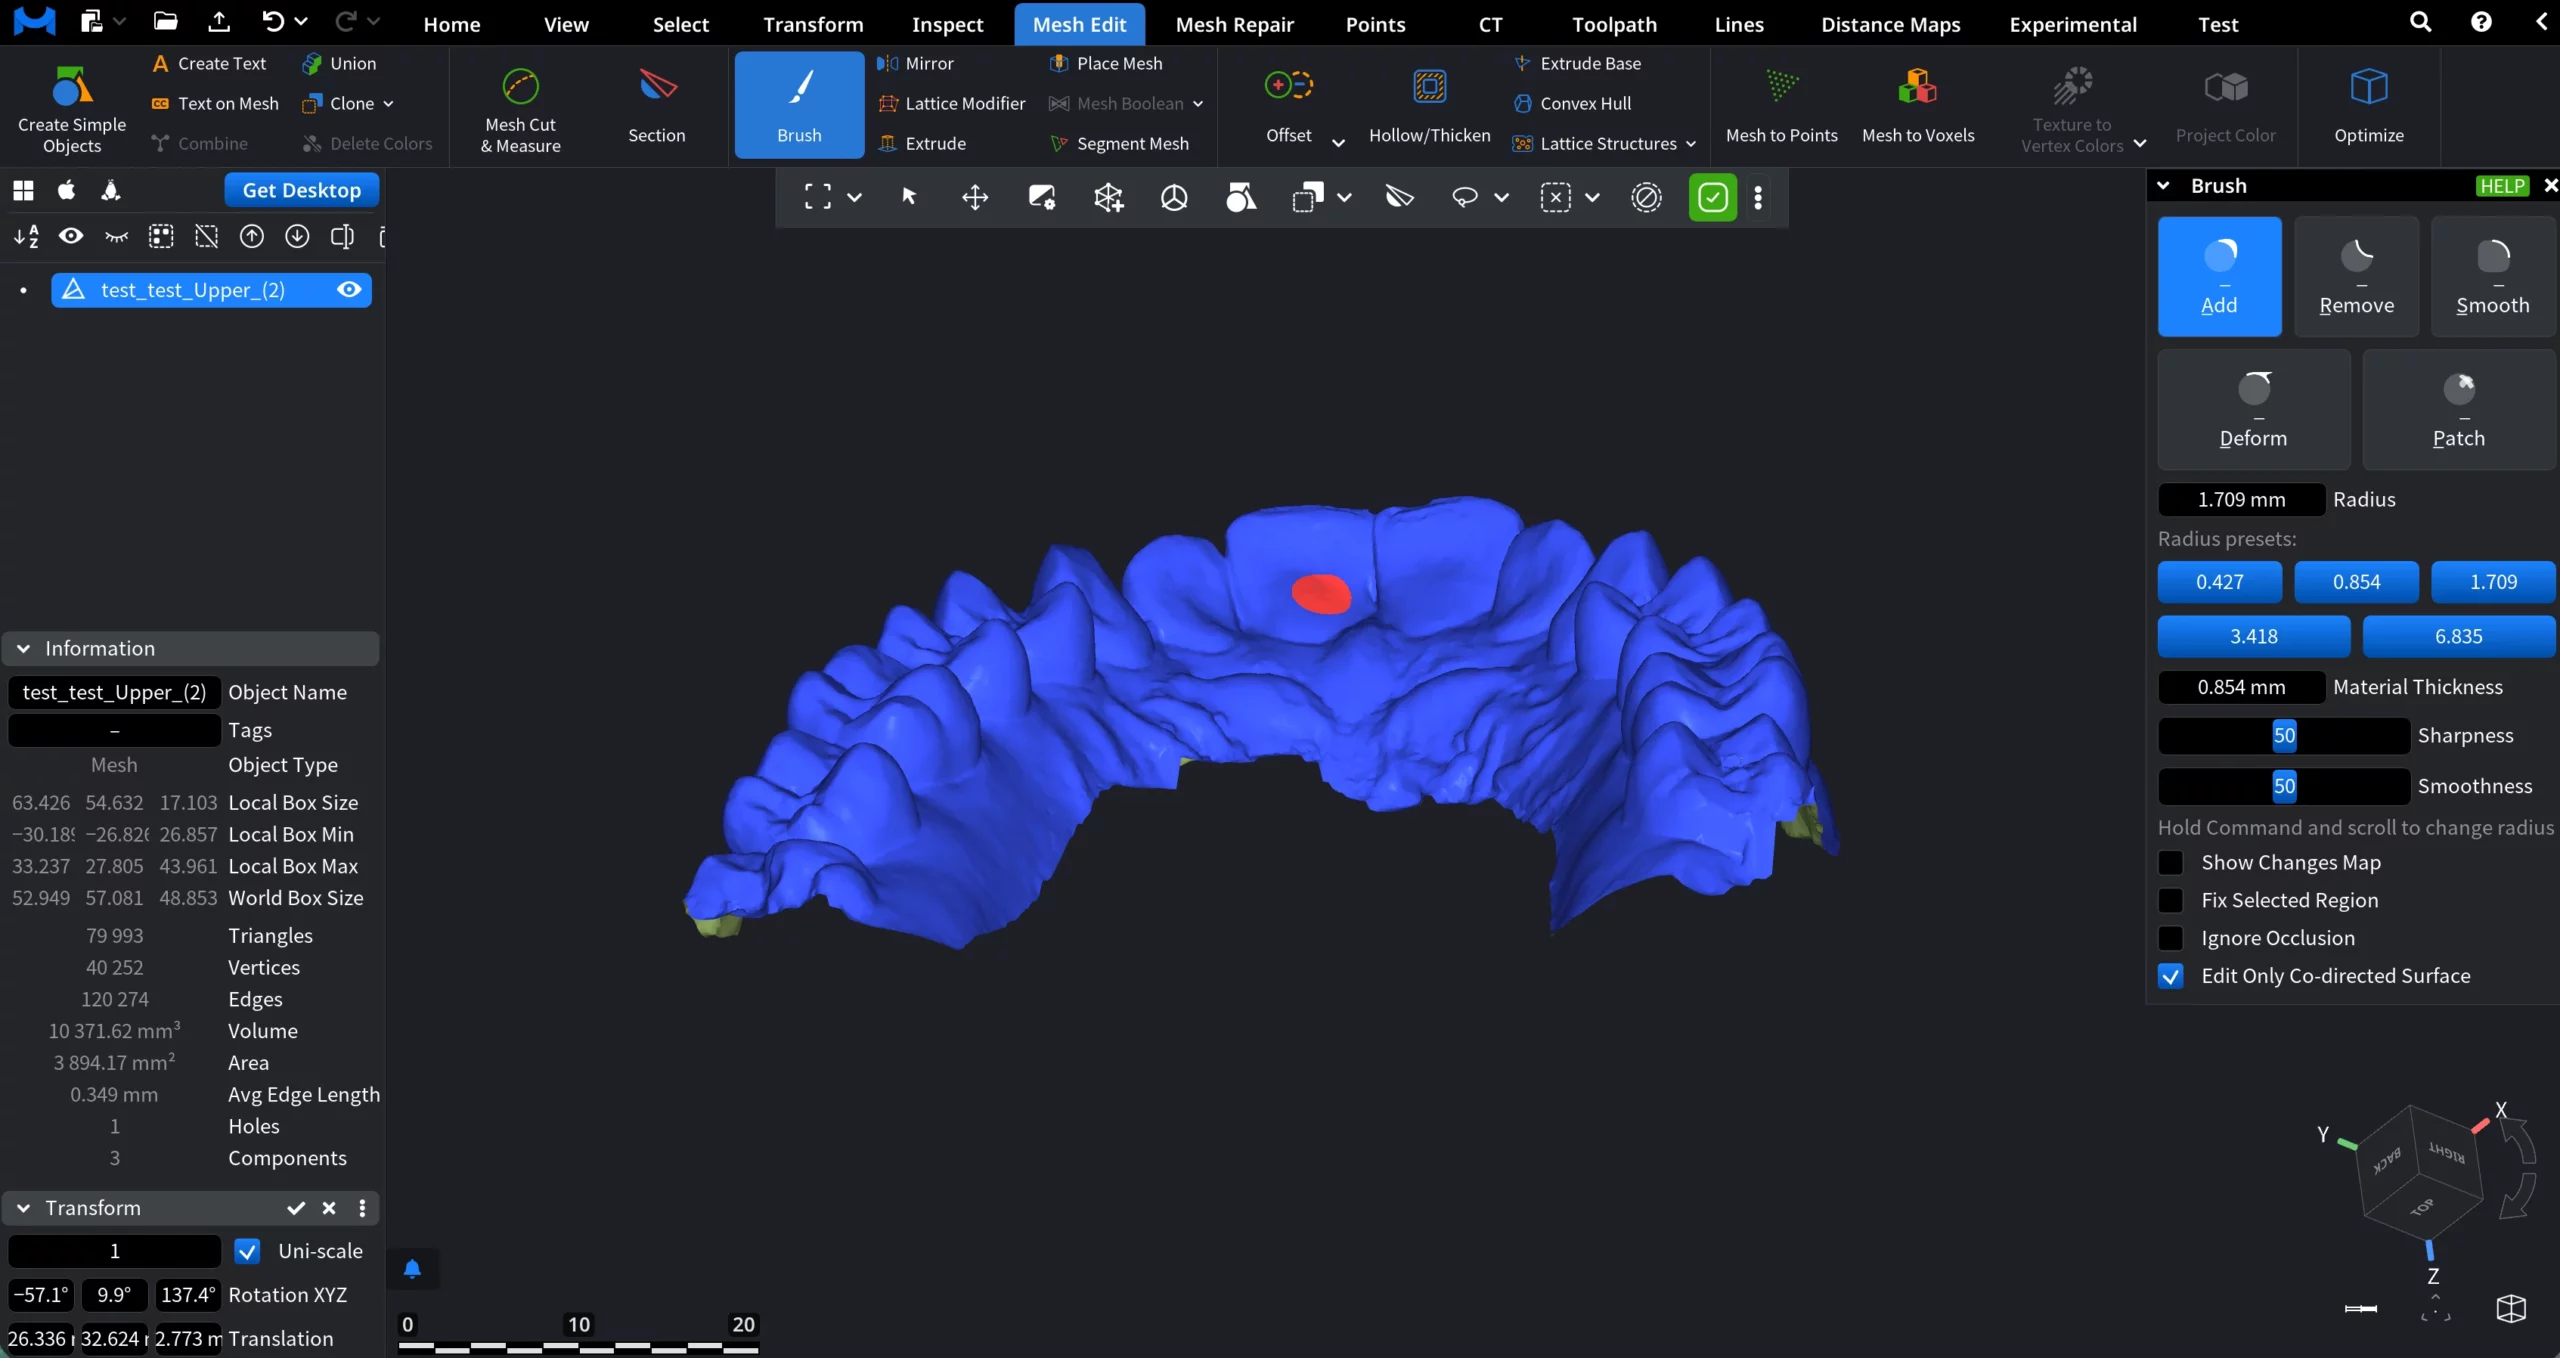
The Brush tool in MeshInspector is a sculpting feature used for precise local adjustments to mesh surfaces. To start using it, go to the Mesh Edit tab and click Brush.

When the Brush tool is activated, a dedicated panel opens on the right side of the interface. It provides access to five sculpting modes, each created for a specific type of local mesh modification, along with a set of parameters that control brush behavior and interaction.
Five Brush Modes
The available Brush modes are:
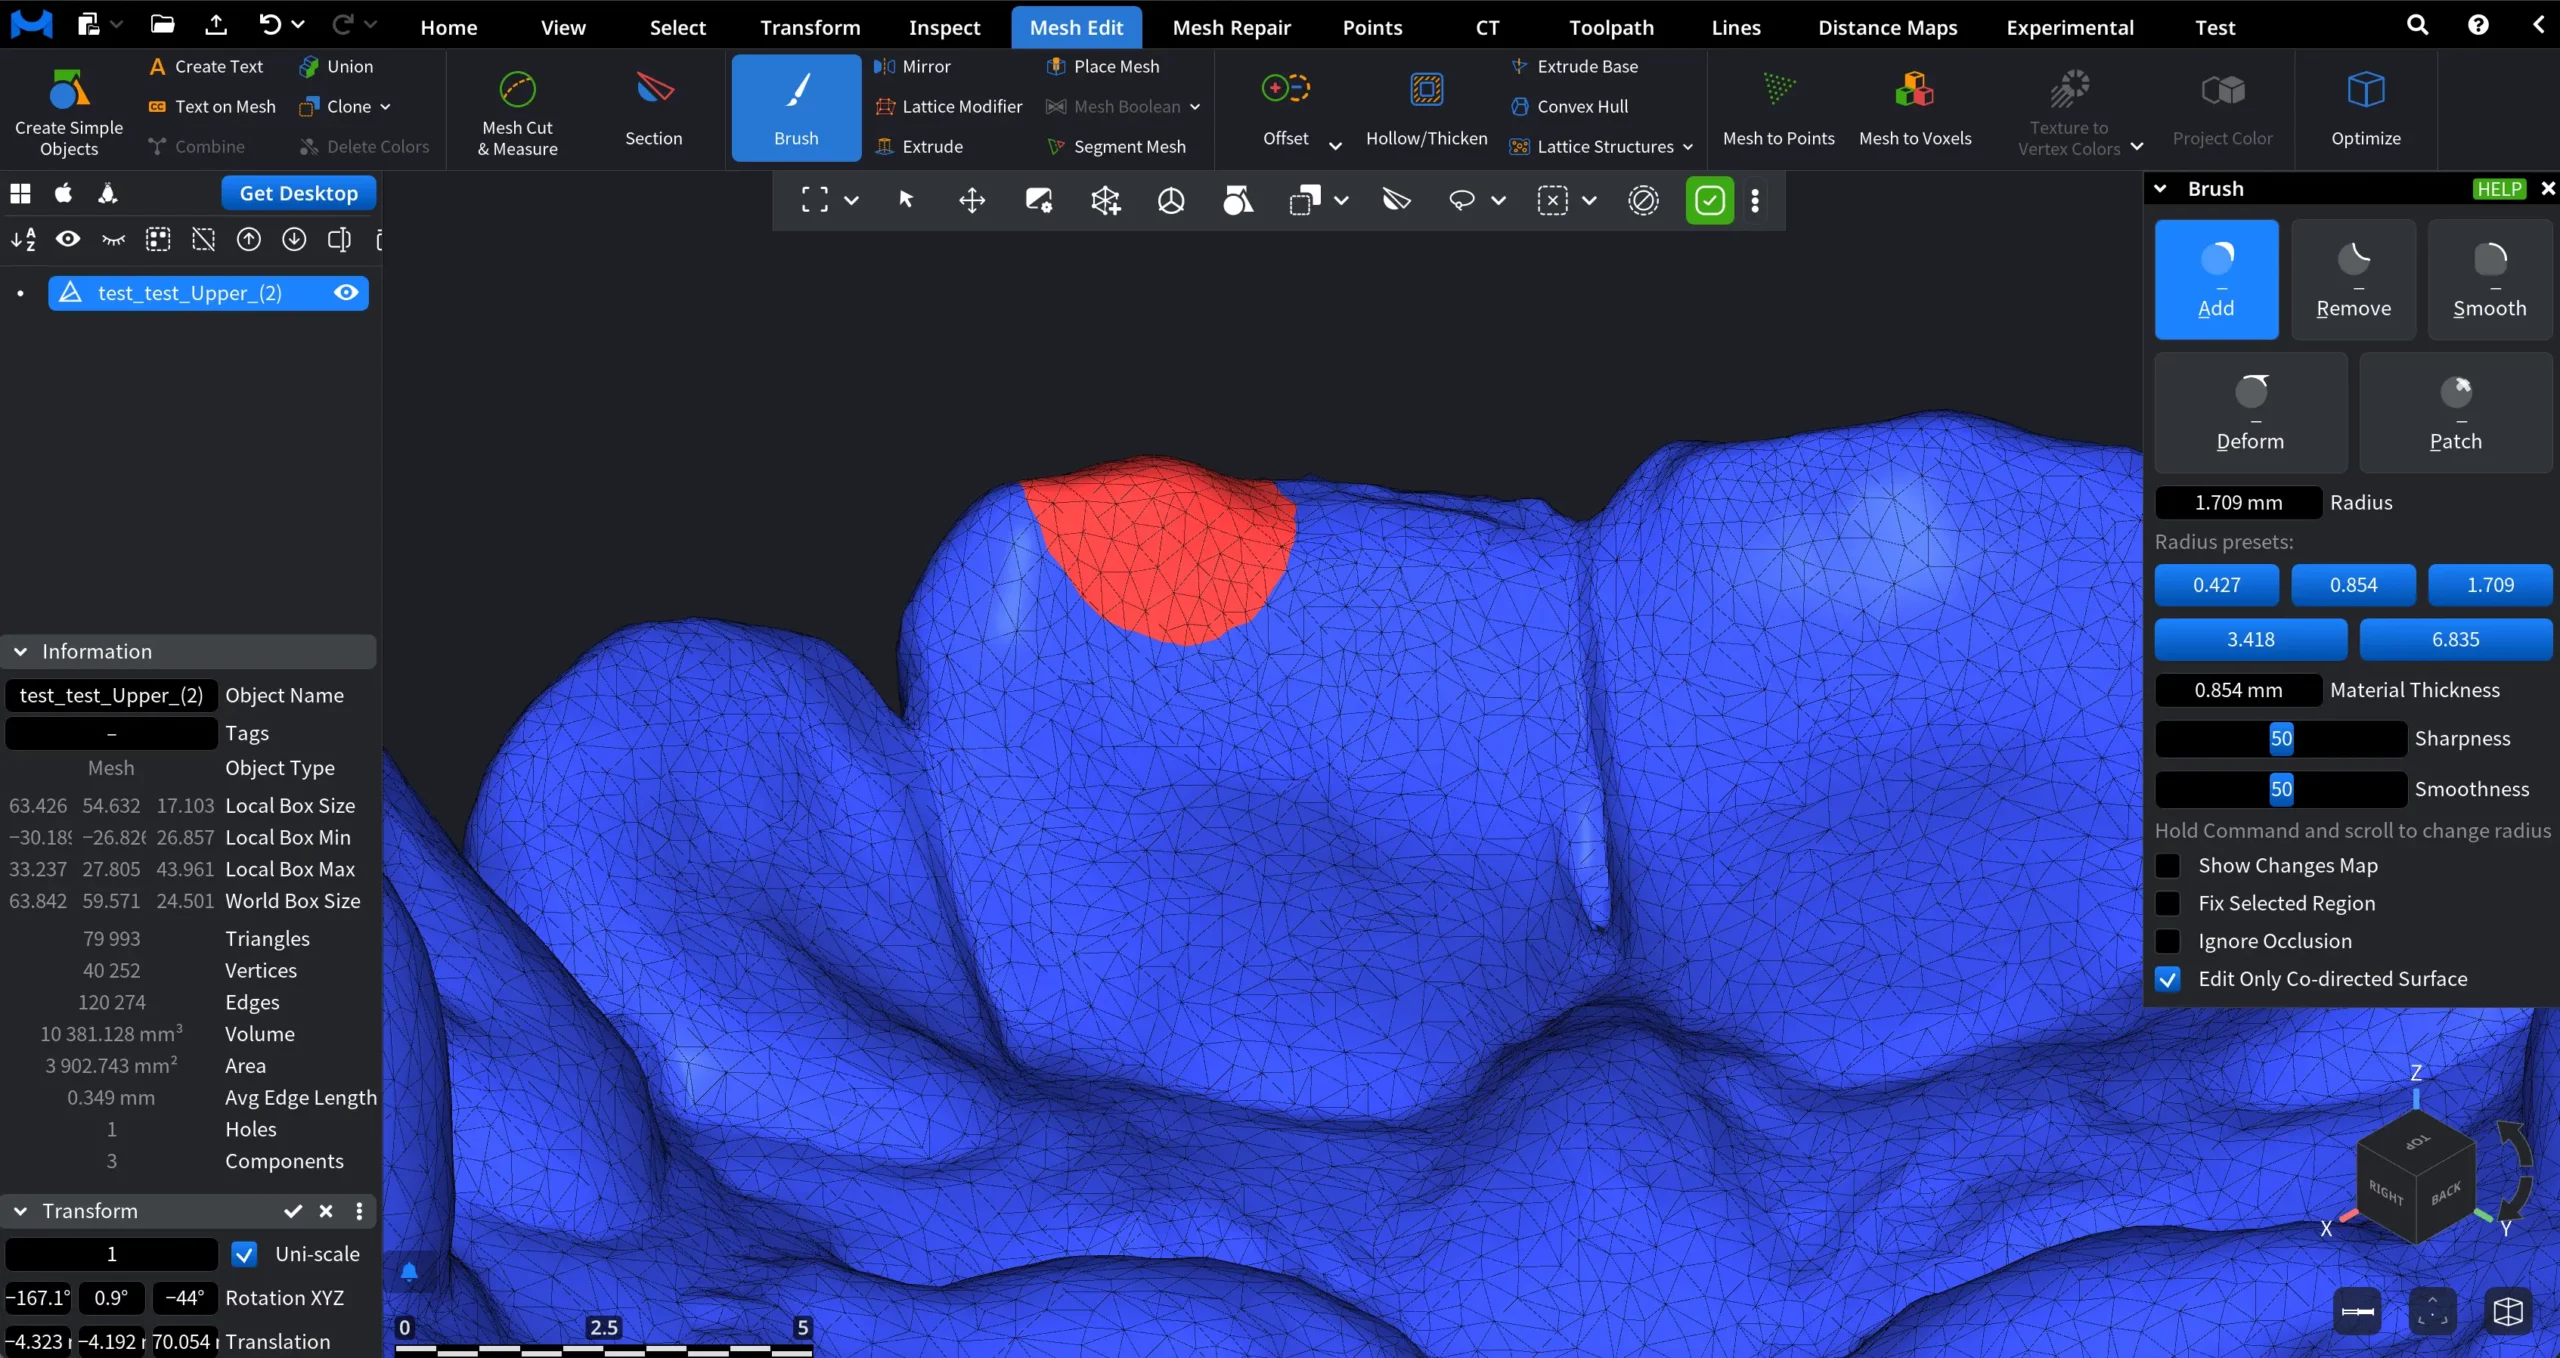
- Add adds material to the mesh surface within the brush area. This mode is used to build up geometry and refine under-defined regions. The hotkey for Add, with Brush active, is A.
- Remove removes material from the mesh surface. It is functionally identical to Add, but applies deformation in the opposite direction. The hotkey for Remove, with Brush active, is R.
- Smooth evens out surface irregularities and blends local edits into the surrounding geometry by reducing noise and sharp transitions. The hotkey for Smooth, with Brush active, is S.
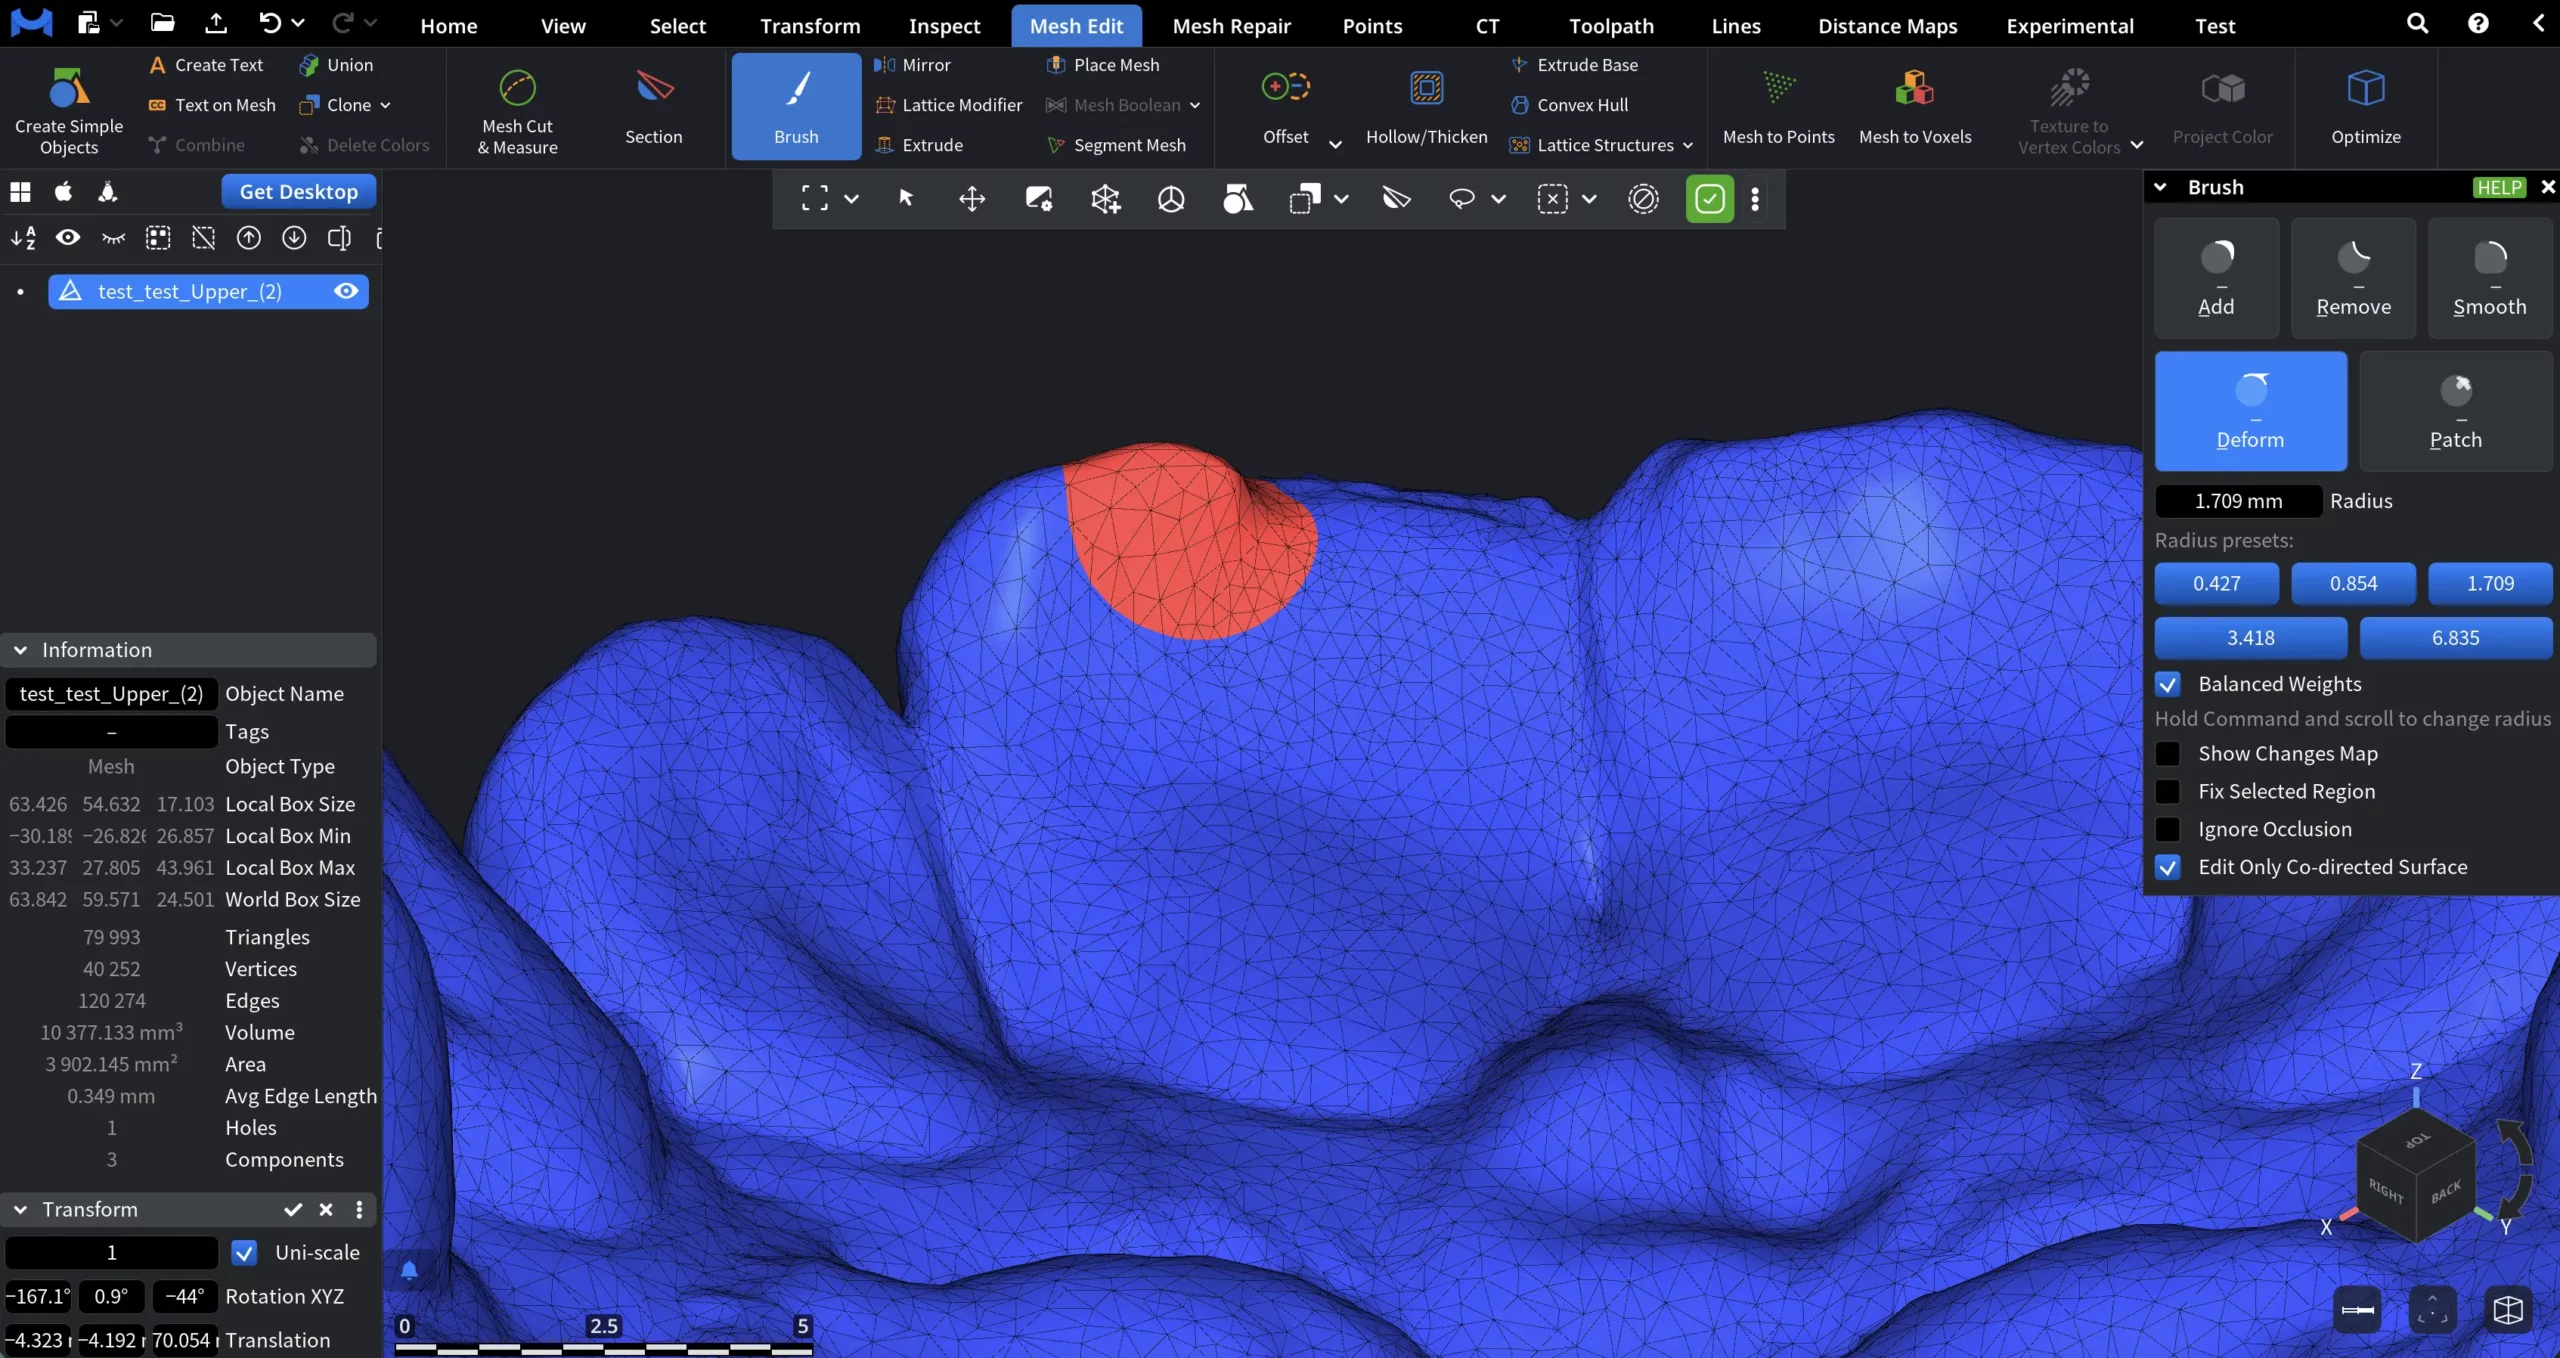
- Deform moves existing surface geometry without adding or removing material. This mode is used to shift or reposition areas while preserving surface continuity. The hotkey for Deform, with Brush active, is D.
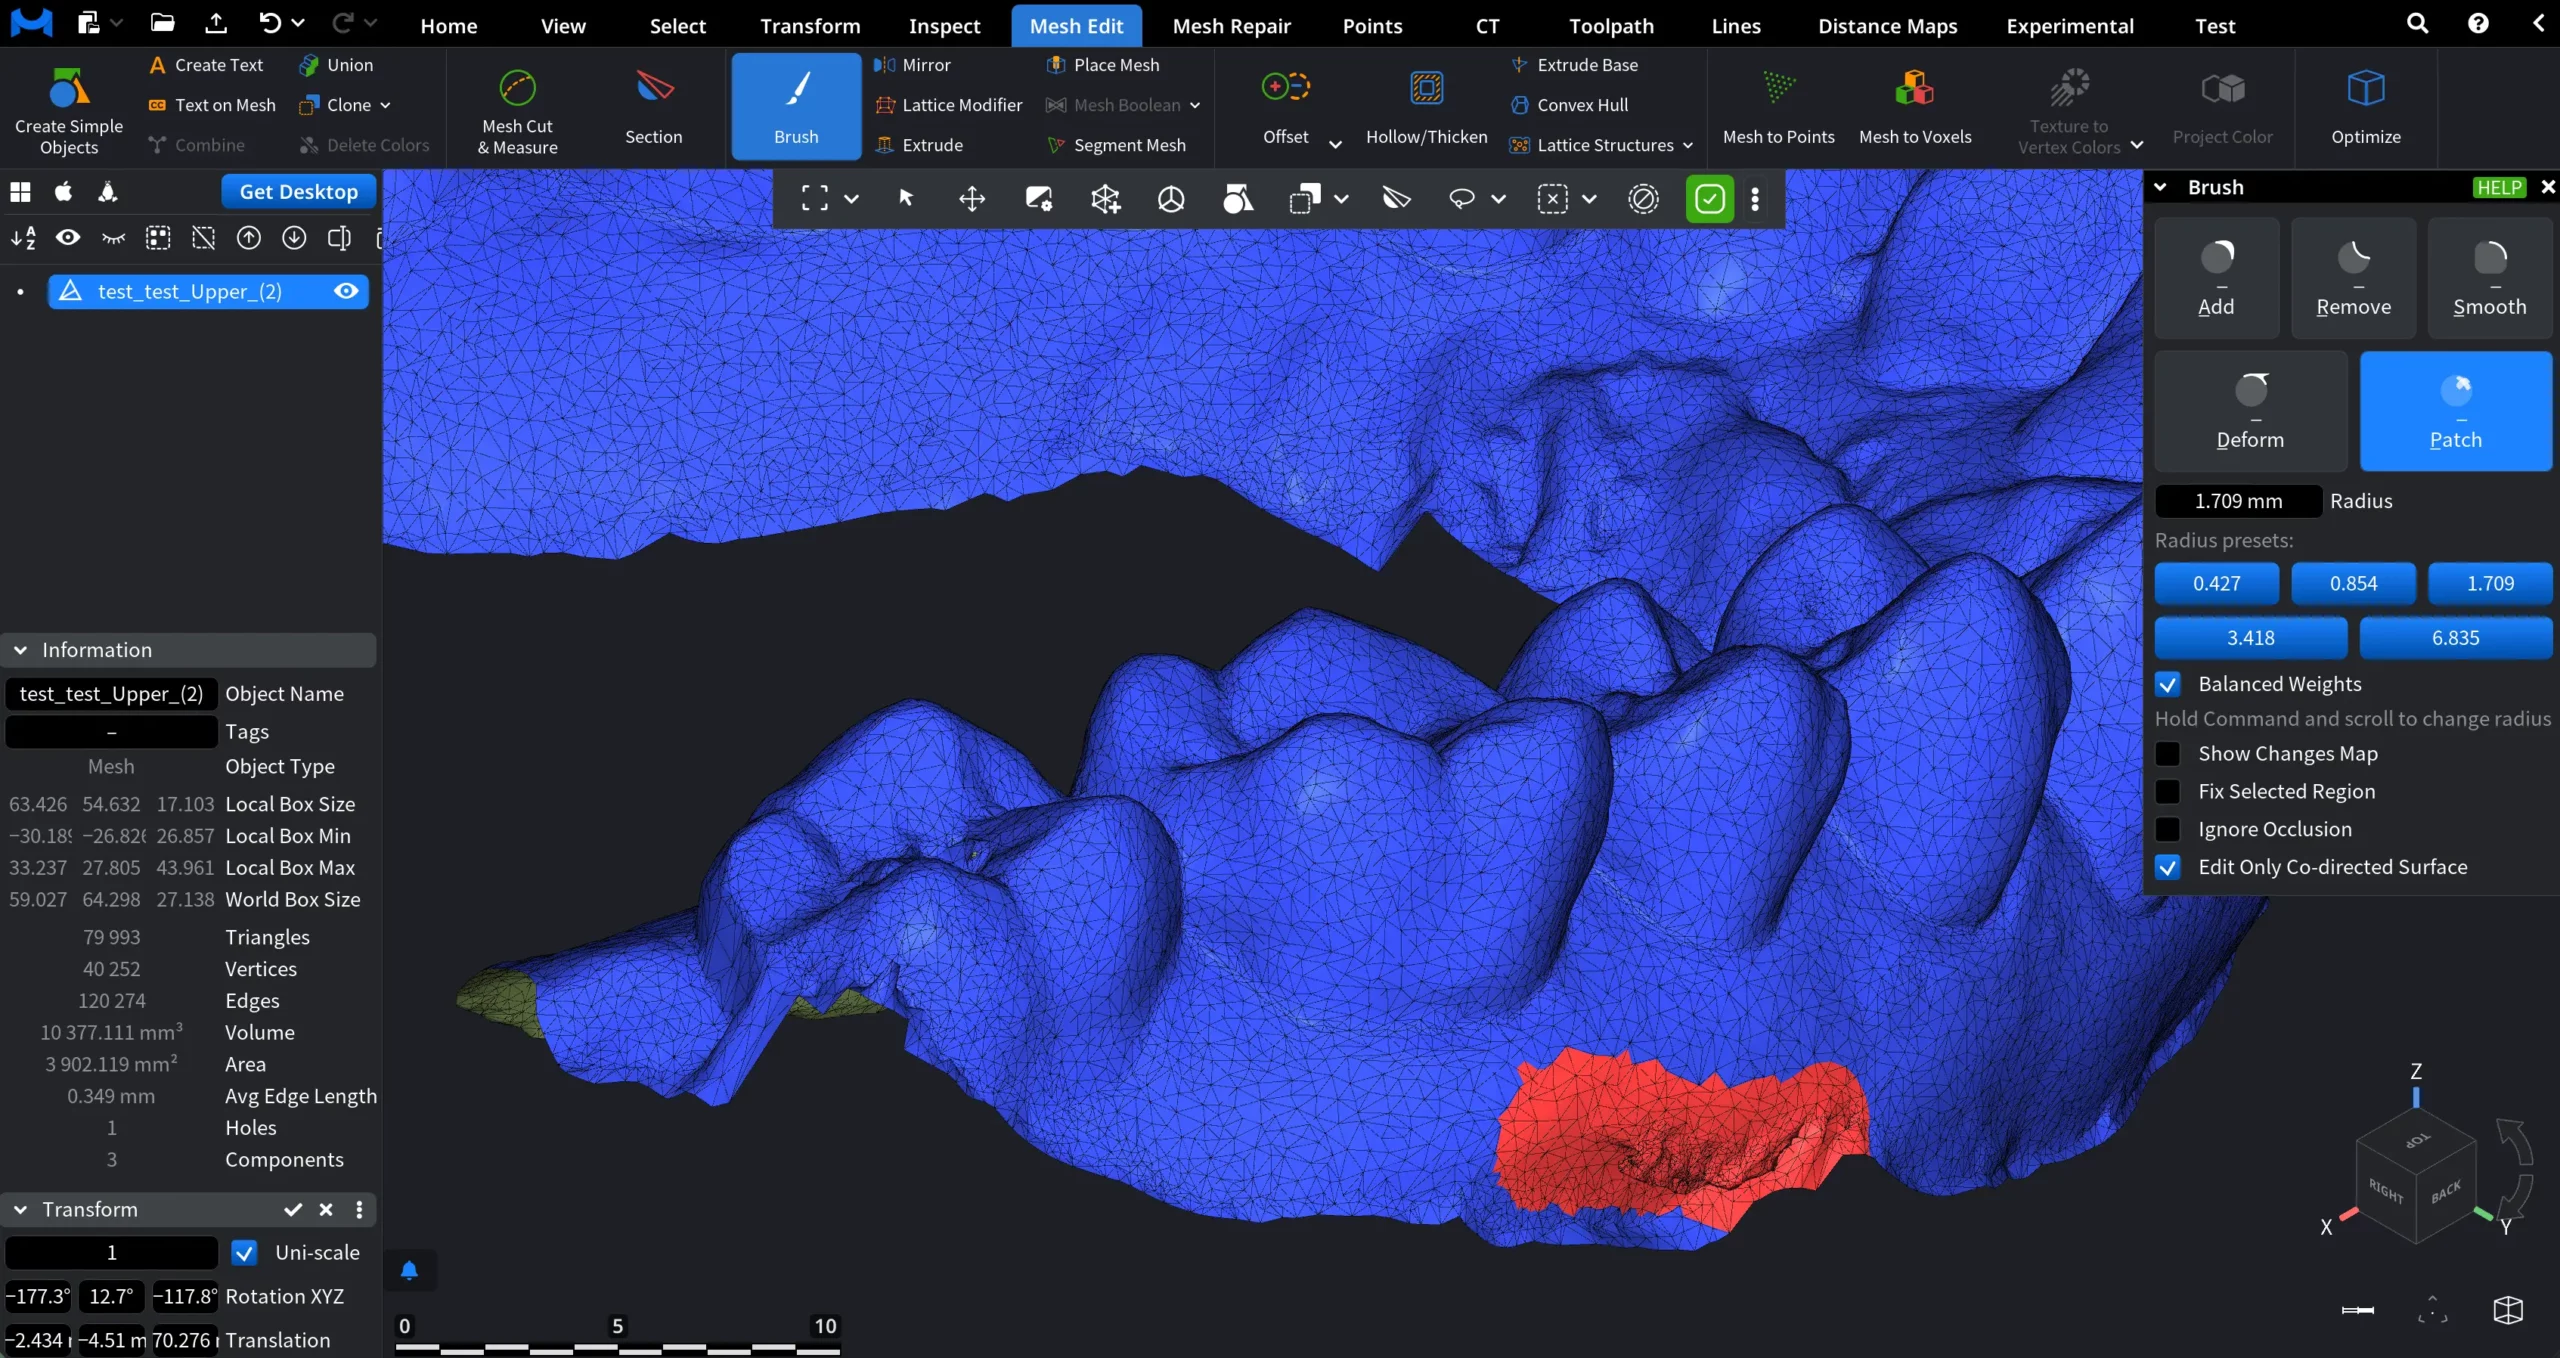
- Patch repairs local surface defects by removing the selected area and regenerating a new triangulated patch in its place. It is intended for small to medium surface artifacts. The hotkey for Patch, with Brush active, is P.
Add
The Add mode increases mesh volume by pushing the surface outward within the brush area. It is used to build up geometry and refine under-defined regions of a mesh. You can apply the effect by clicking once for a single stroke or by clicking and holding the mouse button to add material continuously while moving the cursor.
Parameters
The following parameters control how the Add brush behaves:
- Radius defines the size of the brush influence area. You can enter the value manually, adjust it using the slider, select one of the radius presets, or resize the brush directly in the viewport by holding the command key and scrolling.
- Material Thickness controls how much material is added per stroke. Higher values result in a stronger displacement of the surface.
- Sharpness defines how concentrated the effect is toward the center of the brush. Higher values produce a steeper and more localized buildup, while lower values create a broader and smoother transition.
- Smoothness controls how much automatic smoothing is applied to the edited area after the stroke. Higher values blend the modification more softly into the surrounding surface.
Usage note: to use the Brush tool more effectively, it might be useful to press L which allows to visualize triangles.
Remove
The Remove mode reduces mesh volume by pulling the surface inward within the brush area. It is used to eliminate excess geometry and to deepen or clean local surface features. When Remove is active, MeshInspector moves surface vertices in the negative direction of their normals. The interaction model is identical to Add: you can apply the effect with a single click or continuously by clicking and dragging the brush across the surface.
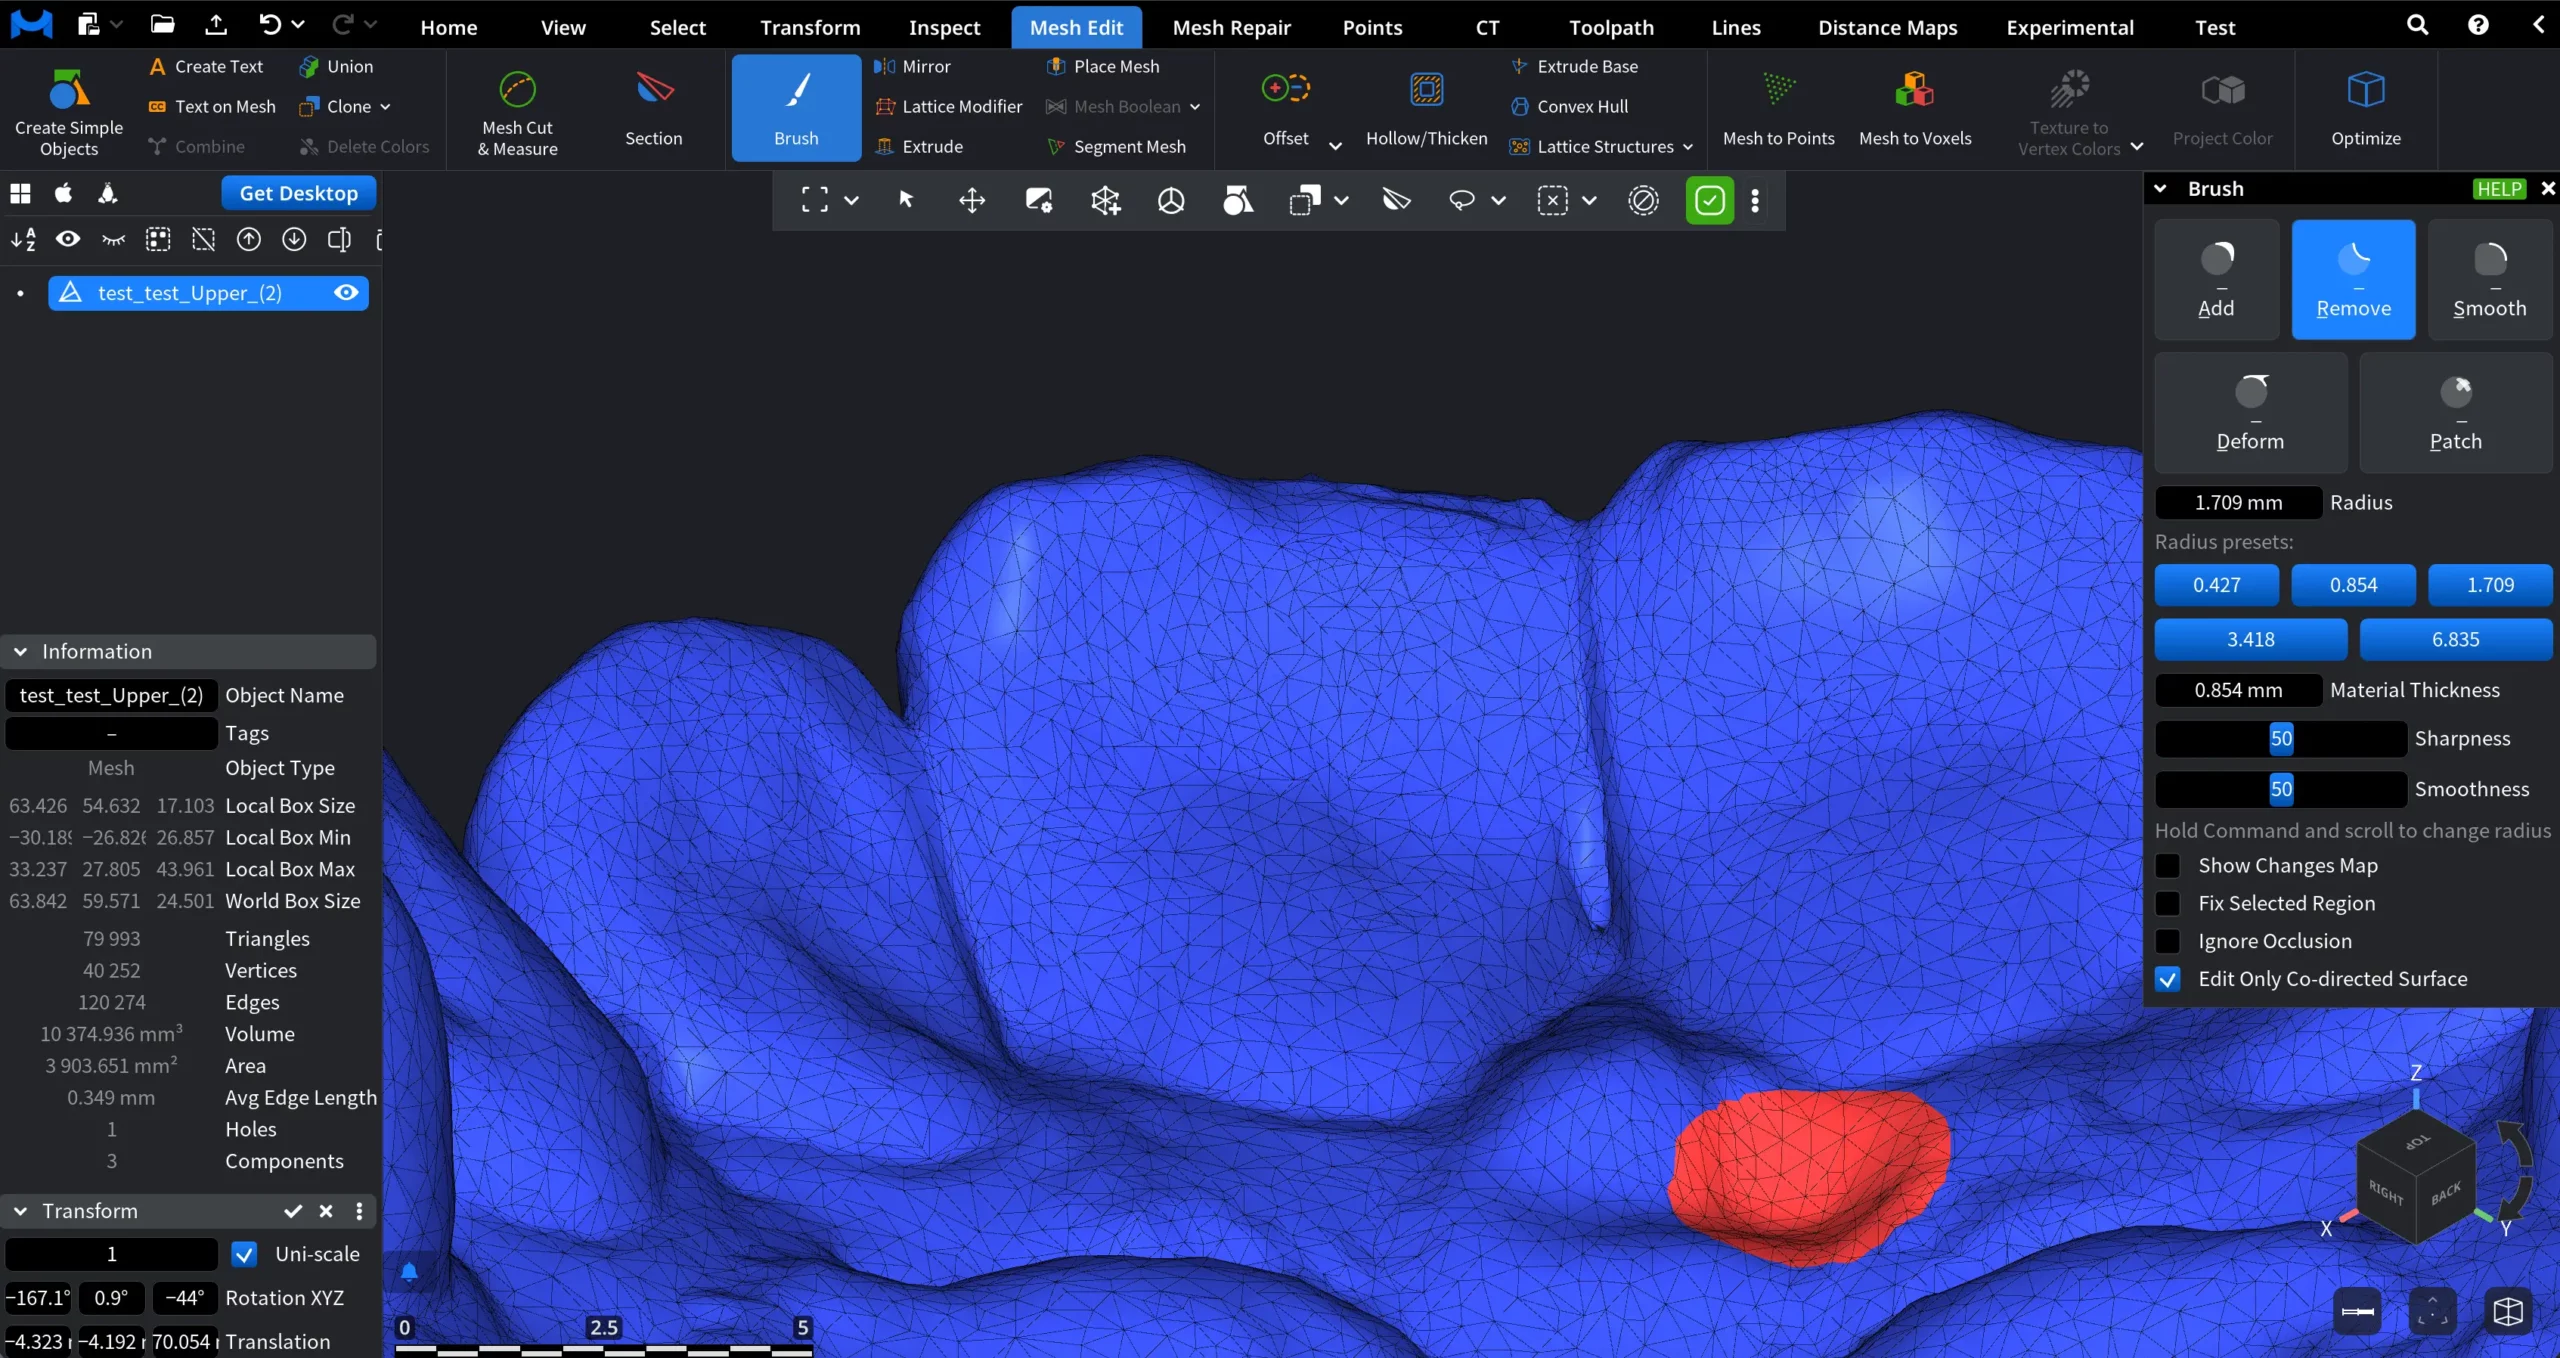
All brush parameters available in Add, including Radius, Material Thickness, Sharpness, and Smoothness, behave in the same way in Remove mode. The only difference between the two modes is the direction of surface displacement.
Smooth
The Smooth mode evens out surface irregularities by redistributing vertices within the brush area. It is used to reduce noise, soften sharp transitions, and blend local edits into the surrounding geometry without adding or removing material.
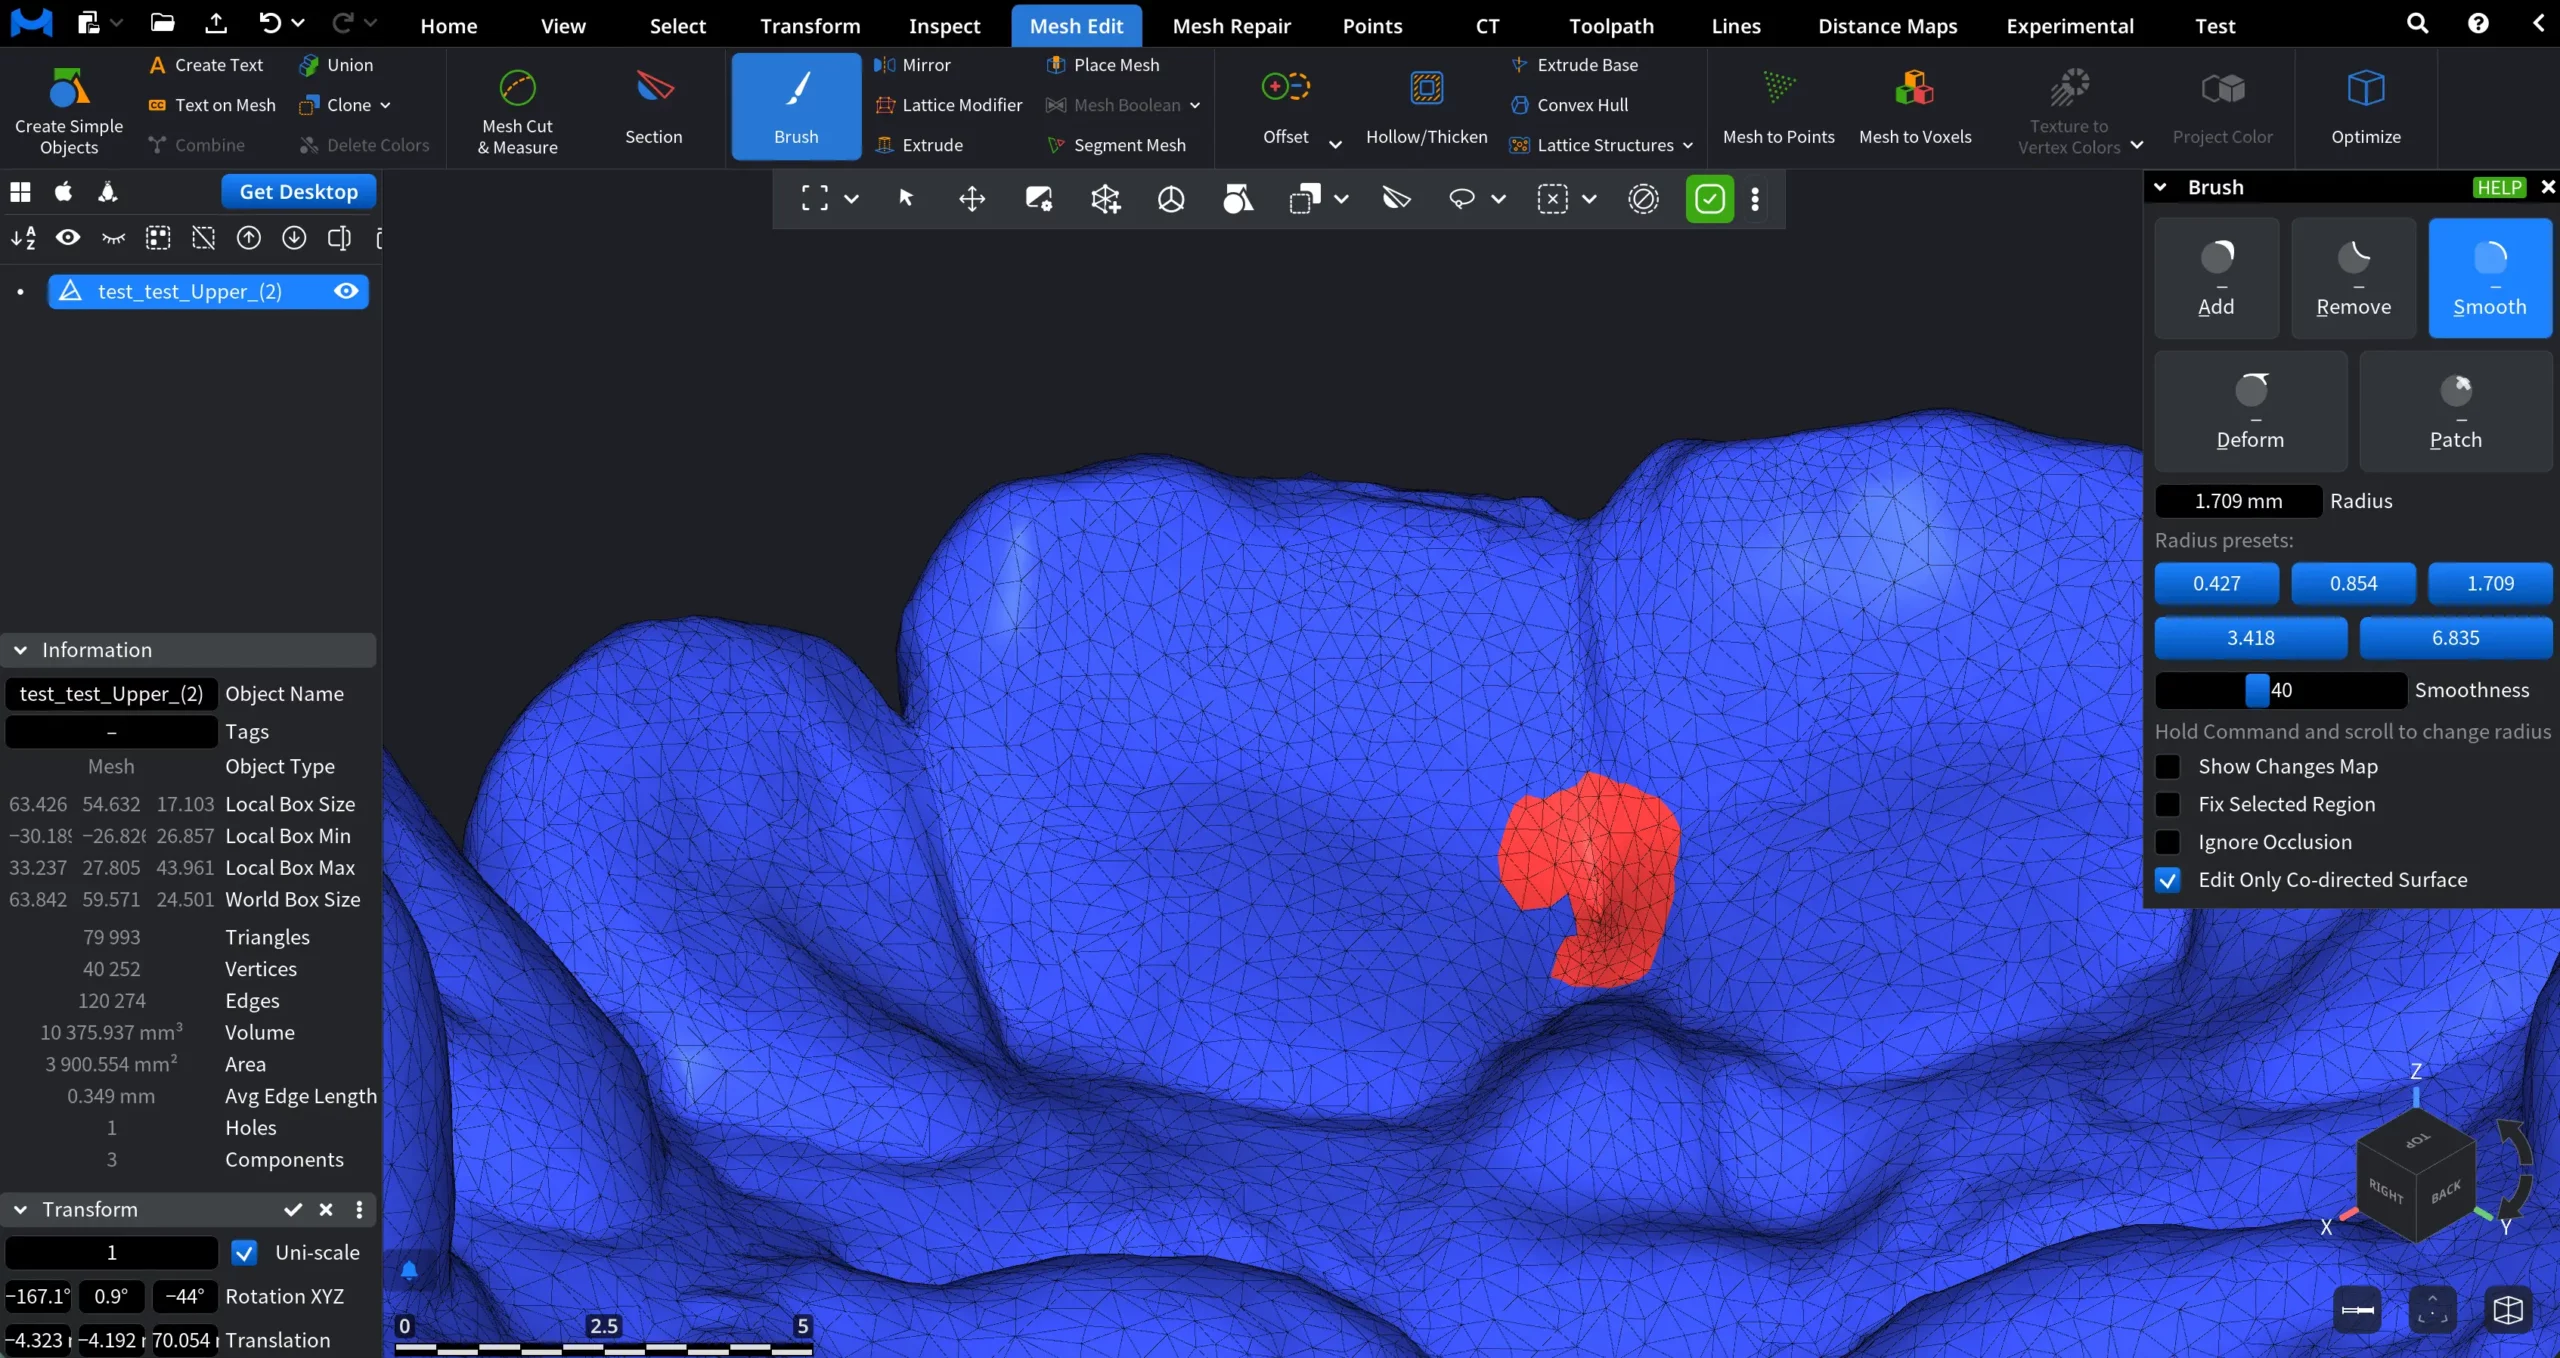
When Smooth is active, the following settings are available:
- Radius
- Smoothness
Deform
The Deform mode shifts existing surface geometry within the brush area without adding or removing material. It is used to reposition or redistribute parts of the mesh while preserving a smooth transition to the surrounding surface. When Deform is active, the surface follows the cursor direction as you click and drag, producing a controlled displacement that resembles real sculpting.
The following settings are available in Deform mode:
- Radius
- Balanced Weights controls how vertex influence is distributed during deformation. When enabled, recommended weighting is applied to maintain smooth and stable vertex movement.
Patch
The Patch mode repairs local surface defects by removing the selected area and regenerating a new triangulated surface in its place. It is designed for fast correction of small to medium surface artifacts without manual topology editing.
The following settings are available in Patch mode:
- Radius
- Balanced Weights
This mode is typically used to eliminate local scan artifacts, shallow holes, or damaged regions. For large or deep holes, our dedicated hole-filling tool is recommended instead of Patch.
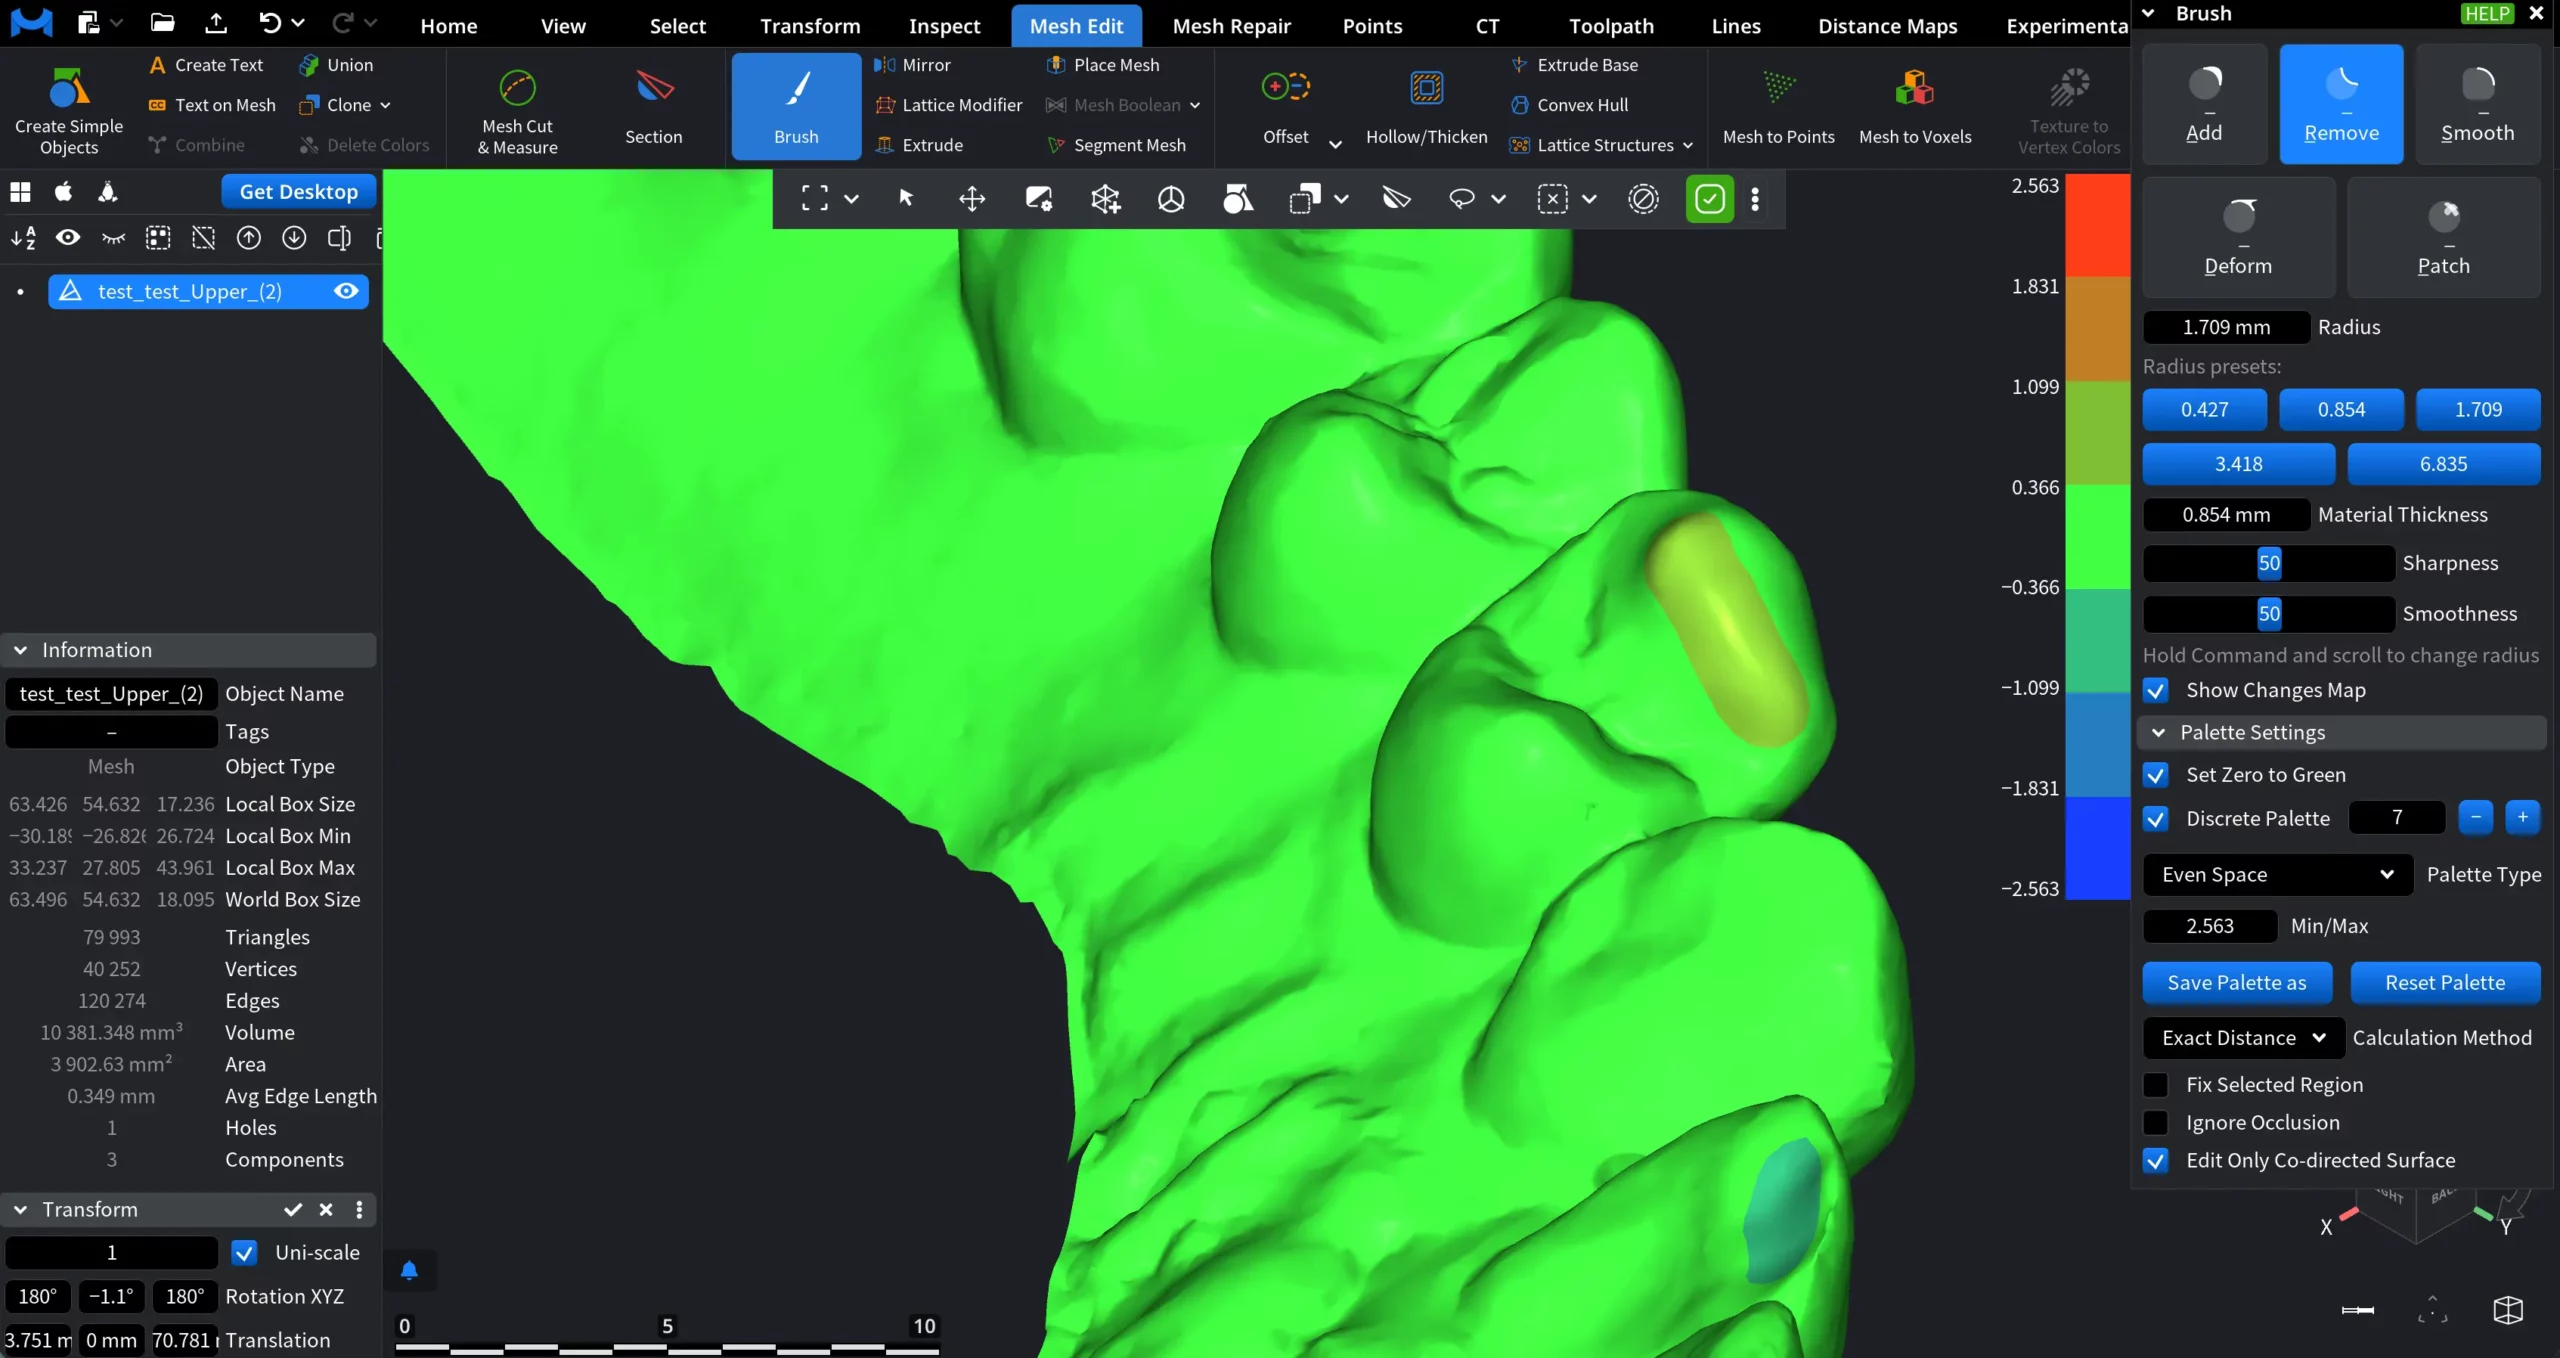
Show Changes Map
Show Changes Map visualizes how the mesh surface has been modified by Brush operations. When enabled, Show Changes Map overlays a color-coded map onto the model, making it easy to see where material was added, removed, deformed, smoothed, or patched (and by how much).
Available Settings for Changes Map
Show Changes Map toggles the visualization on or off.
Palette Settings opens controls for configuring the color scale used to represent deviations.
Set Zero to Green forces zero change values to be displayed in green, making neutral (unchanged) areas clearly distinguishable from positive and negative deviations.
Discrete Palette switches the map from a smooth gradient to stepped color bands. This is useful when you want to classify changes into clear ranges instead of continuous values.
Palette Type defines how values are distributed across the palette:
- Even Space spreads colors evenly across the full value range.
- Central Zone emphasizes deviations around zero, allowing finer control near the neutral region.
Min / Max (or Max positive / Min negative) sets the numeric bounds of the visualization.
Save Palette as saves the current palette configuration for reuse.
Reset Palette restores default settings.
Calculation Method defines how the deviation is measured:
- Point to Point stands for distance between the start and end positions of modified points.
- Point to Plane stands for distance from the modified point to the initial reference plane.
- Exact Distance stands for distance from the modified point to the original mesh surface.
Additional Brush settings
Below the visualization controls, the Brush panel includes three final settings that affect how sculpting operations interact with surrounding geometry and visibility constraints:
- Fix Selected Region locks the boundary of the affected area to improve stability and result quality.
- Ignore Occlusion allows editing of mesh areas that are partially or fully hidden by other geometry in the current view.
- Edit Only Co-directed Surface restricts editing to vertices whose surface normals face the same half-space as the normal under the cursor.
Taken together, the Brush modes and their supporting settings provide a controlled workflow for local mesh editing and sculpting, ranging from subtle surface cleanup to more pronounced shape adjustments. This makes the Brush tool suitable for both fine corrections and iterative refinement in preparation for downstream operations.