The Convex Hull tool creates a convex outer shell around the selected mesh or point cloud. It is useful when you need to simplify the object’s overall shape or generate a clean enclosing volume. To use it in MeshInspector, go to the Mesh Edit tab and click Convex Hull. The tool then wraps the selected object in the smallest possible convex shape, similar to stretching a tight surface around its outermost points.

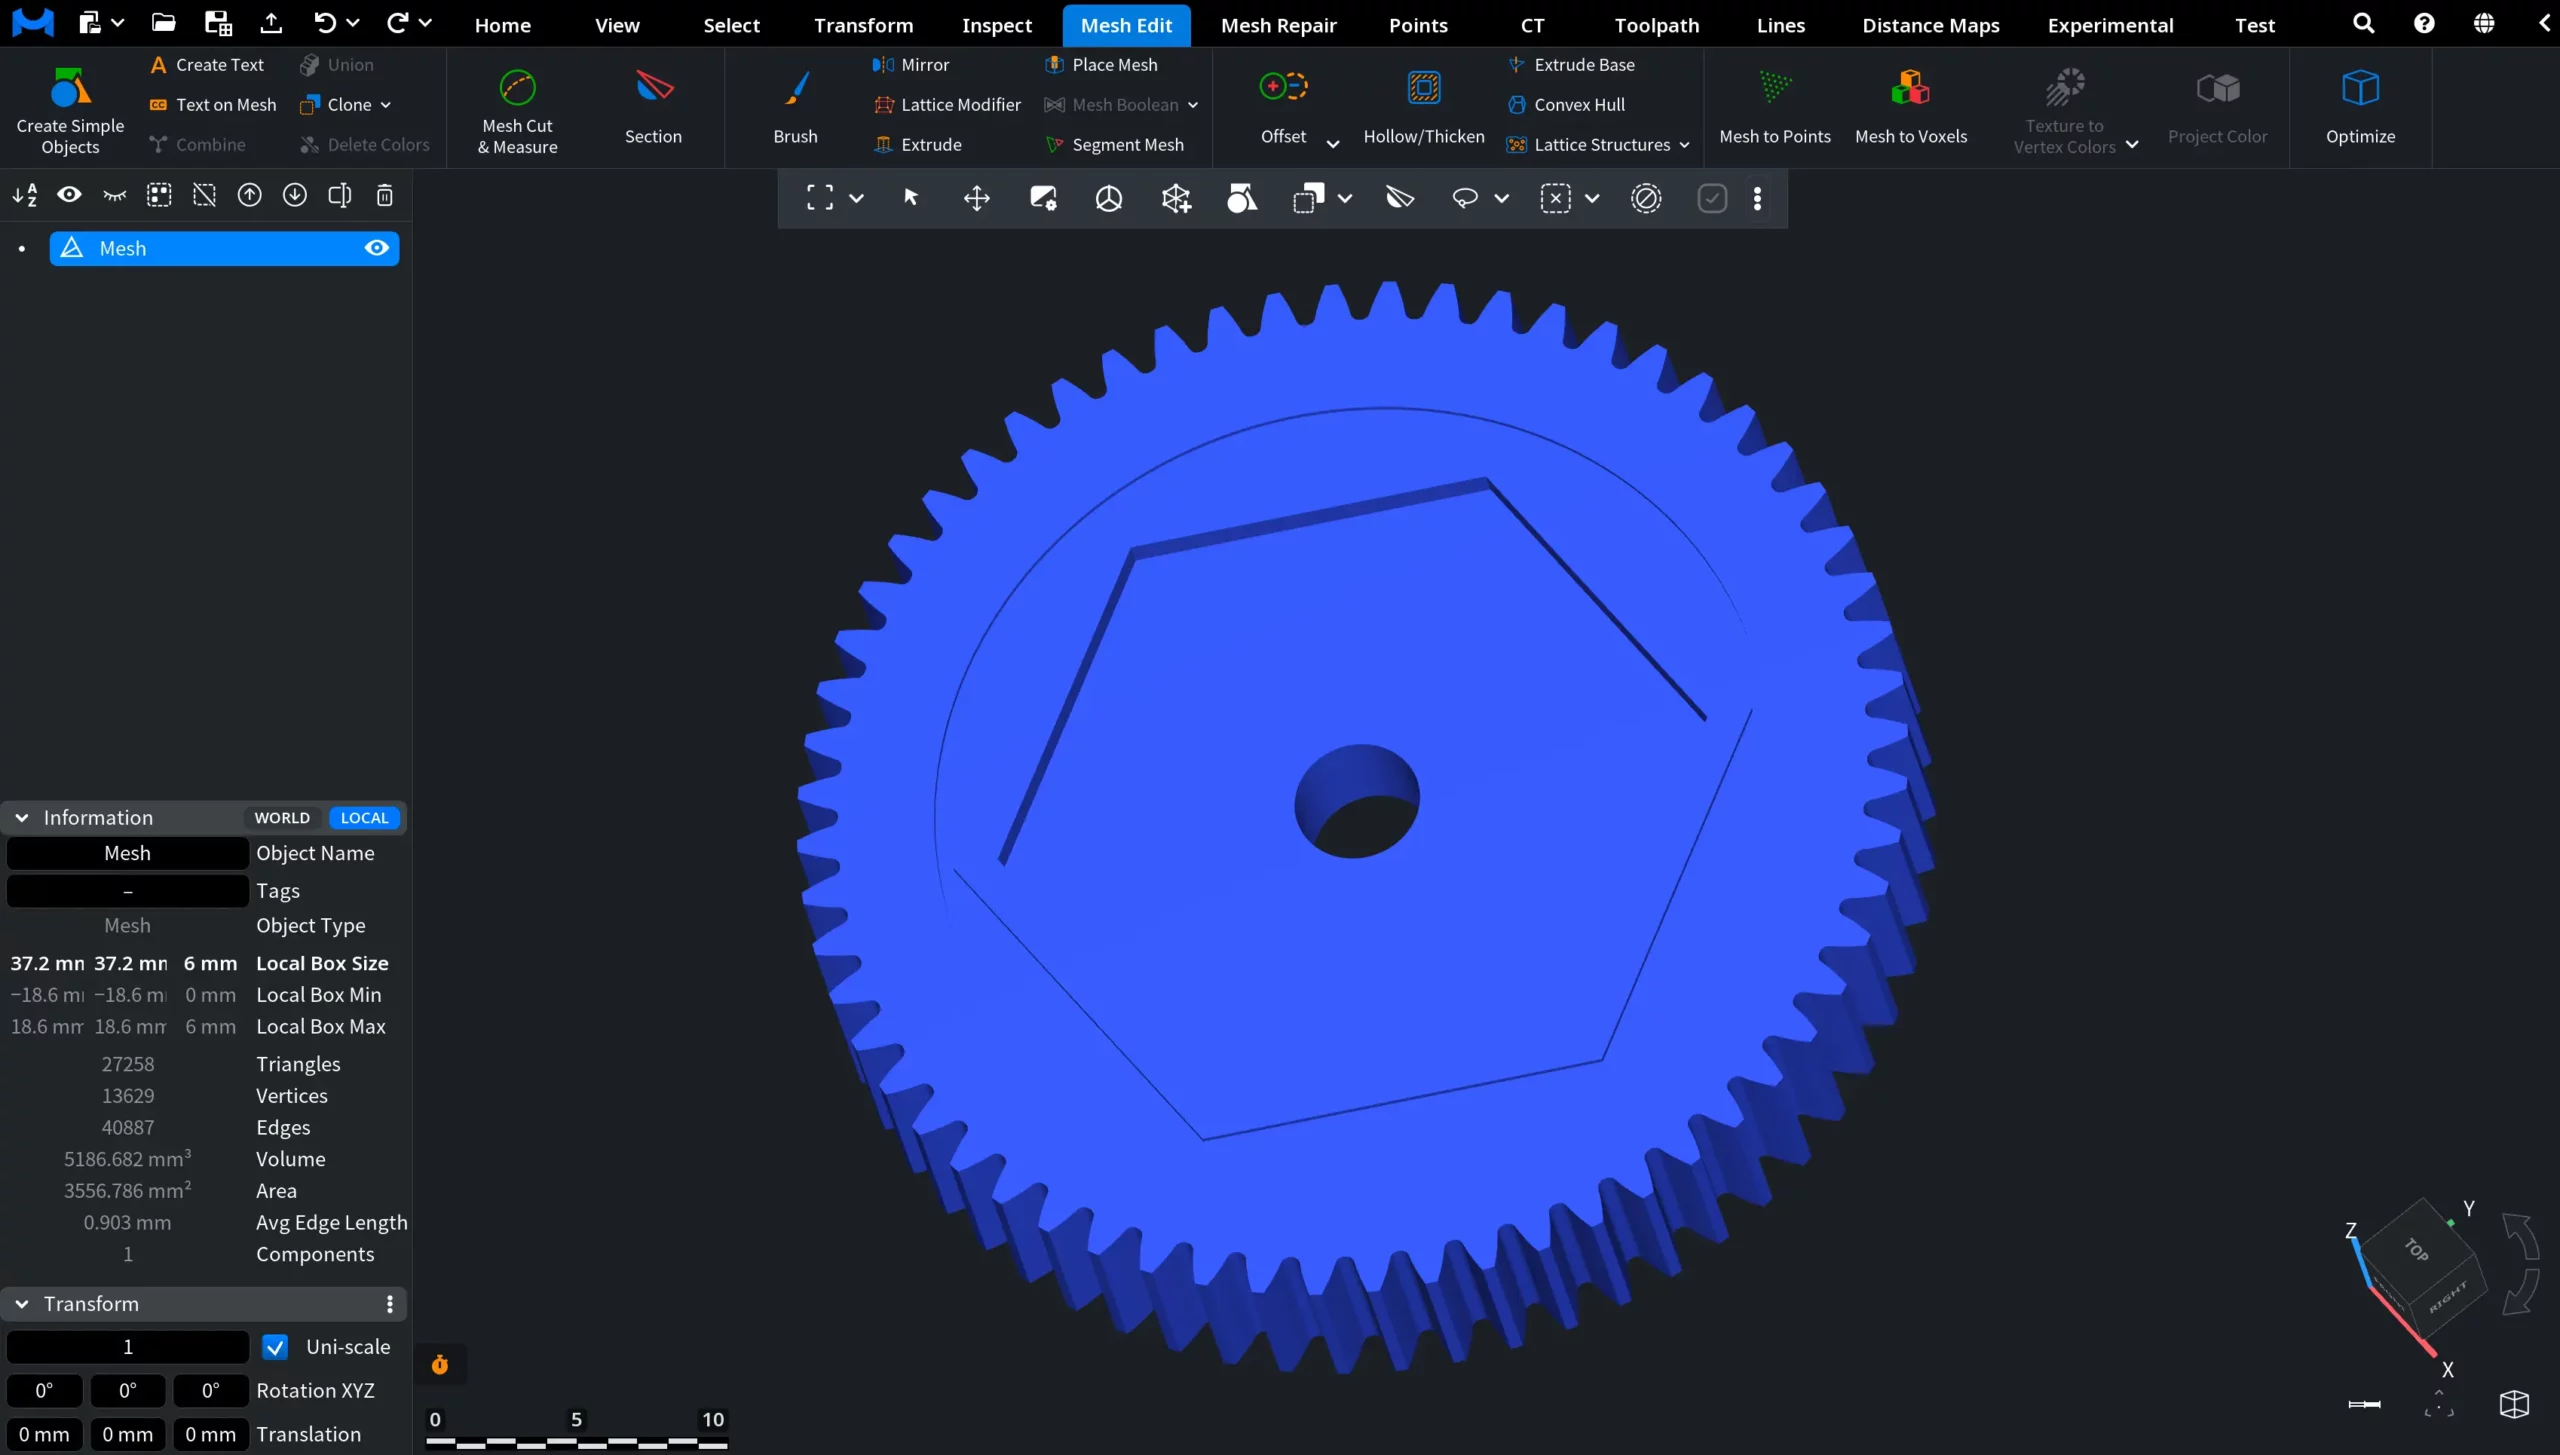
Convex Hull: Before
A complex mesh object is visible in the Viewport and selected in the Scene Tree. In this example, the object has detailed outer geometry, including multiple teeth, a central hole, and surface contours.
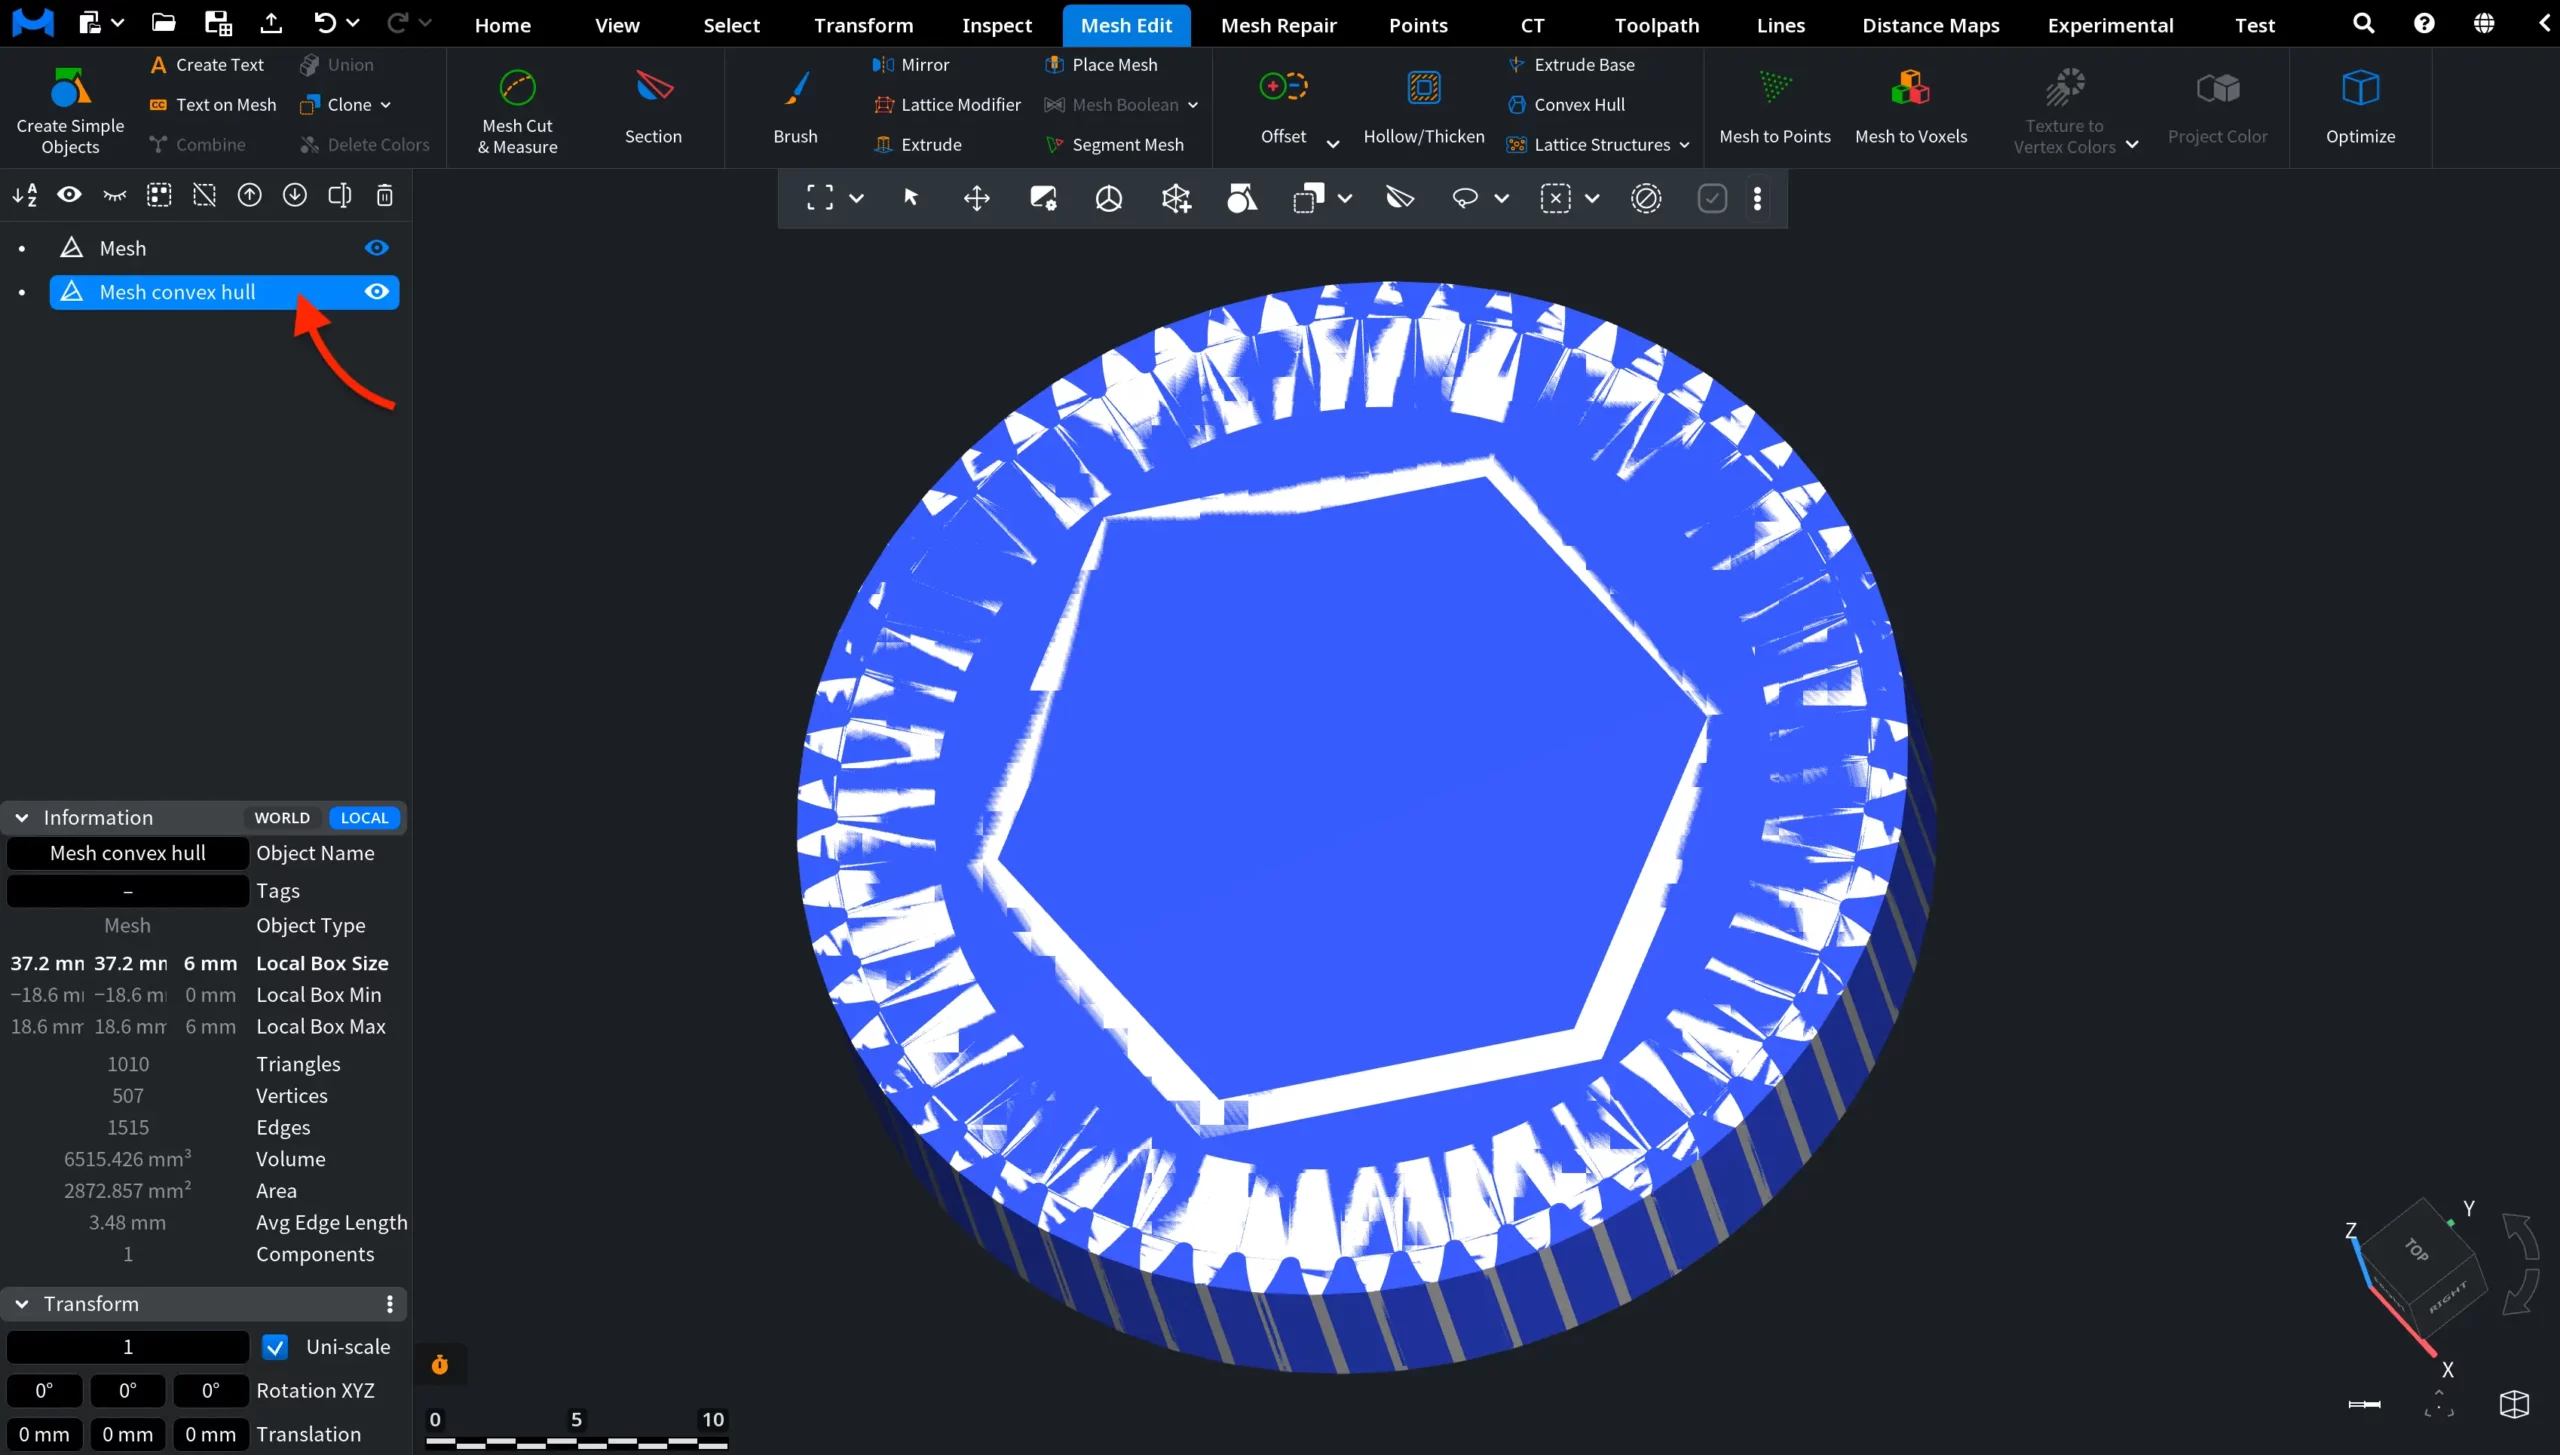
Convex Hull: After
The convex hull is generated as a separate mesh and selected in the Scene Tree. Both the original object and the newly created convex hull remain visible in the Viewport, allowing you to compare their shapes visually.
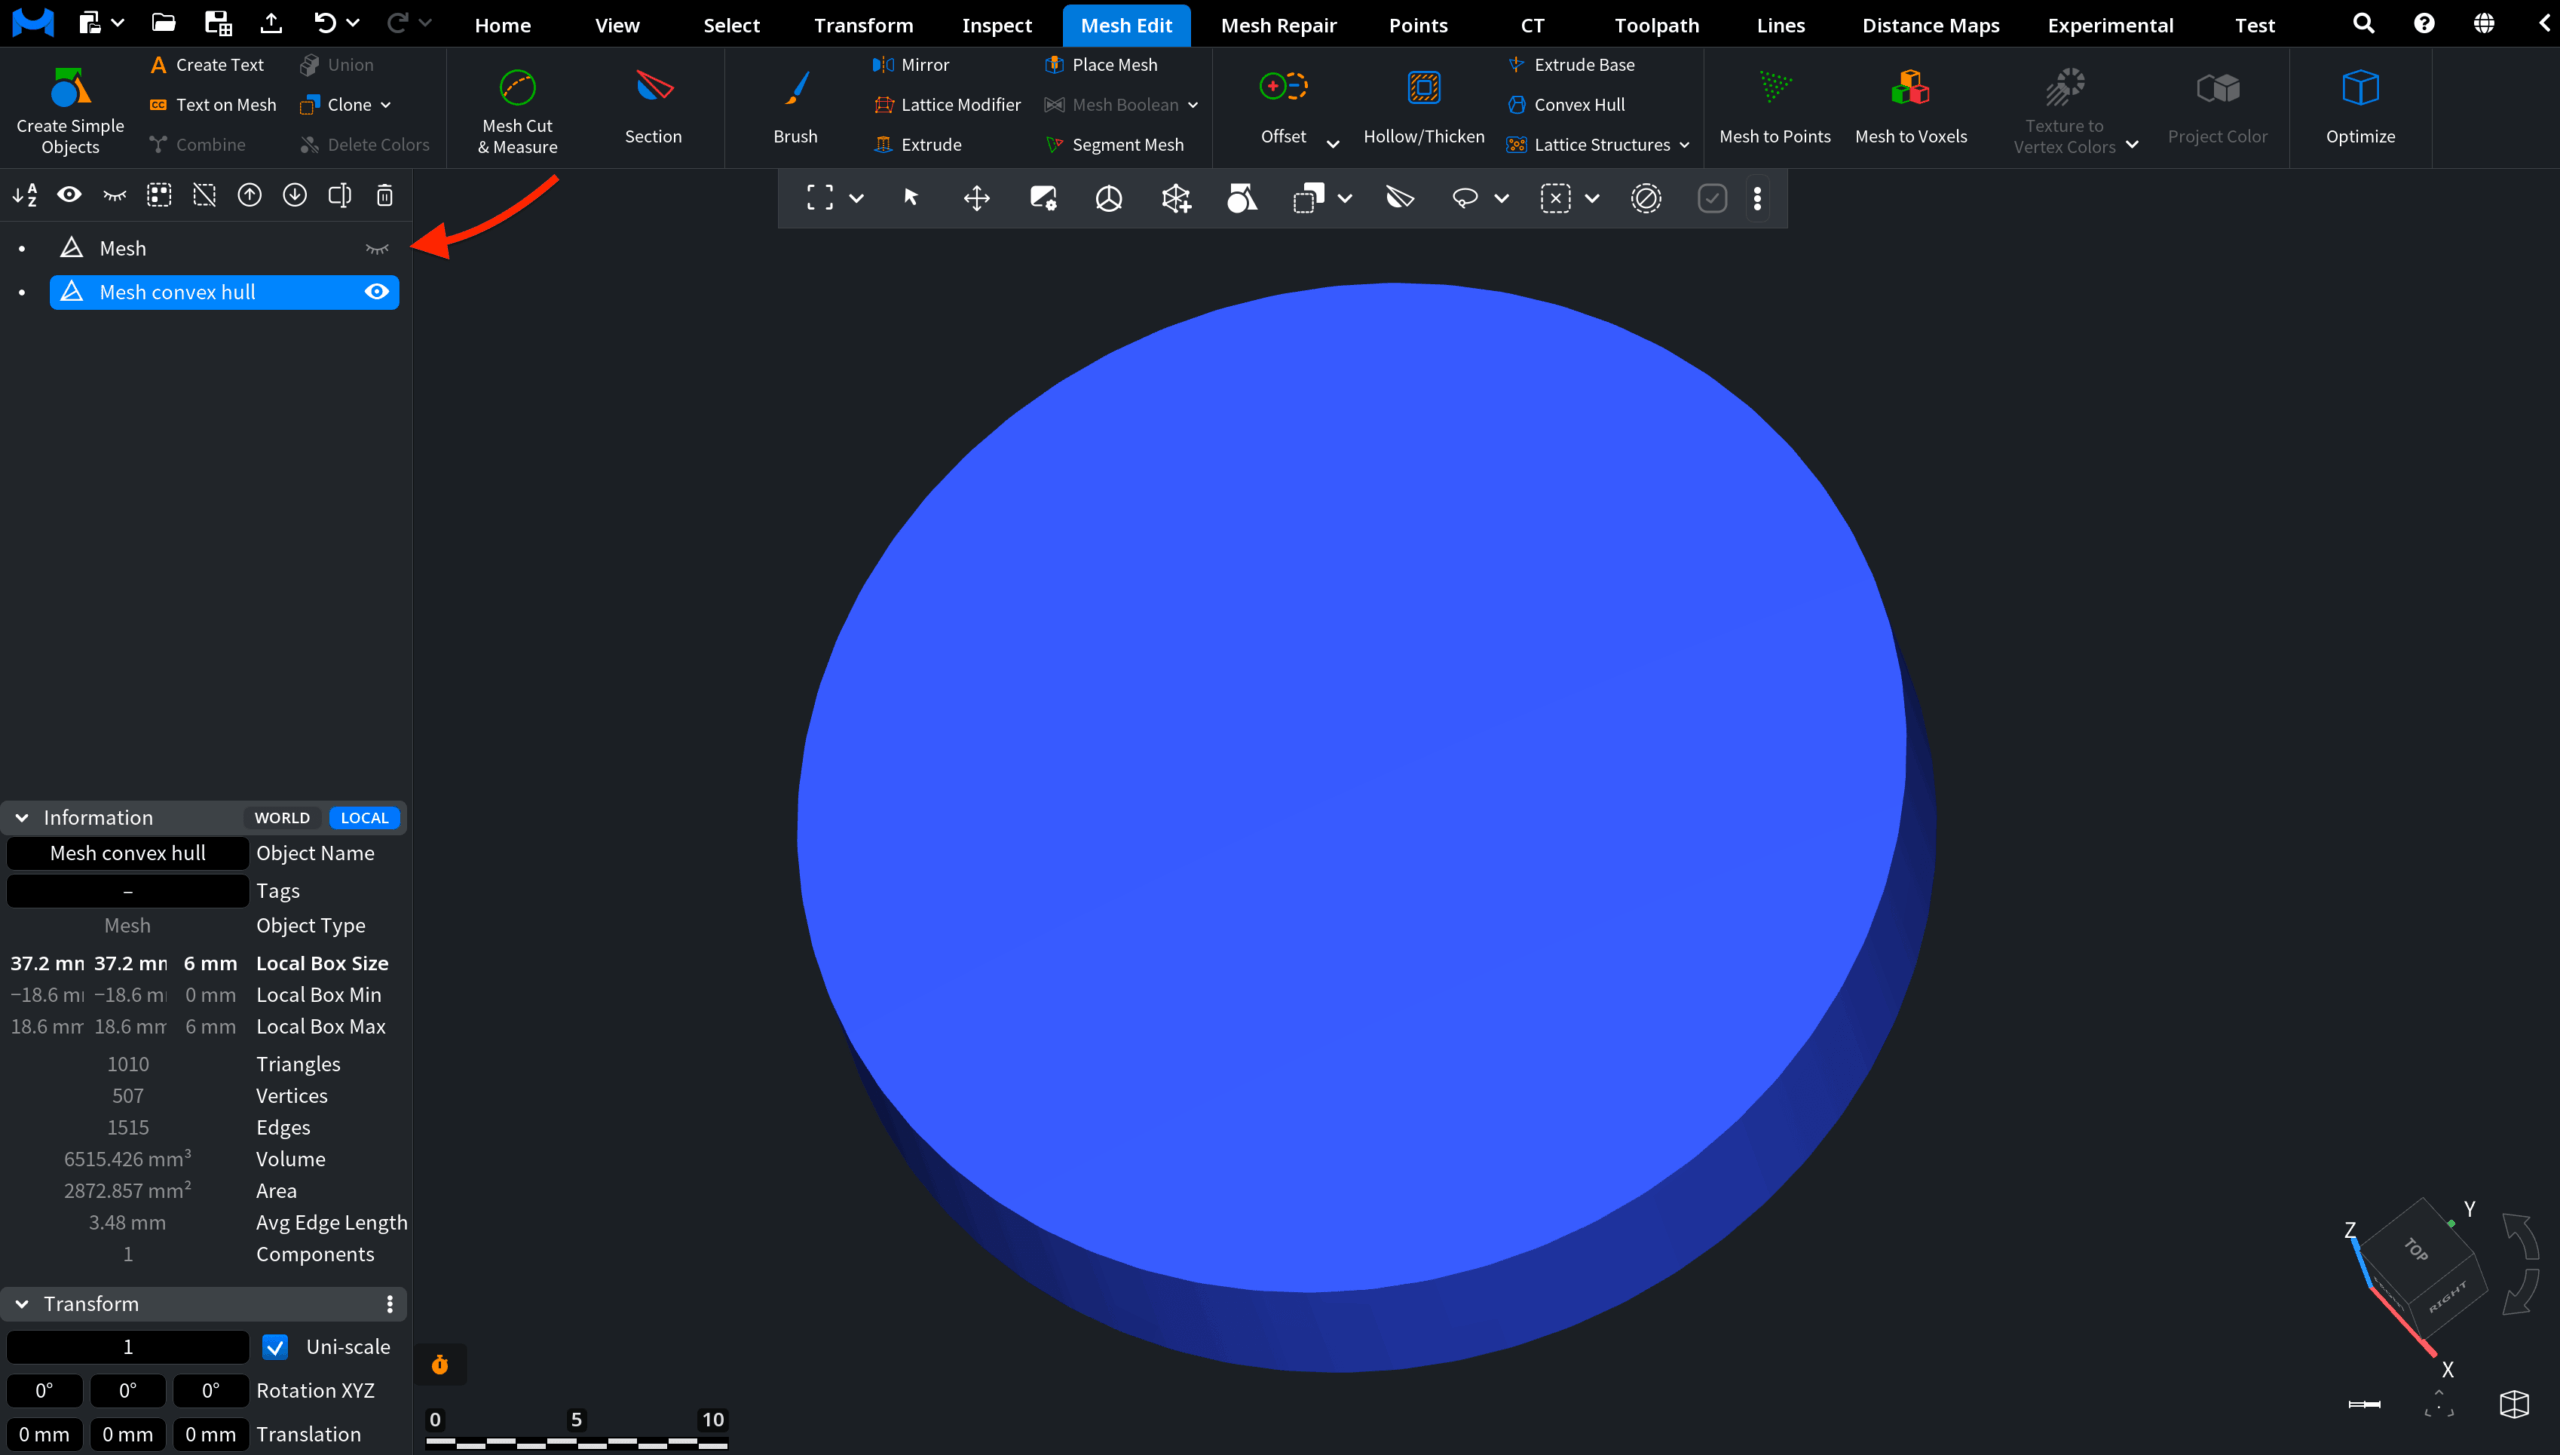
In the final screenshot below, the source mesh is hidden in the Scene Tree, leaving only the generated convex hull visible in the Viewport. This makes it easier to inspect the resulting simplified outer shape without the original object overlapping it.