The Fast Offset tool allows you to apply an offset to a mesh very quickly. It moves mesh vertices along their normals and supports both a Global Offset for the entire mesh and Additional Offset values for selected regions.
Fast Offset works best with clean and high-quality meshes that contain well-shaped triangles and few or no self-intersections. Because the tool does not guarantee that the resulting geometry will always be correct, make sure to check the mesh after applying the operation.
To open the tool, go to the Mesh Edit tab, click the small arrow next to the Offset tool, and select Fast Offset from the dropdown menu.

Fast Offset: Parameters
Once you select Fast Offset, the dedicated settings panel opens.
Global Offset defines the offset distance applied to the entire mesh. The region-specific settings below it allow you to apply an additional offset to selected areas. The Additional Offset value is added to the Global Offset value for the corresponding region.
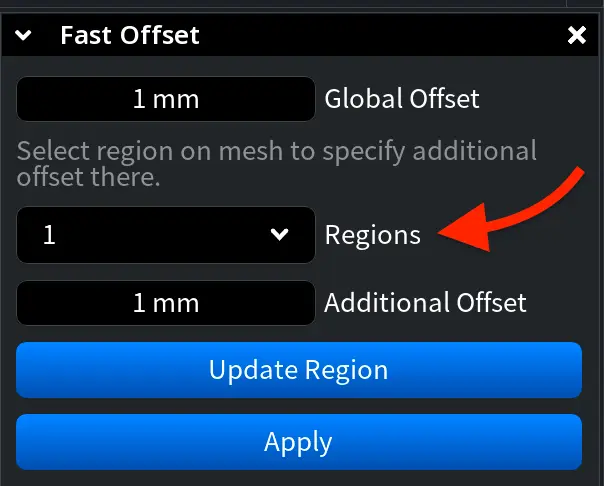
The Regions dropdown allows you to create new regions and switch between previously saved ones. Initially, it contains only one option: New Region. When this option is active, you can select an area of the mesh and save it as a new region.
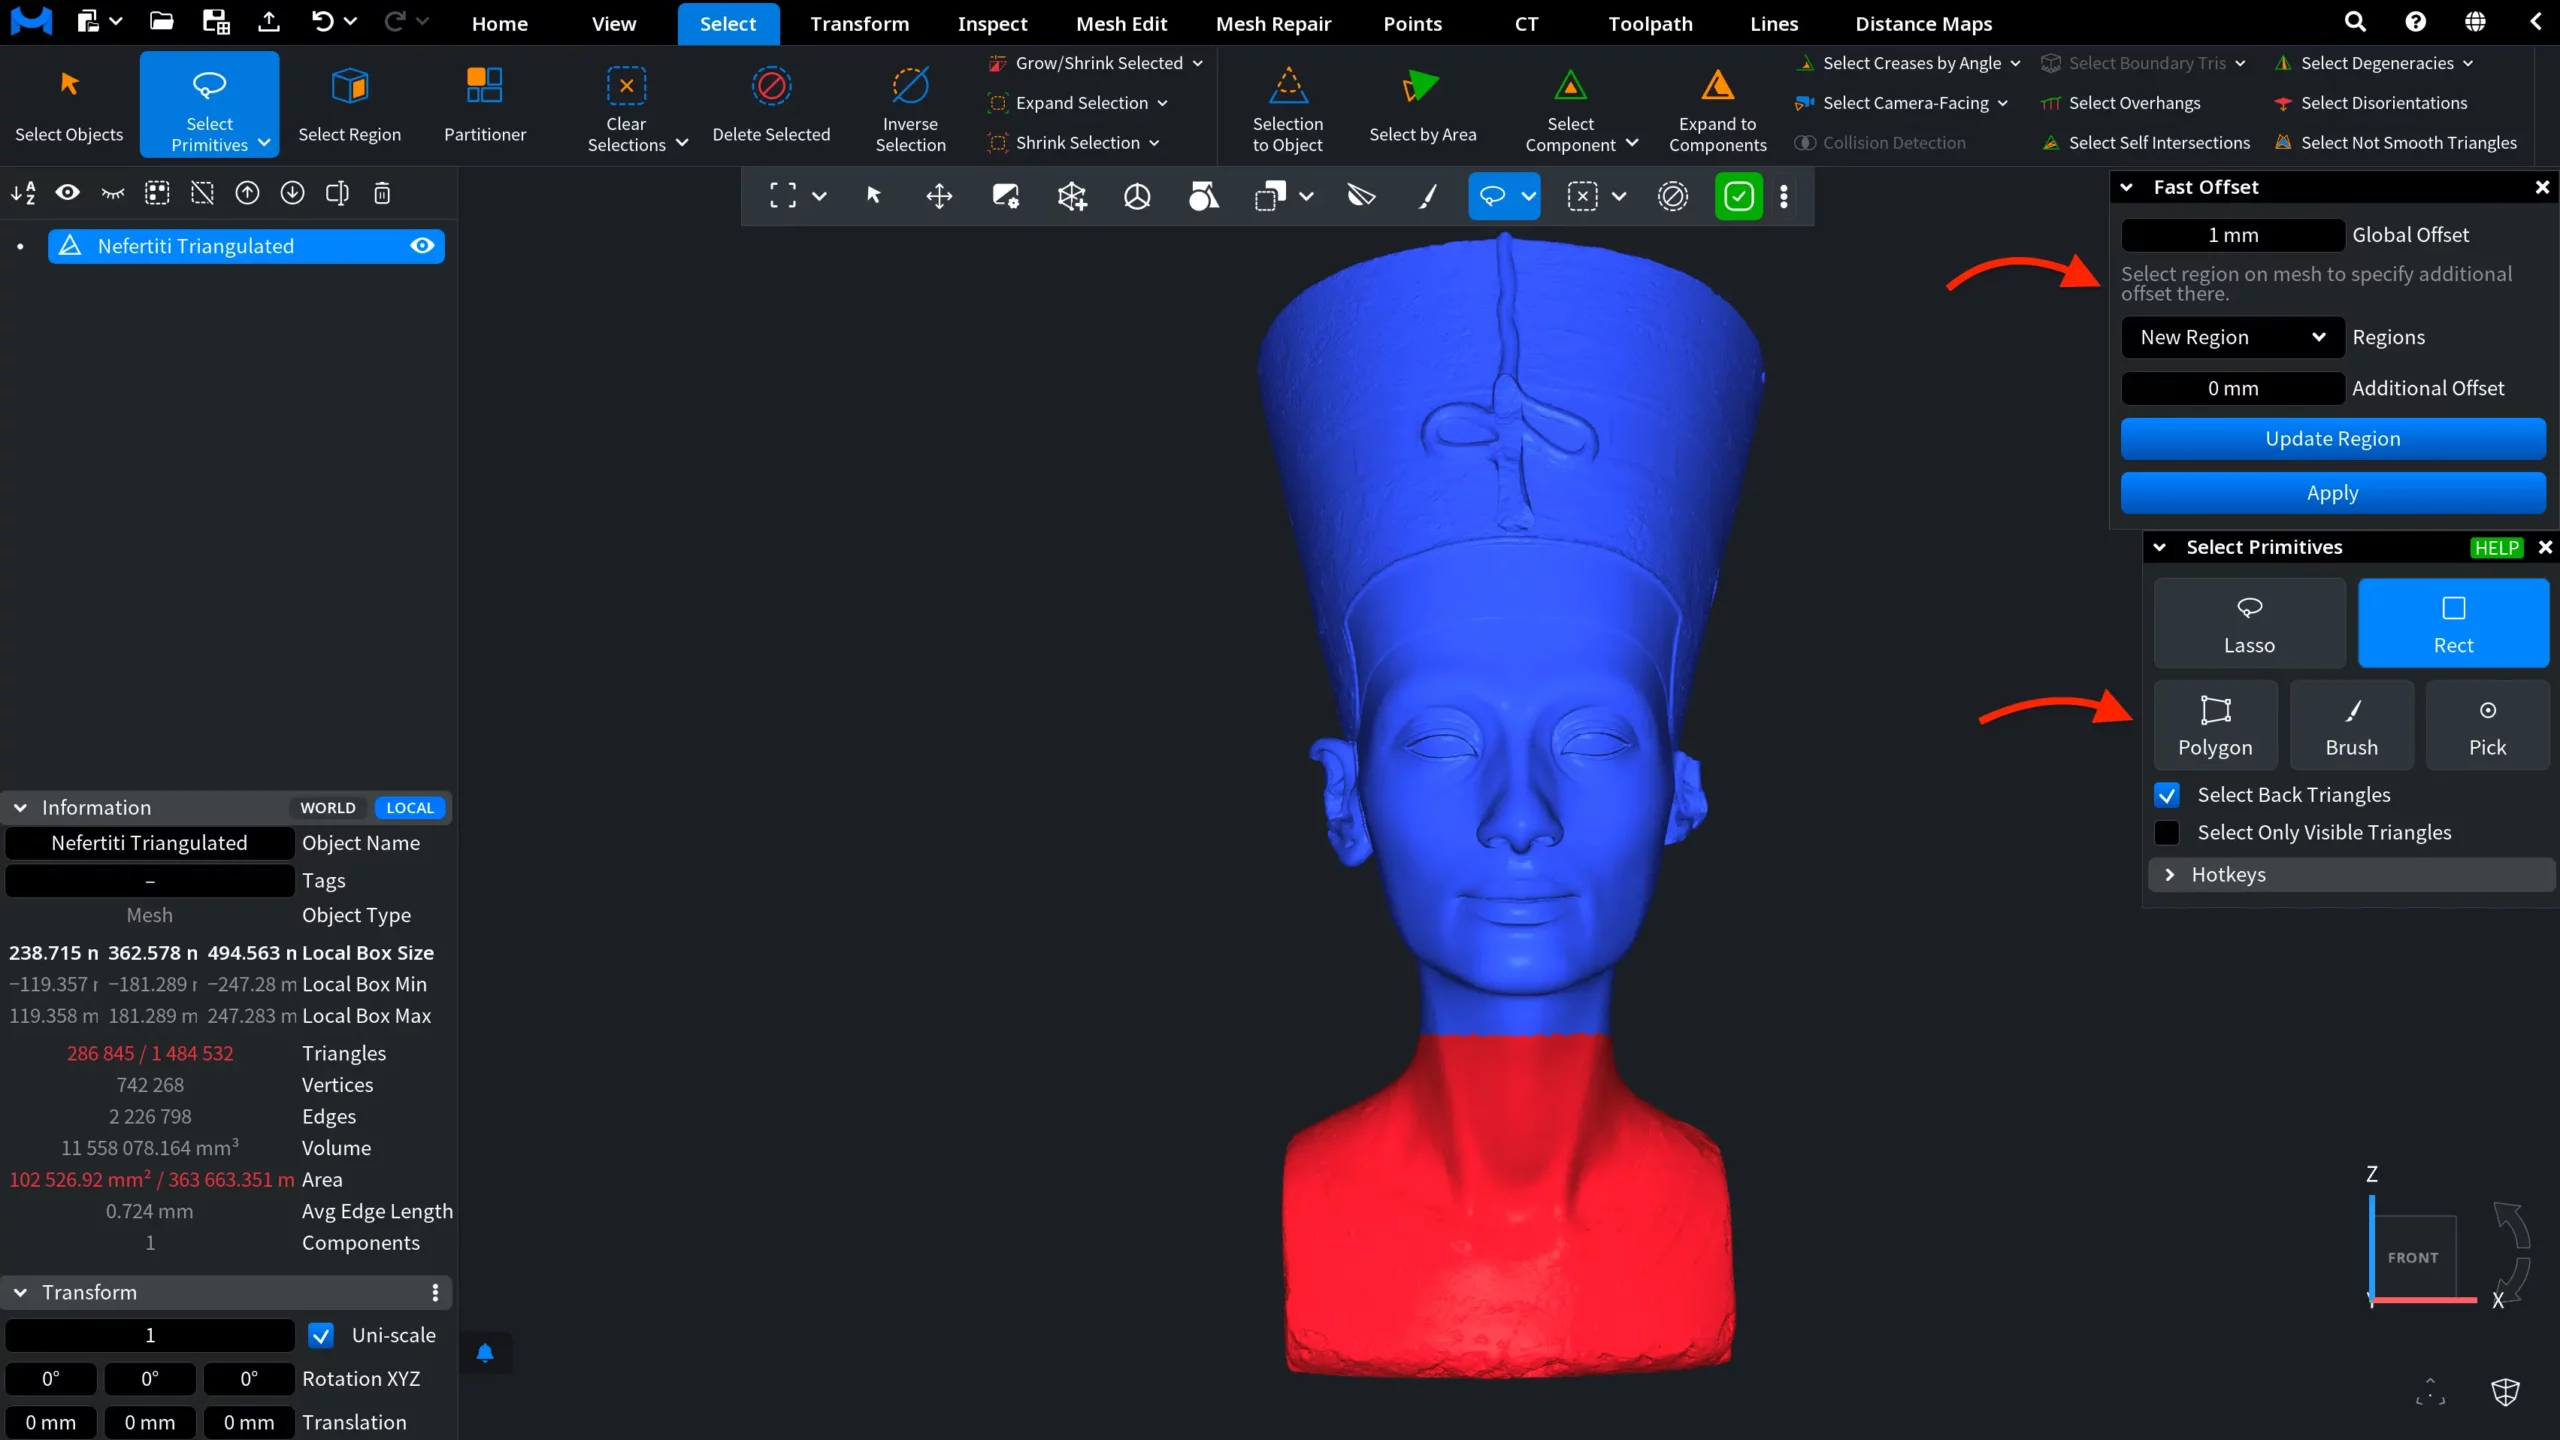
You can select the required area before opening Fast Offset or while the panel is open. To create or modify a selection, go to the Select tab and click Select Primitives. You can use any available selection mode depending on the shape of the target area.
In the example above, we use the Rect selection mode to select the lower part of the bust. Opening the Select Primitives panel does not close the Fast Offset panel, so you can work with the selection tools and Fast Offset settings simultaneously.
Once the required area is selected, enter a value in the Additional Offset field and click Update Region. The current mesh selection is saved as a region, and the specified Additional Offset will be added to the Global Offset in that area when the operation is applied. The first saved region appears as 1 in the Regions dropdown.
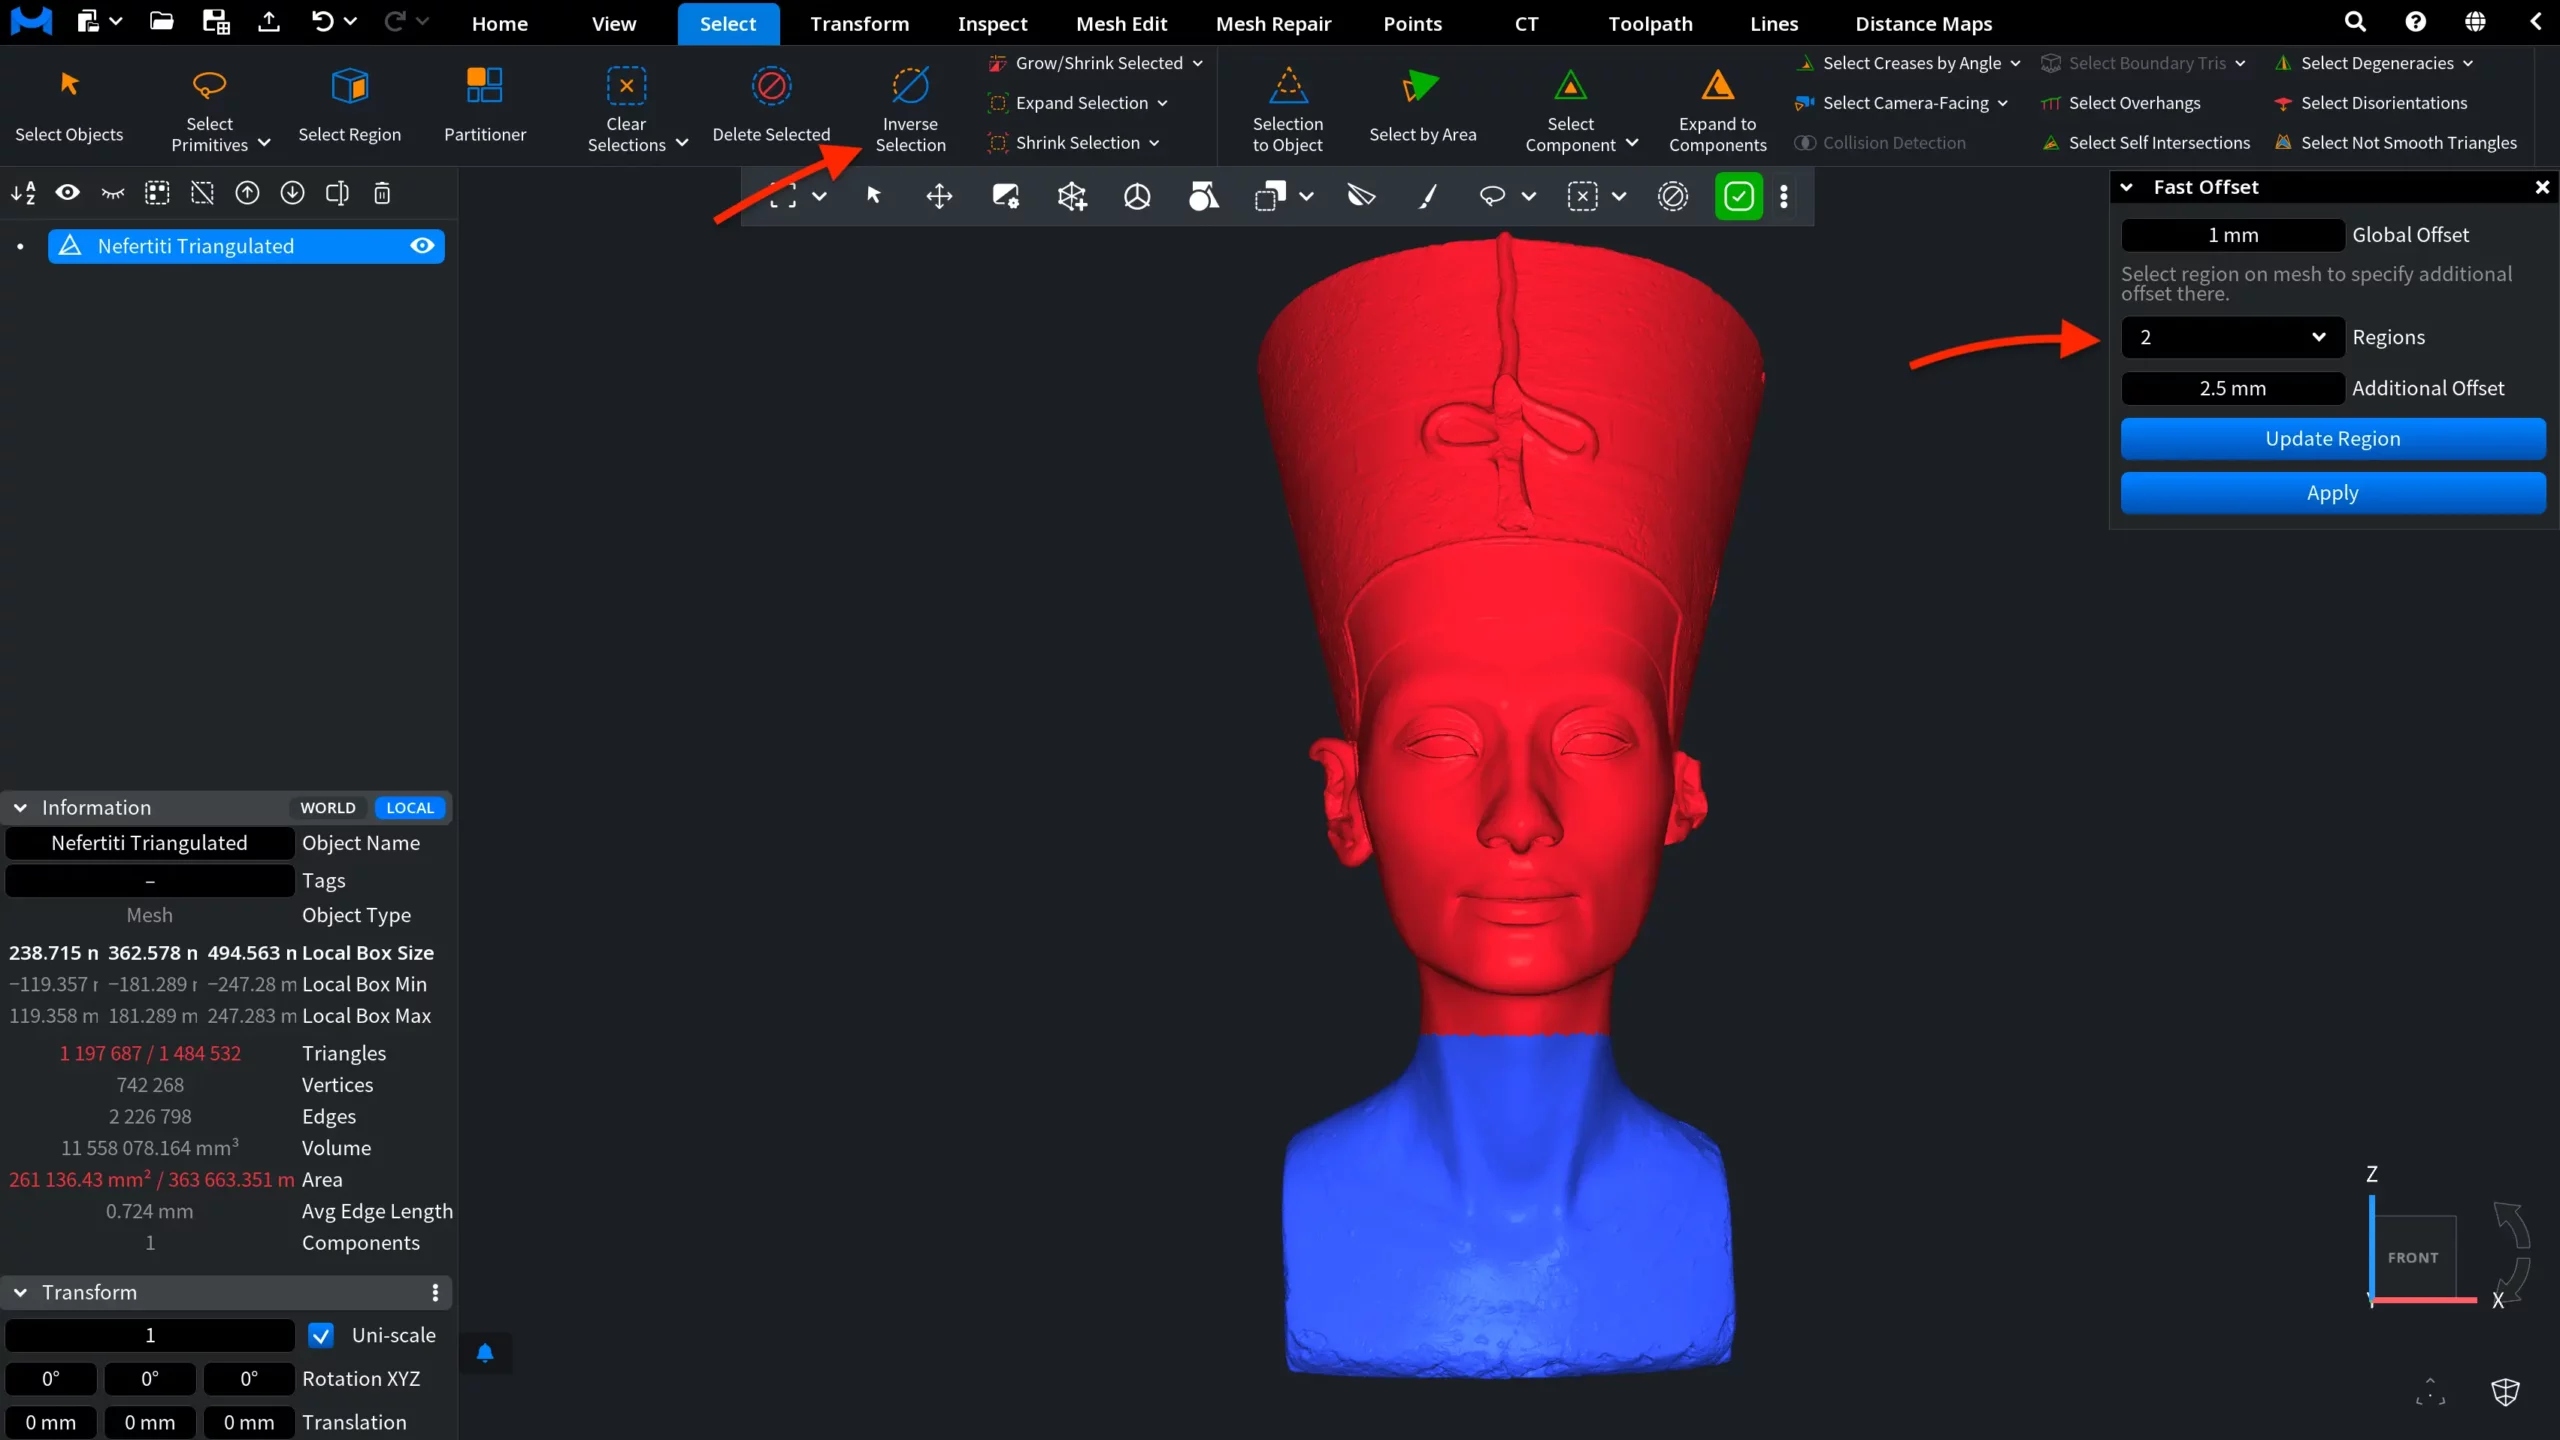
You can save additional regions if needed. To do this, make sure New Region is selected in the Regions dropdown, select another area using Select Primitives under the Select tab, enter a value in the Additional Offset field, and click Update Region again. Subsequent regions will be saved as 2, 3, 4, and so on.
In the example below, we clicked Inverse Selection to select the upper part of the bust, entered 2.5 millimetres in the Additional Offset field, and clicked Update Region. The new region appears as 2 in the Regions dropdown.
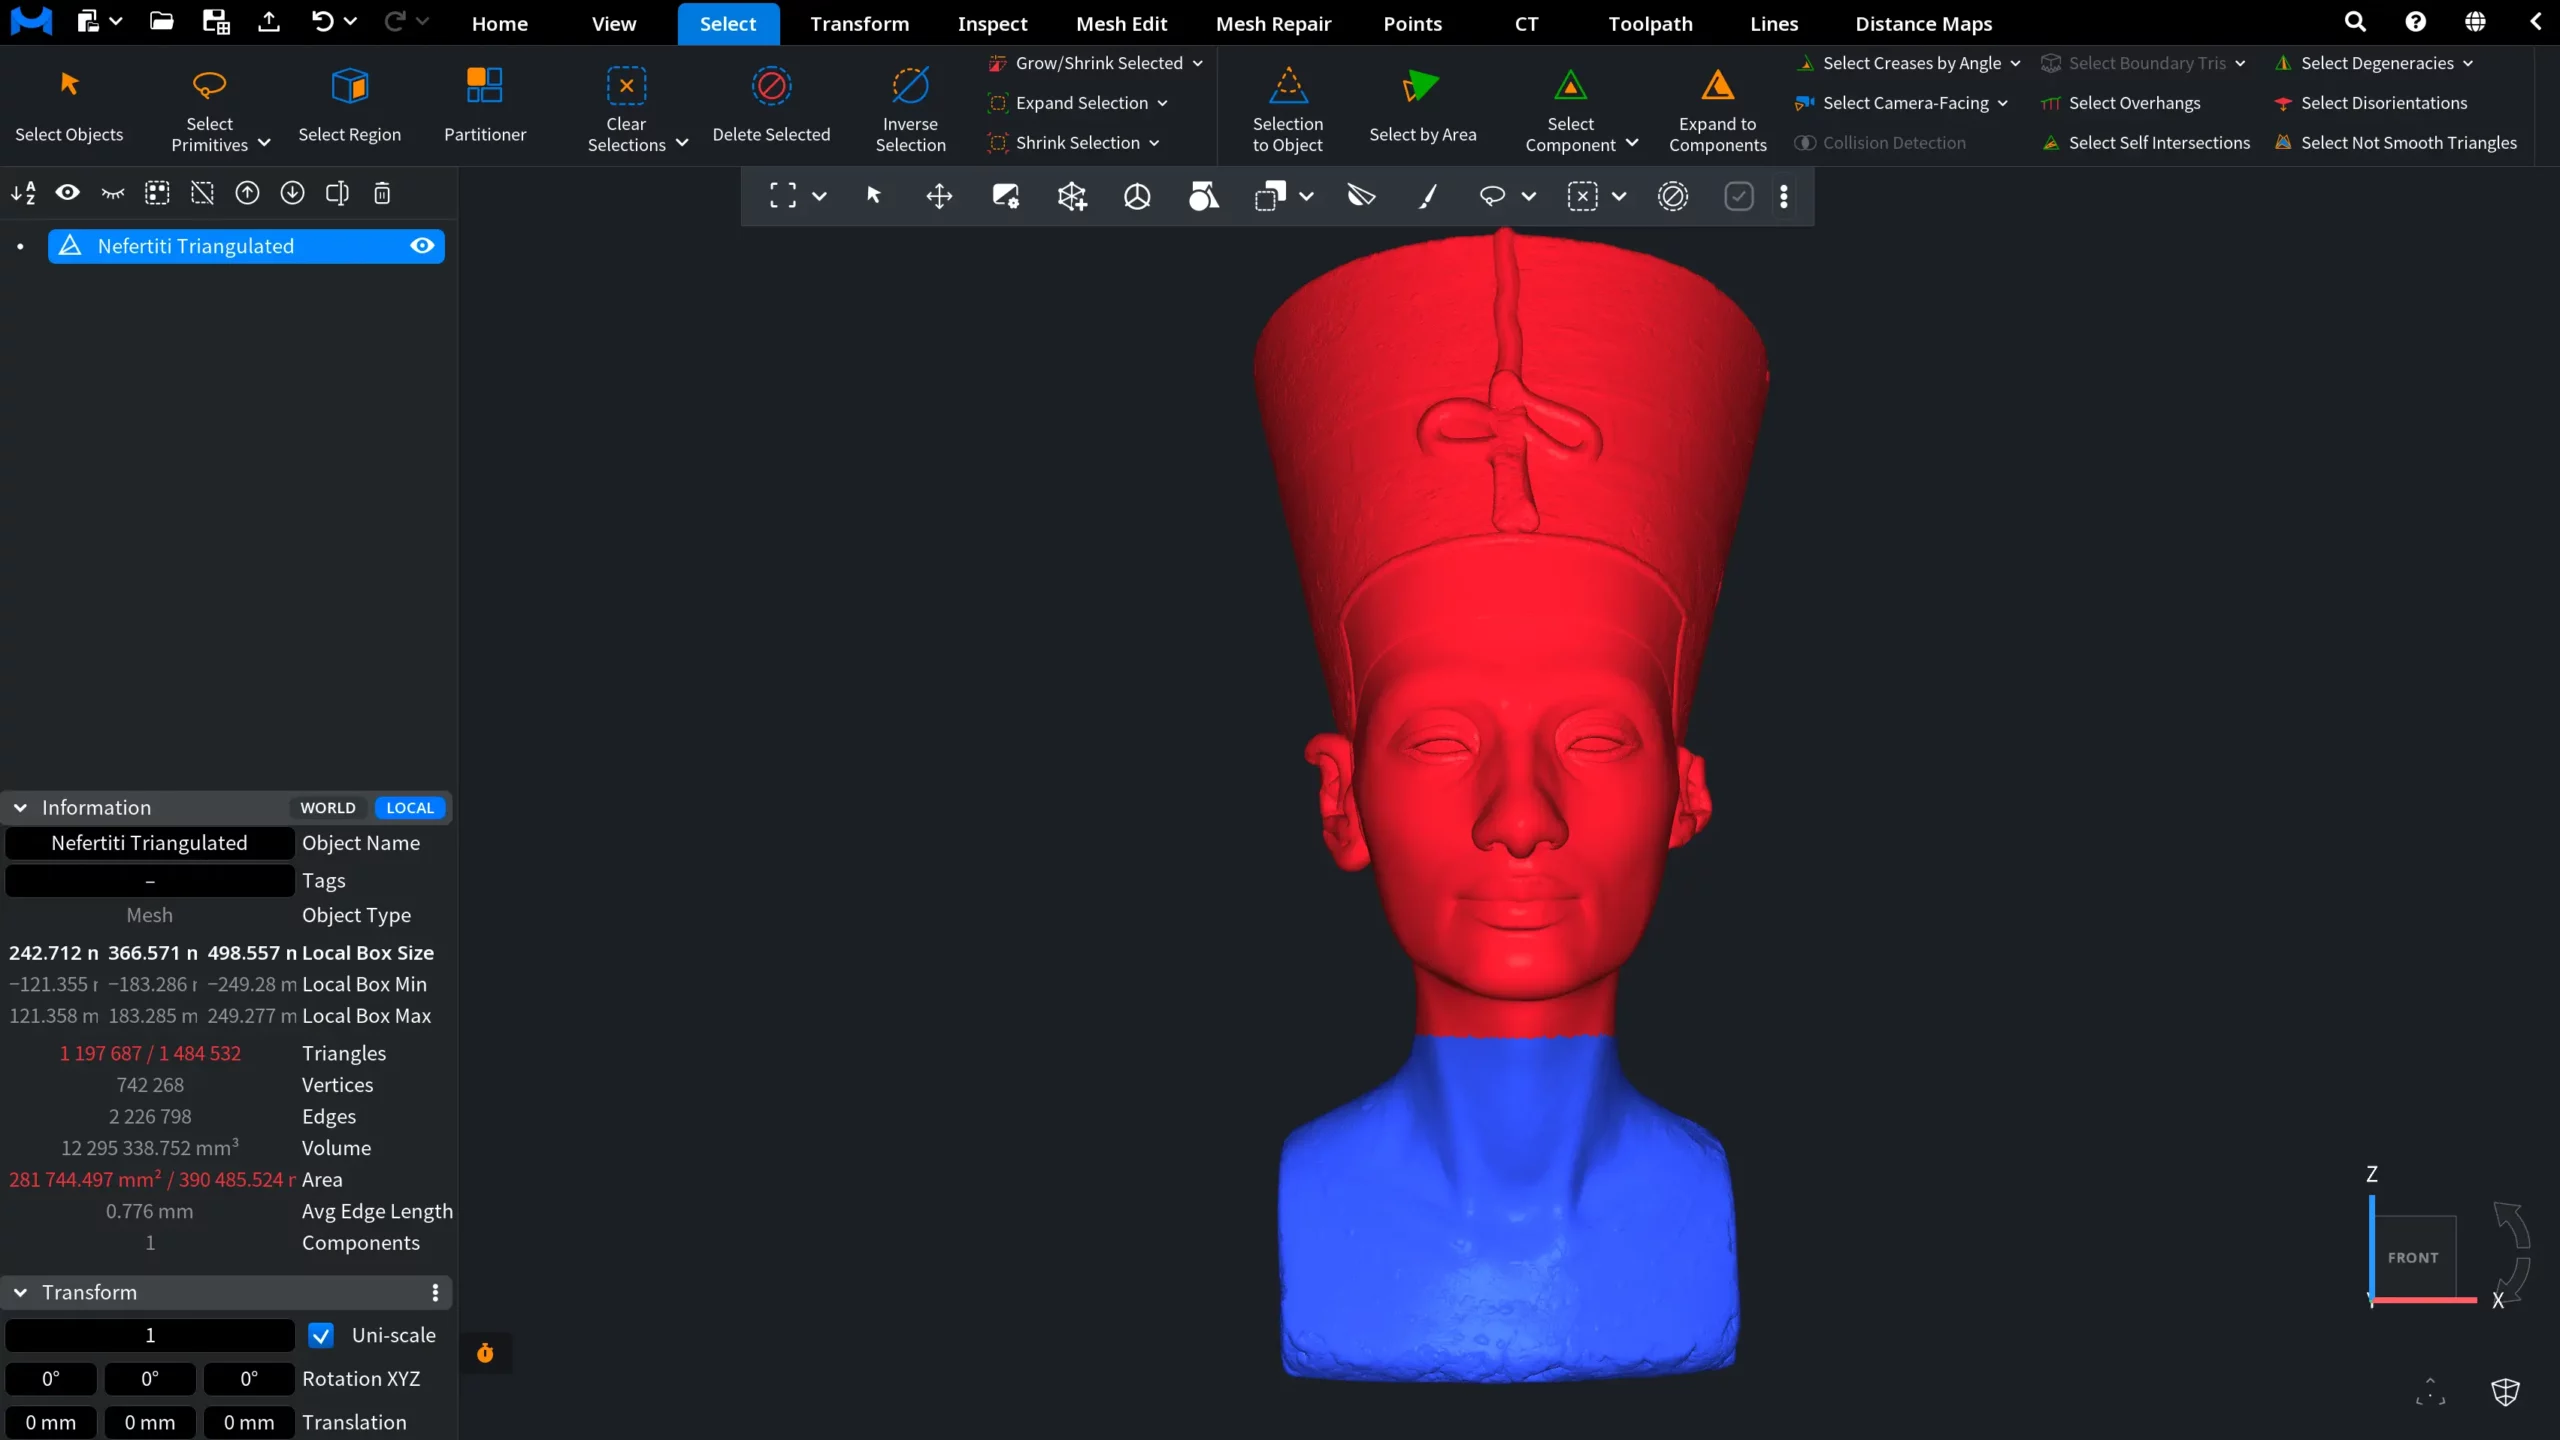
After all regions and their Additional Offset values have been defined, click Apply to run the operation. The offset is applied according to the specified values.
In this example, the resulting offsets are as follows:
- Global Offset: 1 millimetre
- Region 1, the lower part: an Additional Offset of 1 millimetre, resulting in a total offset of 2 millimetres
- Region 2, the upper part: an Additional Offset of 2.5 millimetres, resulting in a total offset of 3.5 millimetres
How the Fast Offset Tool Works in MeshInspector