The Z-Compensate tool, located under the Mesh Edit tab, allows you to shift vertices whose normals have a negative projection on the Z-axis along the Z-axis. This operation is intended mainly for 3D printing workflows, where such compensation can help adjust downward-facing or overhanging areas of a model.
![]()
To open the tool, go to Mesh Edit, click the small arrow next to the Offset tool, and select Z-Compensate from the dropdown menu.
Z-Compensate: Parameters
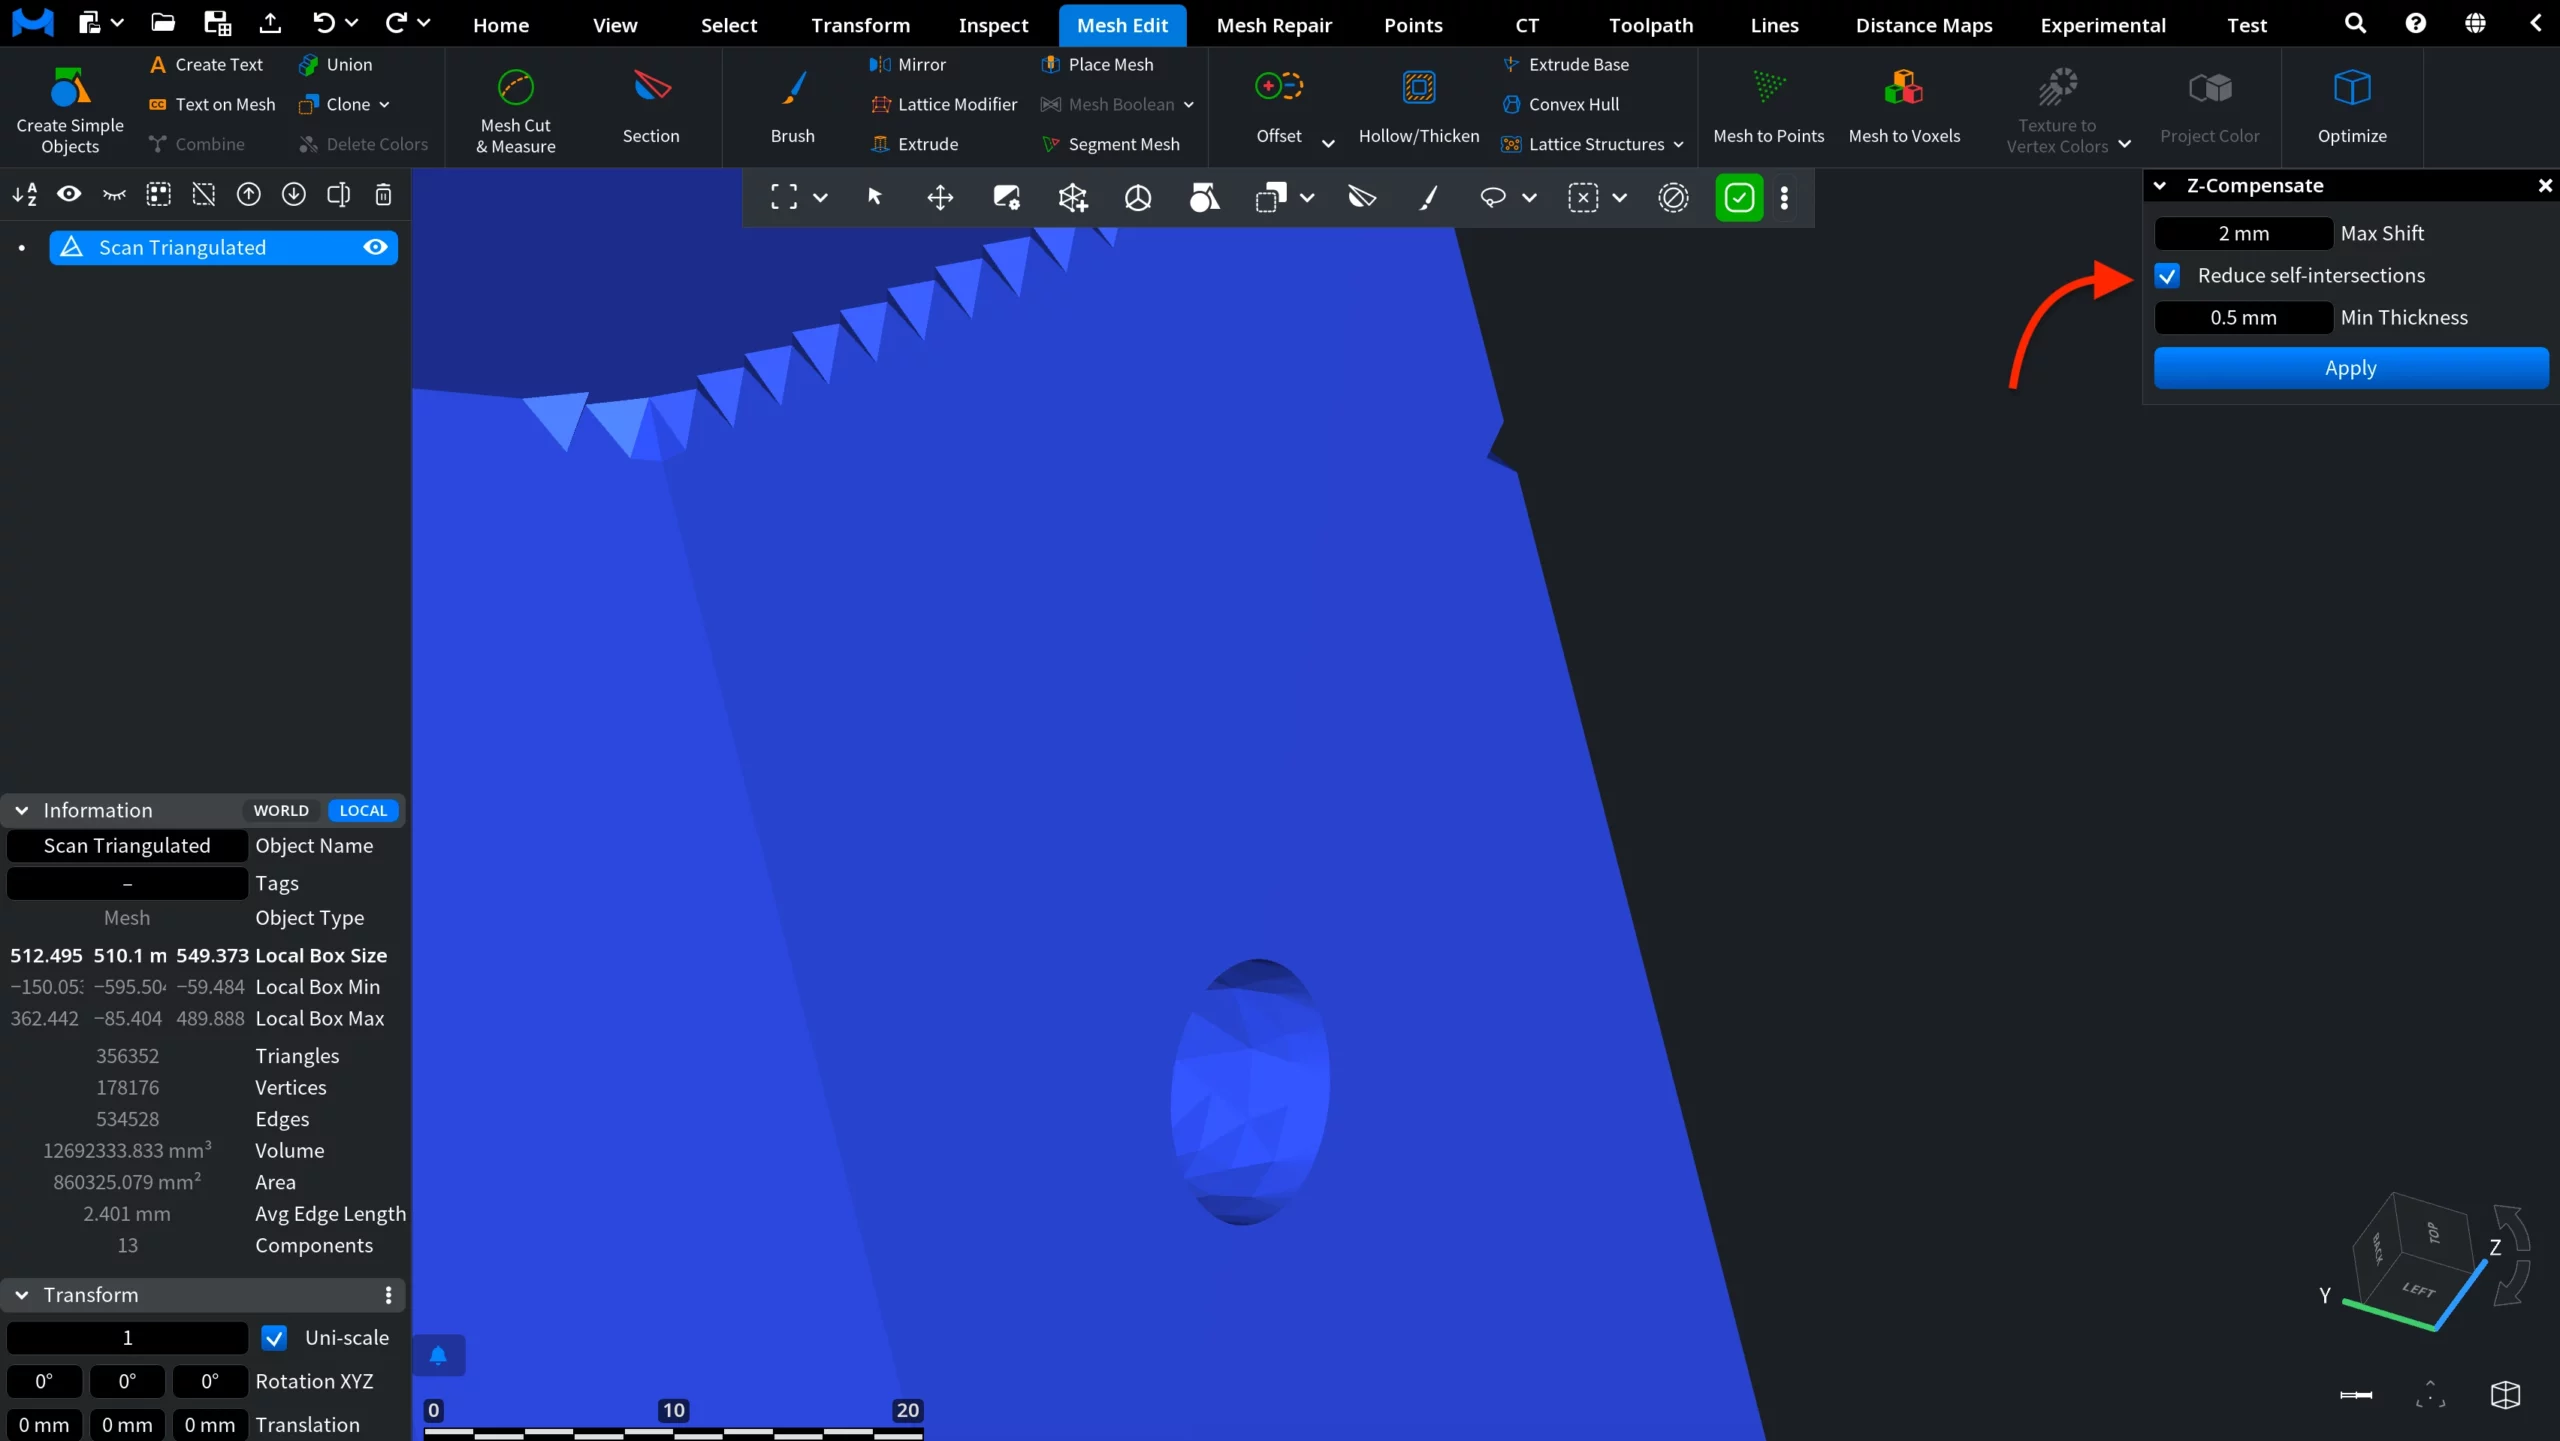
Once you select Z-Compensate, the dedicated Z-Compensate panel opens on the right. It contains three main settings that define how the mesh parts are shifted along the Z-axis.
Max Shift defines the maximum shift applied to mesh parts whose normals are directed against the Z-axis. For other affected mesh parts, the shift is lower and depends on the angle between the point pseudo-normal and the Z-axis.
Reduce self-intersections limits the movement of each vertex to reduce self-intersections in the mesh. Enable this option when the compensation may cause overlapping or intersecting geometry.
Min Thickness becomes available when Reduce self-intersections is enabled. It prevents a vertex from moving closer than the specified distance to another triangle.
After configuring the required parameters, click Apply to run the operation.
Z-Compensate: Before and After
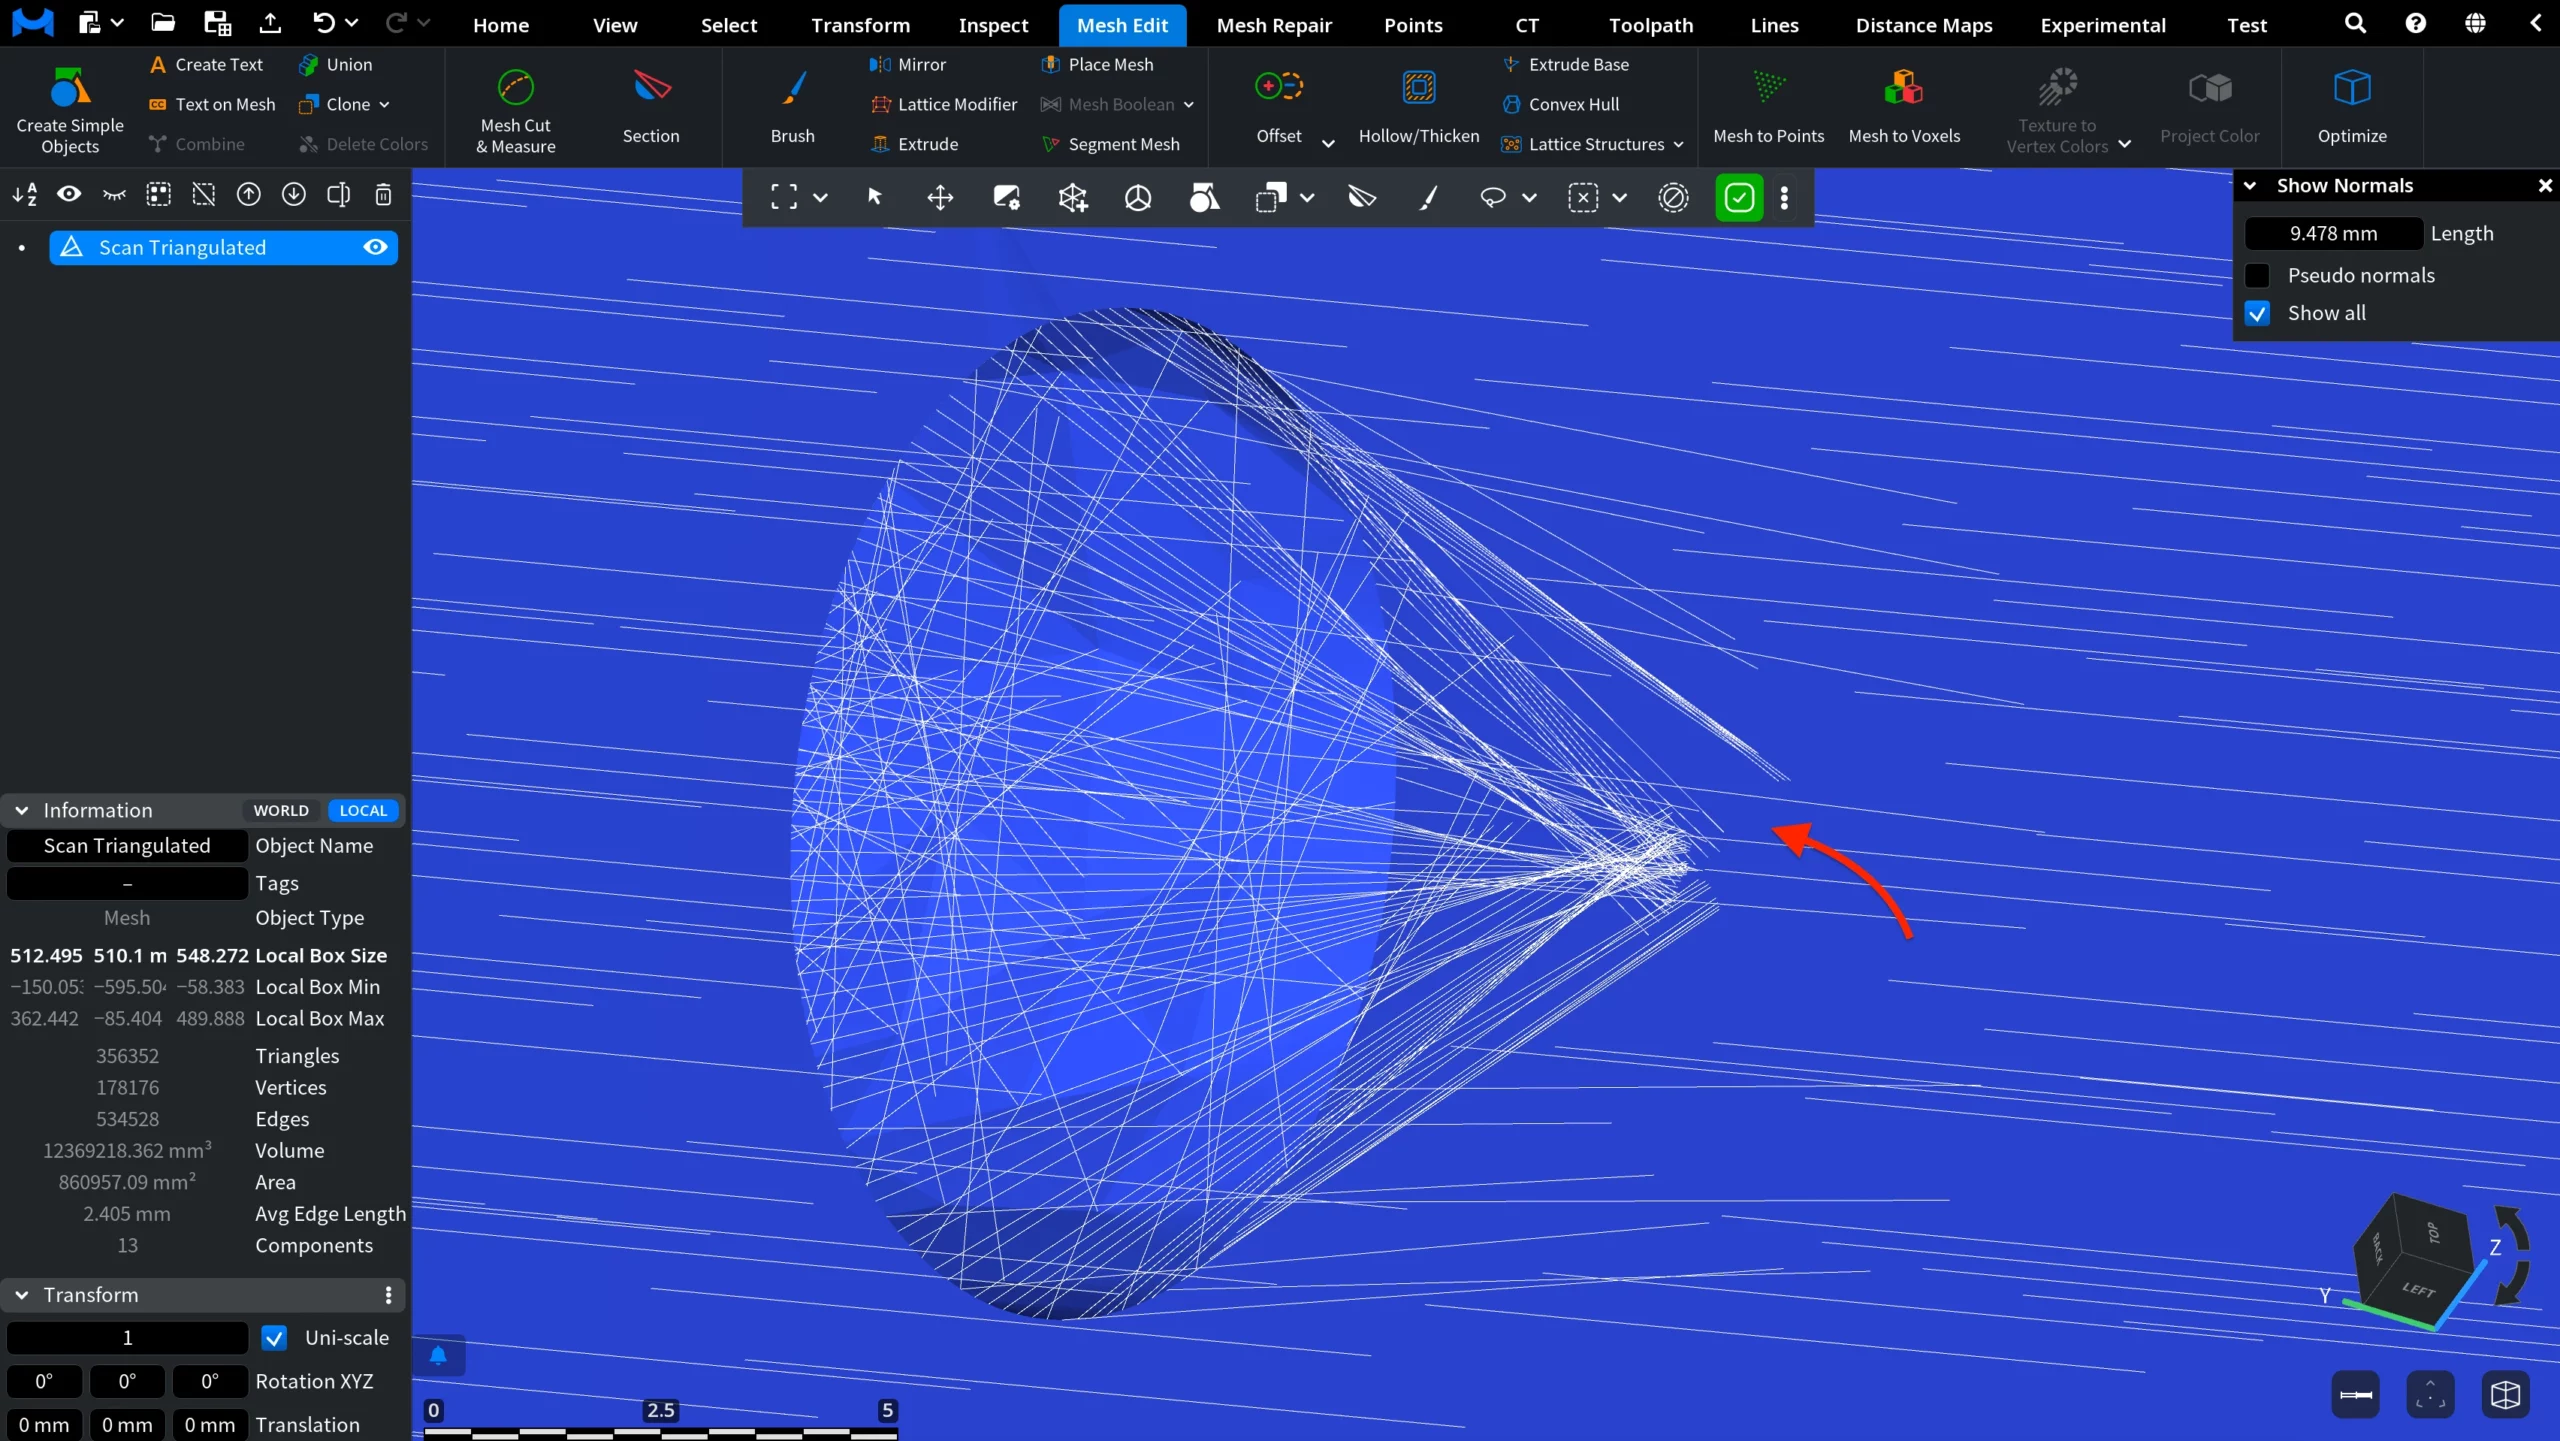
To make the effect of Z-Compensate easier to understand, we enabled Show Normals. This visualization shows the direction of surface normals and helps identify the mesh areas that can be affected by the operation.
In the first screenshot, you can see the zoomed-in area before applying Z-Compensate. For this example, Max Shift is set to 2 mm, Reduce self-intersections is enabled, and Min Thickness is set to 0.5 mm.
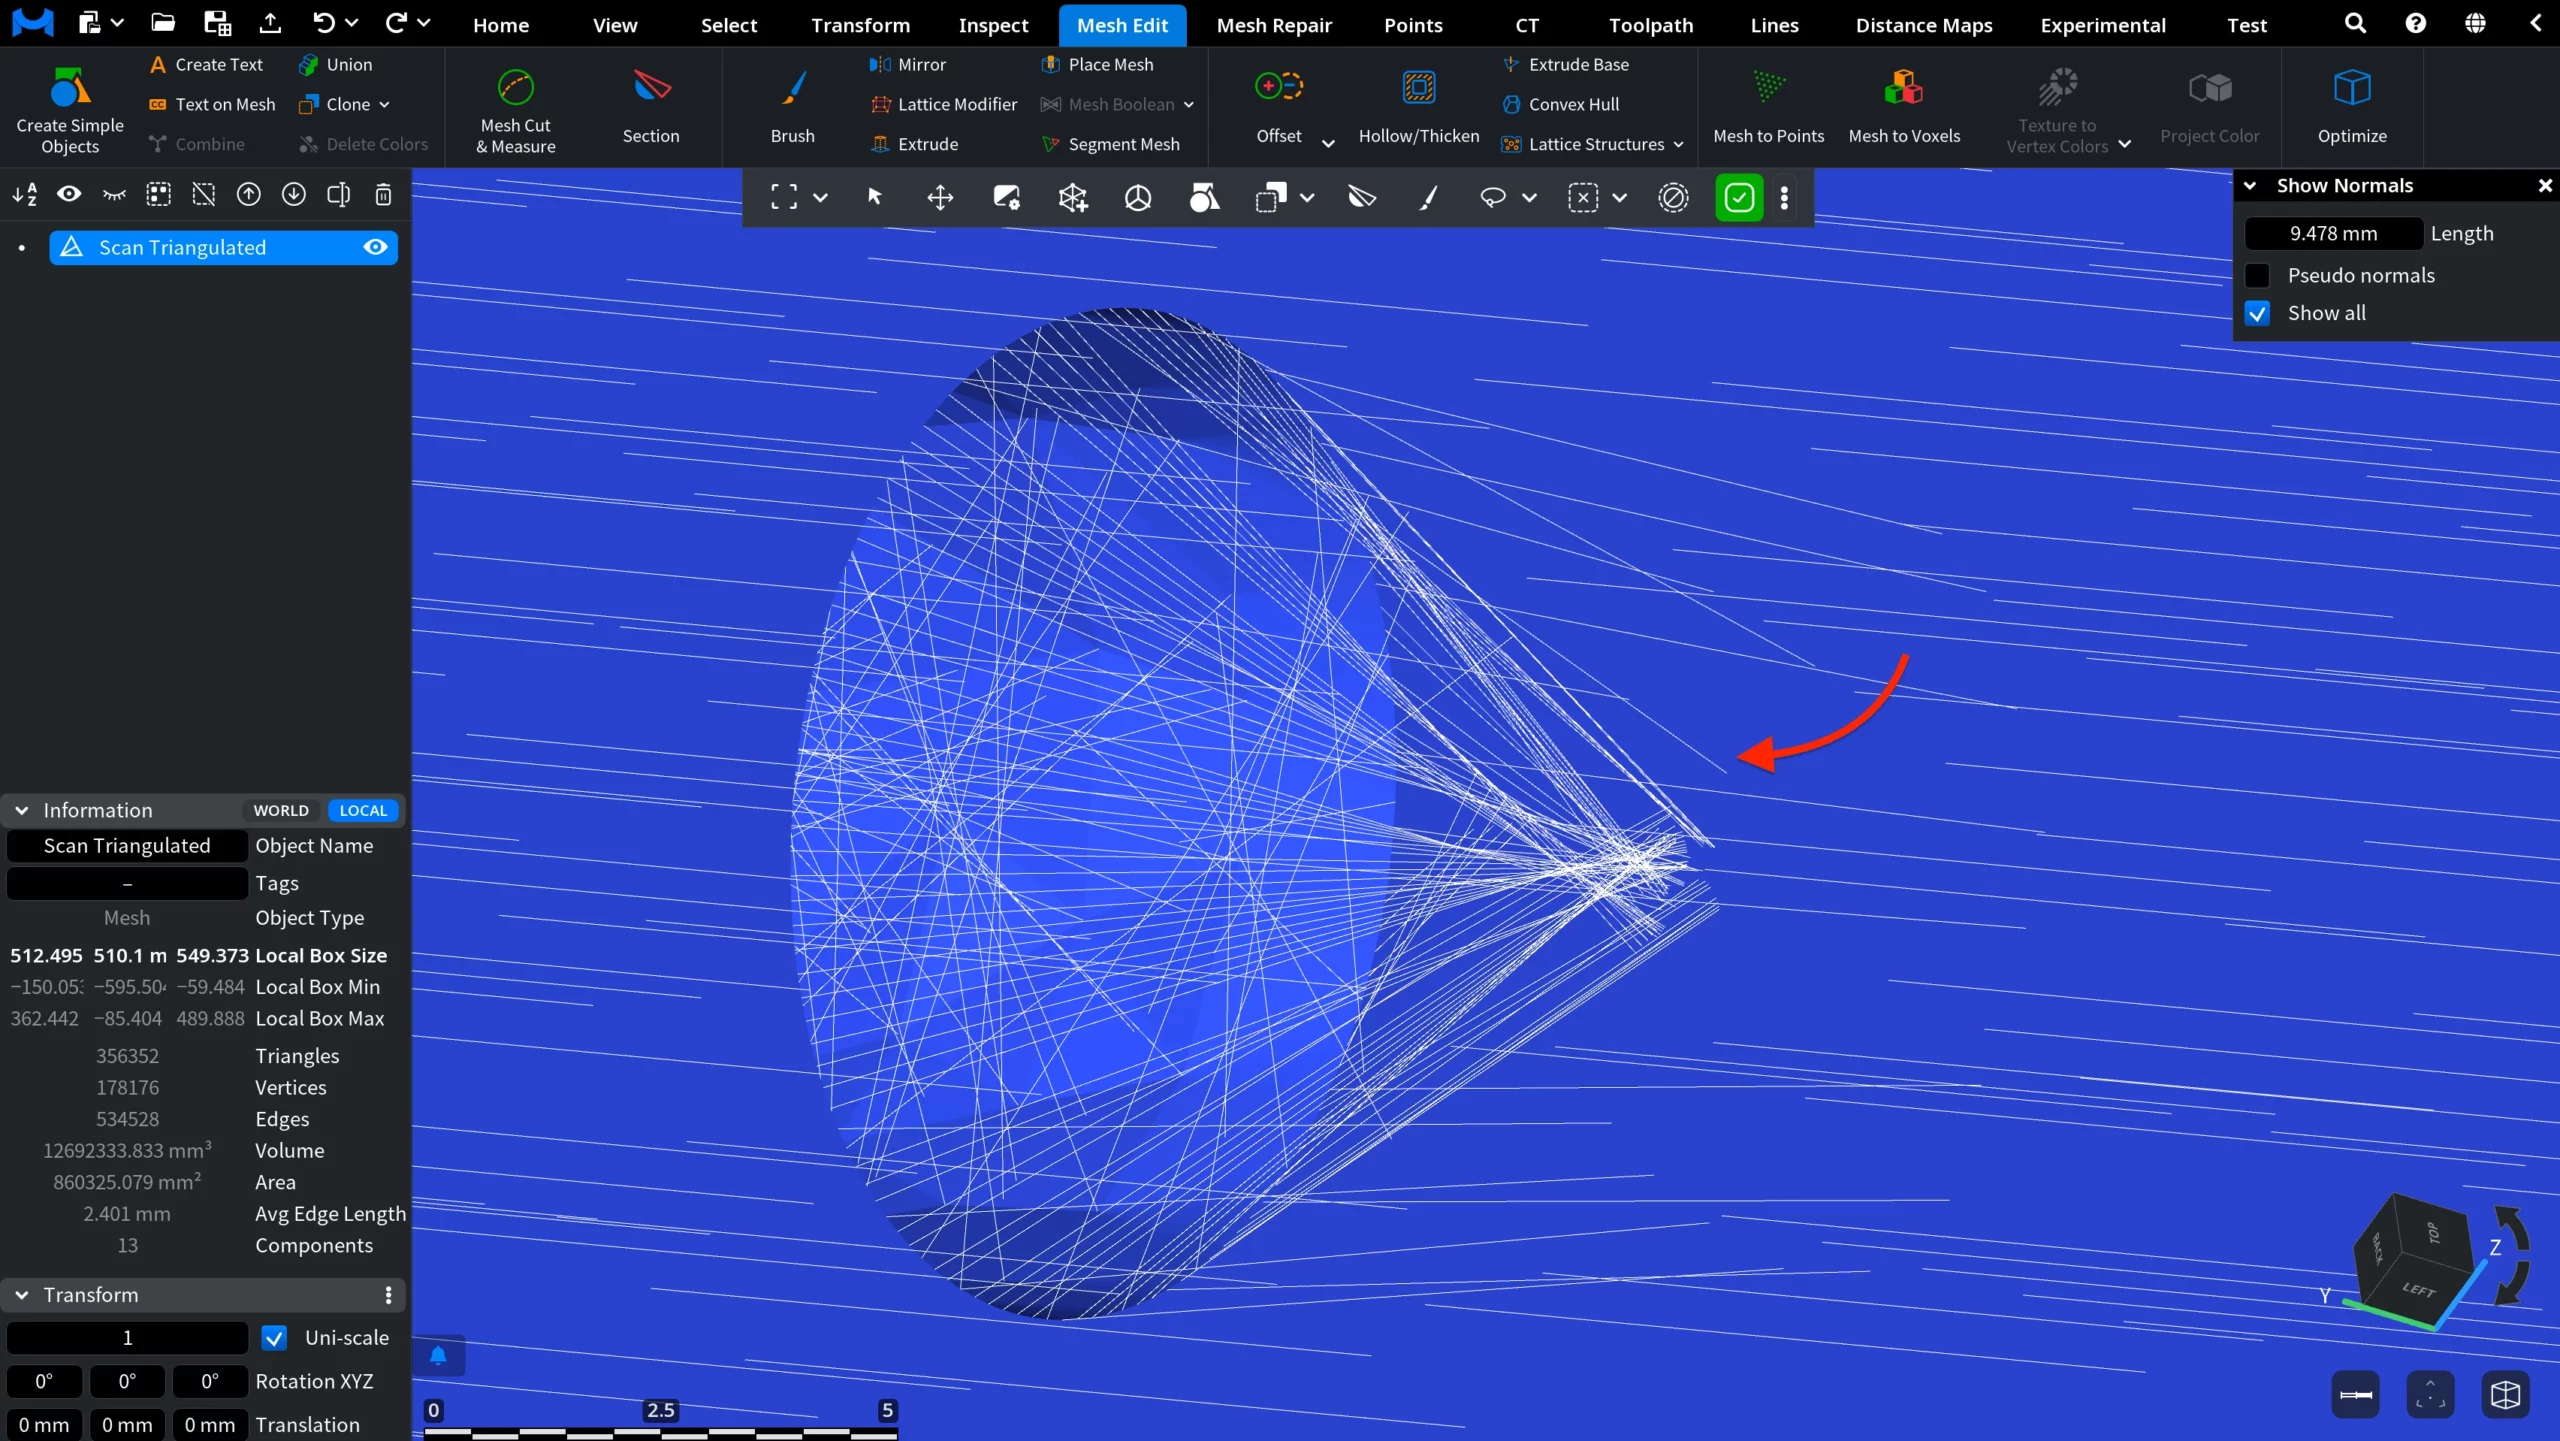
After you click Apply, MeshInspector shifts the affected vertices along the Z-axis, with the shift amount depending on the angle between the point pseudo-normal and the Z-axis. In the second screenshot, you can see how the geometry in the same area changes after the operation.