The Global Registration tool, located under the Transform tab, allows you to refine the relative positioning of multiple objects simultaneously. It is used when several scans or objects are already roughly placed in relation to each other, but still need a more accurate fit.

In this example, the scan objects are already positioned close to each other. However, the fit between them still needs to be improved, so we will use Global Registration as a final refinement step.
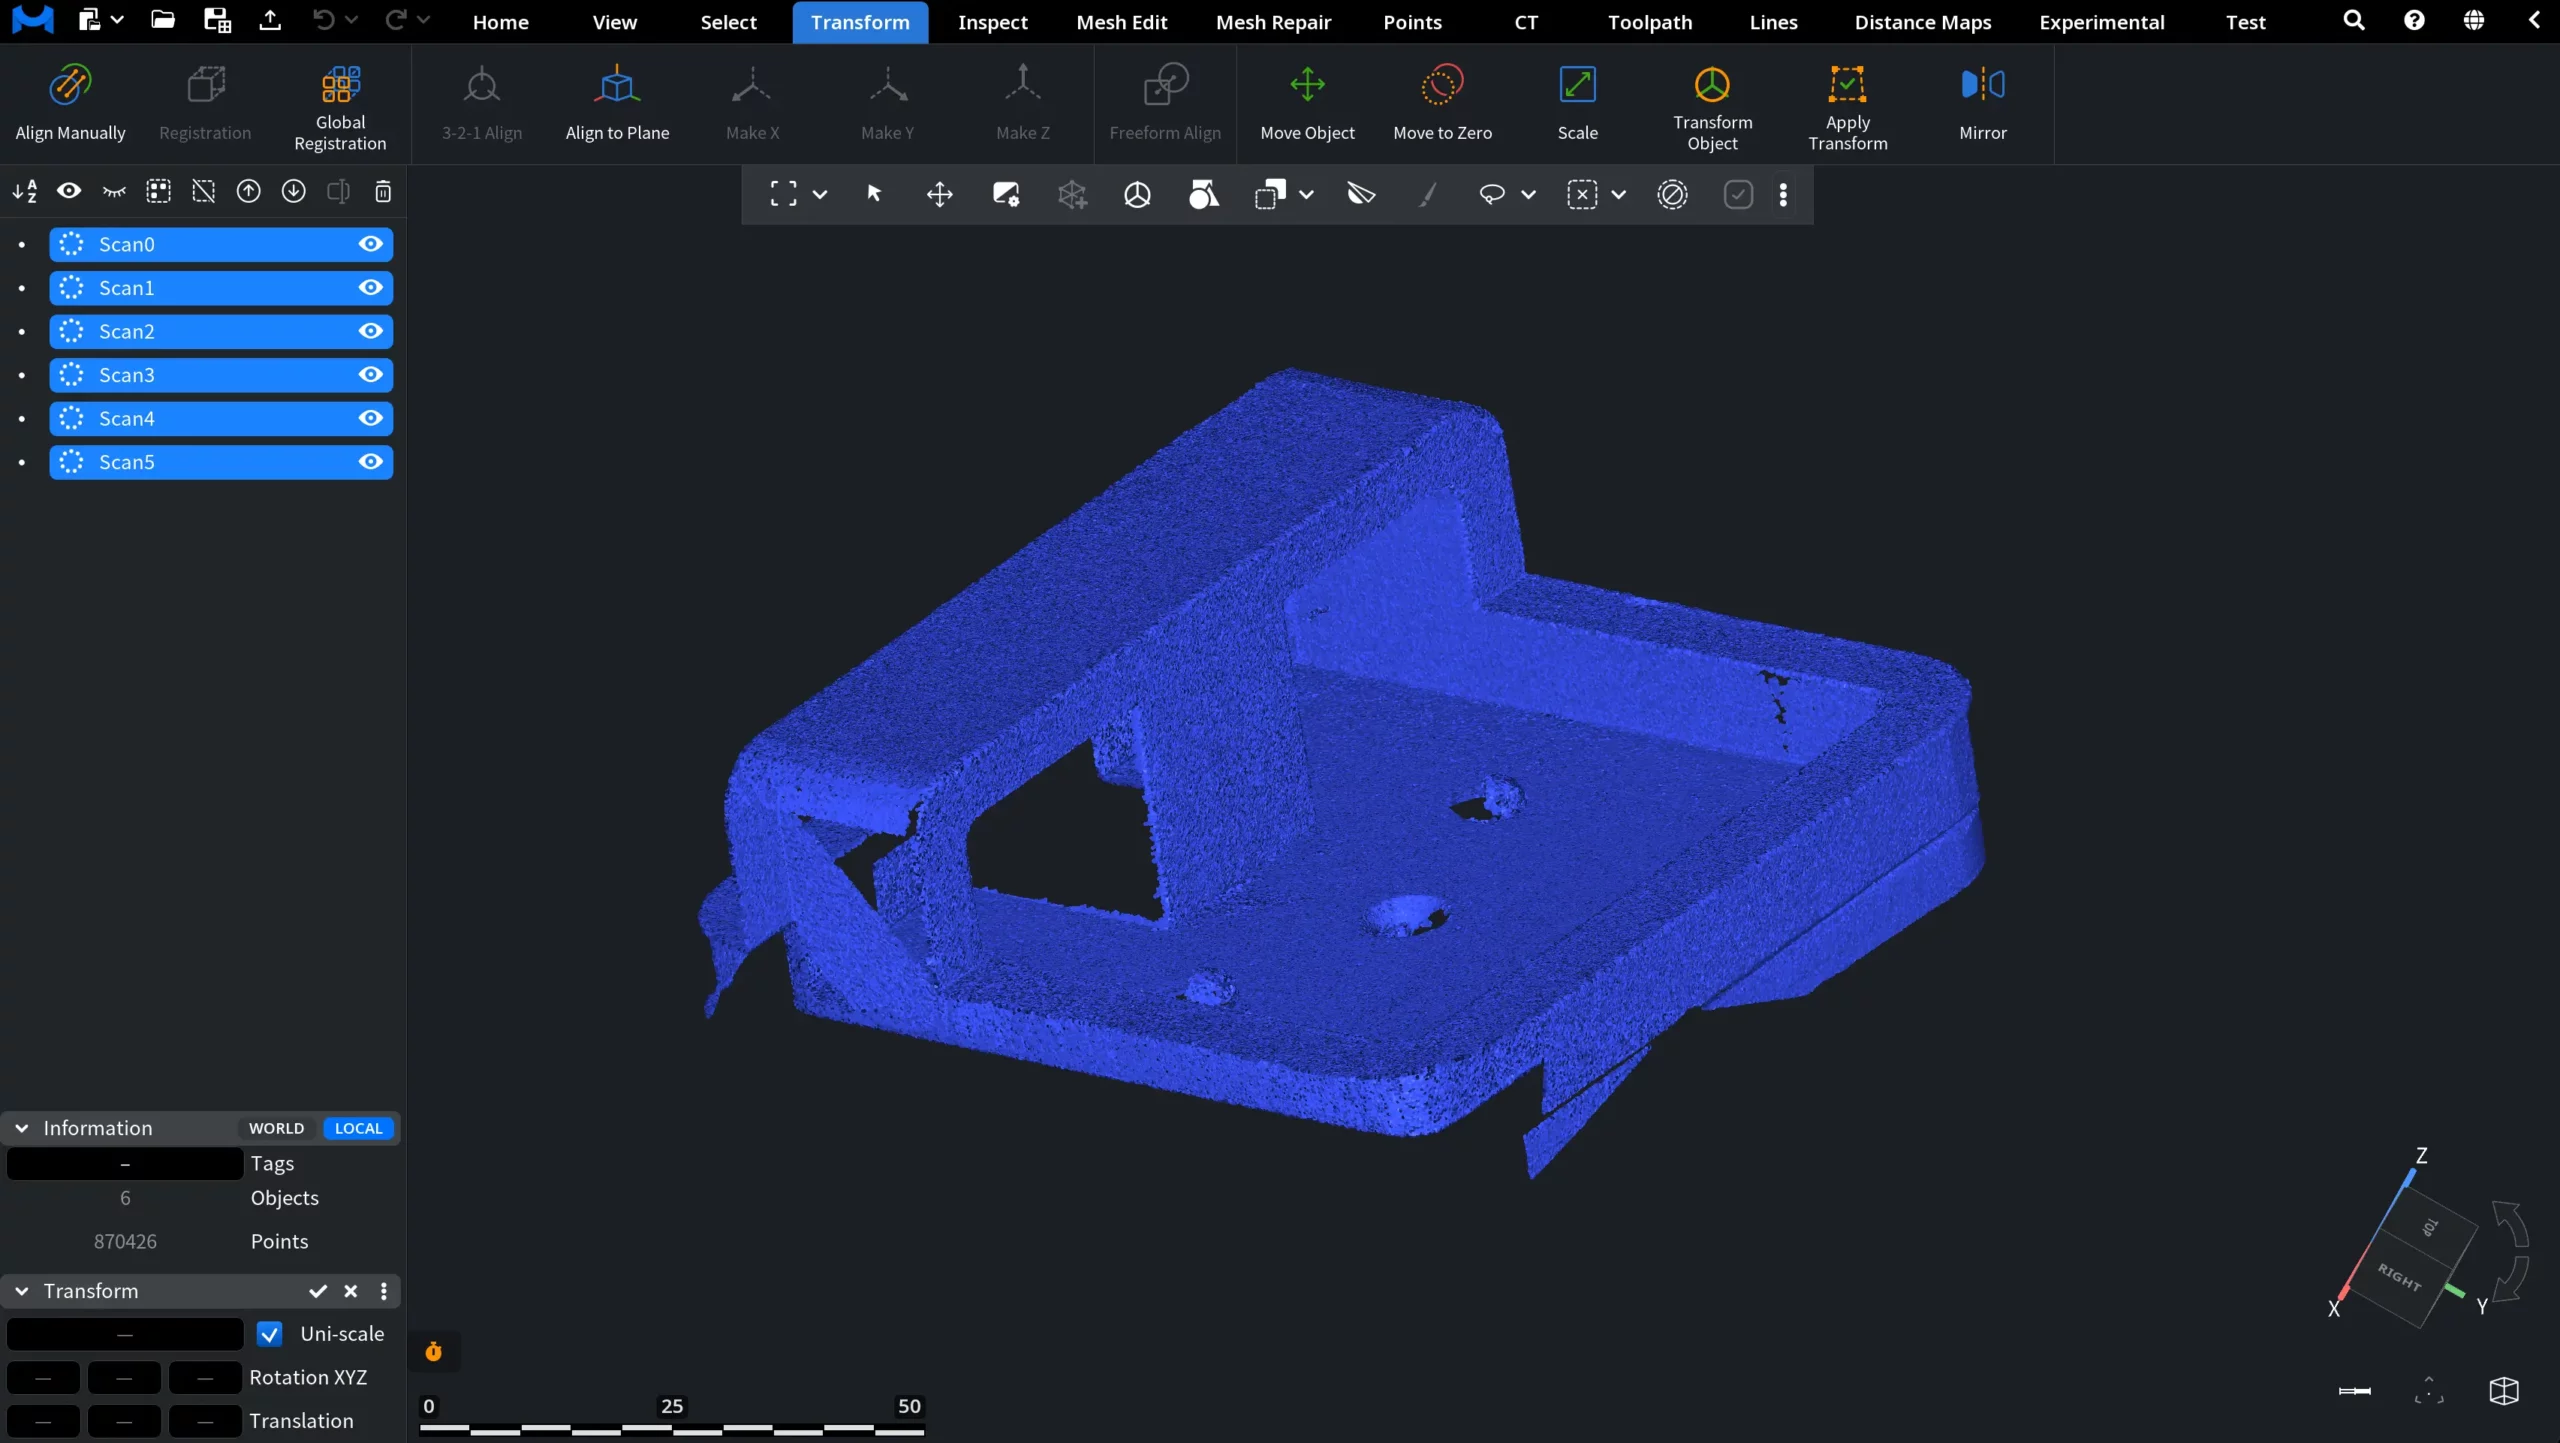
To start the operation, go to the Transform tab and click Global Registration. When the tool is activated, two panels appear:
- The main Global Registration panel contains the settings used to form point pairs, define stop conditions, review registration information, apply the operation, reset transforms, and run additional freeform adjustment.
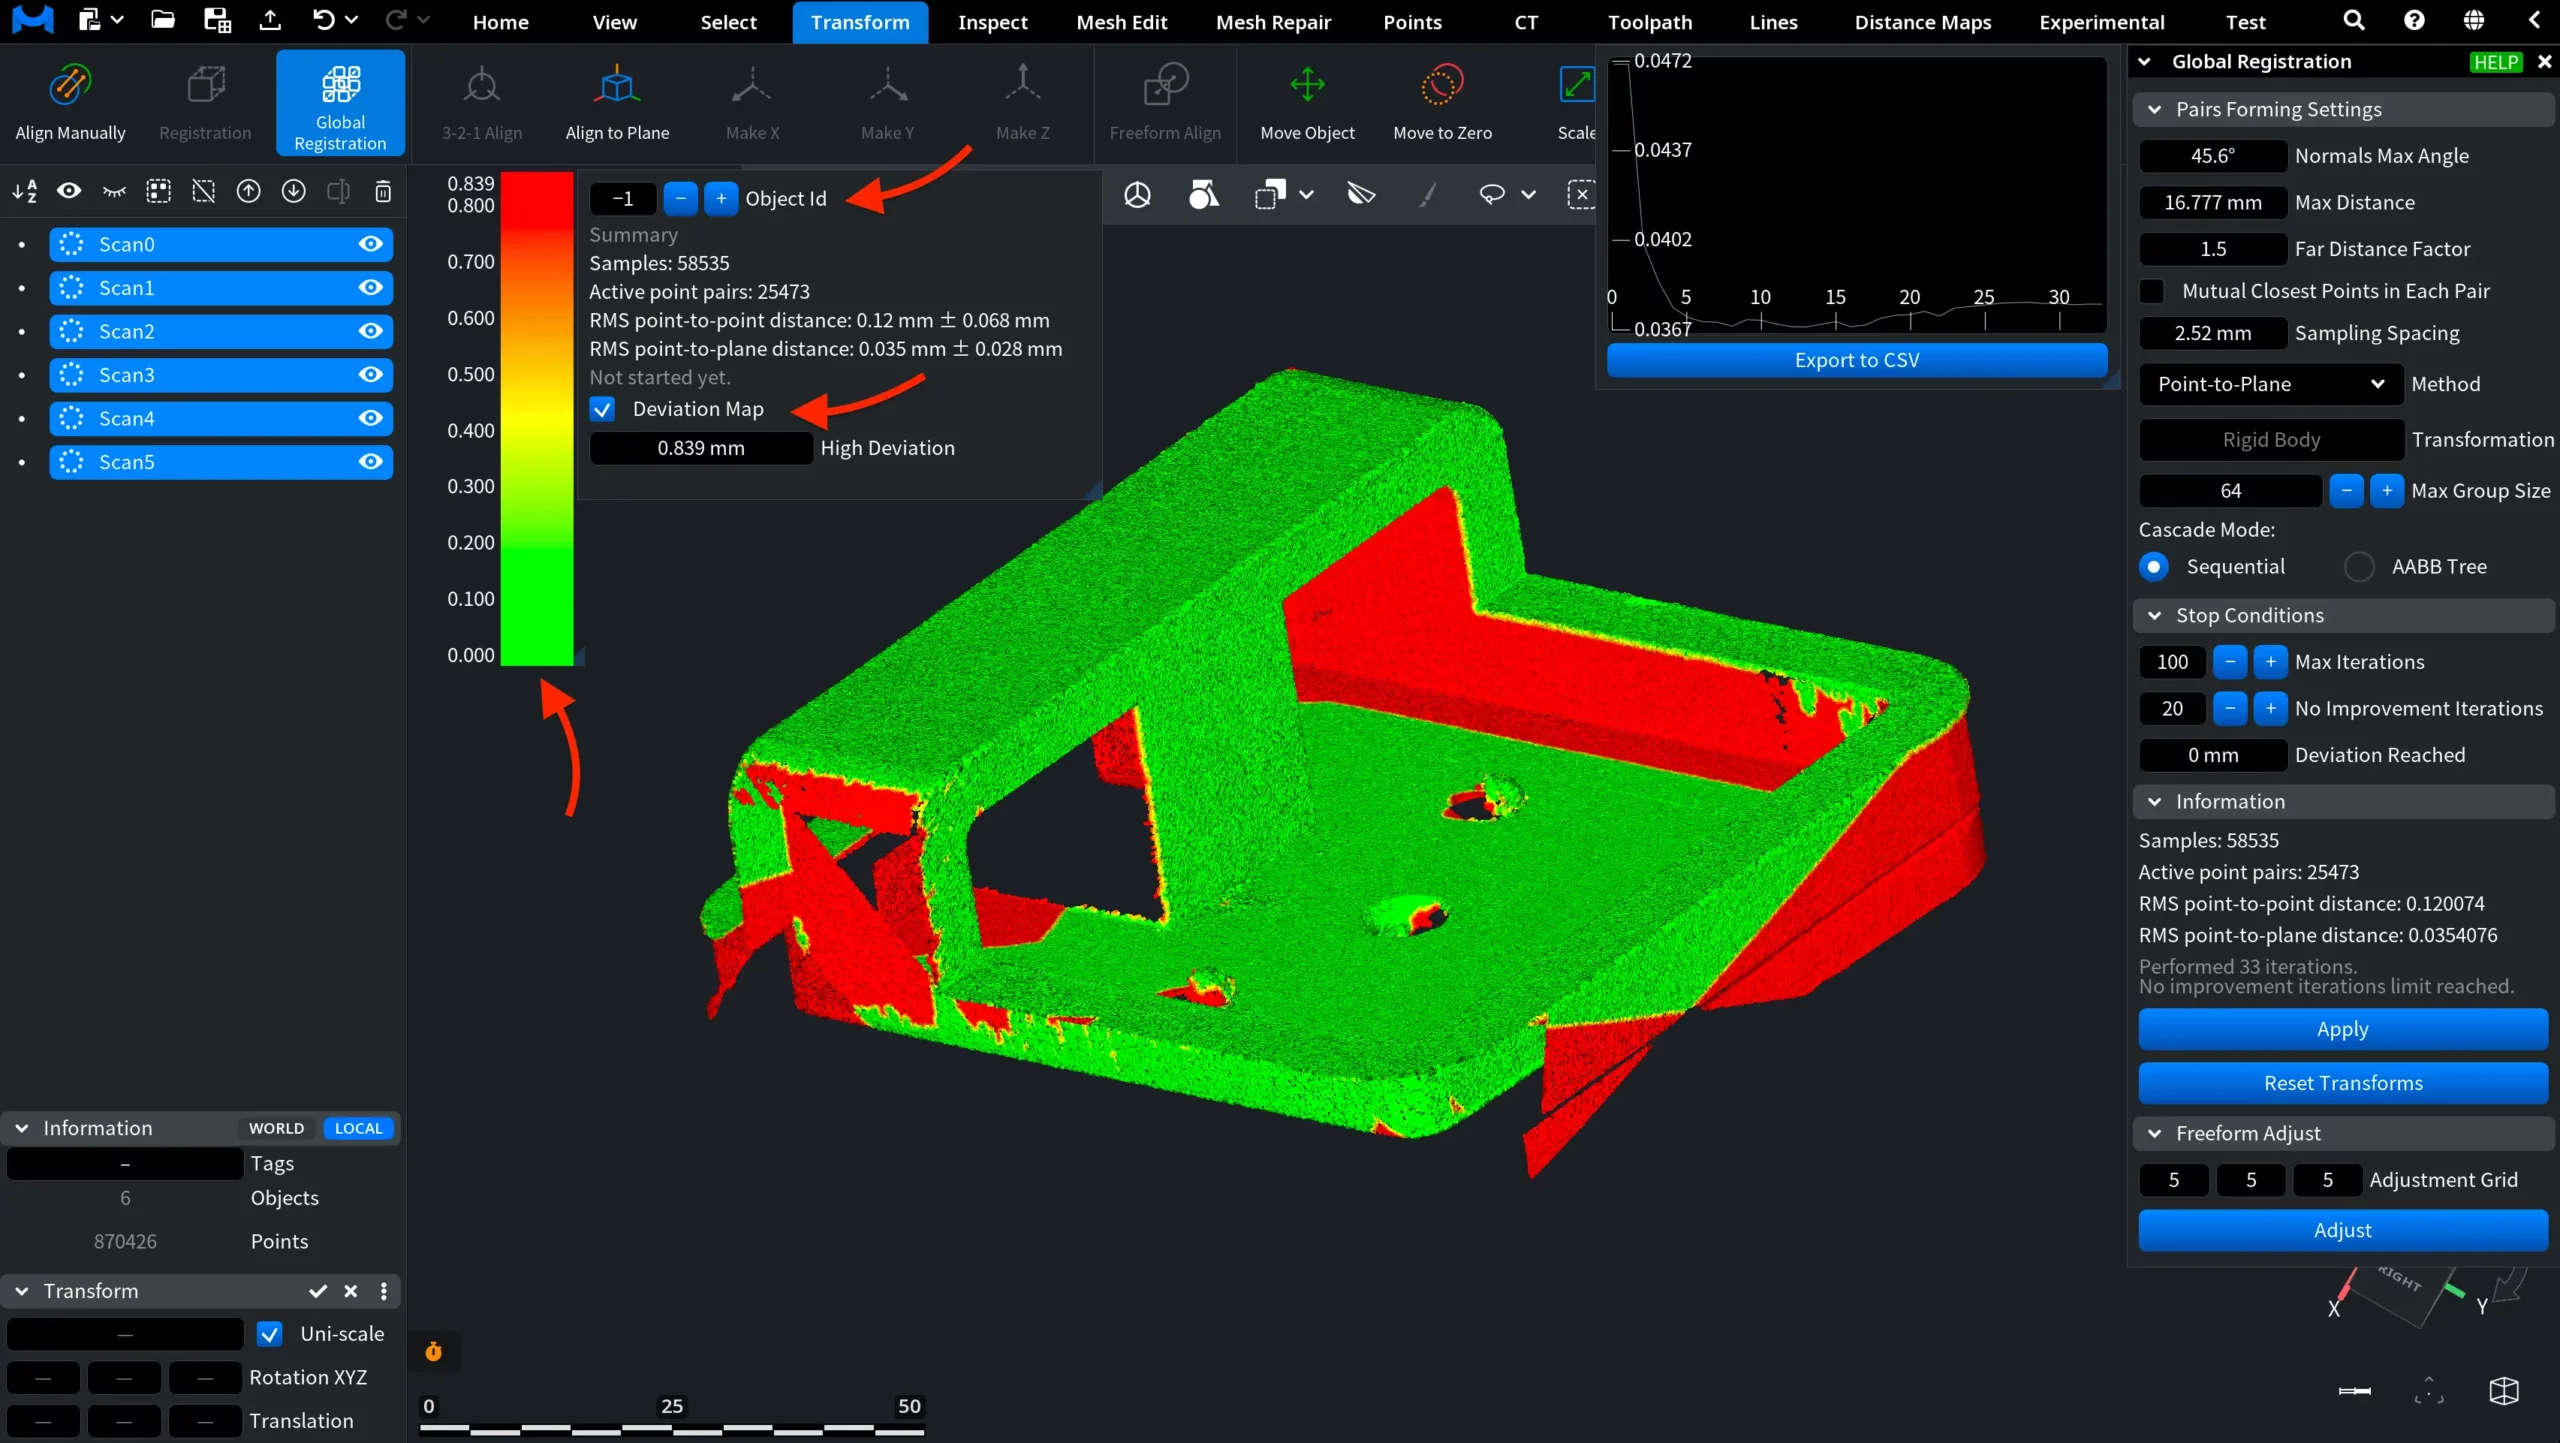
- A smaller information panel appears in the viewport. It allows you to review either the overall summary or object-specific registration data. In the Object Id field, select −1 to display the summary for all objects, or select a specific object ID to review data for that object.
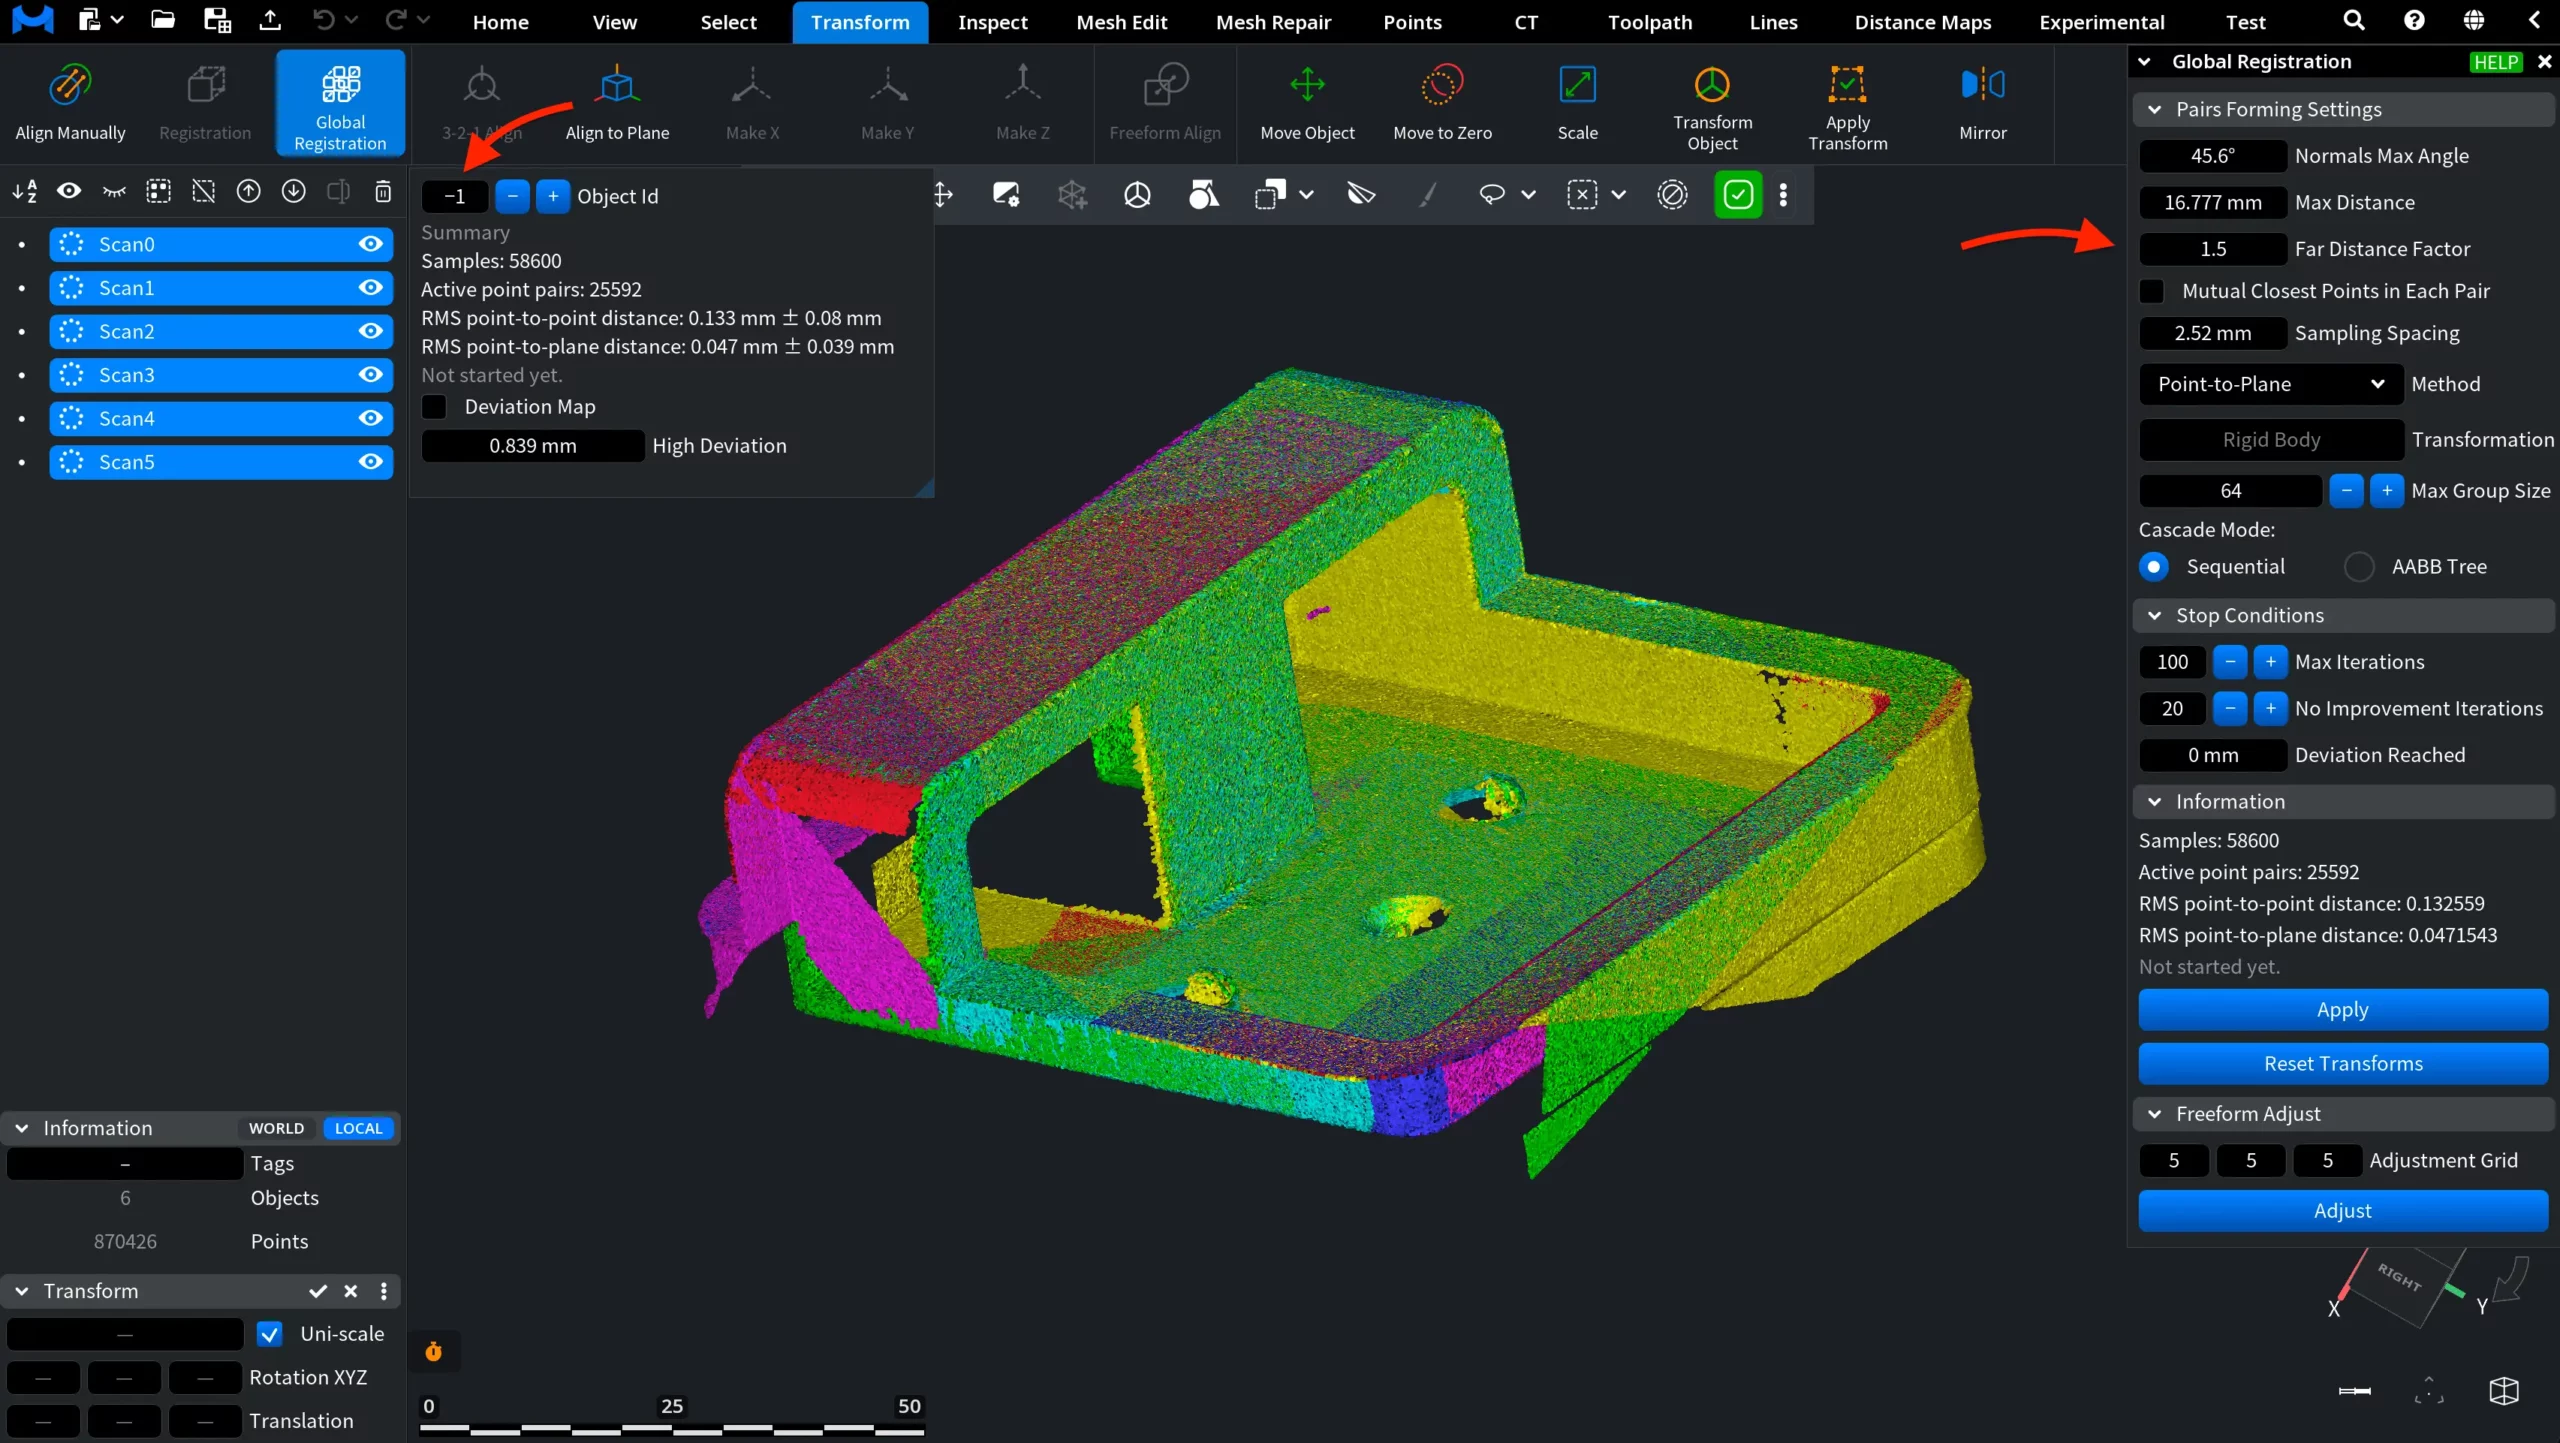
Pairs Forming Settings
The Pairs Forming Settings section controls how point pairs are formed and filtered during global registration.
- Normals Max Angle defines the maximum permitted angle between the normals at two points. A point pair is used only if the angle does not exceed this value.
- Max Distance defines the maximum permitted distance between two points. A point pair is used only if the distance is lower than this value.
- Far Distance Factor defines an additional distance threshold based on the root-mean-square distance. A point pair is counted only if the distance between its points is lower than the root-mean-square distance multiplied by this factor.
- Mutual Closest Points in Each Pair, when selected, forms a point pair only if the two points are mutually closest to each other. In other words, the pair must pass the reciprocity test.
- Sampling Spacing defines the sampling voxel size. Only one point is selected from each voxel.
- Method specifies the target function to minimize. The available options are:
- Combined
- Point-to-Point
- Point-to-Plane
The Transformation field is set to Rigid Body. The section also includes the Max Group Size setting.
Under Cascade Mode, two options are available:
- Sequential divides objects into groups according to their order in the scene. This mode is suitable when the size of each object is comparable to the size of the entire scene.
- AABB Tree builds an AABB tree based on the object bounding boxes and uses its subtrees as groups. This mode is suitable when each object is much smaller than the entire scene.
Stop Conditions
The Stop Conditions section defines when the ICP algorithm stops iterating.
- Max Iterations specifies the maximum permitted number of ICP iterations.
- No Improvement Iterations stops ICP if no improvement has been achieved during the specified number of most recent iterations.
- Deviation Reached defines the target root-mean-square distance. Once this value is reached, the algorithm stops.
Information
The Information section displays the current global registration data:
- Samples shows the number of sampled points.
- Active point pairs shows the number of point pairs currently used for registration.
- RMS point-to-point distance shows the root-mean-square distance between paired points.
- RMS point-to-plane distance shows the root-mean-square point-to-plane distance.
A status message below the values indicates the current state of the process. Before registration is started, the panel displays Not started yet.
Below the information block, two buttons are available:
- Apply
- Reset Transforms
Applying Global Registration
Click Apply to run a global registration cycle. The tool calculates and applies transformations to the objects to improve the fit between them. After the operation:
- The object positions are updated in the viewport.
- The values in the Information section are recalculated.
- A message below the values indicates how many iterations were performed and why the process stopped. For example, the algorithm may stop when the specified No Improvement Iterations limit is reached.
- A graph appears in a separate panel, allowing you to review the plotted values across iterations.
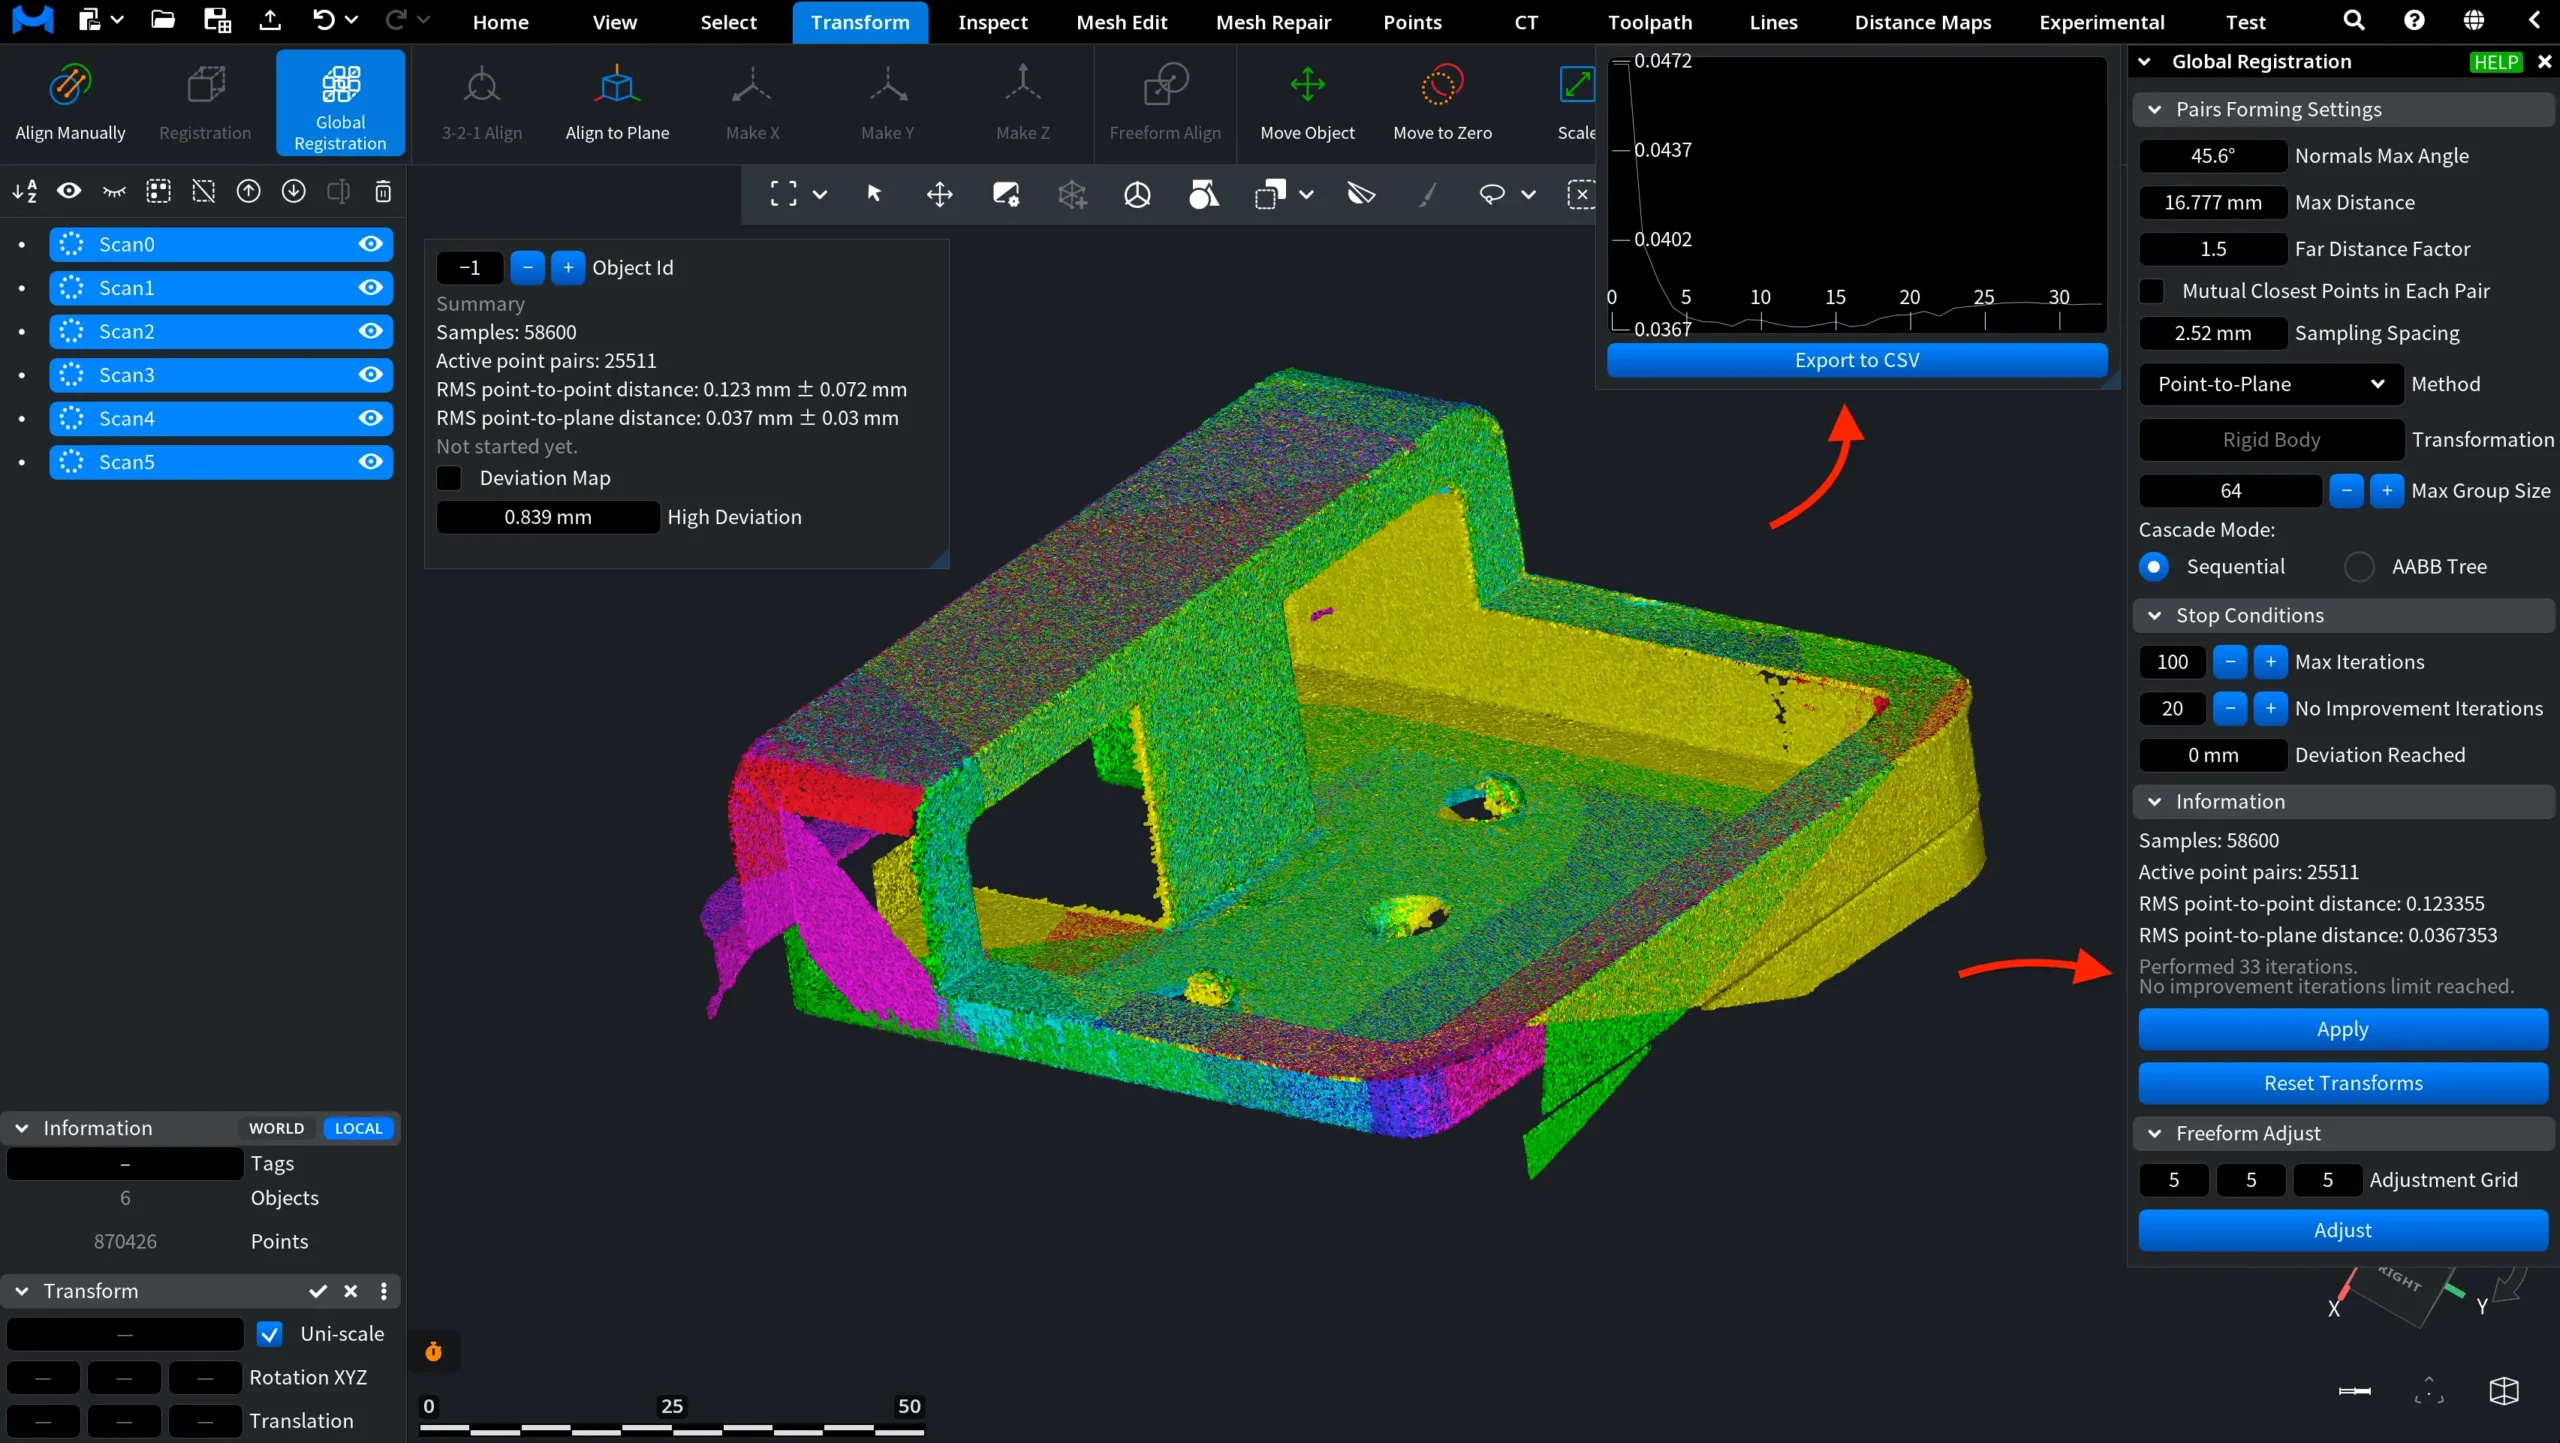
Click Export to CSV below the graph to export its data in CSV format.
You can click Apply again to run another registration cycle from the updated object positions.
To return the objects to their original positions, click Reset Transforms.
Freeform Adjust
The Freeform Adjust section provides an additional refinement step after global registration. Use it when you want to further improve the fit between the objects after running the main registration cycle. The Adjustment Grid fields define the grid values used for the adjustment. Click Adjust to run the operation.
After the adjustment:
- The object positions are updated in the viewport.
- The values in the Information section are recalculated.
- The viewport information panel is also updated.
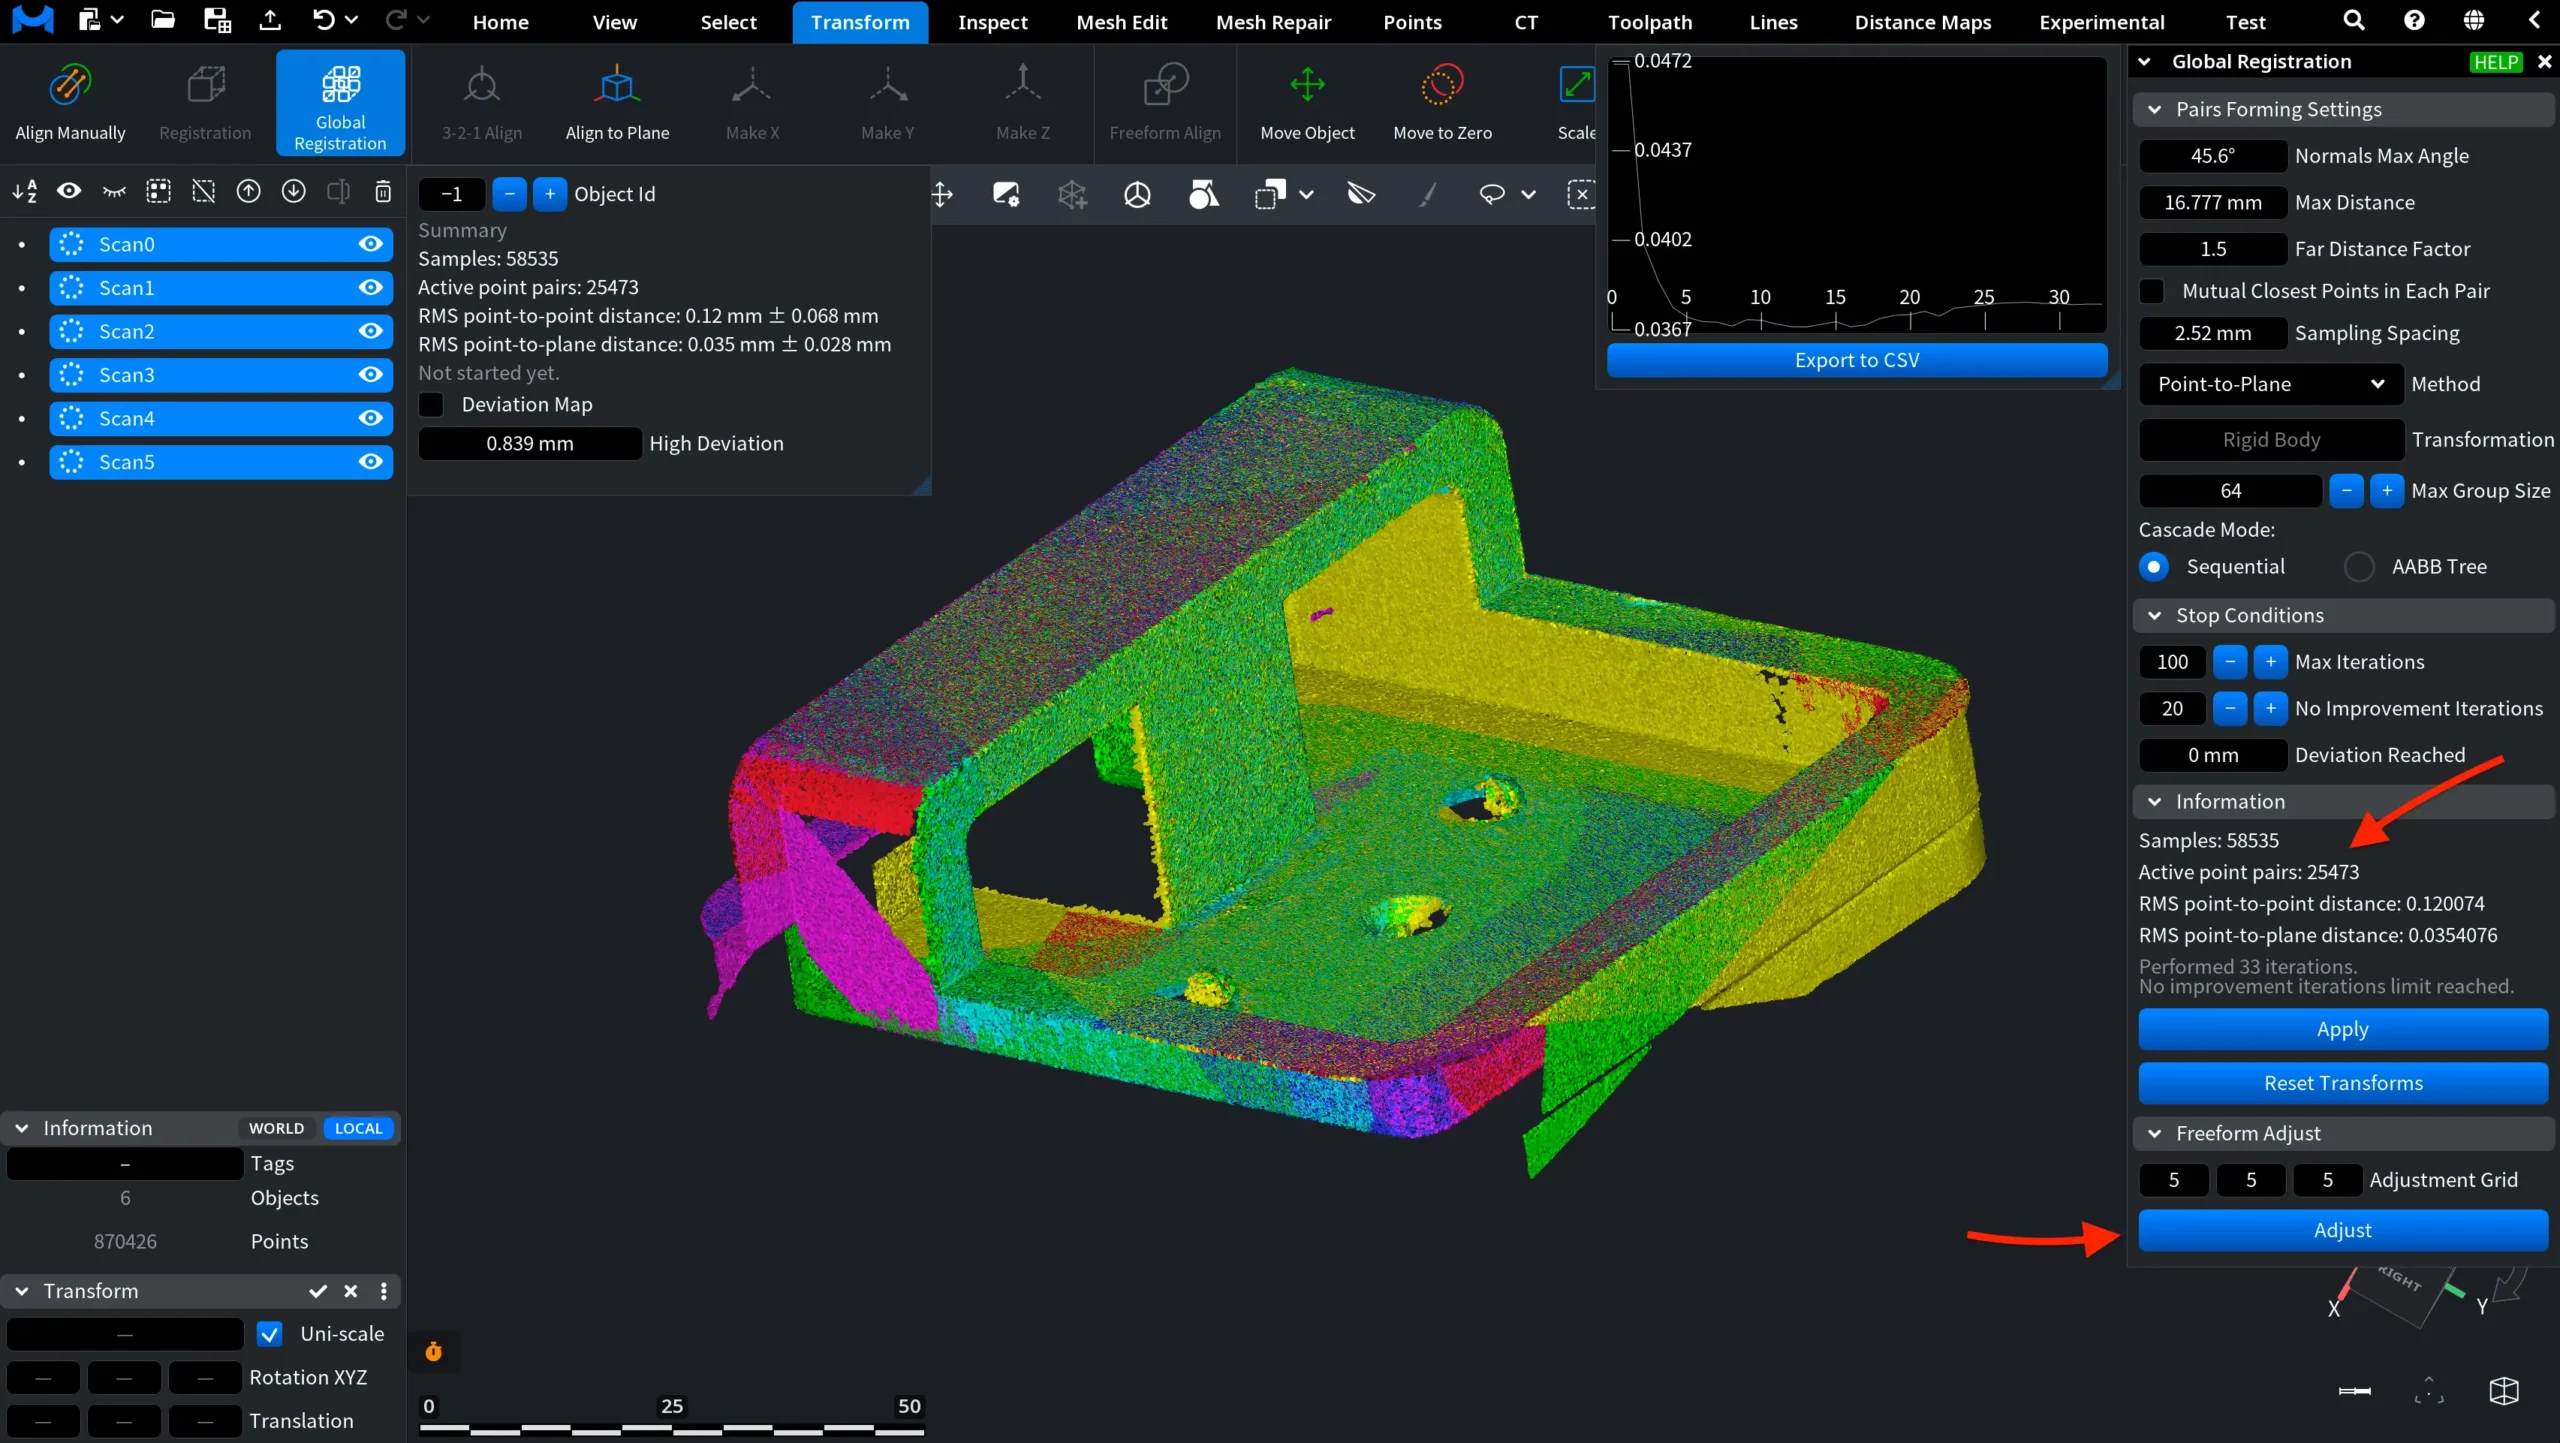
You can click Adjust repeatedly to run additional refinement steps. After each operation, review the updated number of active point pairs and RMS distances to evaluate the result.
Summary, Object-Specific Information, and Deviation Map
The smaller information panel allows you to review either the overall summary or the values for a specific object.
Use the Object Id controls at the top of the panel to switch between views:
- Select −1 to display the overall summary.
- Select an individual object ID to display the data for that object. The object name appears below the ID field.
The panel displays the following values:
Samples shows the number of sampled points.
Active point pairs shows the number of point pairs currently used for registration.
RMS point-to-point distance shows the root-mean-square distance between paired points.
RMS point-to-plane distance shows the root-mean-square point-to-plane distance.
The status message indicates the current state of the operation.
Deviation Map
Select Deviation Map to display deviations in the viewport. A color scale appears next to the objects.
The High Deviation field defines the upper value of the deviation scale.
When −1 is selected in the Object Id field, the deviation map is displayed for the overall summary.
When you select an individual object ID, the deviation map is displayed for that object, while the remaining objects are shown in gray.
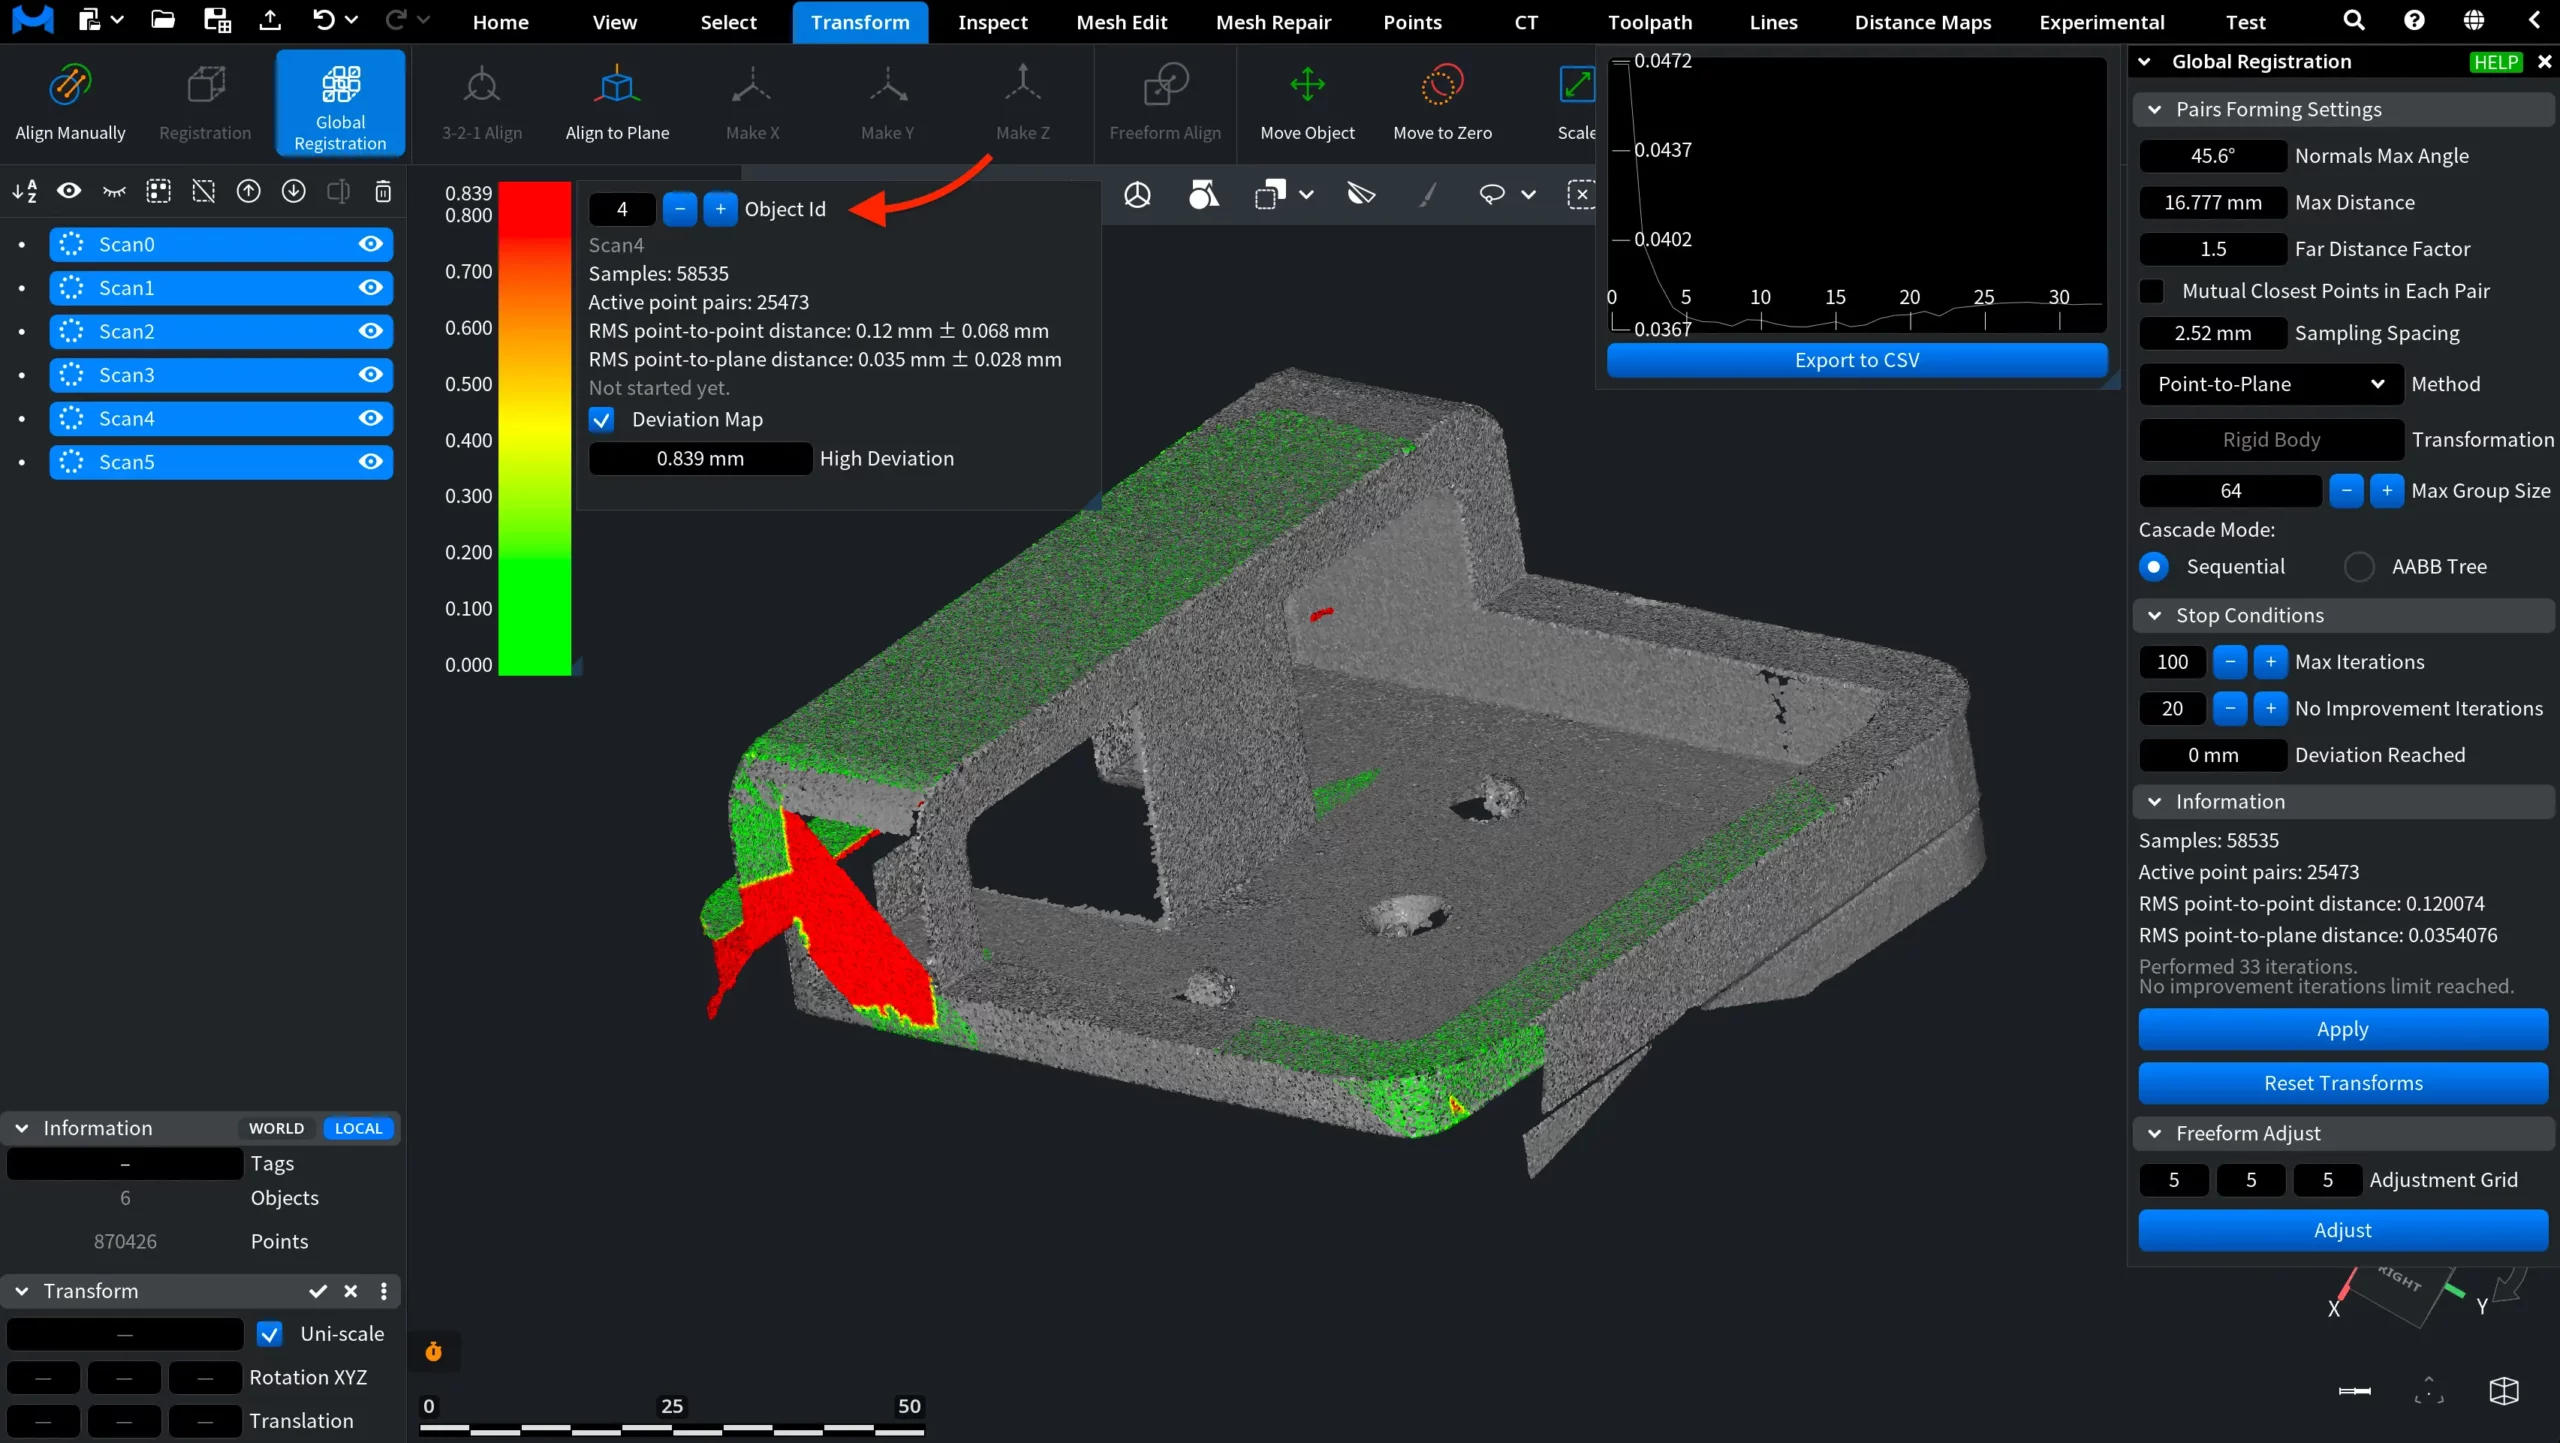
Select −1 again to return to the summary view.