
Flip Normals on the Points tab reverses the normals of a point cloud, so that each normal faces the opposite side. Use it when the normals of a whole cloud, or of one area, face into the object instead of out of it: the cloud looks dark or oddly lit, and in Inspect › Show Normals the lines go inside the object.
How to flip point normals
- Select one or more point clouds in the Scene tree.
- To reverse only part of a cloud, select those points with Points › Select Primitives. Without selected points, the tool reverses all normals of the cloud.
- Click Points › Flip Normals.
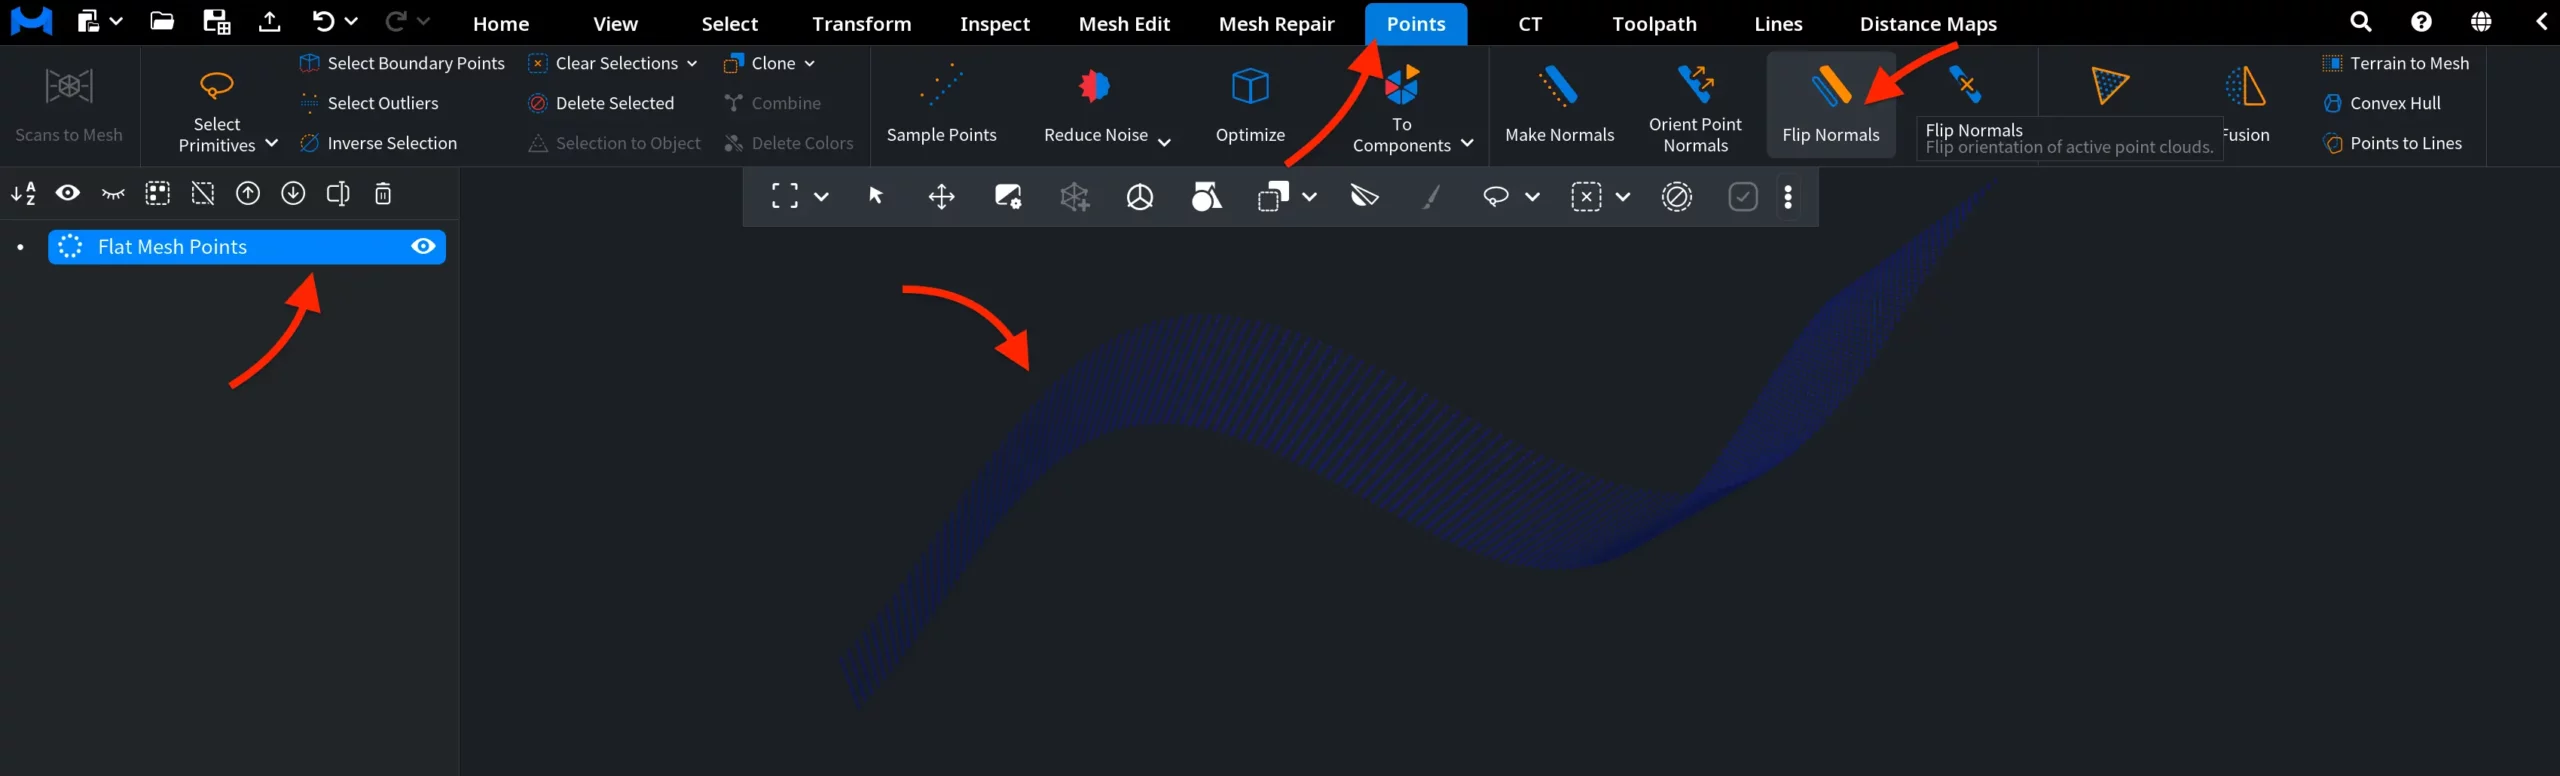
The tool works at once and has no panel. To go back, use Undo (Ctrl+Z, or Cmd+Z on macOS). If no selected cloud has normals, the button is unavailable and its tooltip says All selected point clouds don't have normals: compute them first with Make Normals.
Example
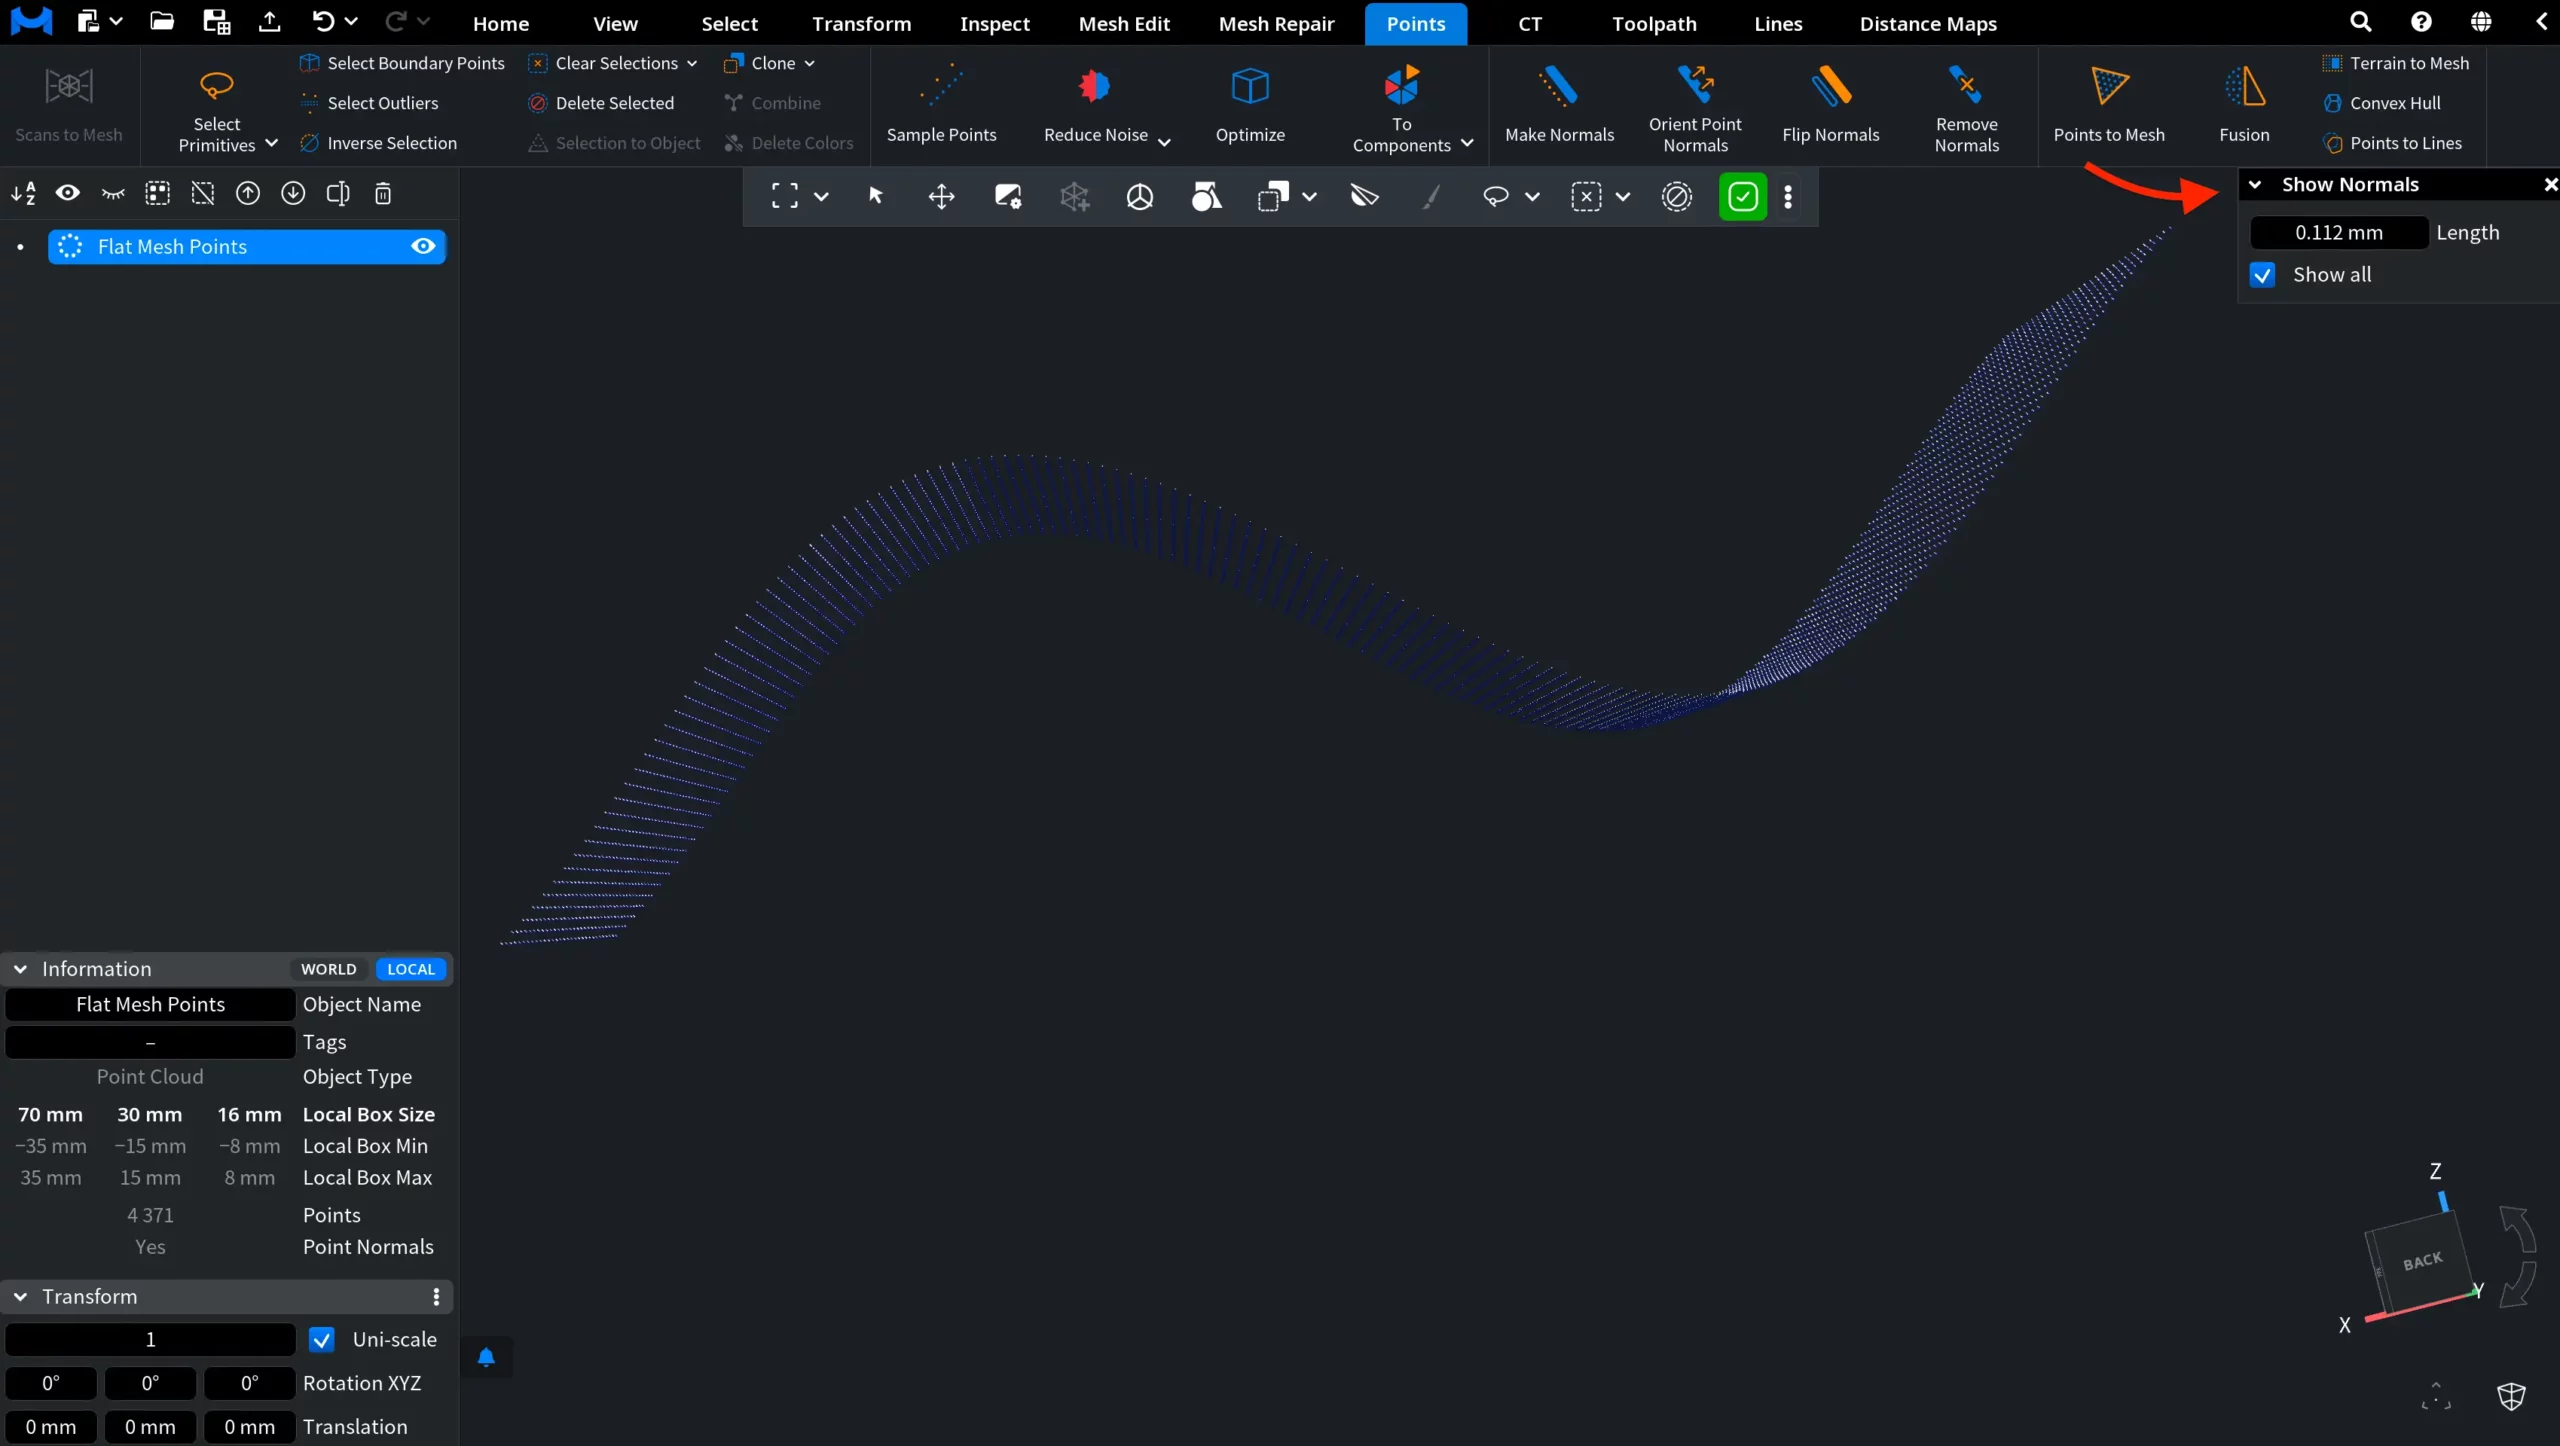
For this example, a flat mesh was turned into a point cloud with Mesh Edit › Mesh to Points, and Inspect › Show Normals is on. The lines show the current direction of the point normals:
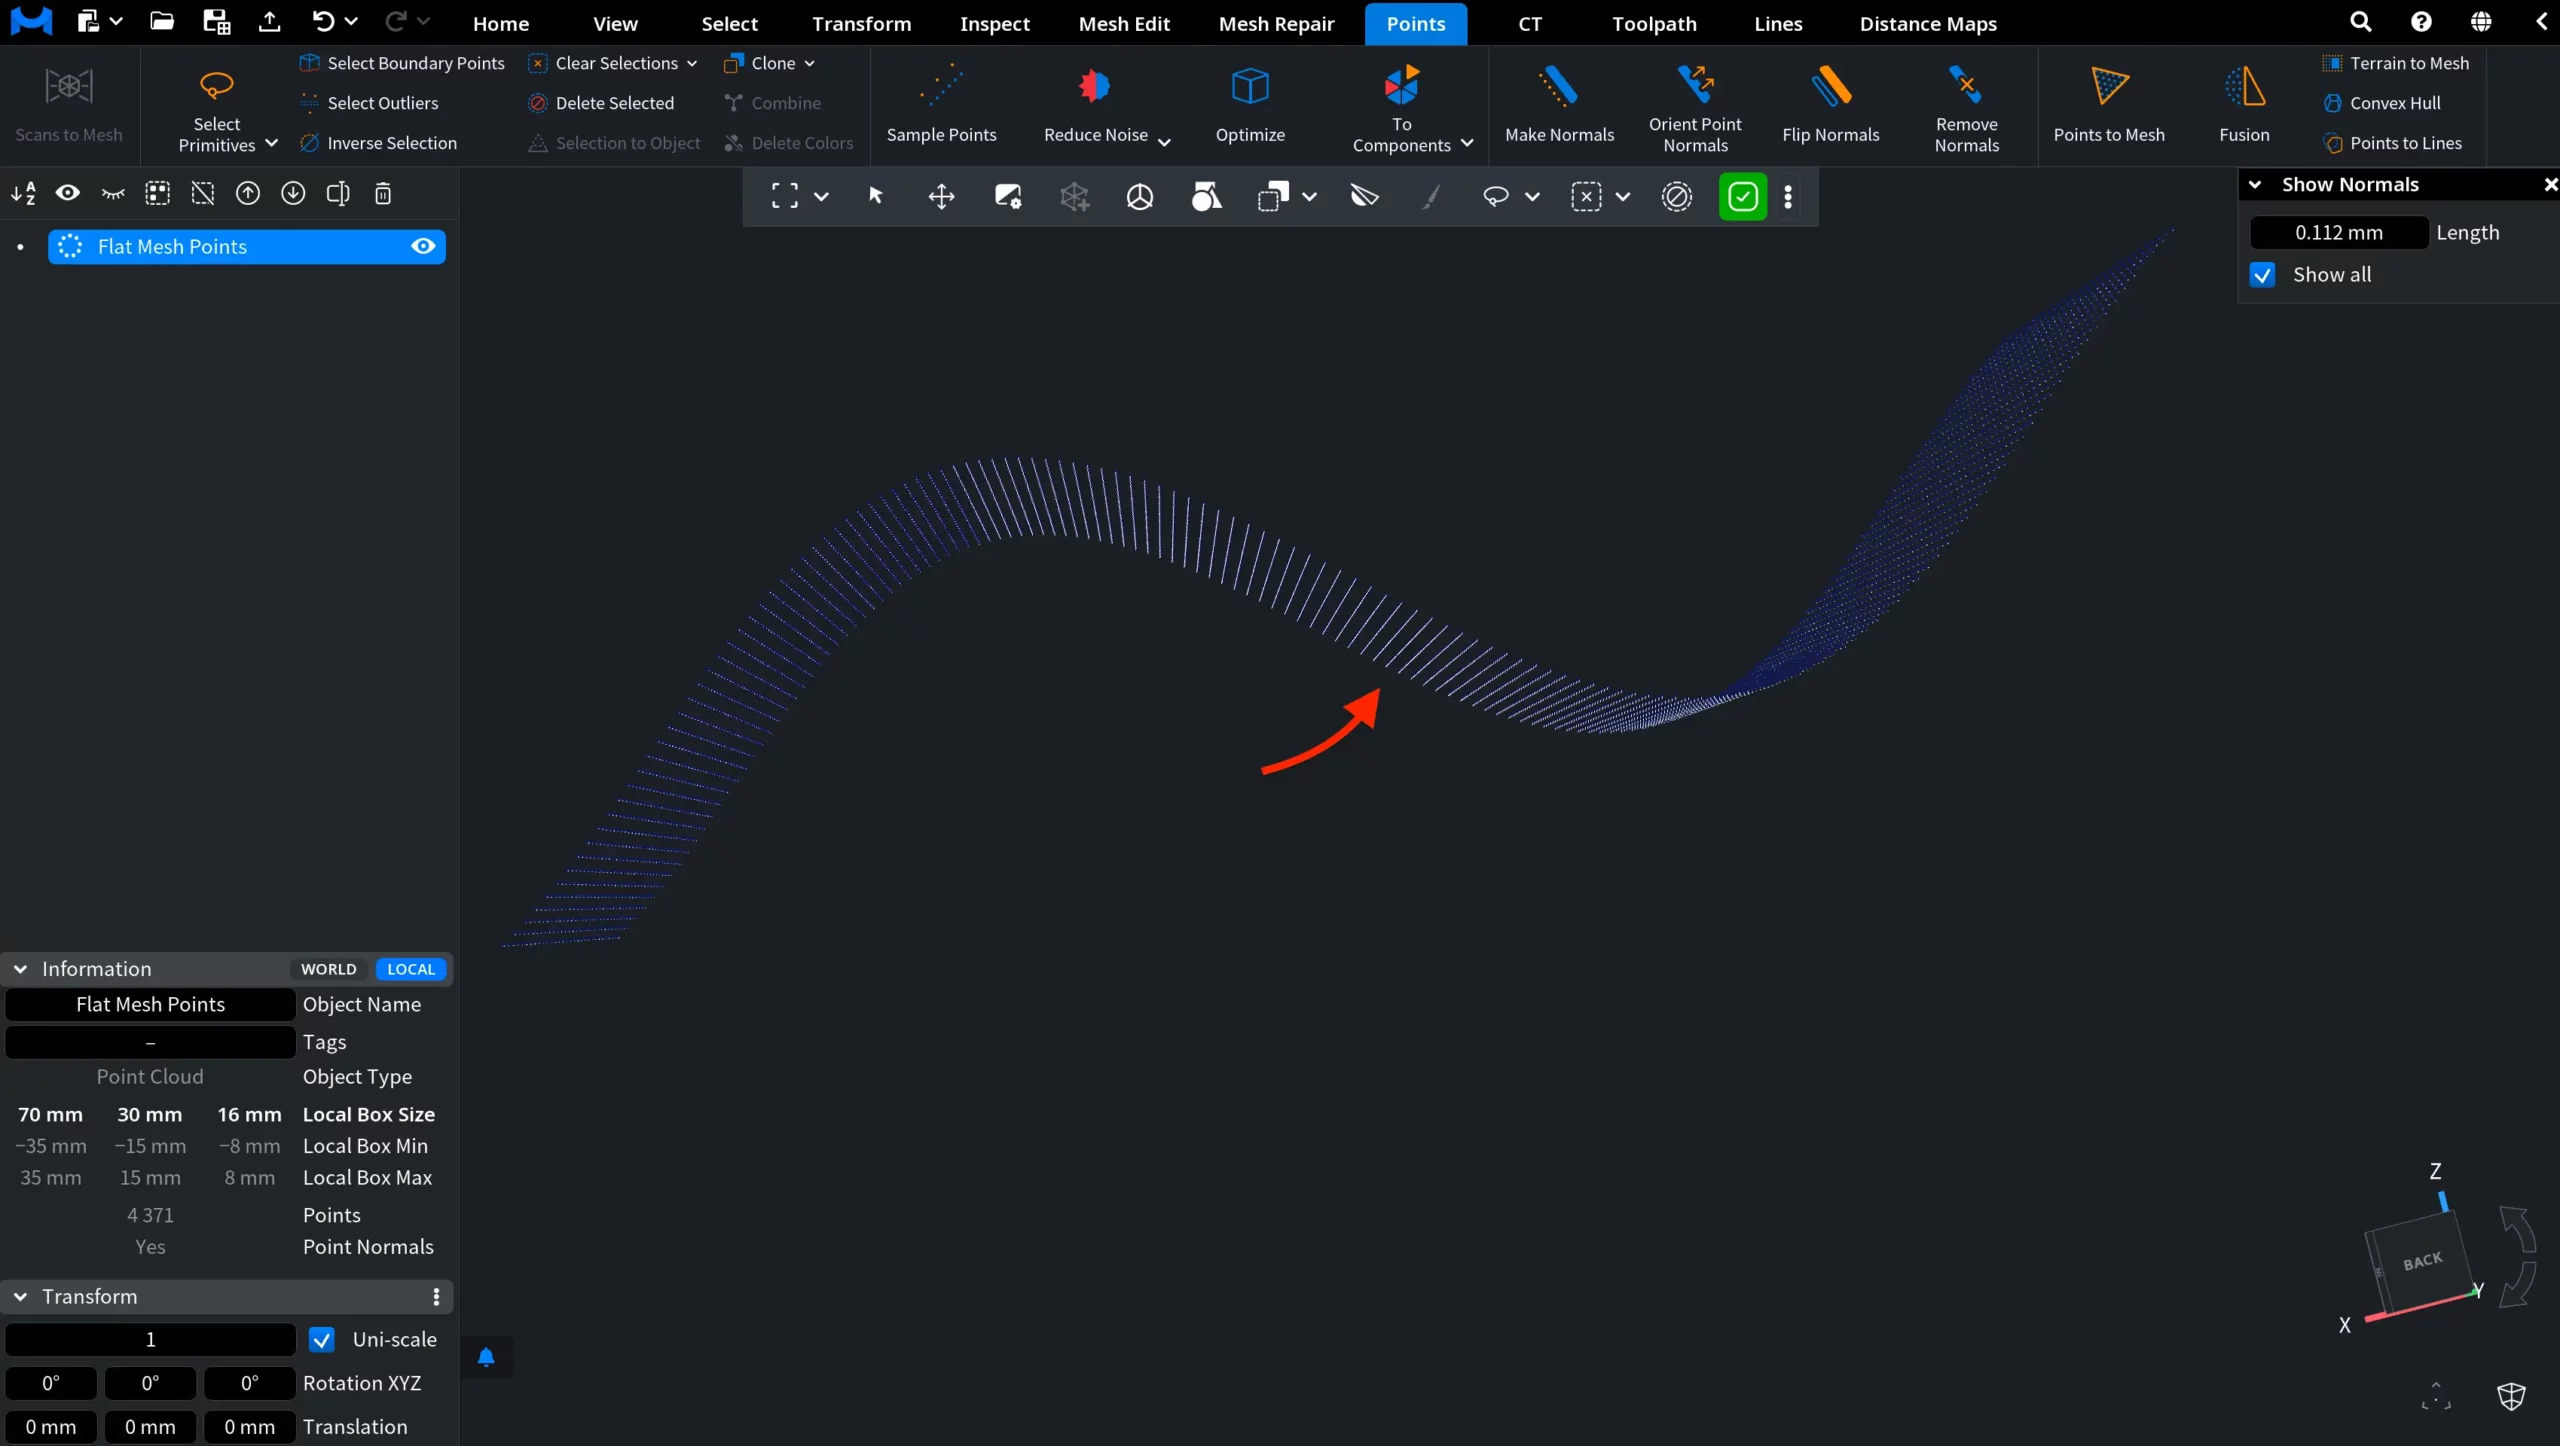
After Flip Normals, the normals face the opposite side. Show Normals stays open, so you see the change at once:
Flip, orient or recompute
Flip Normals reverses every normal it touches, whatever the neighbours do. If the normals of a cloud are mixed, with some areas facing out and others in, flipping the whole cloud does not help:
- Orient Point Normals makes neighbouring normals face the same side.
- Make Normals computes new normals with another orientation, for example Smart instead of Fast.
When the normals face the right way, the cloud is ready for Points to Mesh or Fusion. To reverse the normals of a mesh, see Flip Normals for meshes.


