
Loads from YouTube (Google) when you press Play
Align to Plane moves and turns a model so that the face you click lies in one of the global coordinate planes and the clicked point is at the global origin (0, 0, 0). Use it to put an imported scan or part on its base, for example to stand a part on the XY plane before you measure, nest or export it. Turning the model by eye is slow and never exact; one click on the base face does it precisely.
Where to Find Align to Plane
Click Transform › Align to Plane. The tool works with any visible object in the scene, so you do not have to select the model first.
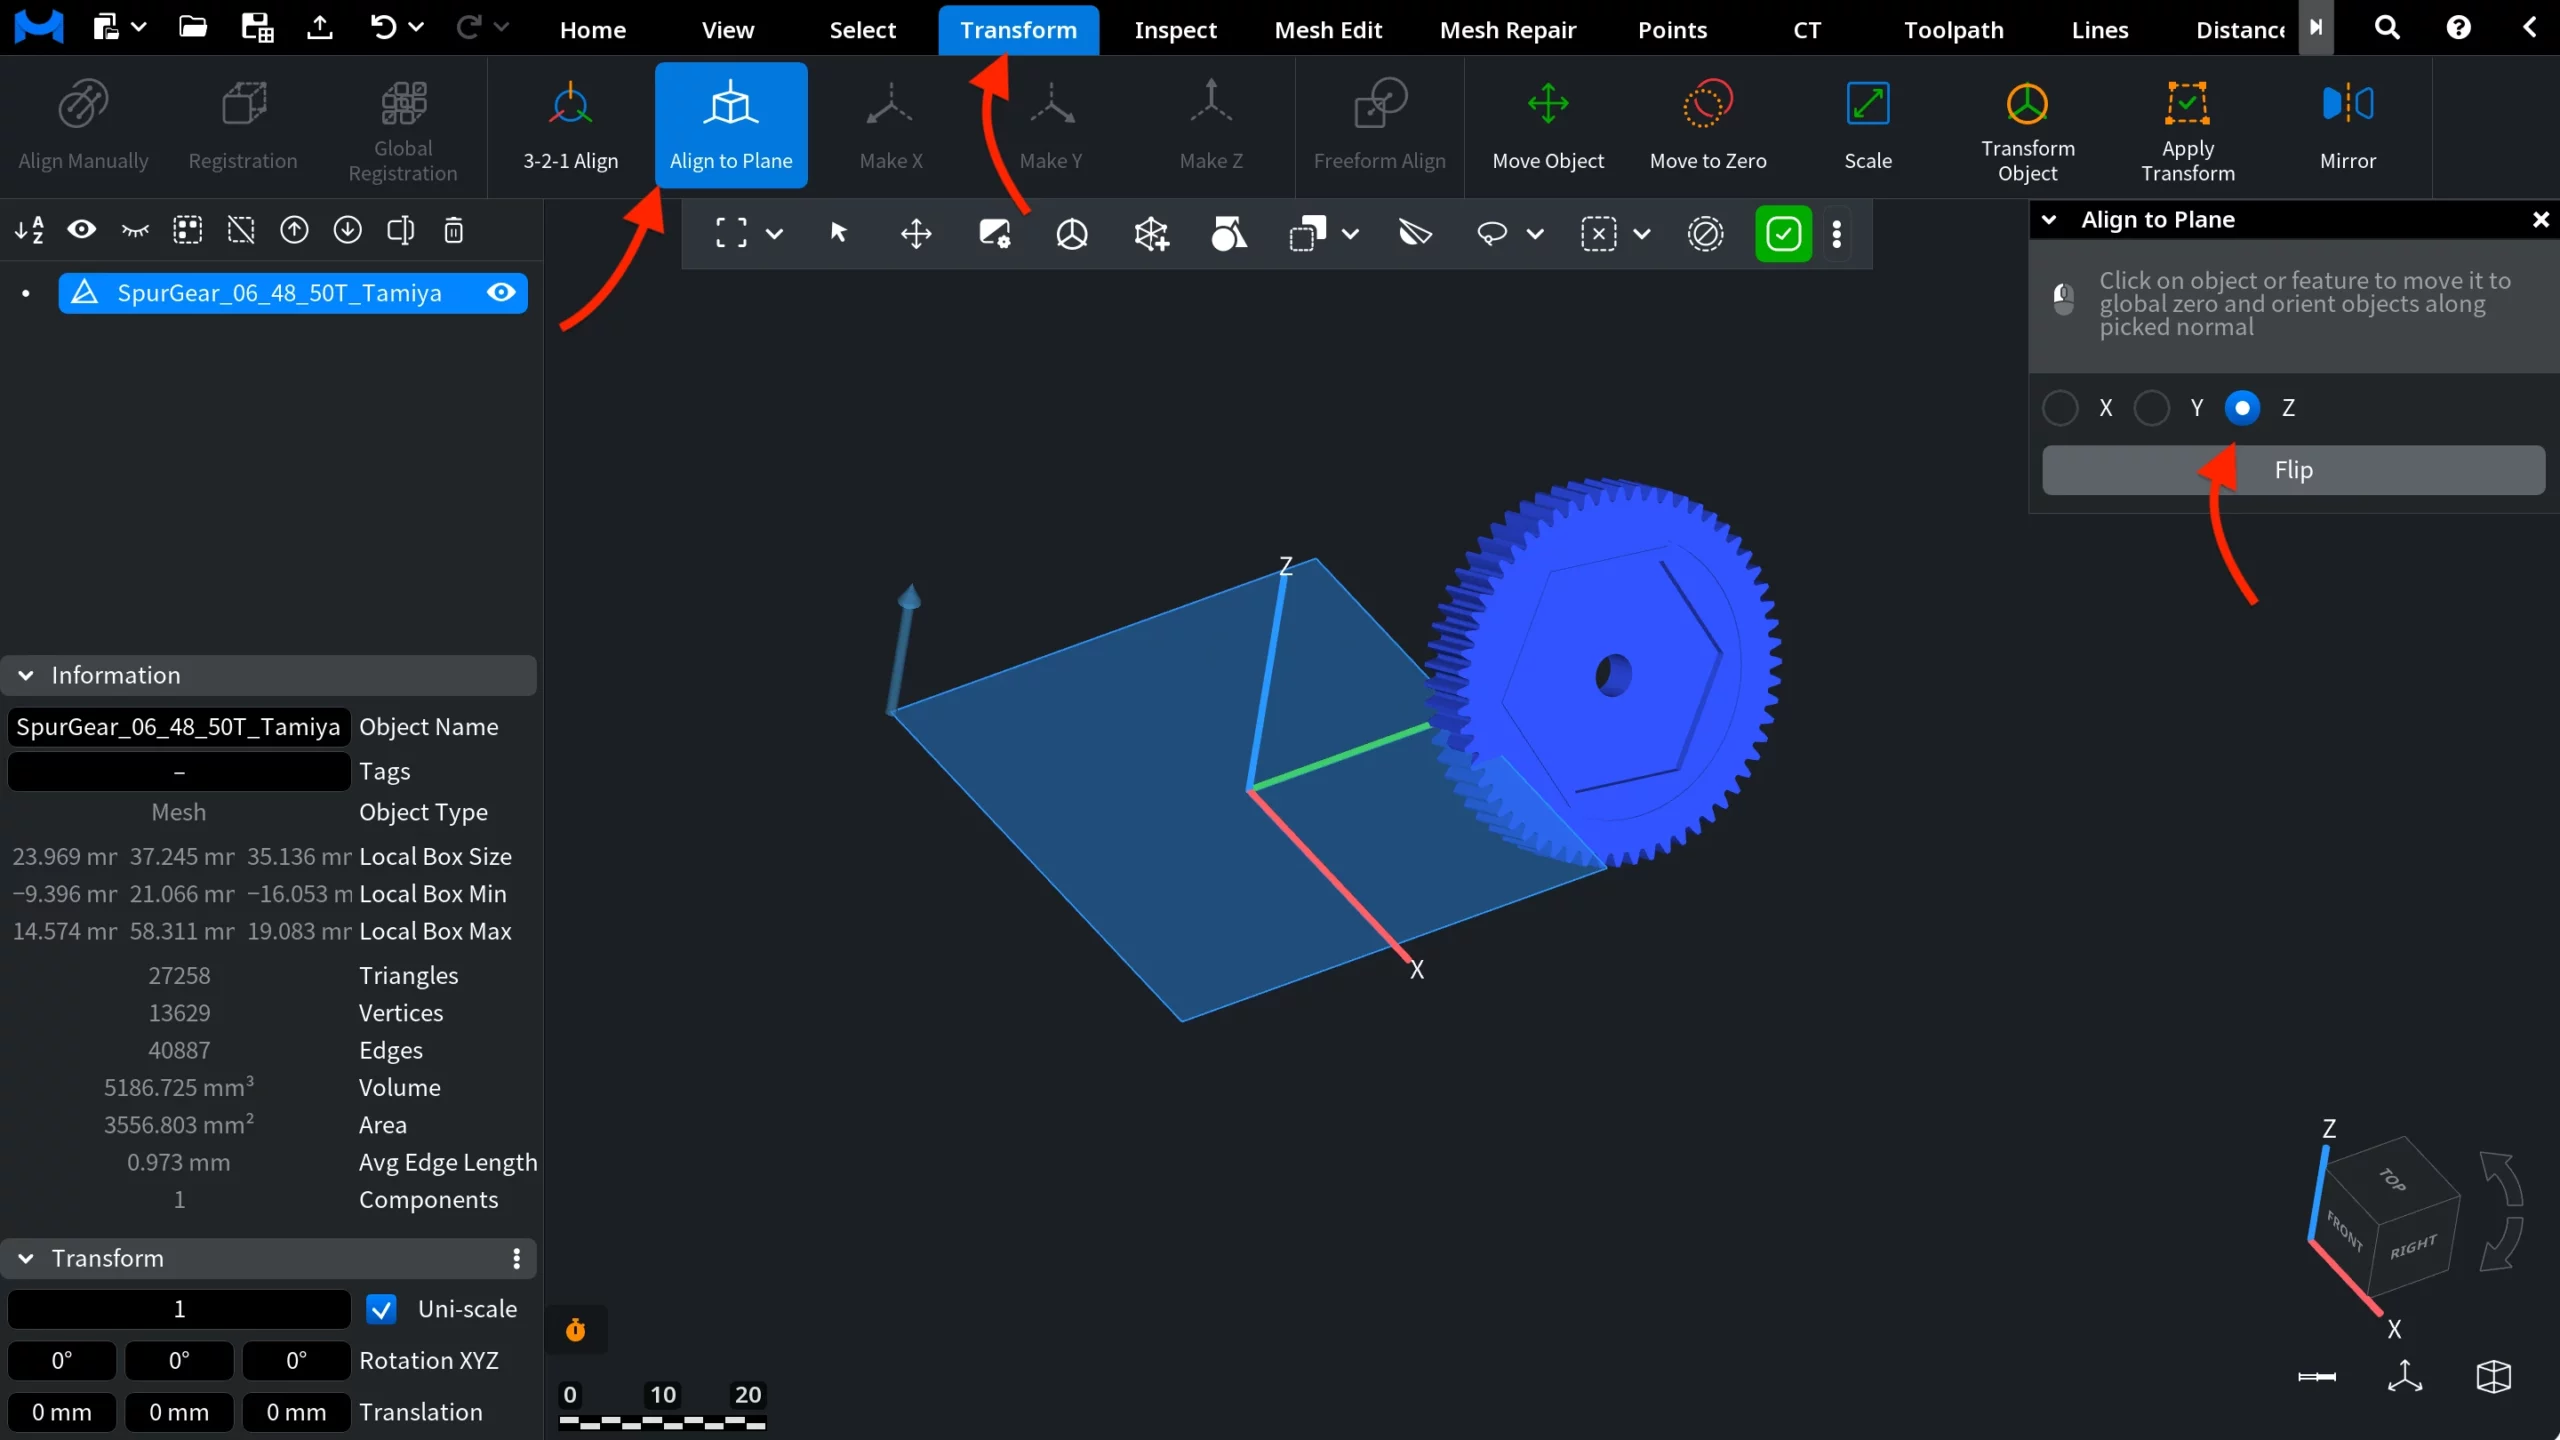
When the tool opens:
- The global axes X, Y and Z appear in the viewport. When you close the tool, they return to their previous state.
- A square in the colour of the chosen axis shows the target plane.
- The Align to Plane panel shows the hint Click on object or feature to move it to global zero and orient objects along picked normal, the axis buttons X, Y, Z (Z by default) and the Flip button.
The model does not move until you click it.
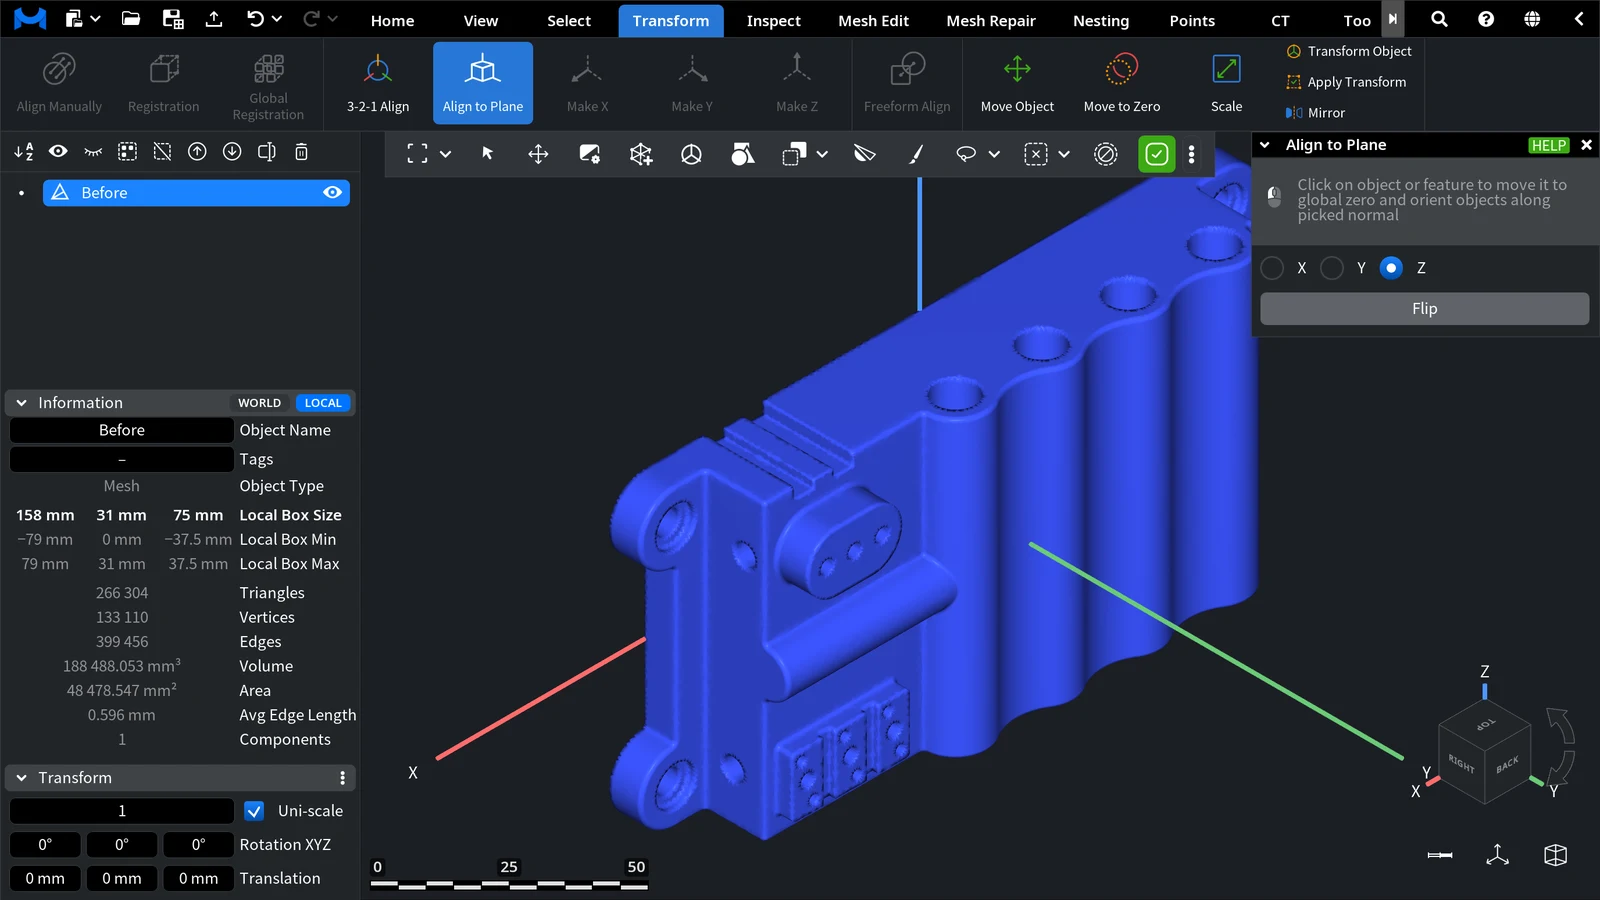
How to Align a Model to a Plane
- Click Transform › Align to Plane.
- In the panel, choose the axis that must stand perpendicular to the face: Z puts the face into the XY plane, Y into the ZX plane, X into the YZ plane.
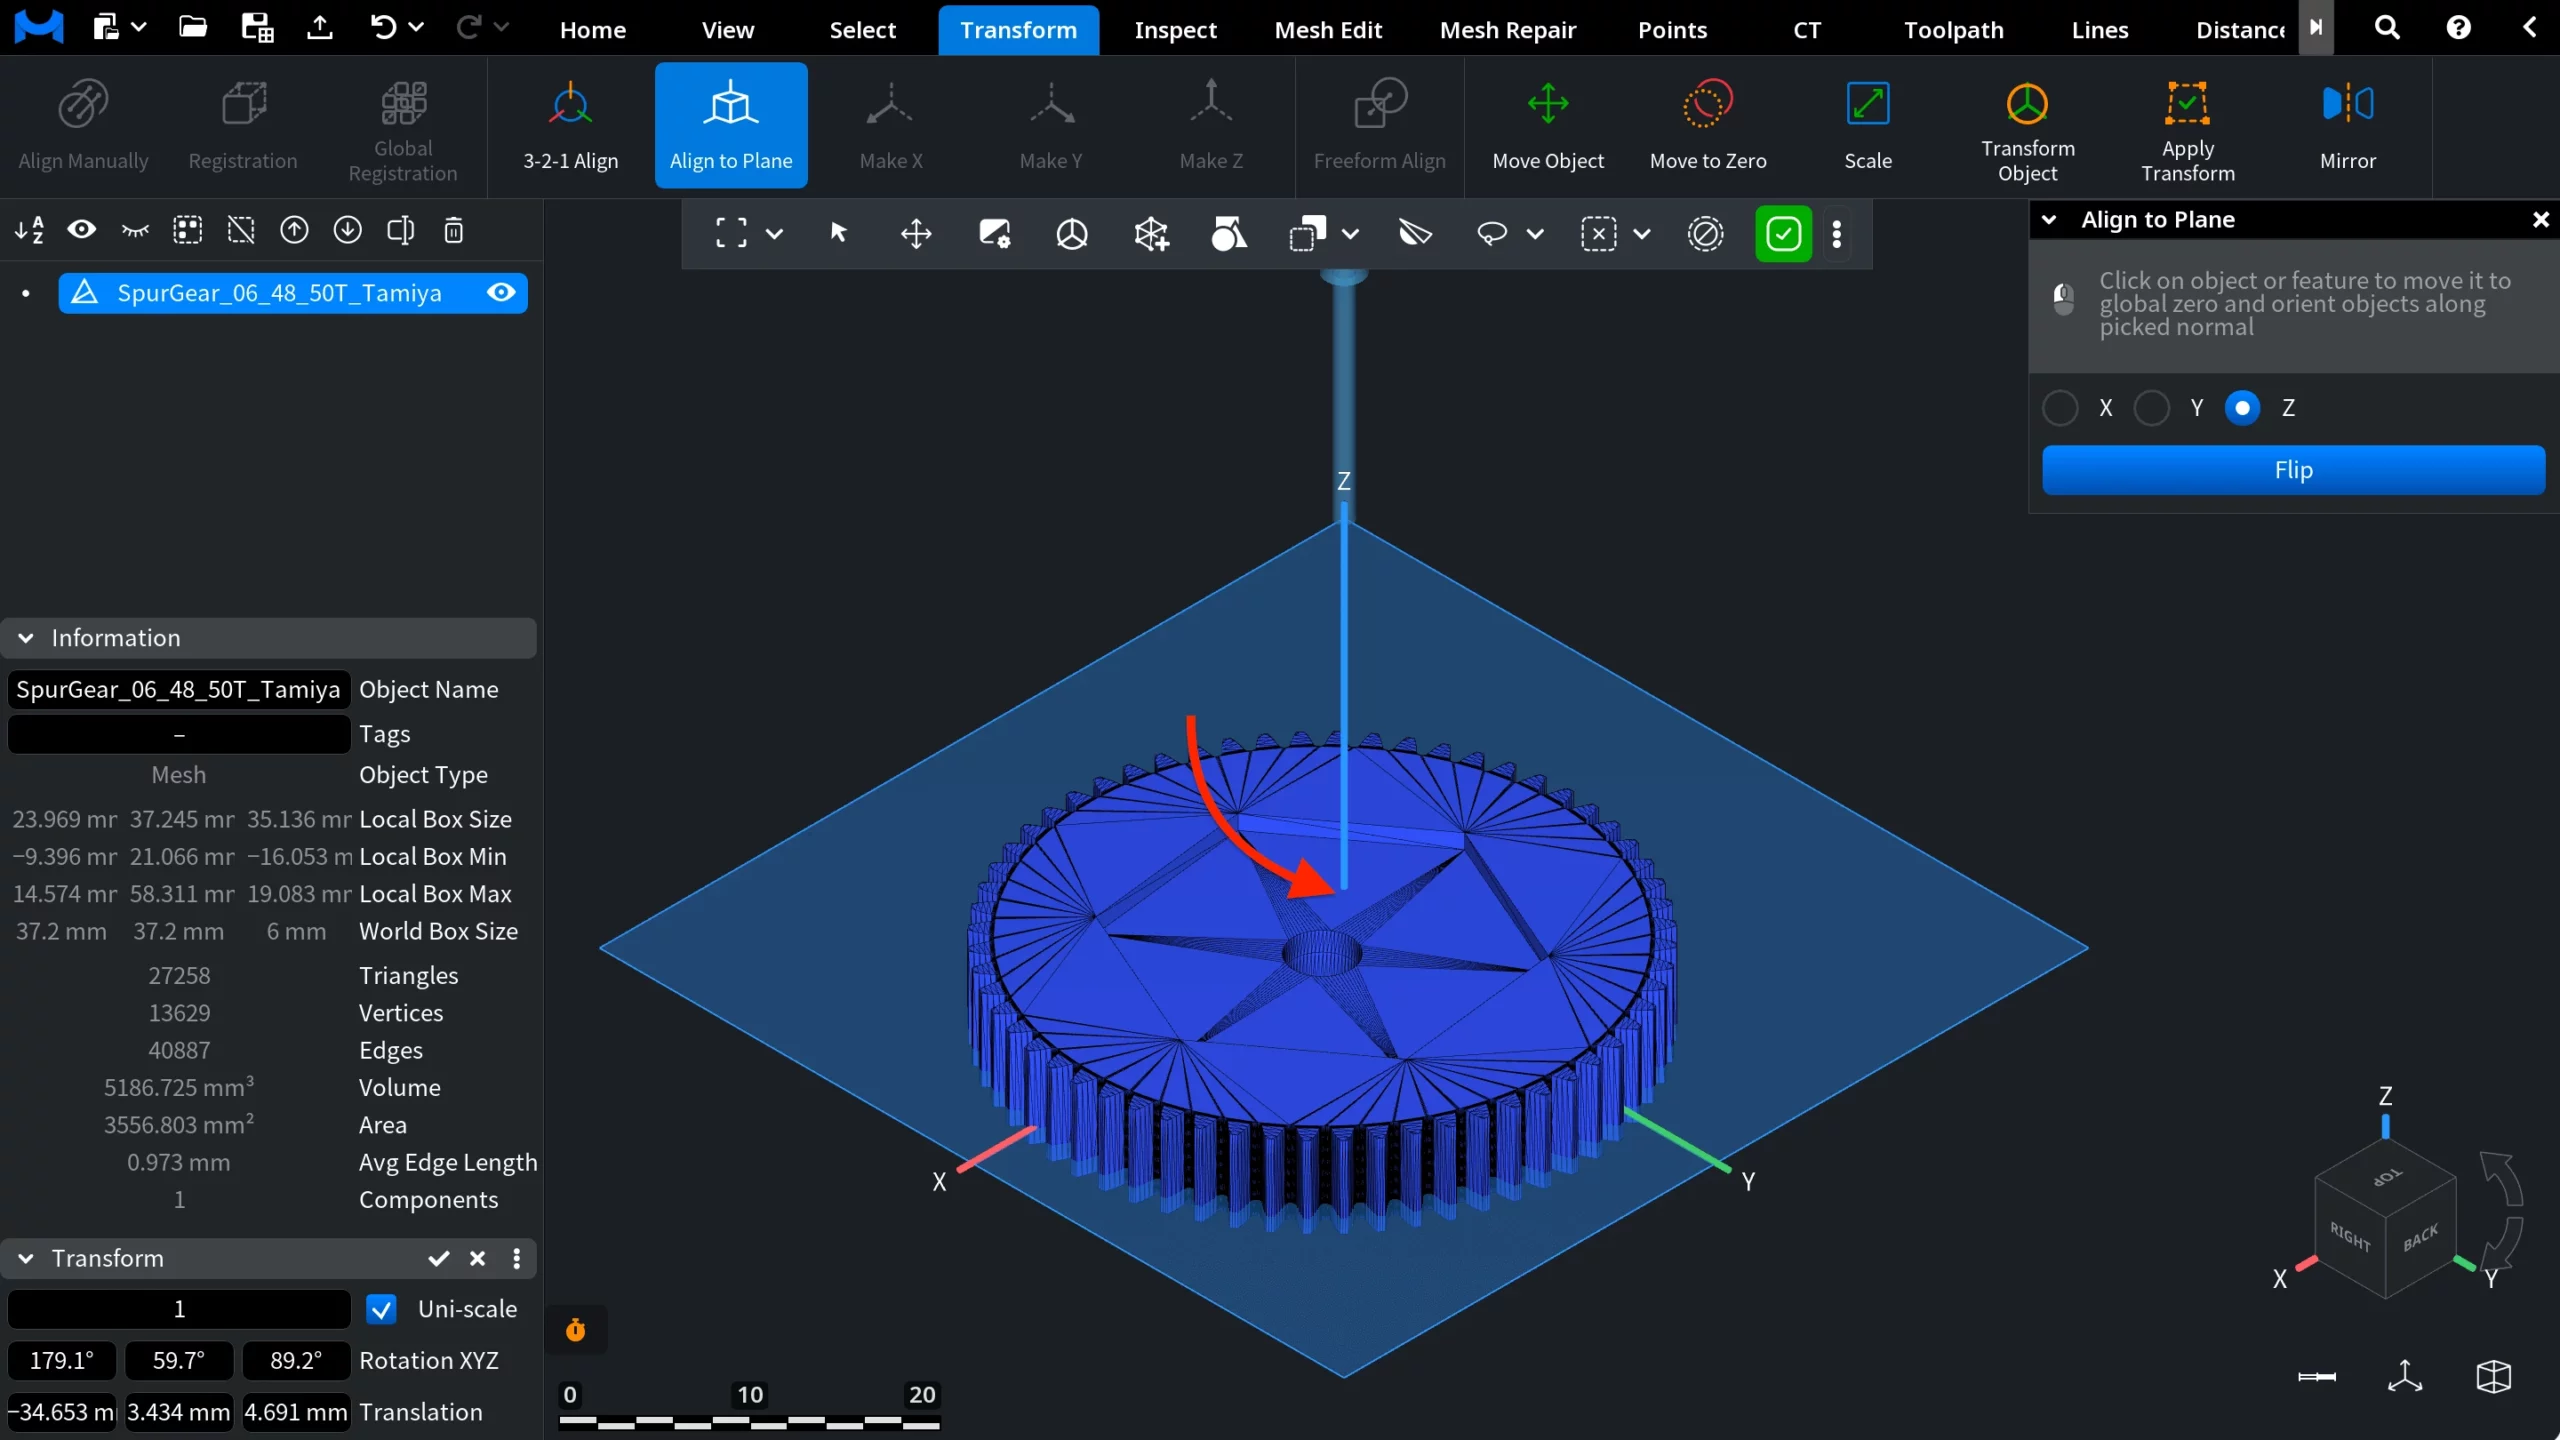
- Click the face of the model that must lie on the plane, for example its base. MeshInspector moves the clicked point to the origin and turns the model so that the face lies in the plane. The model ends up on the positive side of the axis: with Z it stands on the XY plane.
- If the model must be on the other side of the plane, click Flip. The model turns over and lies on the negative side of the axis (under the XY plane with Z). Flip is available after the first click.
- Close the panel. There is no Apply button: each click is applied at once, and you can undo it with Undo (Ctrl+Z, or Cmd+Z on macOS).
Each new click aligns the model again from its current position, so you can click another face or switch the axis and click again.
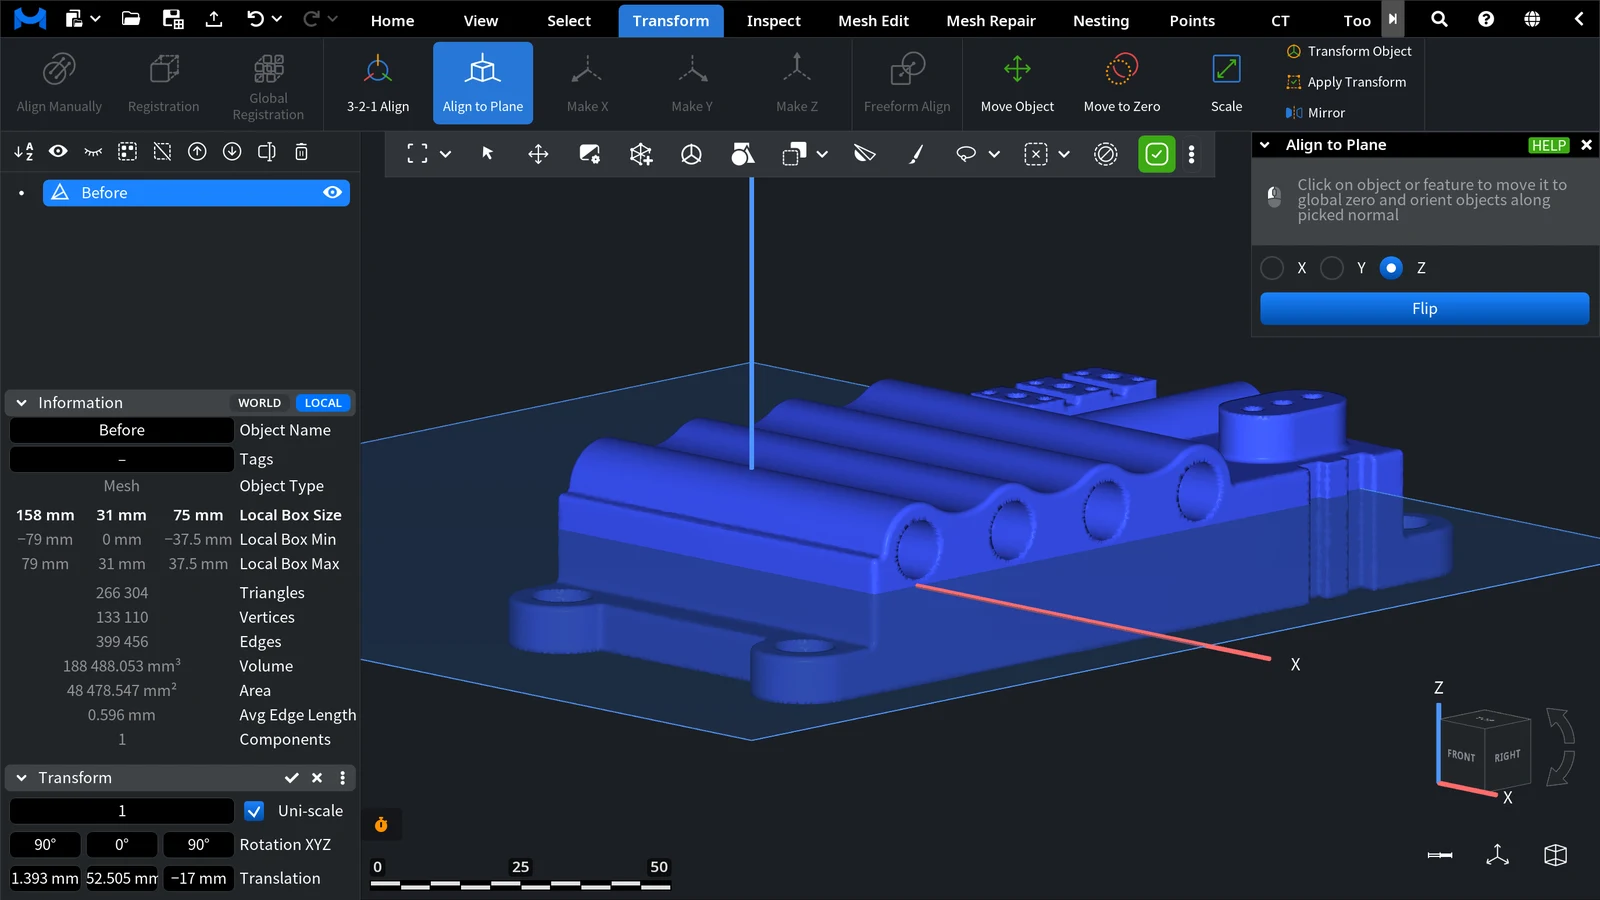
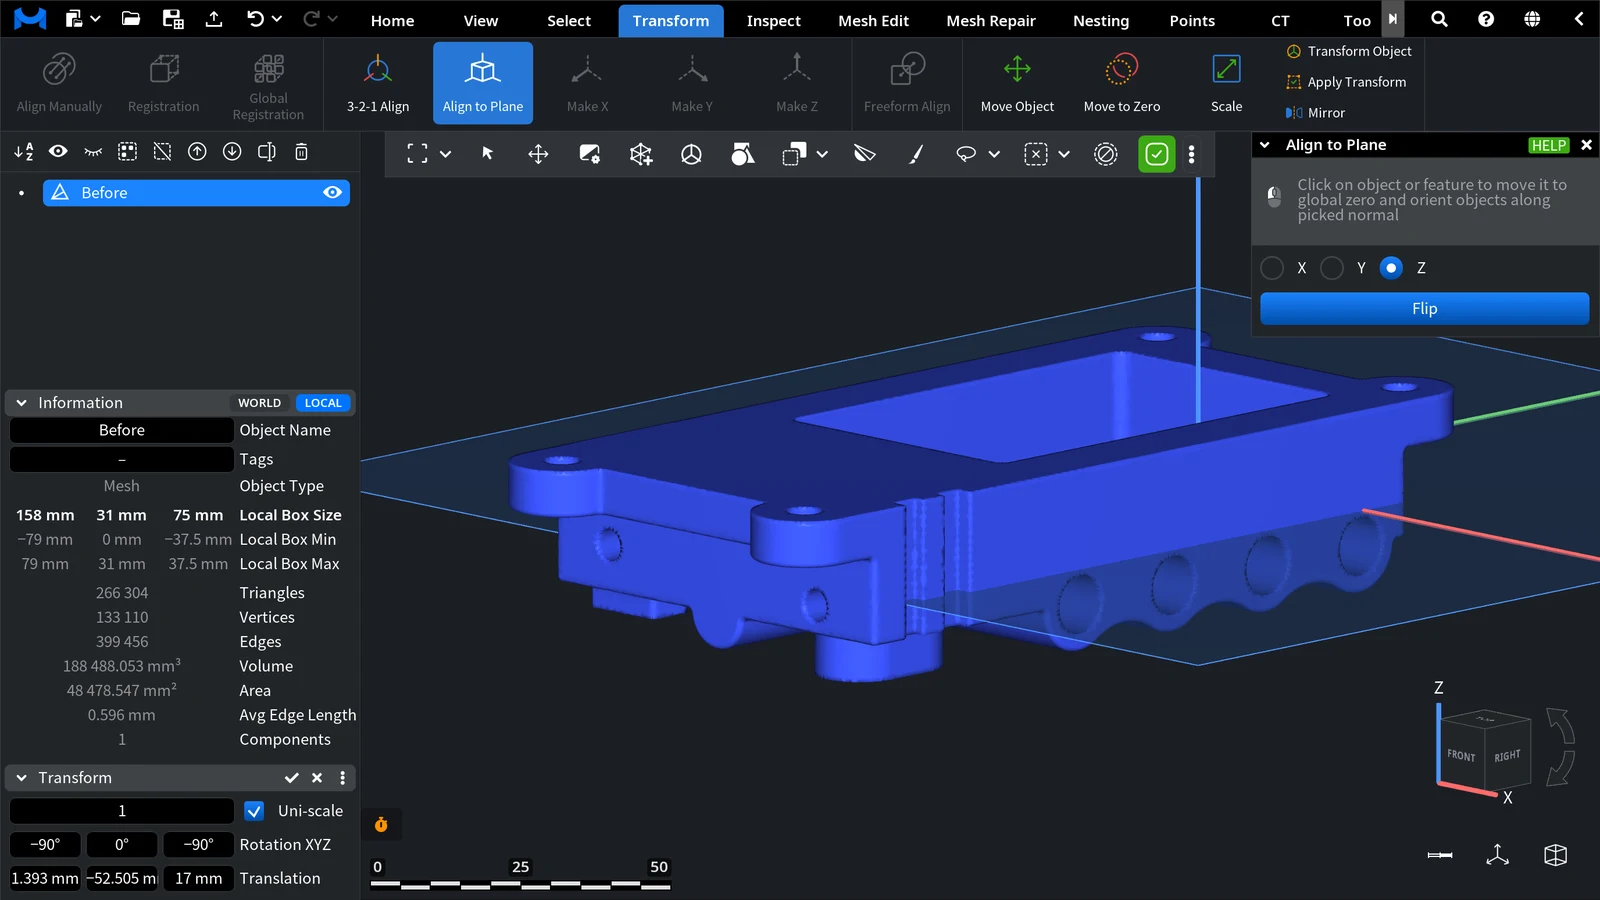
| Axis | The clicked face lies in | The model after the click | After Flip |
|---|---|---|---|
| X | YZ plane | On the +X side | On the −X side |
| Y | ZX plane | On the +Y side | On the −Y side |
| Z (default) | XY plane | Above the plane (+Z) | Under the plane (−Z) |
Switching the axis only changes the preview plane; the model moves at the next click. In the example below, the axis is switched to Y before the next click.
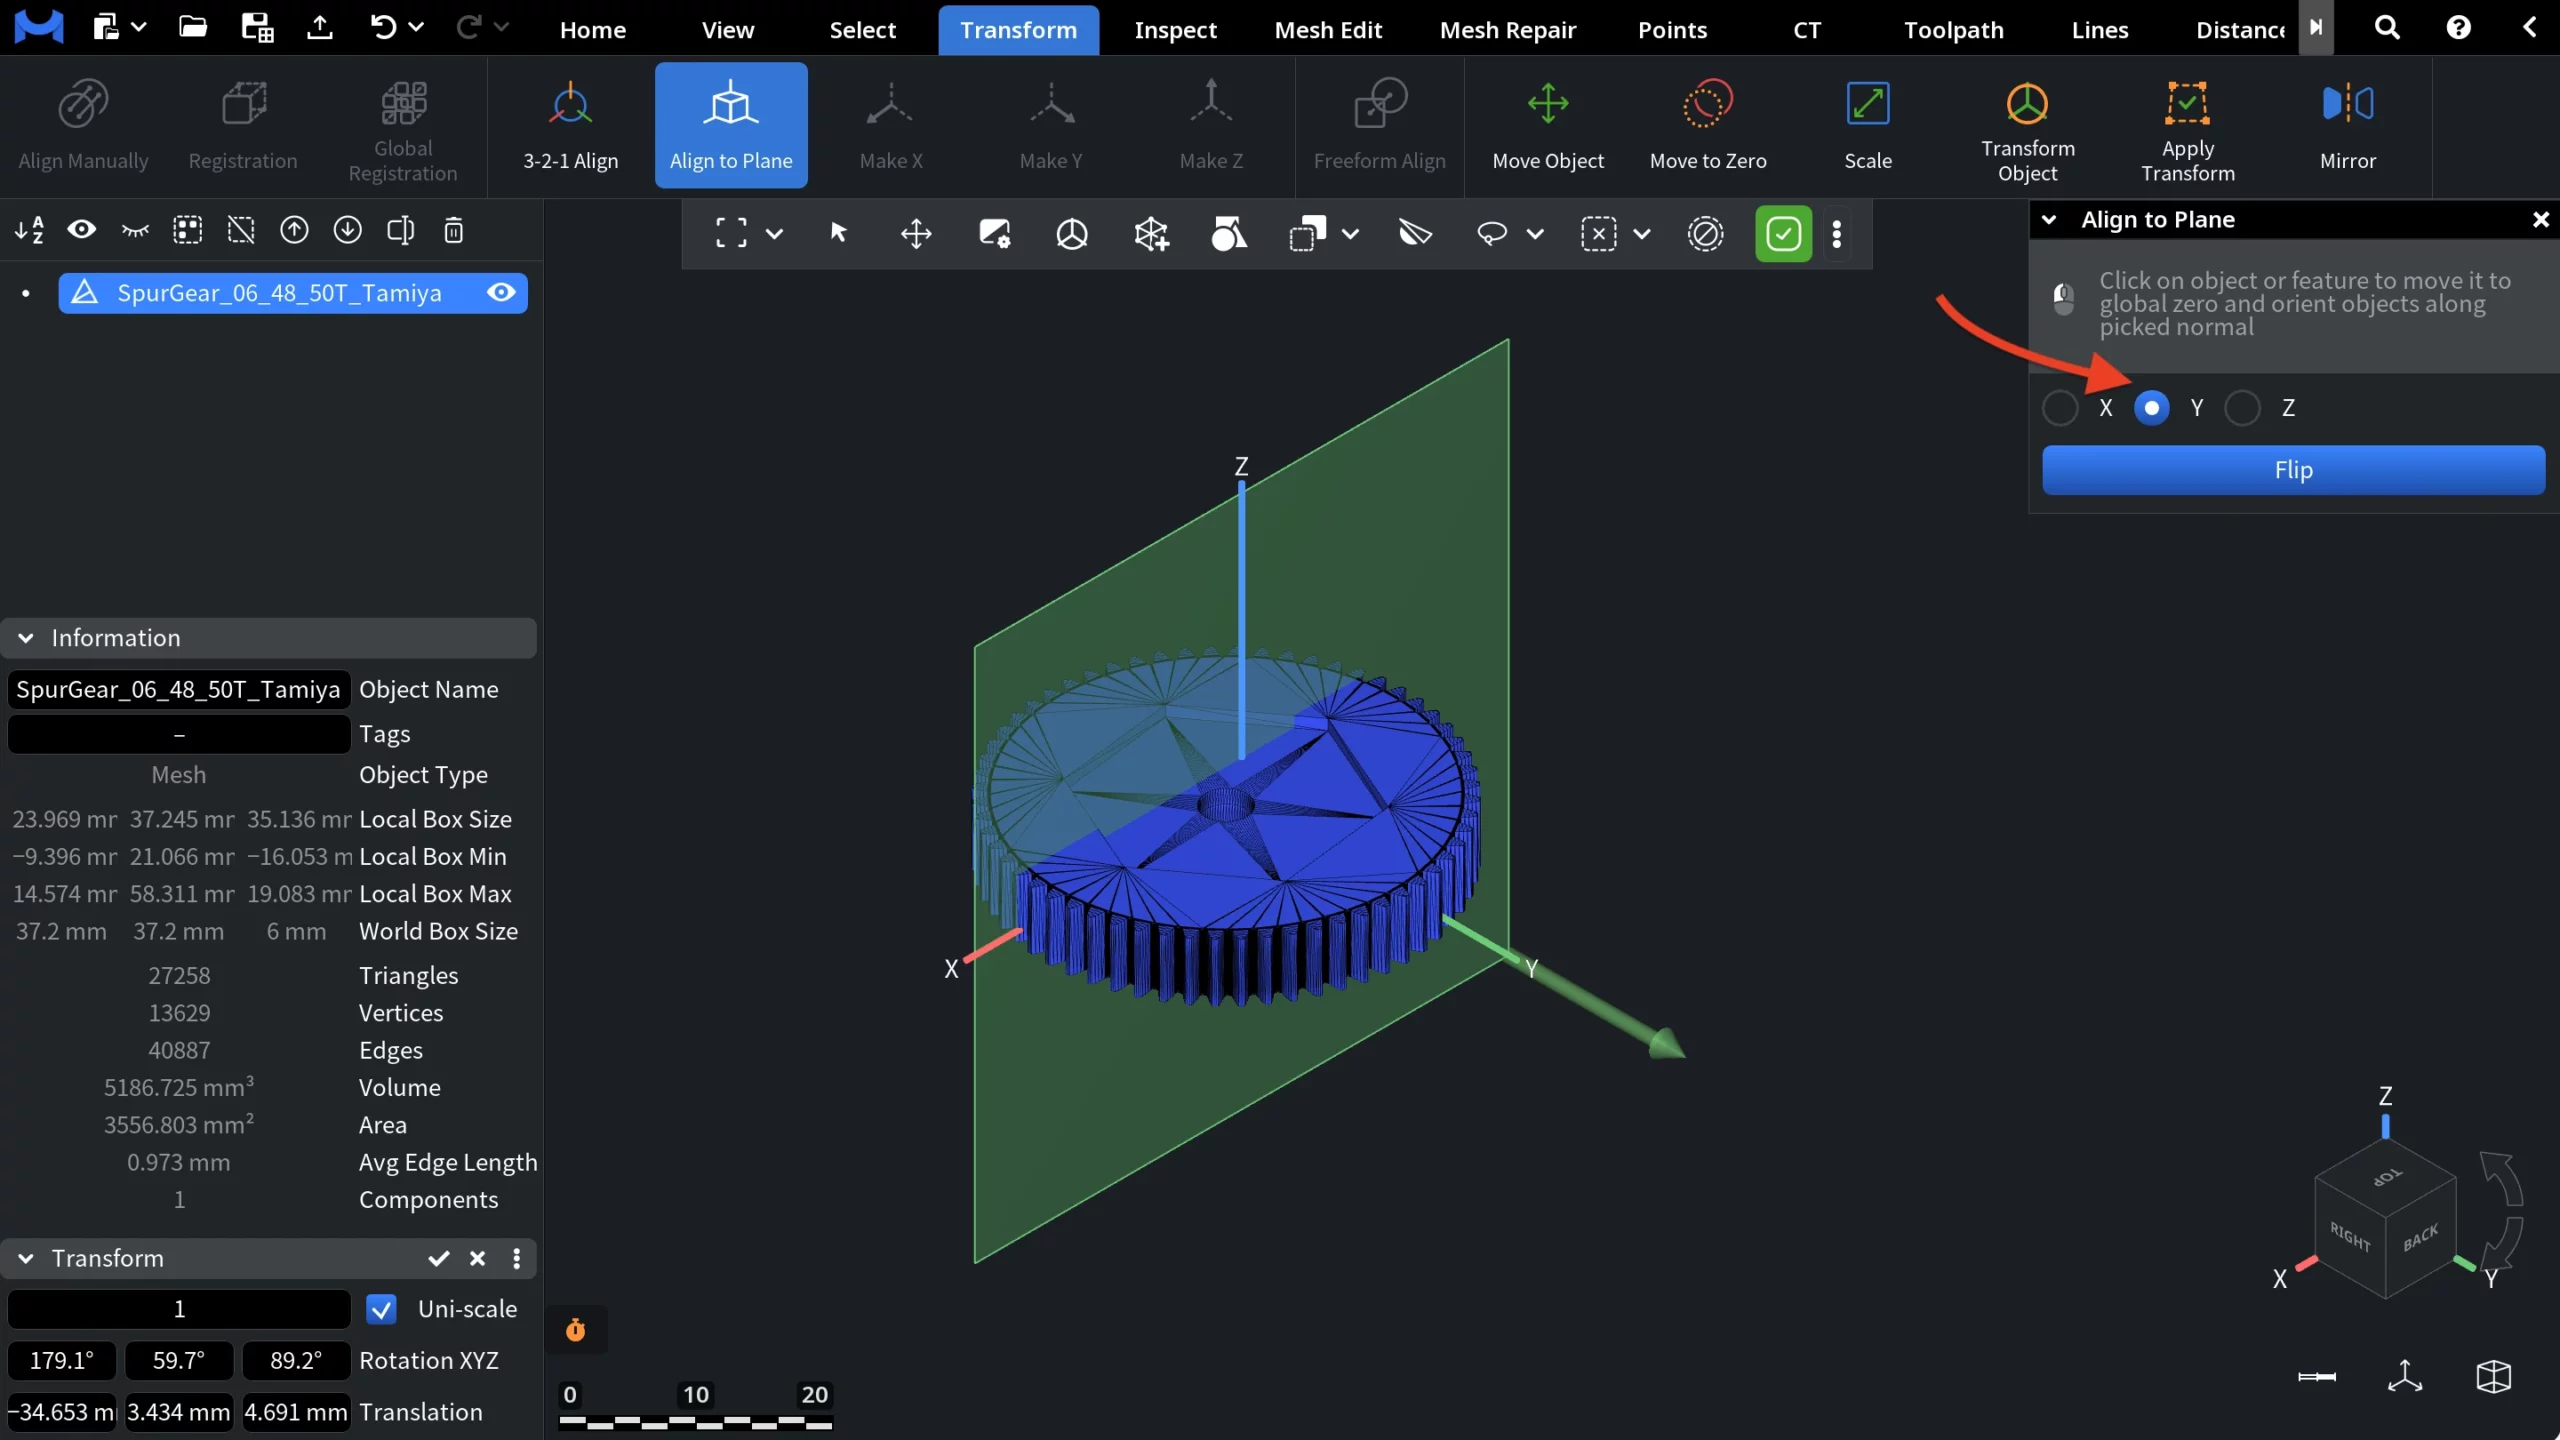
After a click on the face marked by the arrow, that face lies in the ZX plane.
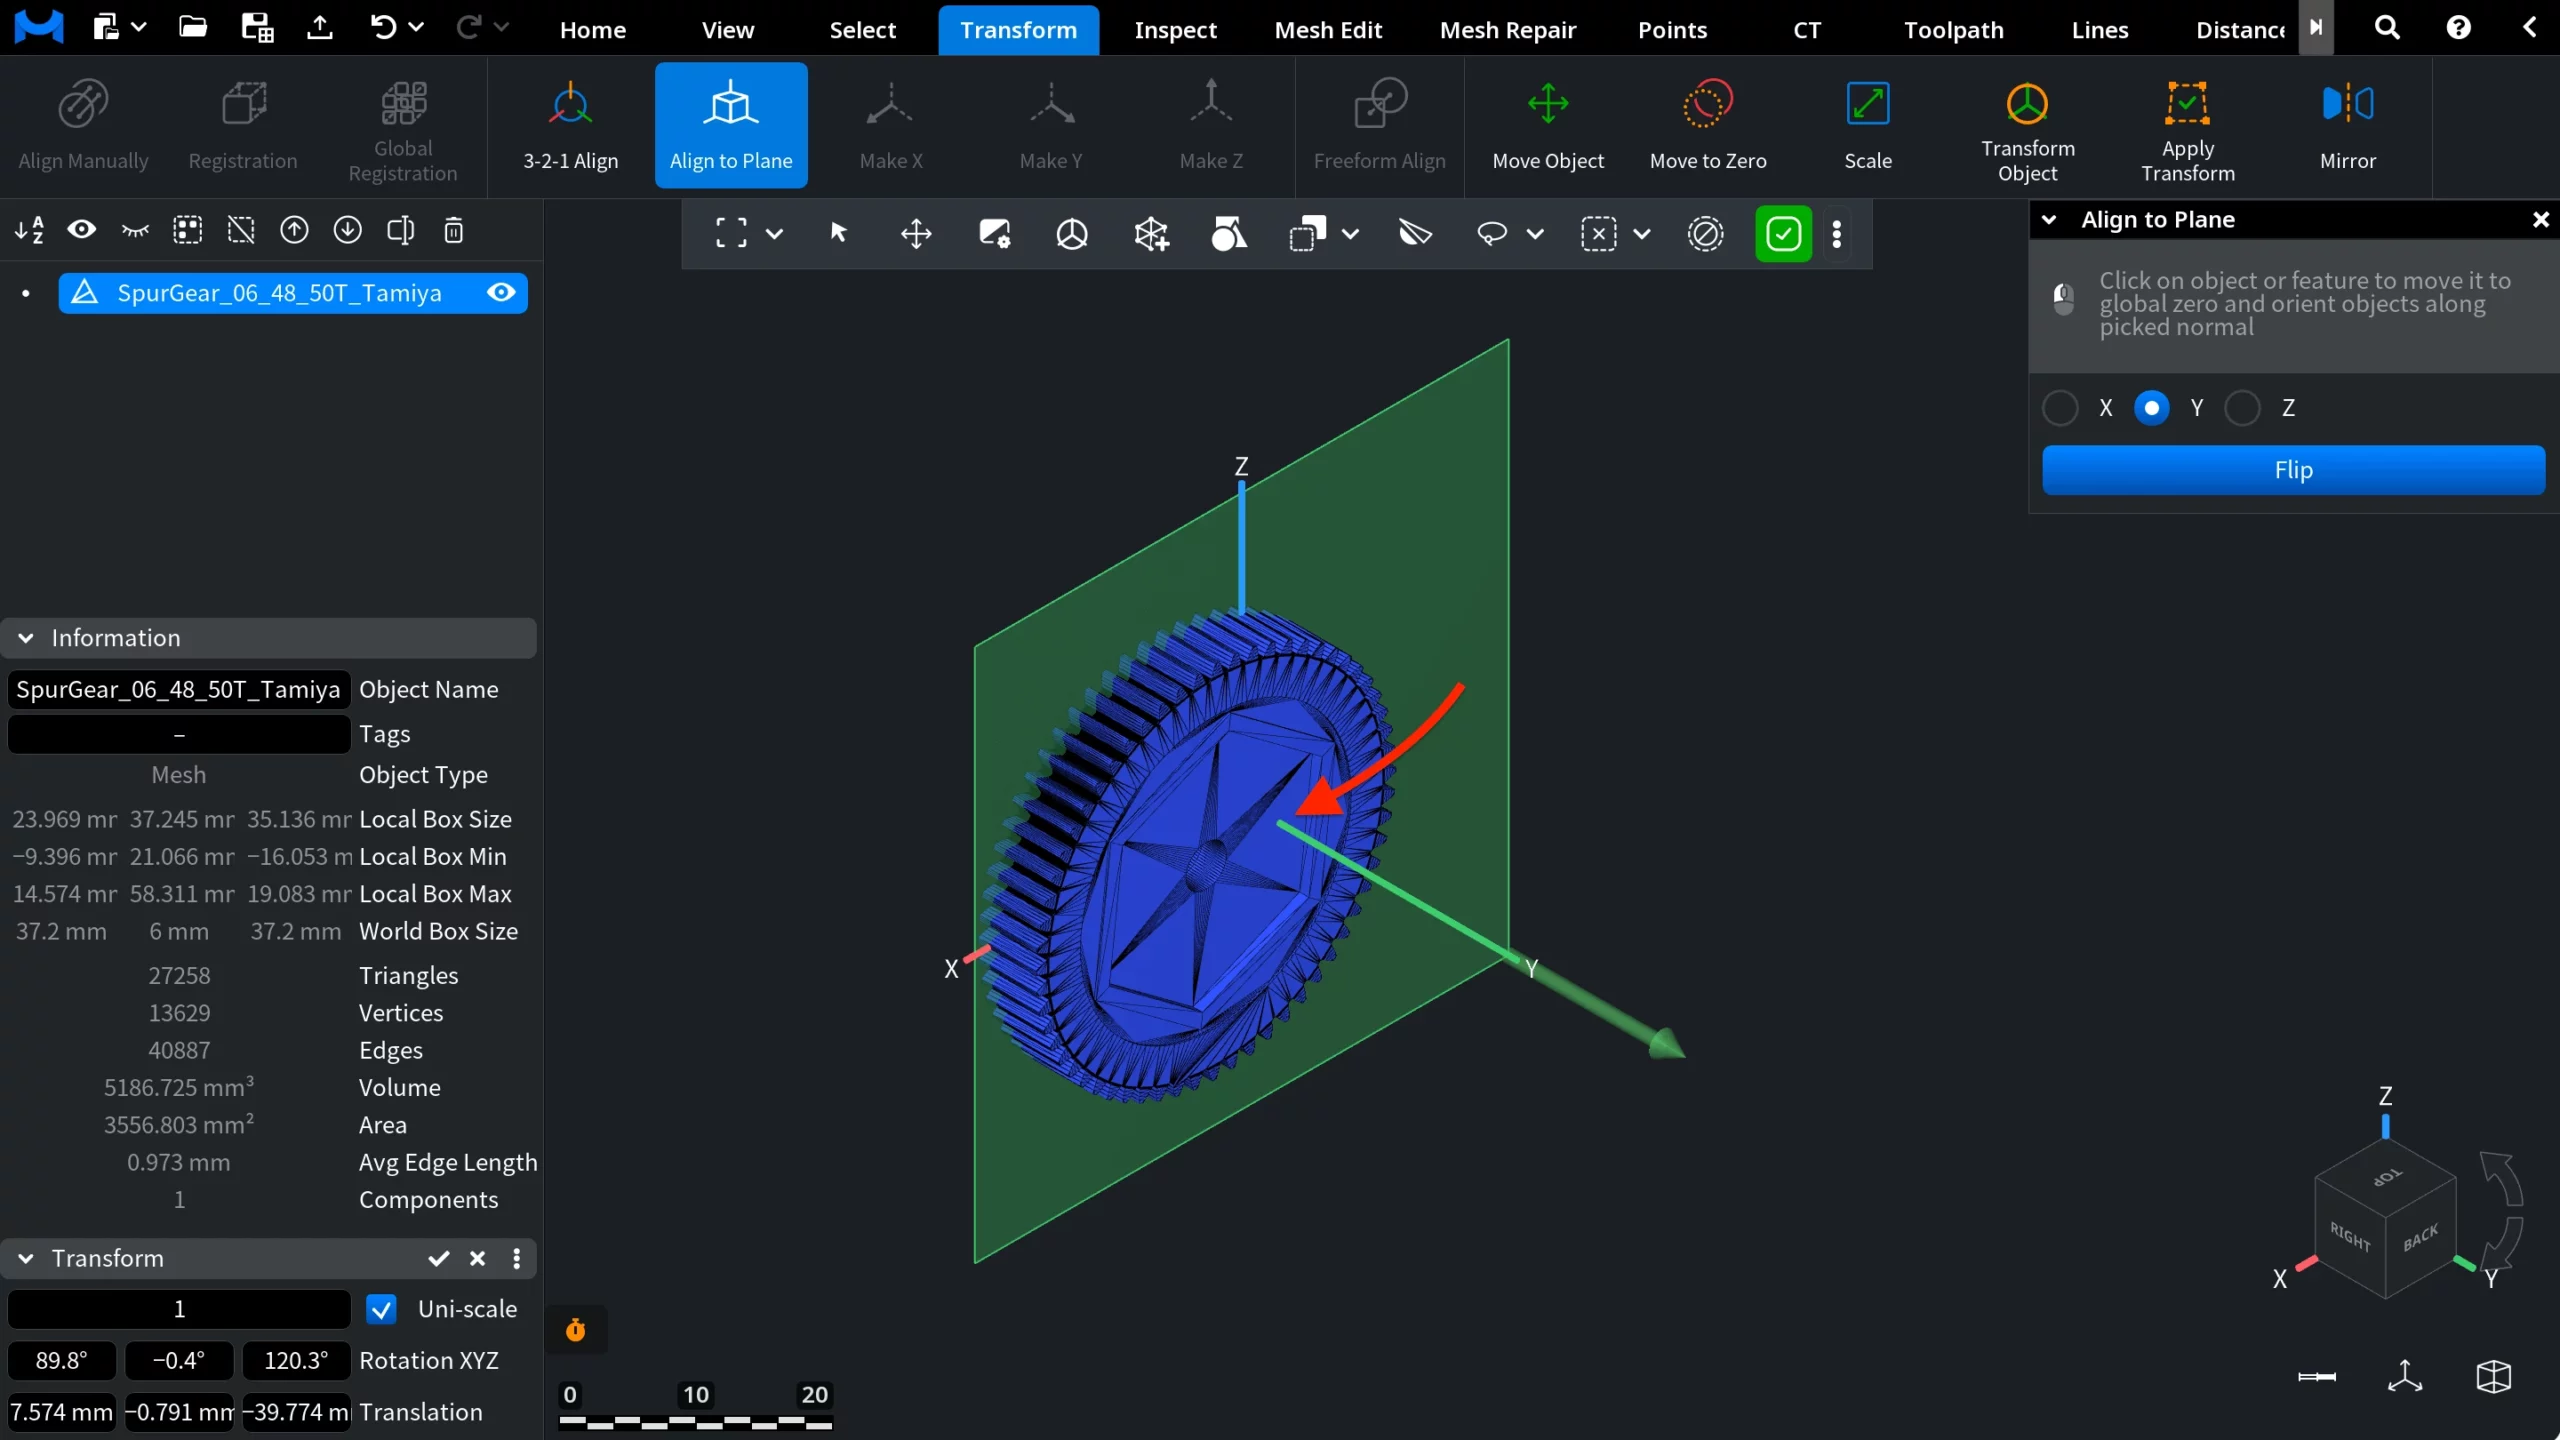
The tool changes only the position of the object (its transform) and does not edit the mesh. To write the new position into the vertex coordinates, use Transform › Apply Transform.
What You Can Click
- A mesh. MeshInspector uses the clicked point and the normal of the clicked triangle. Click a large flat area: on a scan, a single small triangle can be tilted by noise, and then the whole model is tilted too. On a CAD model with large triangles, such as the gear below, one triangle already covers a large part of the face. To see the triangles, select the model in the Scene tree and press L: it shows or hides the edges of the selected meshes.
- A point cloud. MeshInspector uses the normal of the clicked point. If the cloud has no normals, the model is only moved so that the clicked point is at the origin, without turning. Create normals first with Make Normals.
- A feature. Click a feature created on the Inspect tab, and the model it belongs to moves with it. A Plane feature puts the fitted plane into the target plane, which is more reliable on a noisy scan than one triangle. A Line, Circle, Cylinder or Cone feature turns its axis along the chosen axis. A Point or Sphere feature only moves the model so that the point or the sphere centre is at the origin. See how to create features.
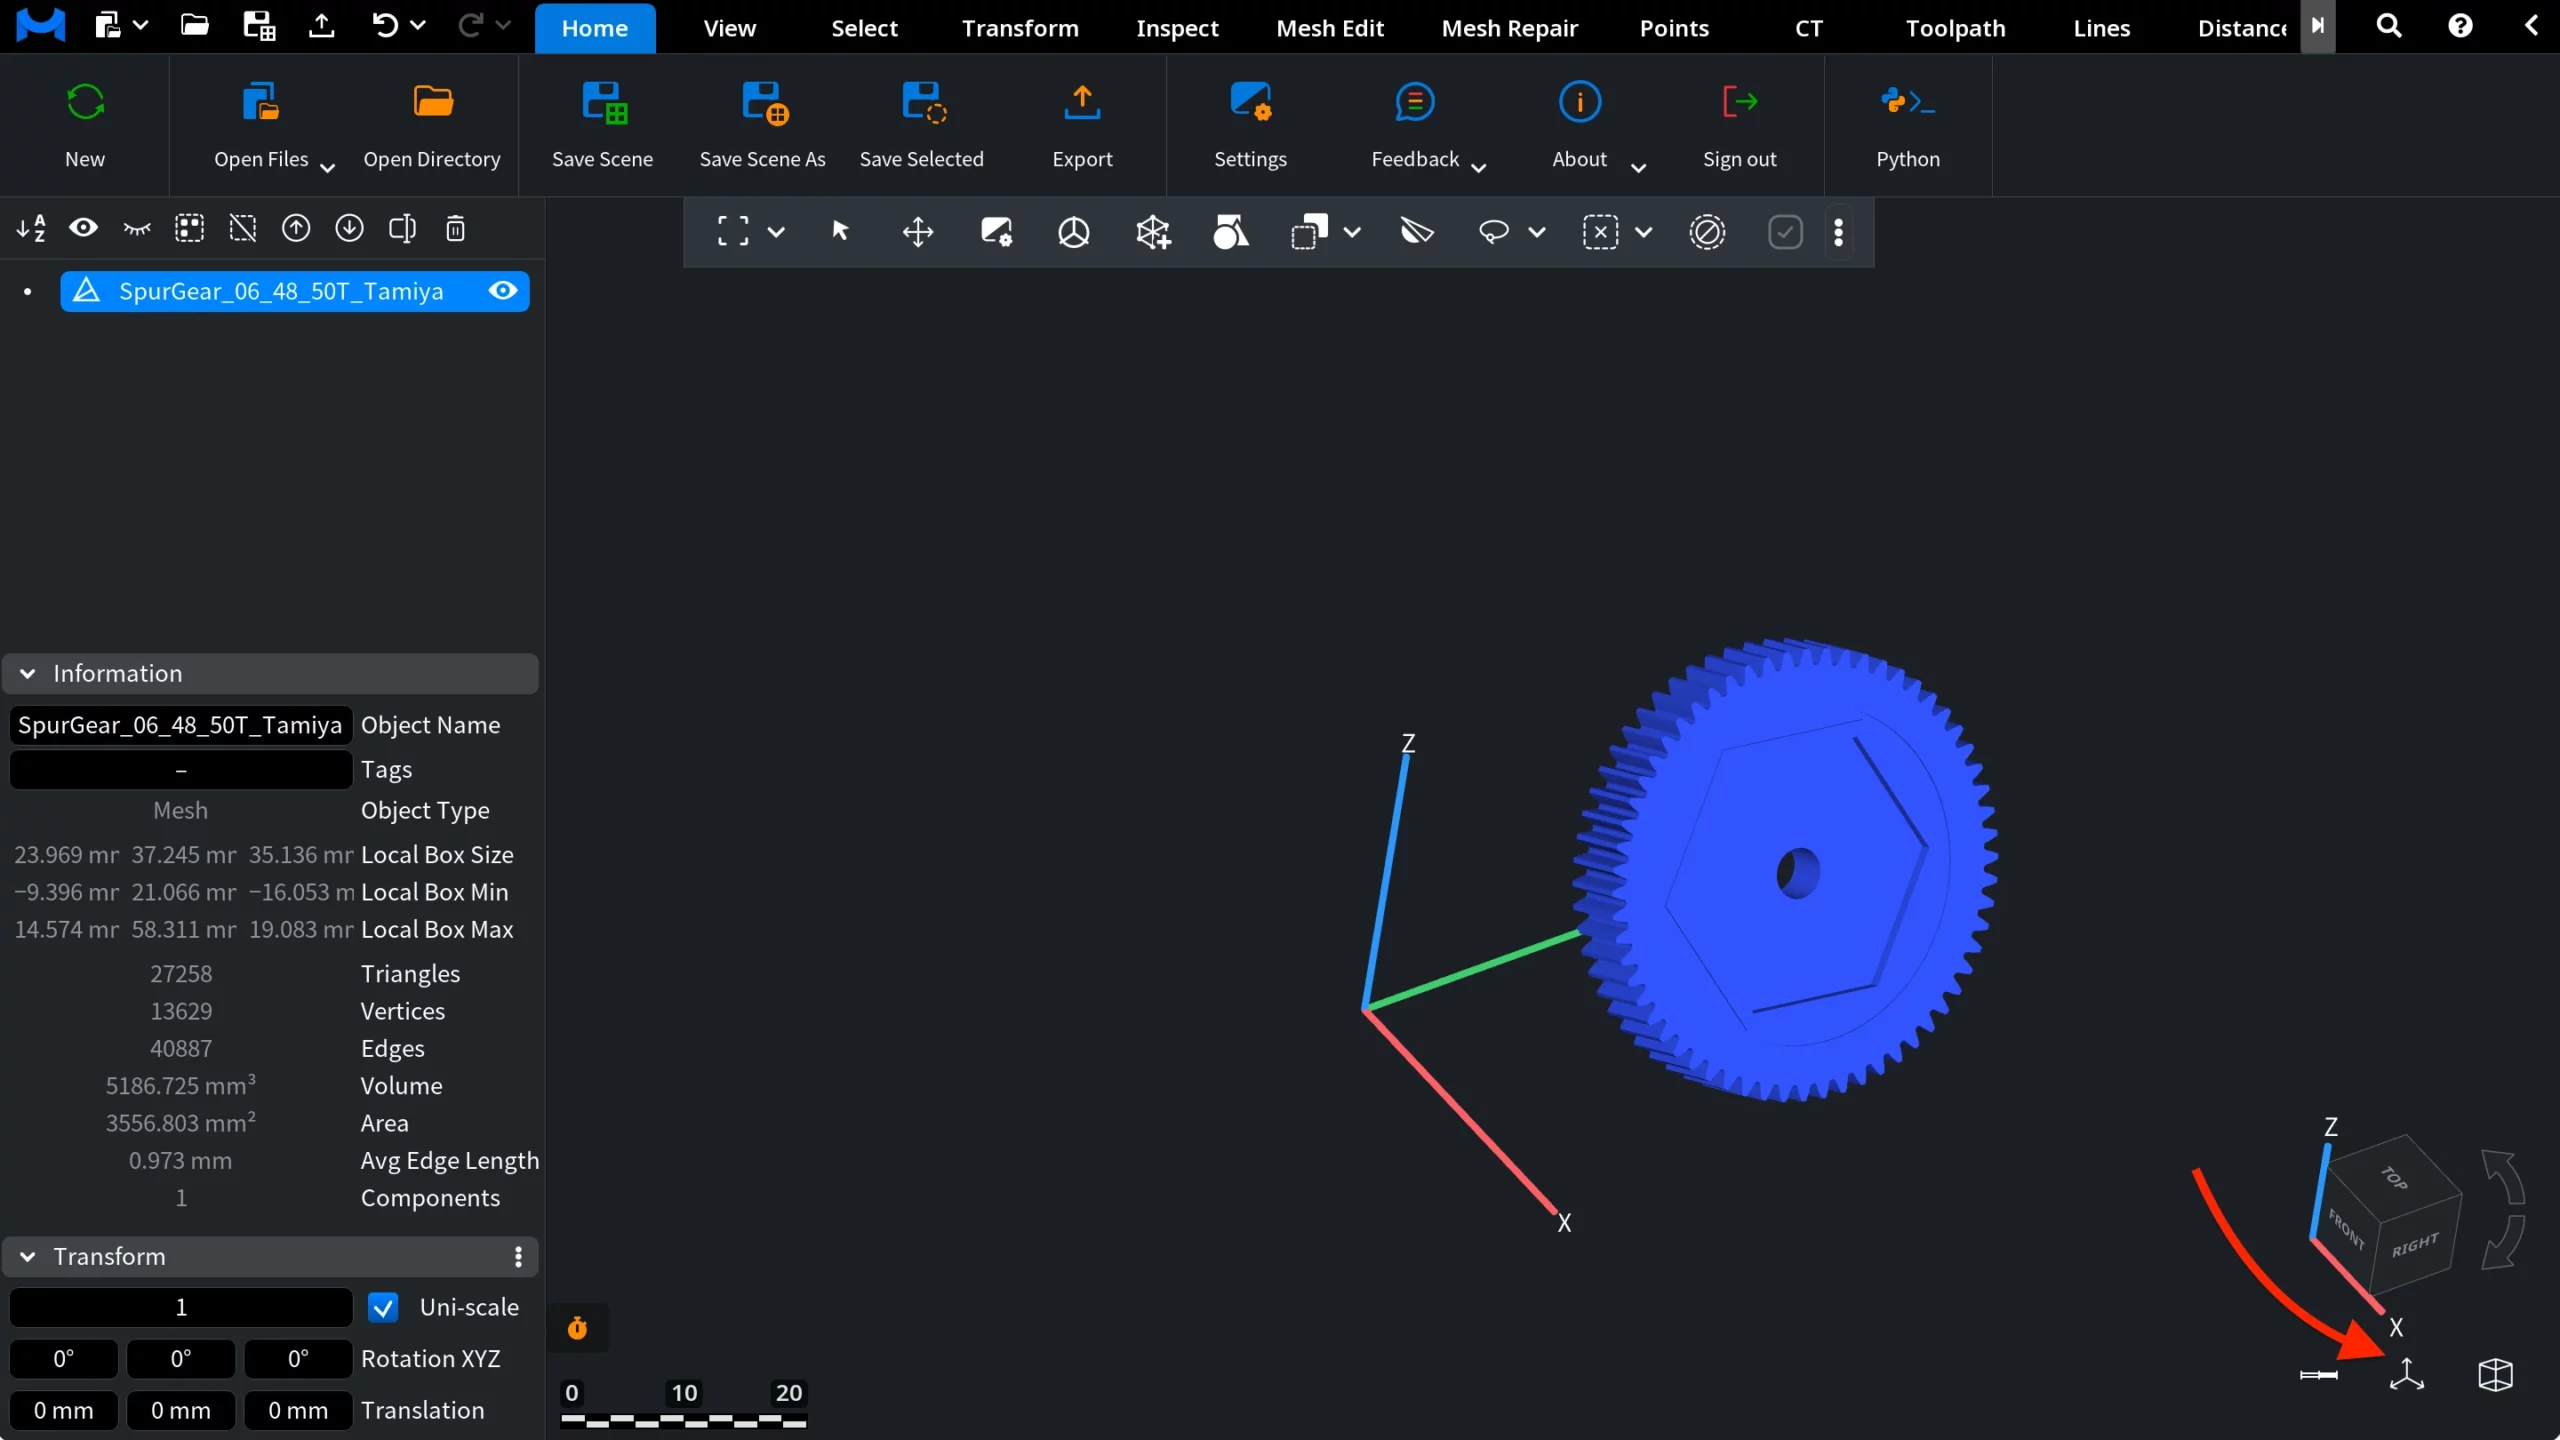
To see the global axes when the tool is closed, turn on the basis with the button under the navigation cube in the lower-right corner of the viewport (see Toggle Global Basis).
Which Alignment Tool to Use
| Tool | Use it to |
|---|---|
| Move Object | Drag, rotate or scale a model with the mouse for rough placement |
| Move to Zero | Move the centre of a model, or a feature, to the origin without turning it |
| Align to Plane | Put one face of a model onto the XY, ZX or YZ plane with one click |
| 3-2-1 Align | Set the full position of a part by a plane, a direction and a point |
| Make X, Make Y, Make Z | Turn a model by a feature you have already created |
| Align Manually | Move one object onto another by pairs of points picked on both |
| Registration | Fine-align one object to another automatically (ICP) |
| Global Registration | Align several scans to each other at once |
| Freeform Align | Deform one object so that its points match points on another |


