


Loads from YouTube (Google) when you press Play
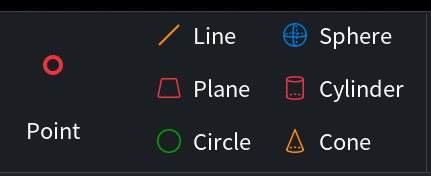
A feature is an ideal geometric shape that MeshInspector fits to a part of a mesh or a point cloud: a point, a line, a plane, a circle, a sphere, a cylinder or a cone. Use features to measure what a scan does not show directly, for example the diameter of a hole, the axis of a bore, or the distance and the angle between two faces. You create them in the Create group of the Inspect tab. This guide covers all seven buttons and explains the Plane, Circle and Cylinder features in detail; Point and Line have their own guide, and so do Sphere and Cone.
If you follow the video: the feature tools are now in the Create group of the Inspect tab.
What a Feature Is
MeshInspector takes the input points, for example the vertices of the triangles you selected, and fits the shape with the lowest standard deviation from them. The result is an ideal shape, so you can read its center, axis or diameter even where the scanned surface is rough.
- The feature appears in the Scene tree as a child of the object it was fitted to, named by its type and number: Plane 1, Cylinder 1, Point 2.
- Circles, spheres and cylinders show their diameter in the viewport, a cone shows its diameter and angle, and a point shows its coordinates.
- You can fit features to meshes and to point clouds.
| Button | Fits | Use it for | Guide |
|---|---|---|---|
| Point | The average position of the input points | The center of a hole or of a region | Point and Line |
| Line | The best straight line through the input points | An axis, the direction of an edge | Point and Line |
| Plane | The best plane | A flat face, a base, a reference for heights | Plane |
| Circle | A plane through the points and the best circle in it | The edge of a round hole or boss | Circle |
| Sphere | The best sphere | A ball, a spherical surface | Sphere and Cone |
| Cylinder | The best cylinder | A hole, a bore, a shaft or a pin | Cylinder |
| Cone | The best cone | A chamfer, a countersink, a taper | Sphere and Cone |
Create a Feature Step by Step
- In the Scene tree, select the mesh or point cloud.
- Go to Inspect › Create and click the shape, for example Cylinder. A panel with the name of the shape opens.
- Choose how to give the input: Pick Points, Fit to Selection, Fit to Mesh Boundary or Pick Sub-feature (see below). The preview of the feature updates while you pick or select.
- Check the result. If the feature is a bit off, use Refine object in the same panel.
- Click New Feature to keep this feature and start the next one, or close the panel: the current feature is kept too. Reset discards the changes and starts from scratch.
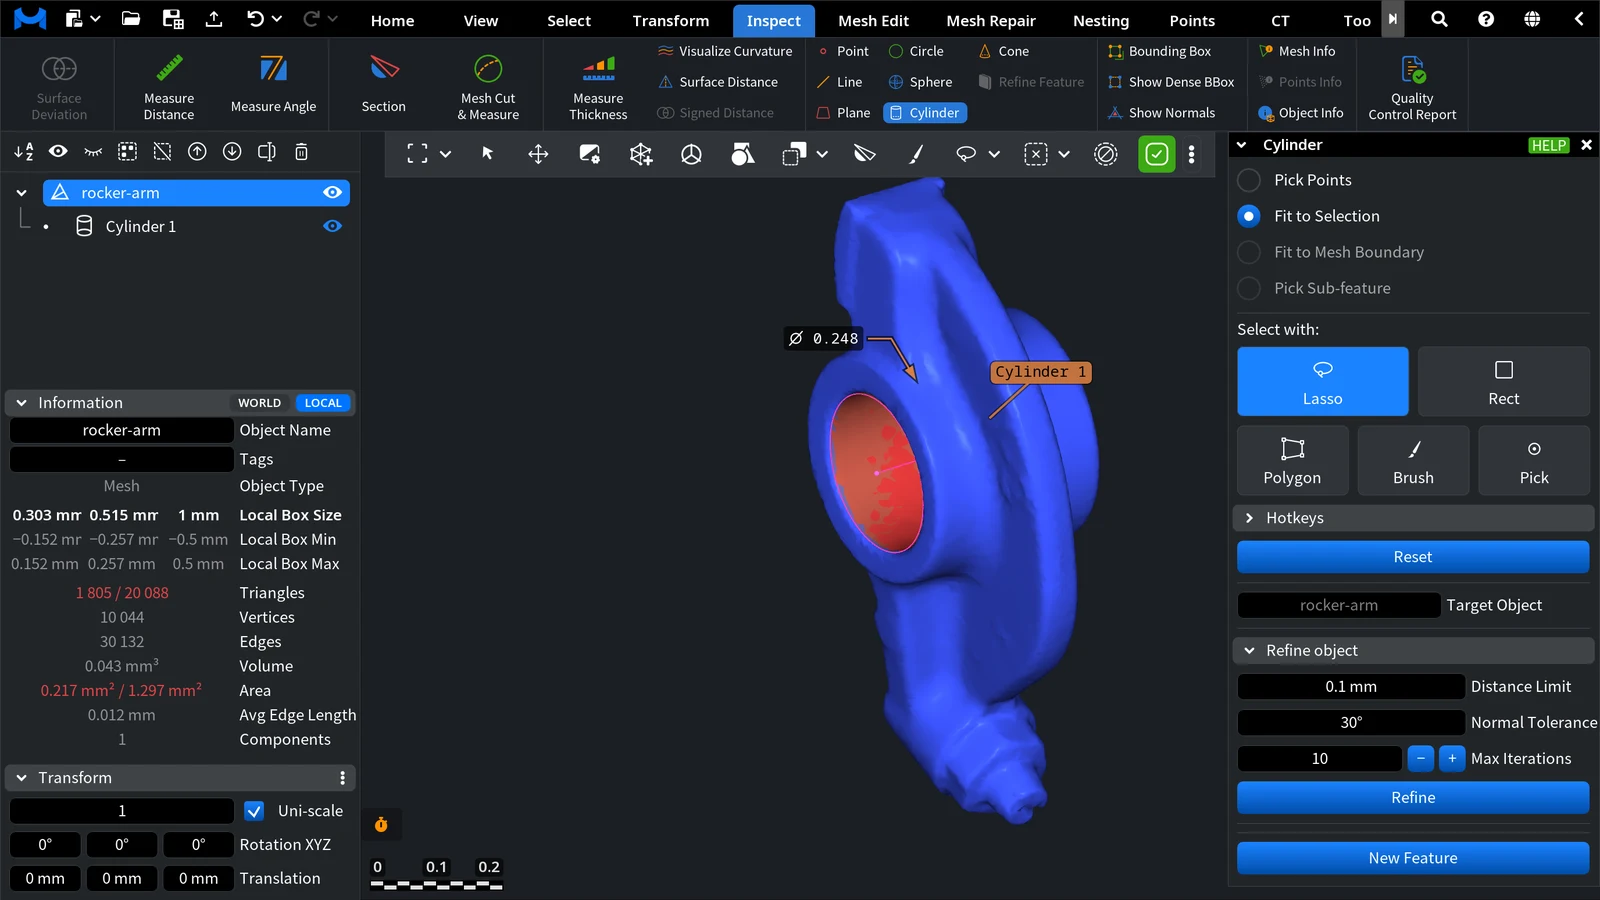
In the picture, the triangles of the hole were selected first. With Fit to Selection, the cylinder appeared at once: Cylinder 1 with a diameter of 0.248 (scene units), a child of the rocker-arm mesh. Target Object names the object the feature is fitted to.
Choose the Input
The panel offers four ways to give the points. A mode is greyed out when the scene does not allow it.
Pick Points
Click points on the surface of the mesh or point cloud. Drag a picked point to move it, Shift+click it to remove it, and hold Alt (Option on macOS) to snap points to the mesh edges. Spread the points over the whole surface: a plane needs points that are not on one line, a circle or a cylinder needs points around the circumference.
Fit to Selection
The feature is fitted to all vertices in the selected area. Select the area right in the panel with Lasso, Rect, Polygon, Brush or Pick (the same keys as in Select Primitives: Ctrl, Cmd on macOS, adds and Shift removes). If triangles are already selected when you choose this mode, the feature is fitted to them at once. This mode uses many points, so it gives a steadier fit on noisy scans.
Fit to Mesh Boundary
Click the boundary of a hole in the mesh, and the feature is fitted to all vertices on it. This is the fastest way to get a Circle at an open hole of a scan. The mode is available only when the selected mesh has holes.
Pick Sub-feature
Copies a part of an existing feature as a new feature, for example the axis of a cylinder or the center of a circle. The mode is available when a feature is selected.
Plane
Fit a plane to a flat face: select the face and use Fit to Selection, or pick at least three points that are not on one line. The plane is sized to the points it was fitted to, and its normal faces the camera. Use a plane as a base for heights and distances, to measure the angle between two faces, as the mirror plane in Mirror or to orient a model (see below).
Circle
A circle is fitted in two steps: the best plane through the points, then the best circle in that plane. Use it for the edge of a round hole or boss. On a scan with an open hole, Fit to Mesh Boundary gives the circle in one click; on a closed mesh, pick points around the edge. The circle shows its diameter.
Cylinder
Fit a cylinder to the wall of a hole or of a shaft. Select the wall triangles and use Fit to Selection, and avoid the chamfers and the faces around the hole: they pull the fit. The cylinder shows its diameter; its axis is a sub-feature you can copy as a Line with Pick Sub-feature.
For the other shapes, see Point and Line Features (the center of a hole, an axis) and Sphere and Cone Features (a ball, a chamfer or a countersink).
Refine the Fit
The Refine object section of the panel improves the feature you are creating: MeshInspector finds new points of the Target Object near the feature and fits the feature again, until the set of points stops changing. It is available for every shape except Point.
| Parameter | What it does | Default |
|---|---|---|
| Distance Limit | Maximum distance from the model to the feature for a point to be used | 0.1 mm |
| Normal Tolerance | Maximum angle between the normal of the model and the normal of the feature (meshes, and point clouds with normals) | 30° |
| Max Iterations | Maximum number of refinement rounds | 10 |
Click Refine to run it. To refine a feature that is already in the scene, select it and use Refine Feature (Inspect › Refine Feature); it has the same parameters.
Measure with Features
Features work with the measuring tools of the Inspect tab: you click a feature in the viewport as you click a point of the model.
Distance Between Features
Go to Inspect › Measure Distance and click two features. Two options decide what is measured:
- Simple (the default) measures between the centers or central axes, for example the distance between the axes of two holes.
- Exact (separation distance) measures the exact gap between the shapes. Not all pairs of features support it.
See Measure Distance for the other settings.
Angle Between Features
Go to Inspect › Measure Angle and click two features, for example two planes fitted to two faces. To measure the angle of a cone, click the same cone twice. See Measure Angle.
Orient a Model by Features
Features also help to place a part in the coordinate system: fit a plane to the base, then align the model to it.
- 3-2-1 Align can use a plane, a line and a point instead of picked points.
- Align to Plane puts a fitted plane into a plane of the coordinate system.
Make X, Make Y, Make Z
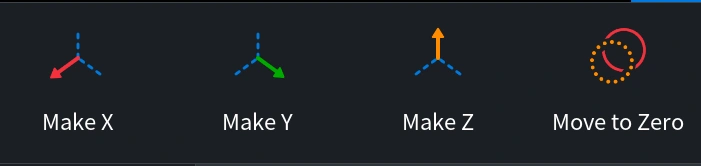
Transform › Make X, Make Y and Make Z turn the model by one of its features: for example, Make Z puts a fitted plane into the XY plane with its normal along the Z axis. Hold Shift to orient it the opposite way. See Make X, Make Y, Make Z.
Move to Zero
Transform › Move to Zero moves the selected objects to the origin (0, 0, 0). See Move to Zero.
Tips for an Accurate Fit
- Give only the surface that belongs to the shape. A few triangles of a fillet, a chamfer or the next face shift the result.
- Use as much of the surface as you can: points around the whole circumference of a hole, not on one side.
- On a noisy scan, prefer Fit to Selection over a few picked points, then use Refine.
FAQ
Where is the Features tab? There is no such tab now. The feature tools are in the Create group of the Inspect tab.
Why is Fit to Mesh Boundary greyed out? The selected mesh has no holes. Use Fit to Selection or Pick Points.
Why is Pick Sub-feature greyed out? No feature is selected. Select a feature in the Scene tree first.
Why is there no Refine object section for a point? The panel of the Point feature does not have it. To fit a point again after you created it, select it and use Refine Feature.
Still stuck? Write to support@meshinspector.com with a screenshot of the panel and, if you can, the model.


