
Terrain to Mesh turns a point cloud of a terrain into a mesh. It looks at the points from above: it projects them onto the XY plane, connects them with a Delaunay triangulation there and keeps the original height (Z) of every point. Use it for elevation data such as topographic or geographic surveys, where every position on the ground has one height.

What data fits
- Height data with Z pointing up. The tool triangulates the points as seen from above, so the cloud must be oriented with the ground in the XY plane. If your data uses another up axis, rotate it first, for example with Align to Plane, and then click Transform › Apply Transform: the tool reads the coordinates stored in the points, so a rotation that is not applied to them does not count.
- No regular grid needed. The points can be scattered in any pattern: the triangulation adapts to them.
- Not for full 3D scans. Vertical walls, overhangs and the far side of an object are not height data: seen from above, points at different heights over the same spot get connected, and the mesh comes out wrong. Use Points to Mesh or Fusion for objects.
Build a terrain mesh
- Select exactly one point cloud in the Scene tree.
- Click Points › Terrain to Mesh.
There is no panel and no settings: the triangulation starts at once. When it is done:
- The point cloud is replaced by a mesh with the same name. To get the cloud back, undo with Ctrl+Z (Cmd+Z on macOS).
- The vertices of the mesh are the points of the cloud, with their original coordinates.
- The boundary of the mesh is highlighted in white.
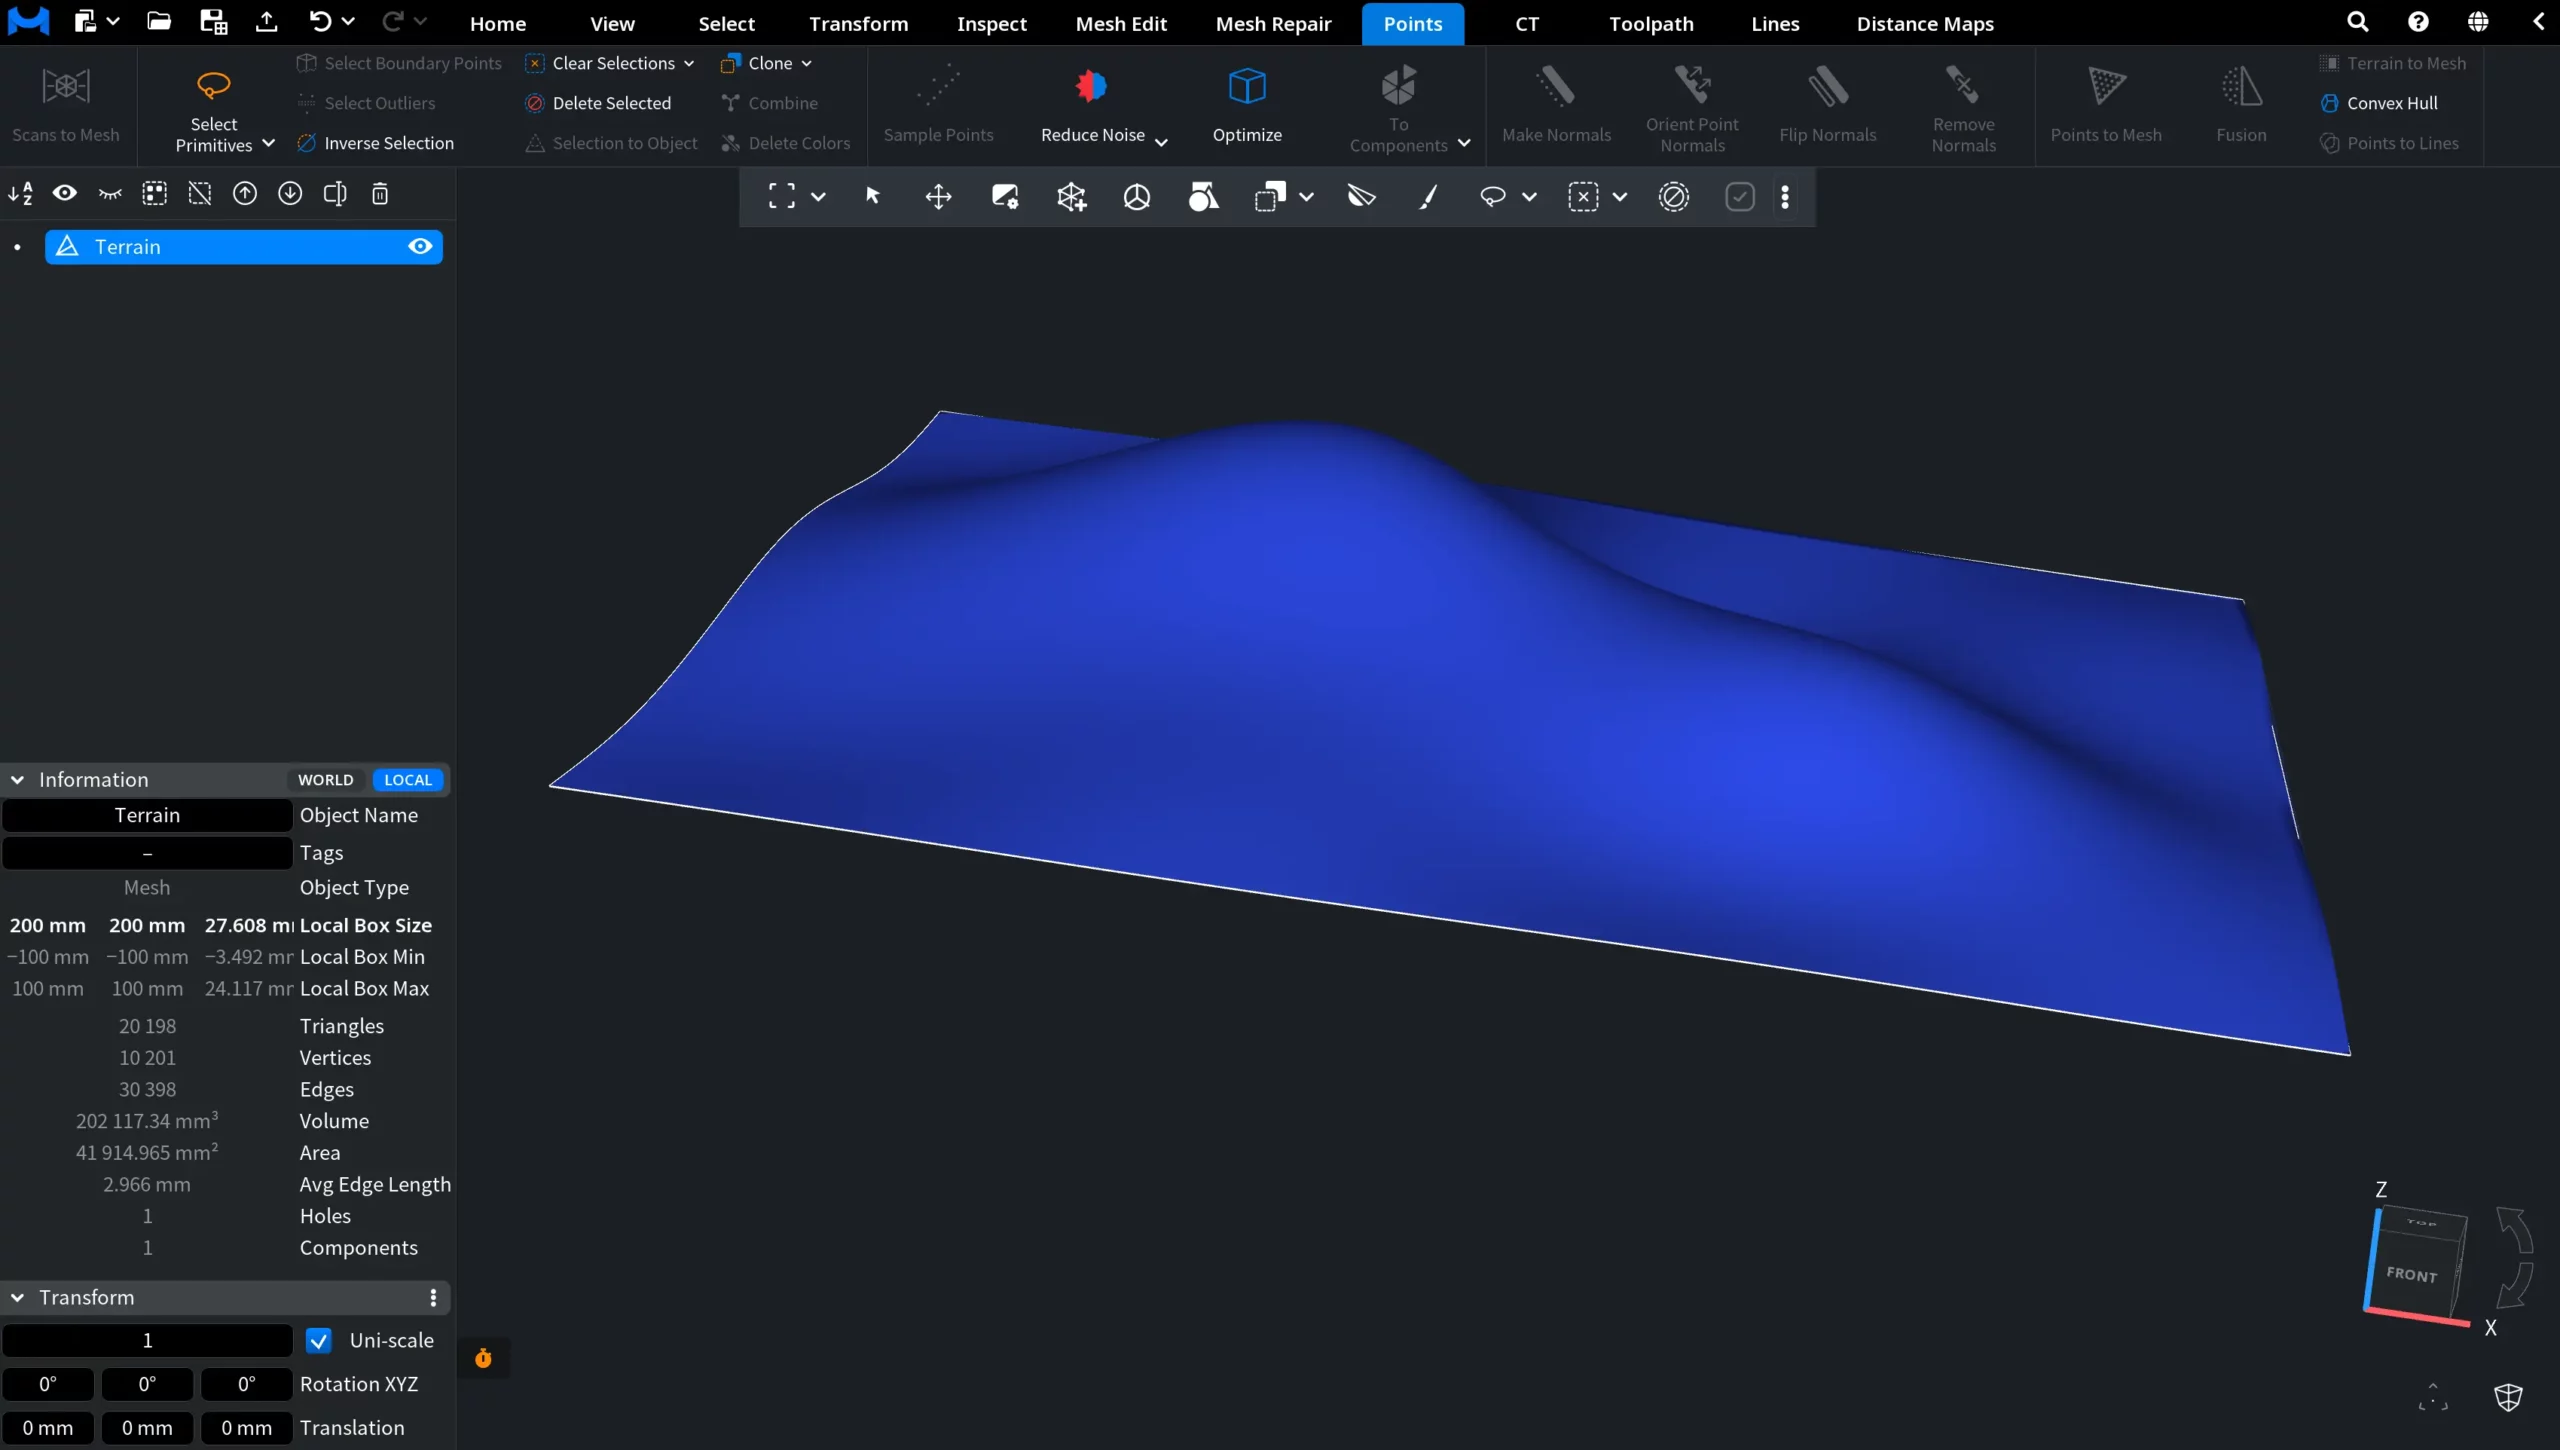
A dense survey gives a heavy mesh. To make it lighter, use Simplify.
For a comparison of all ways to build a mesh from points, see How to Turn Point Clouds into Mesh.

