
Select Boundary Points selects the points that lie on the edges of a point cloud: its outer border and the borders of holes. Use it to see where a scan is incomplete, or to select a ragged, noisy edge of a scan and delete it.
For each point, MeshInspector looks at its nearest neighbours. If the neighbours leave a wide enough gap on one side of the point, the point is treated as a boundary point.

How to select boundary points
- Select one or more point clouds in the Scene tree.
- Click Points › Select Boundary Points.
- Adjust the settings if needed and click Select.
| Parameter | What it does | Default |
|---|---|---|
| Nearest Neighbours | How many nearest points are analysed around each point. With too few neighbours, gaps between points in a sparse cloud can be taken for holes; more neighbours make the tool slower. 6 to 99. | 16 |
| Angle | The smallest gap angle between neighbouring points at which a point counts as a boundary point. A smaller angle selects more points. 30° to 180°. | 90° |
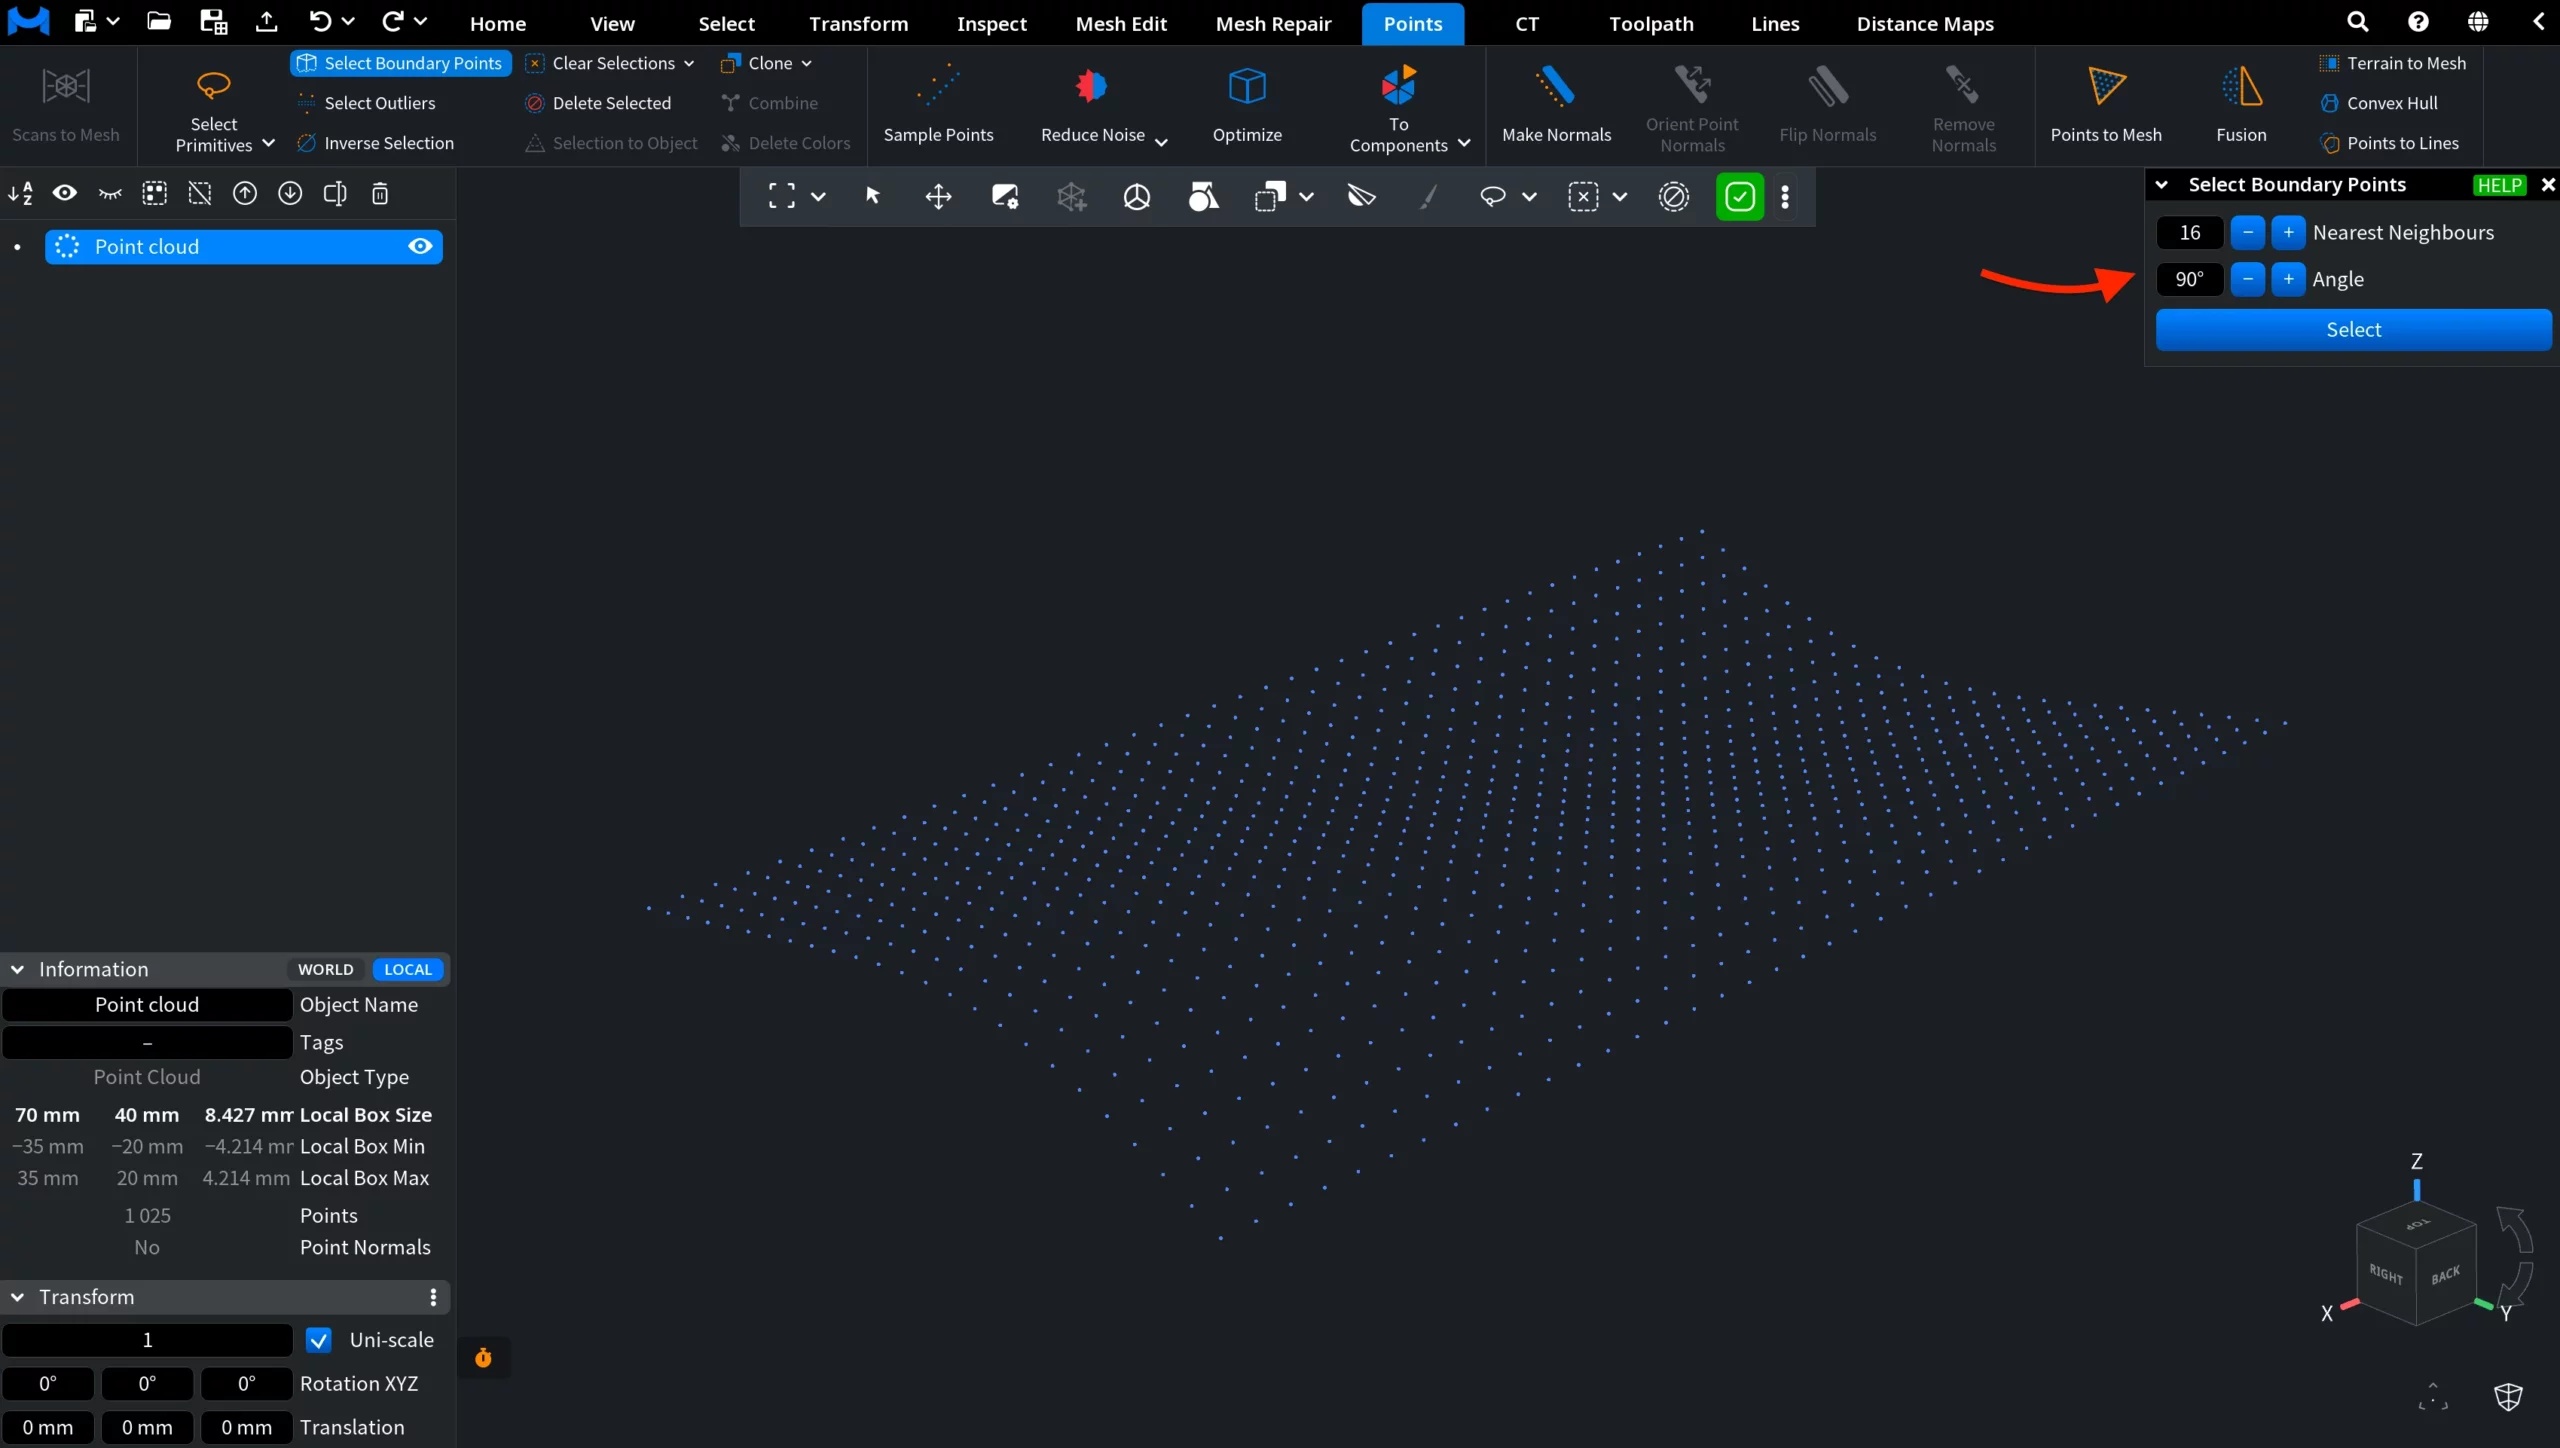
After Select, the boundary points are highlighted in red and the panel closes. The new points are added to the points that were already selected. To compare different settings, clear the selection first with Clear Selections, then open the tool again.
Results with different settings
Below is the result with the default settings, 16 Nearest Neighbours and an Angle of 90°:
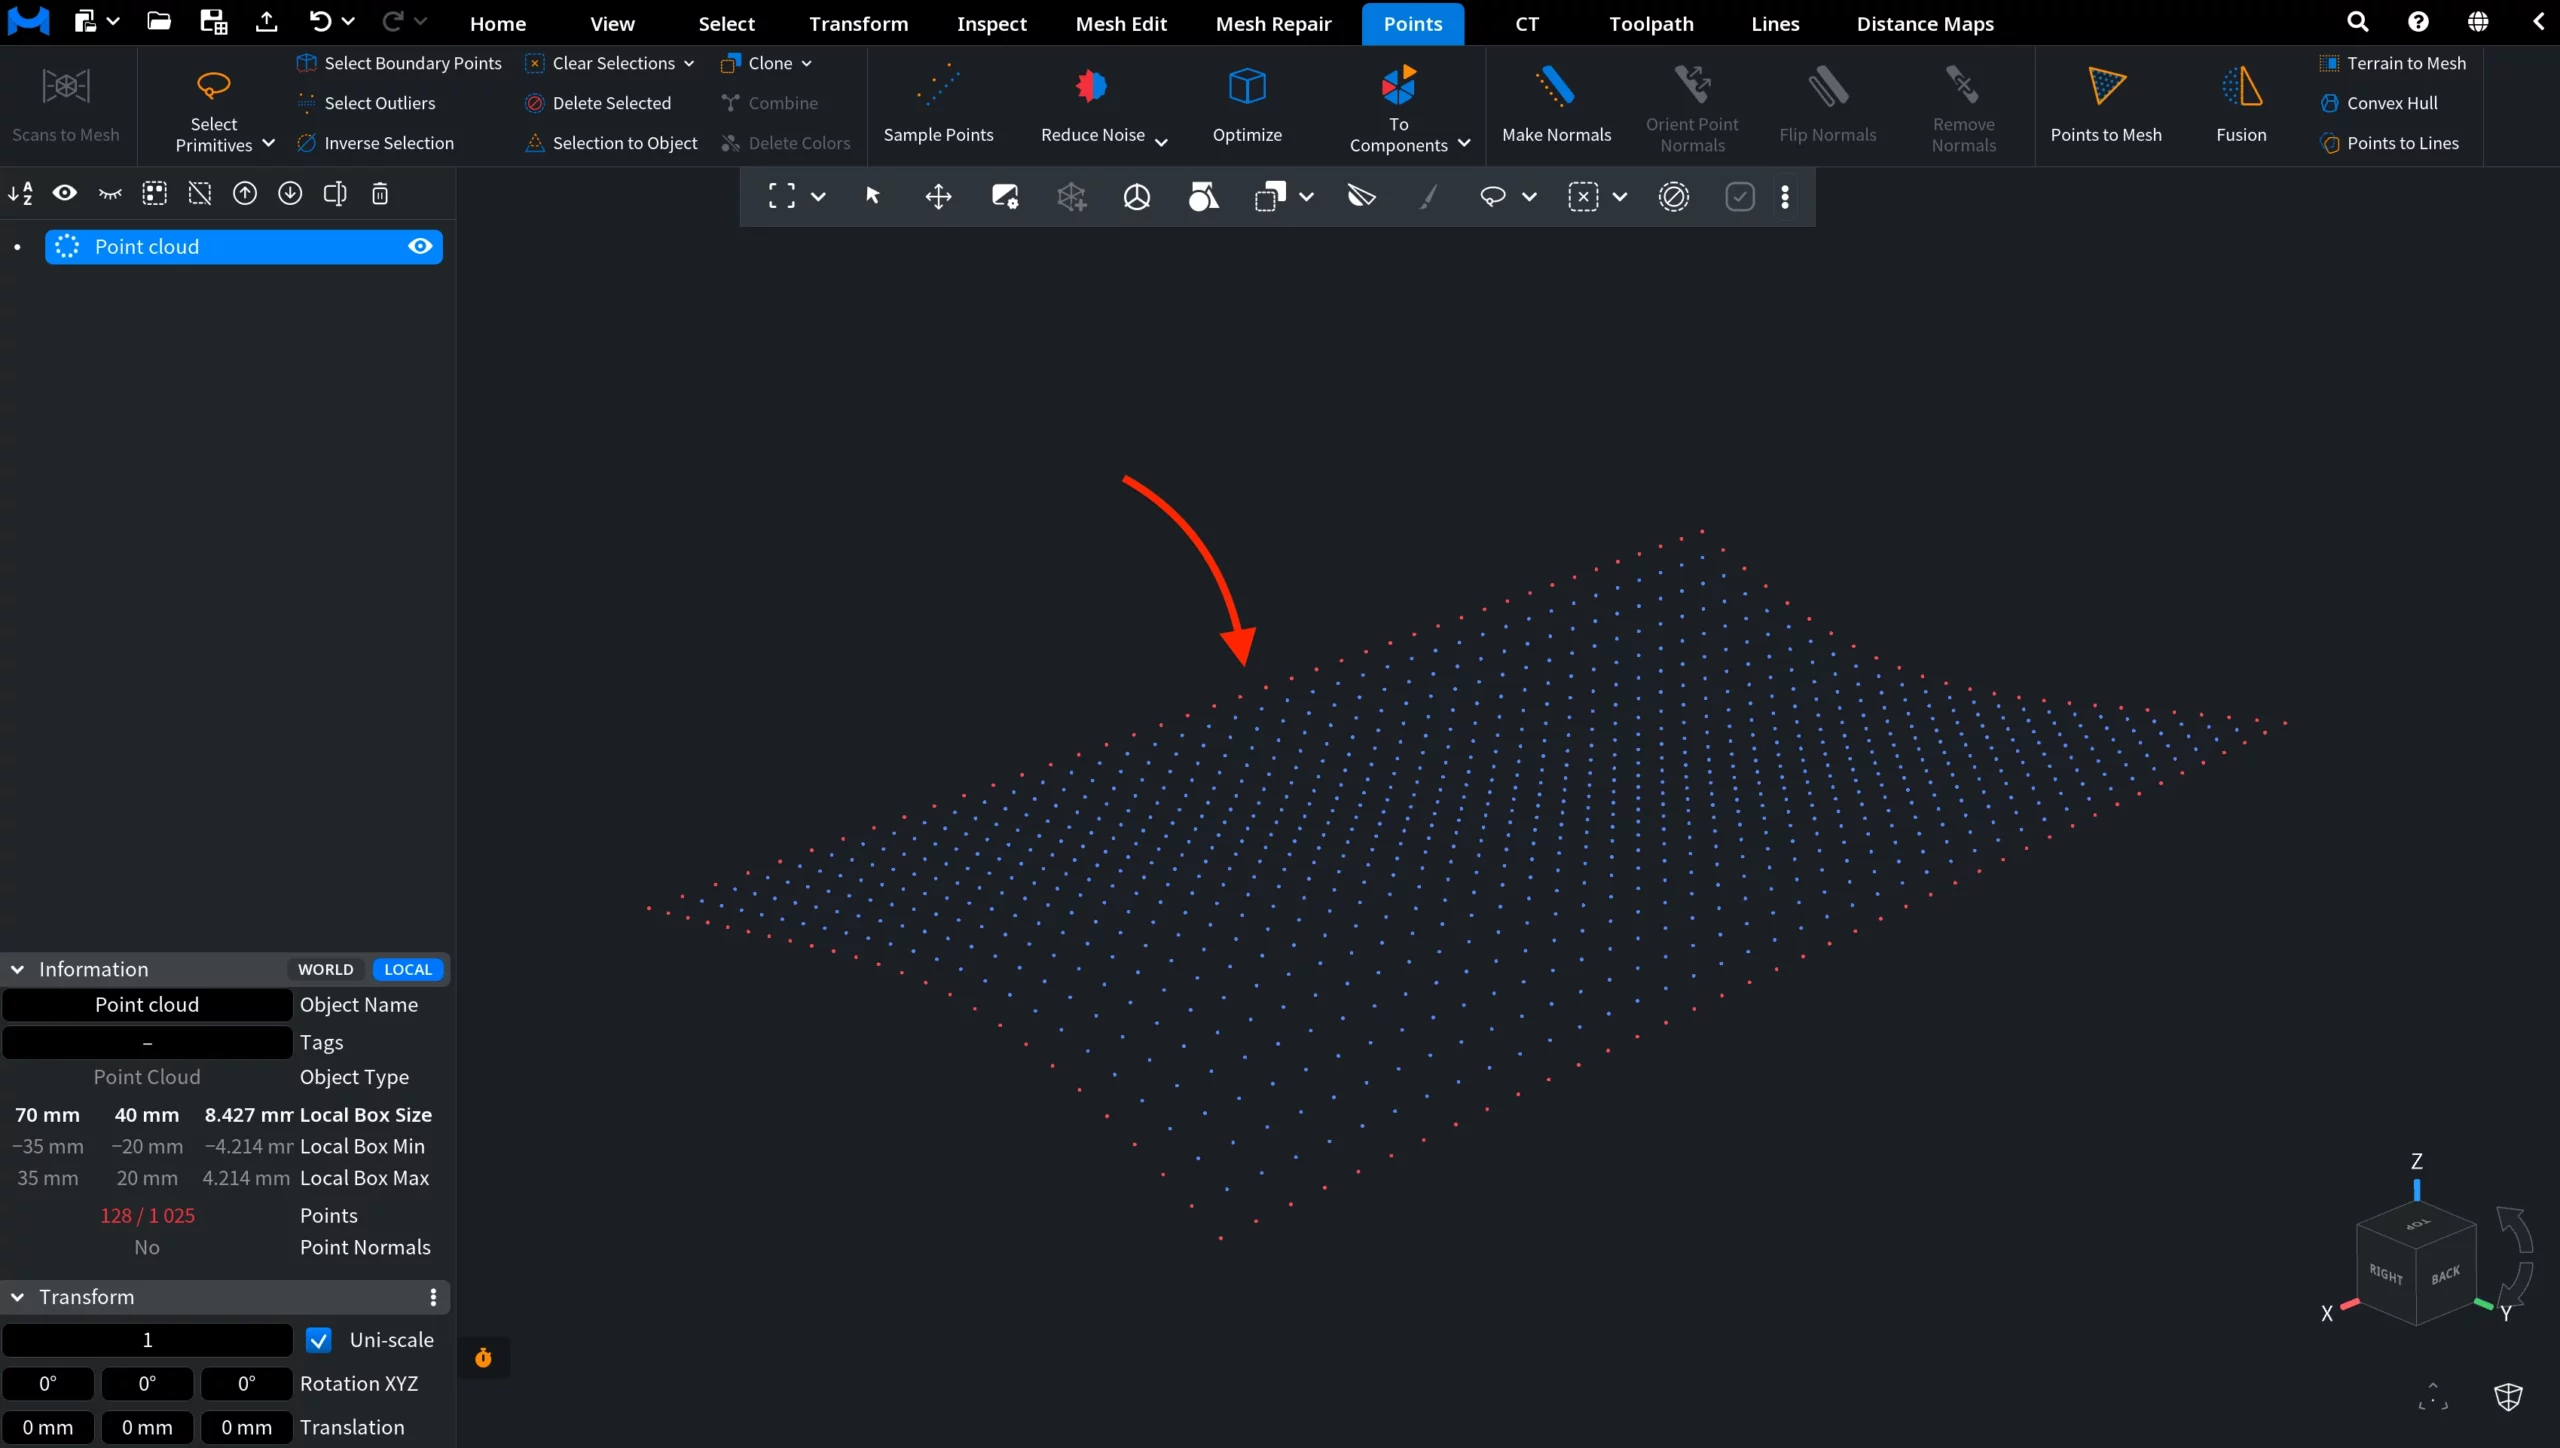
In this example, the tool selected 128 out of 1,025 points: the outer border of the cloud, while the inner points stay unselected.
The same cloud with 16 Nearest Neighbours and an Angle of 45°:

With the smaller angle, MeshInspector selected 194 out of 1,025 points instead of 128: the selection goes further inward from the border. The numbers depend on your cloud; start with the defaults and change Angle in small steps.
What to do with the selection
- To delete a ragged edge, press Delete Selected.
- To keep only the boundary, use Inverse Selection and then delete the other points.
- For meshes, use Select Boundary Edges instead.


