Working with CT voxel datasets sometimes requires adjusting the intensity range of the voxel values. The Voxels Normalize tool in MeshInspector allows you to linearly remap the intensity values of a voxel dataset to a specified range. To access this tool, open the CT tab on the top toolbar and click Voxels Normalize.
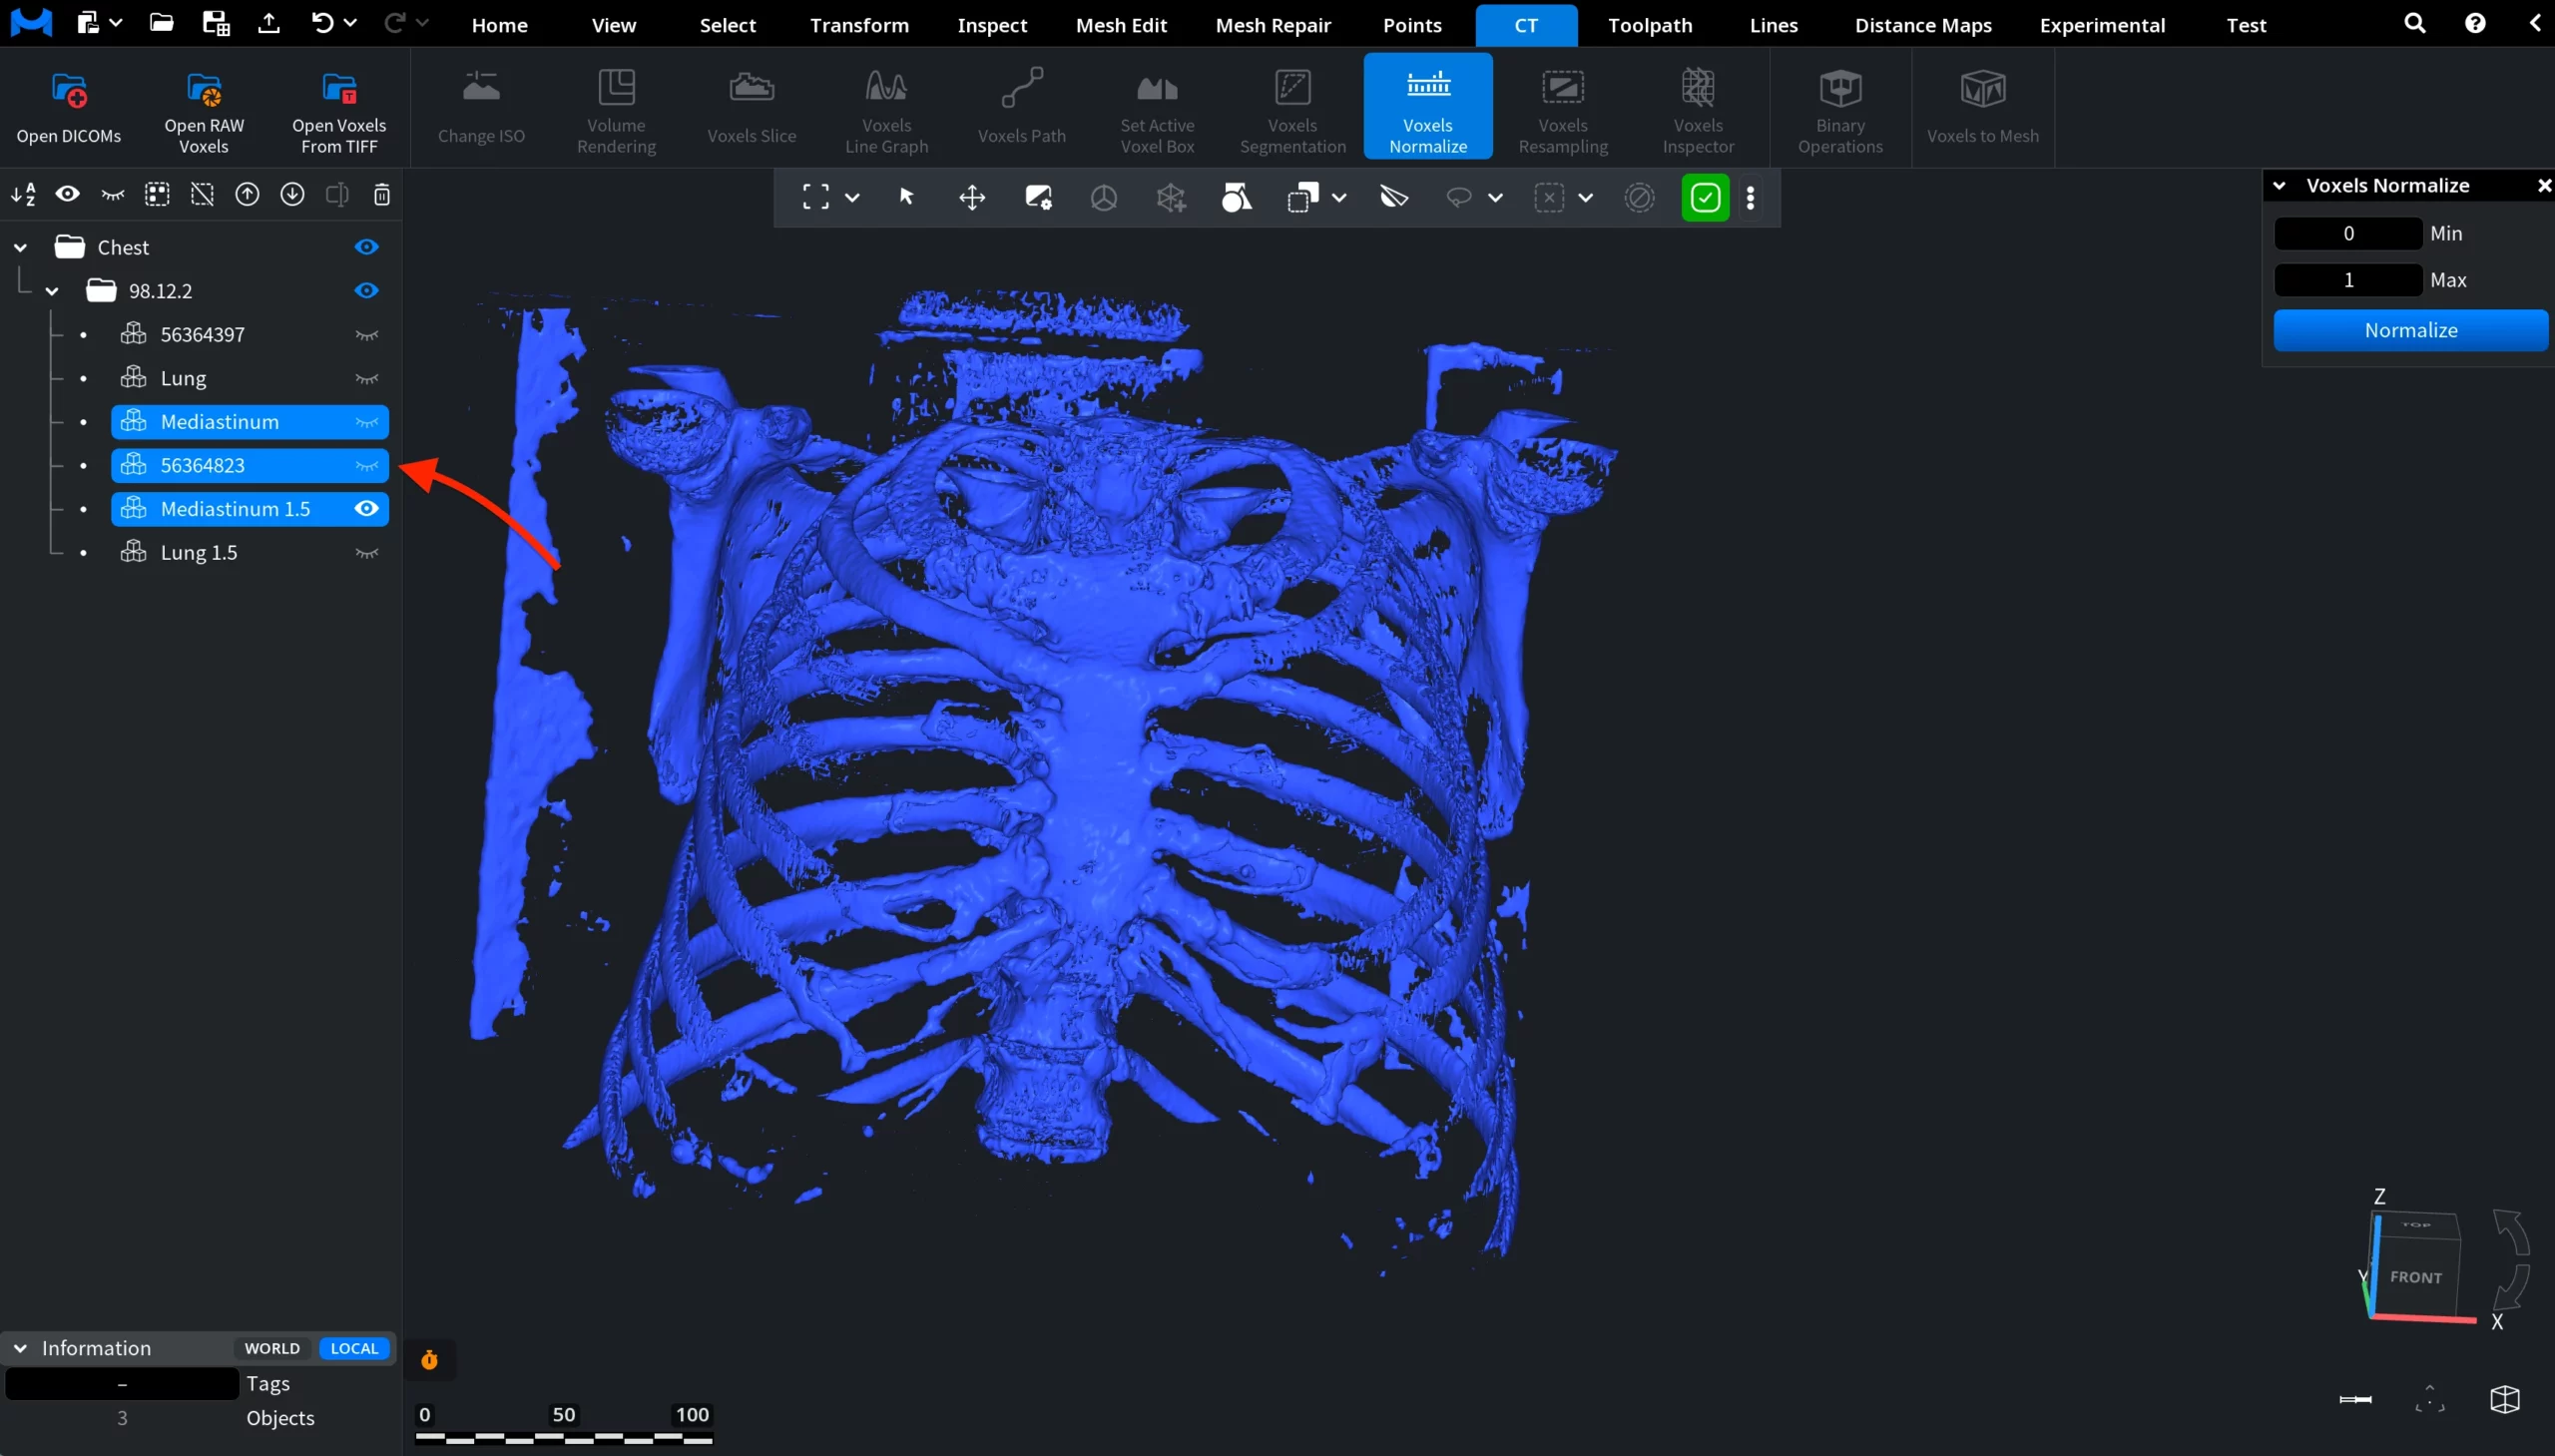
Unlike many other CT tools, Voxels Normalize can be applied to multiple voxel volumes simultaneously. If several voxel objects are selected in the Scene Tree, the normalization will be applied to all of them at once. In the example shown below, multiple voxel volumes are selected in the Scene Tree. However, for clarity, we will later demonstrate the normalization process on a single voxel object.
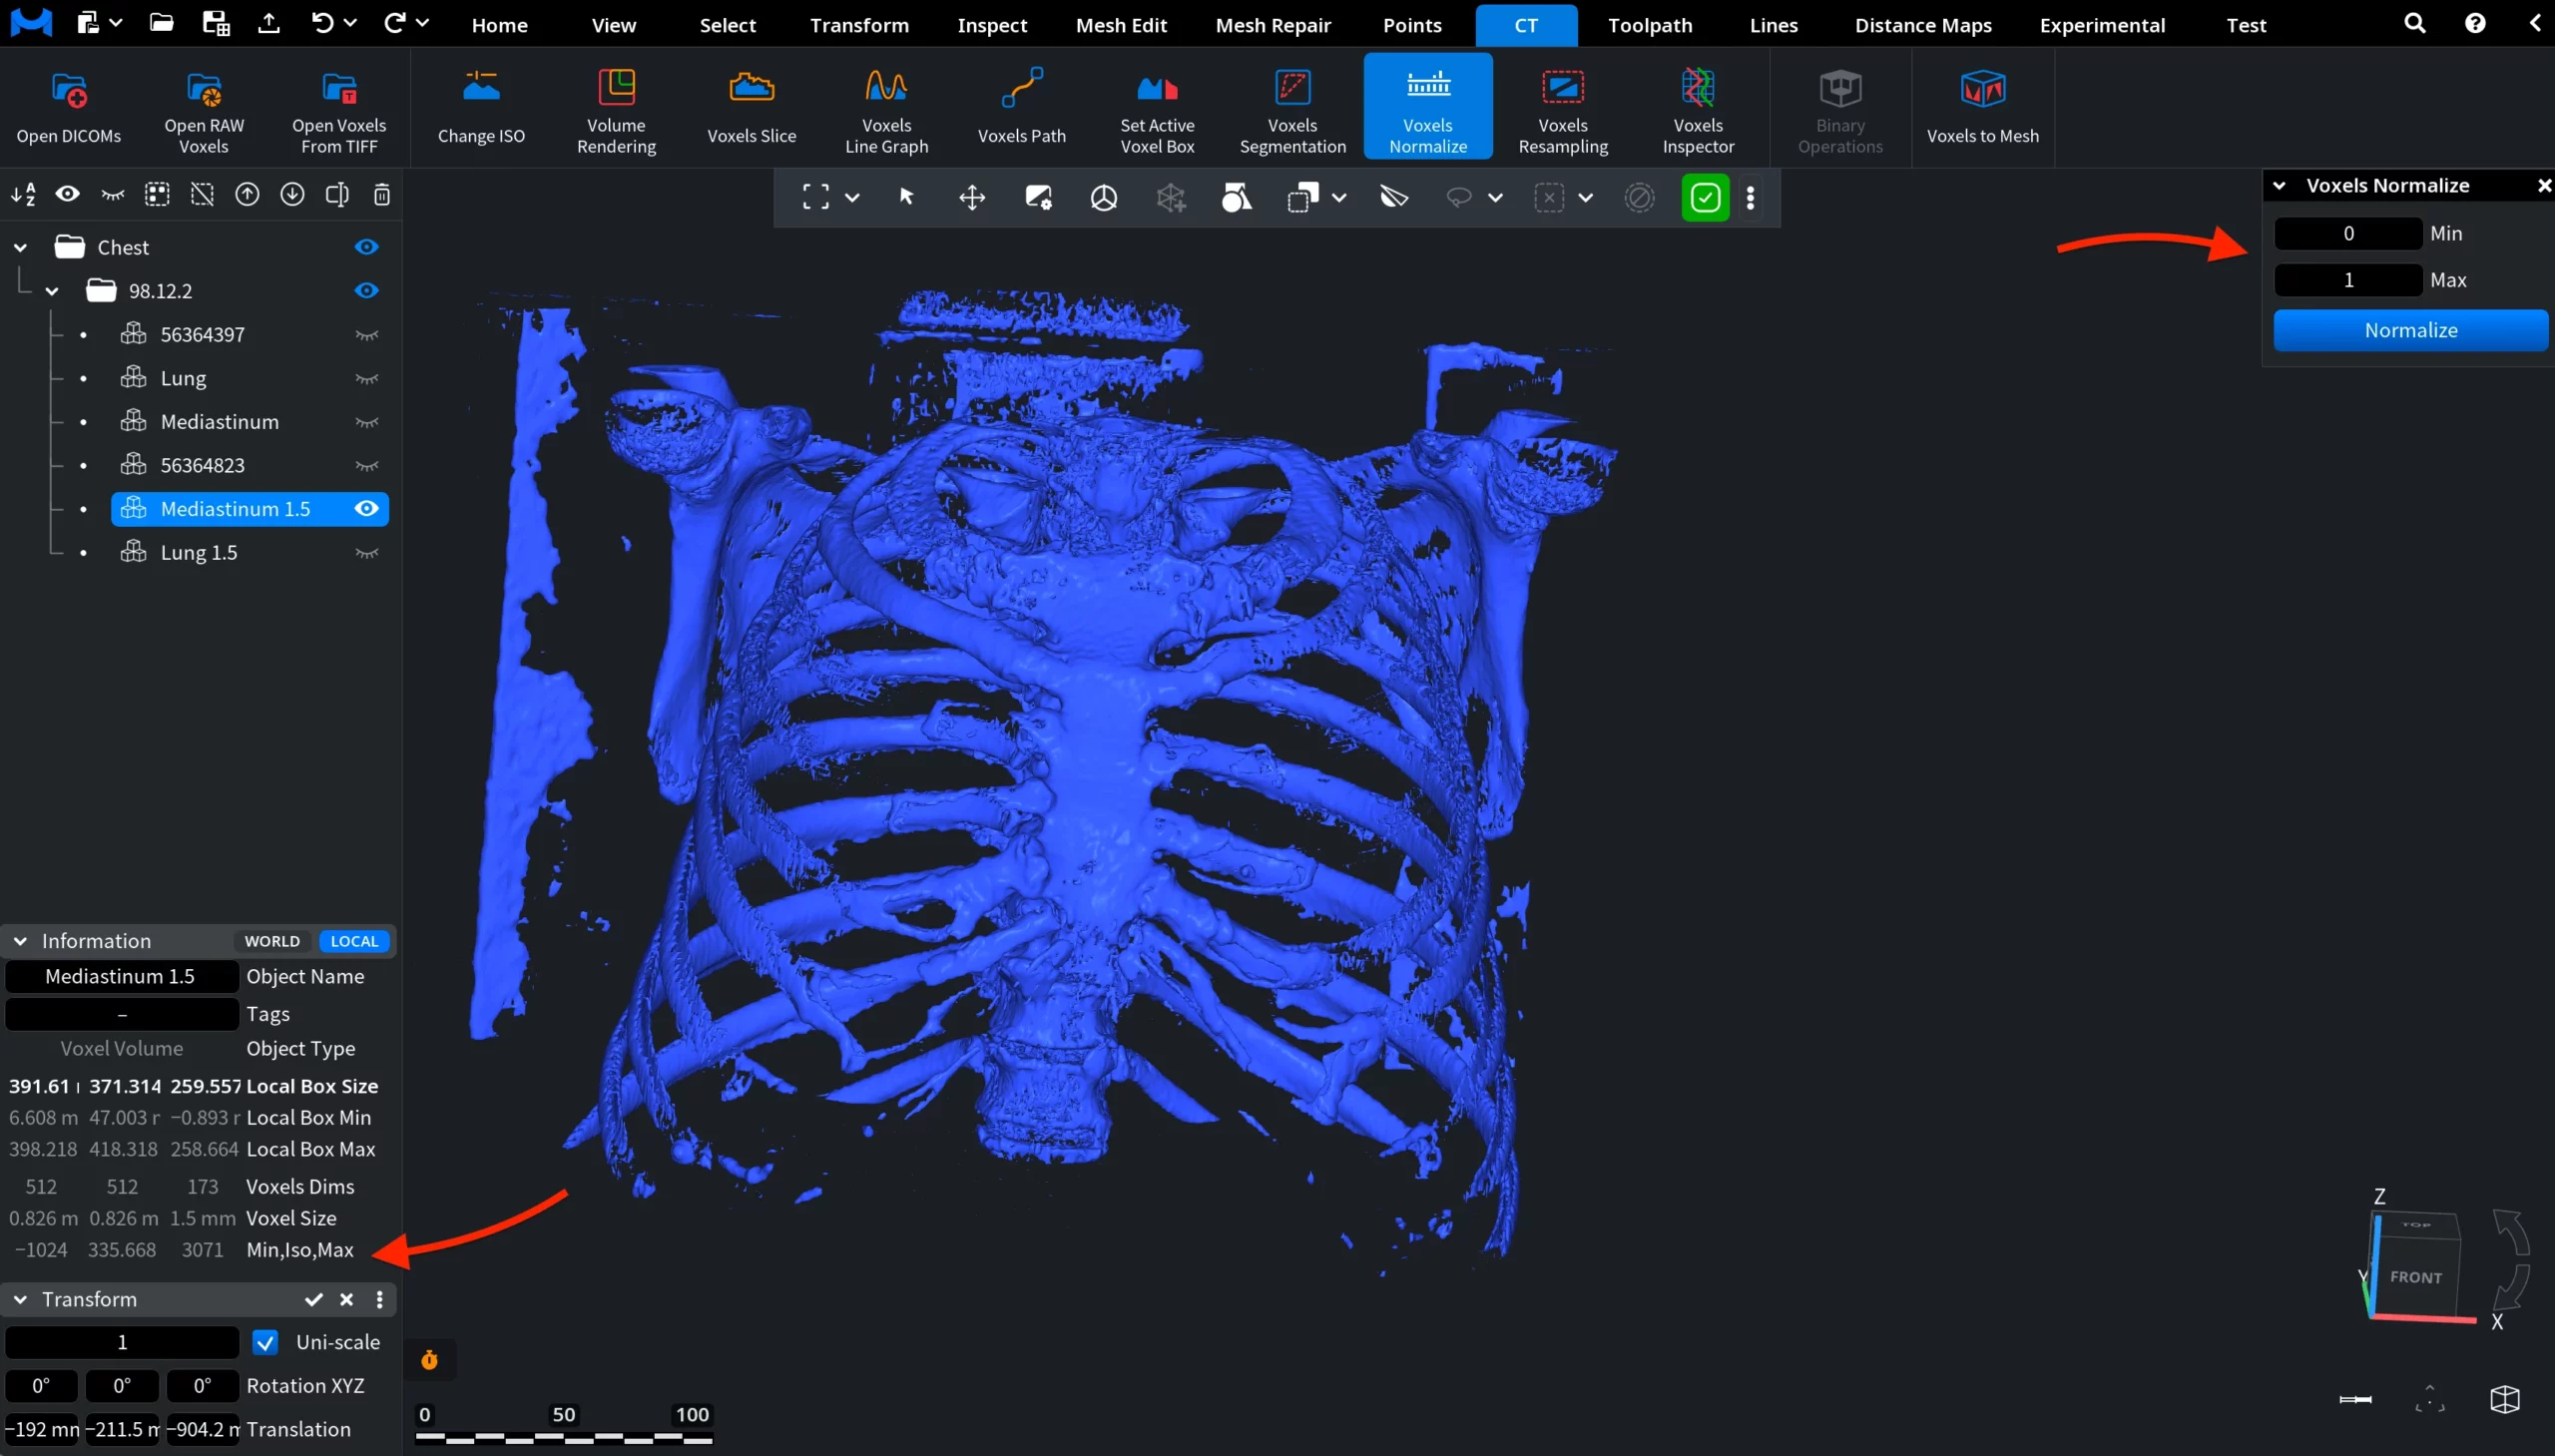
After selecting a single voxel object and clicking Voxels Normalize, a dedicated settings panel opens on the right side of the interface. In this panel, the user can enter the Min and Max values that define the new intensity range.
Before applying normalization with the default settings, users can look at the Information panel. There, voxel statistics for the selected object are displayed. Note the values shown for Min, Iso, and Max. These reflect the current voxel value range before normalization.
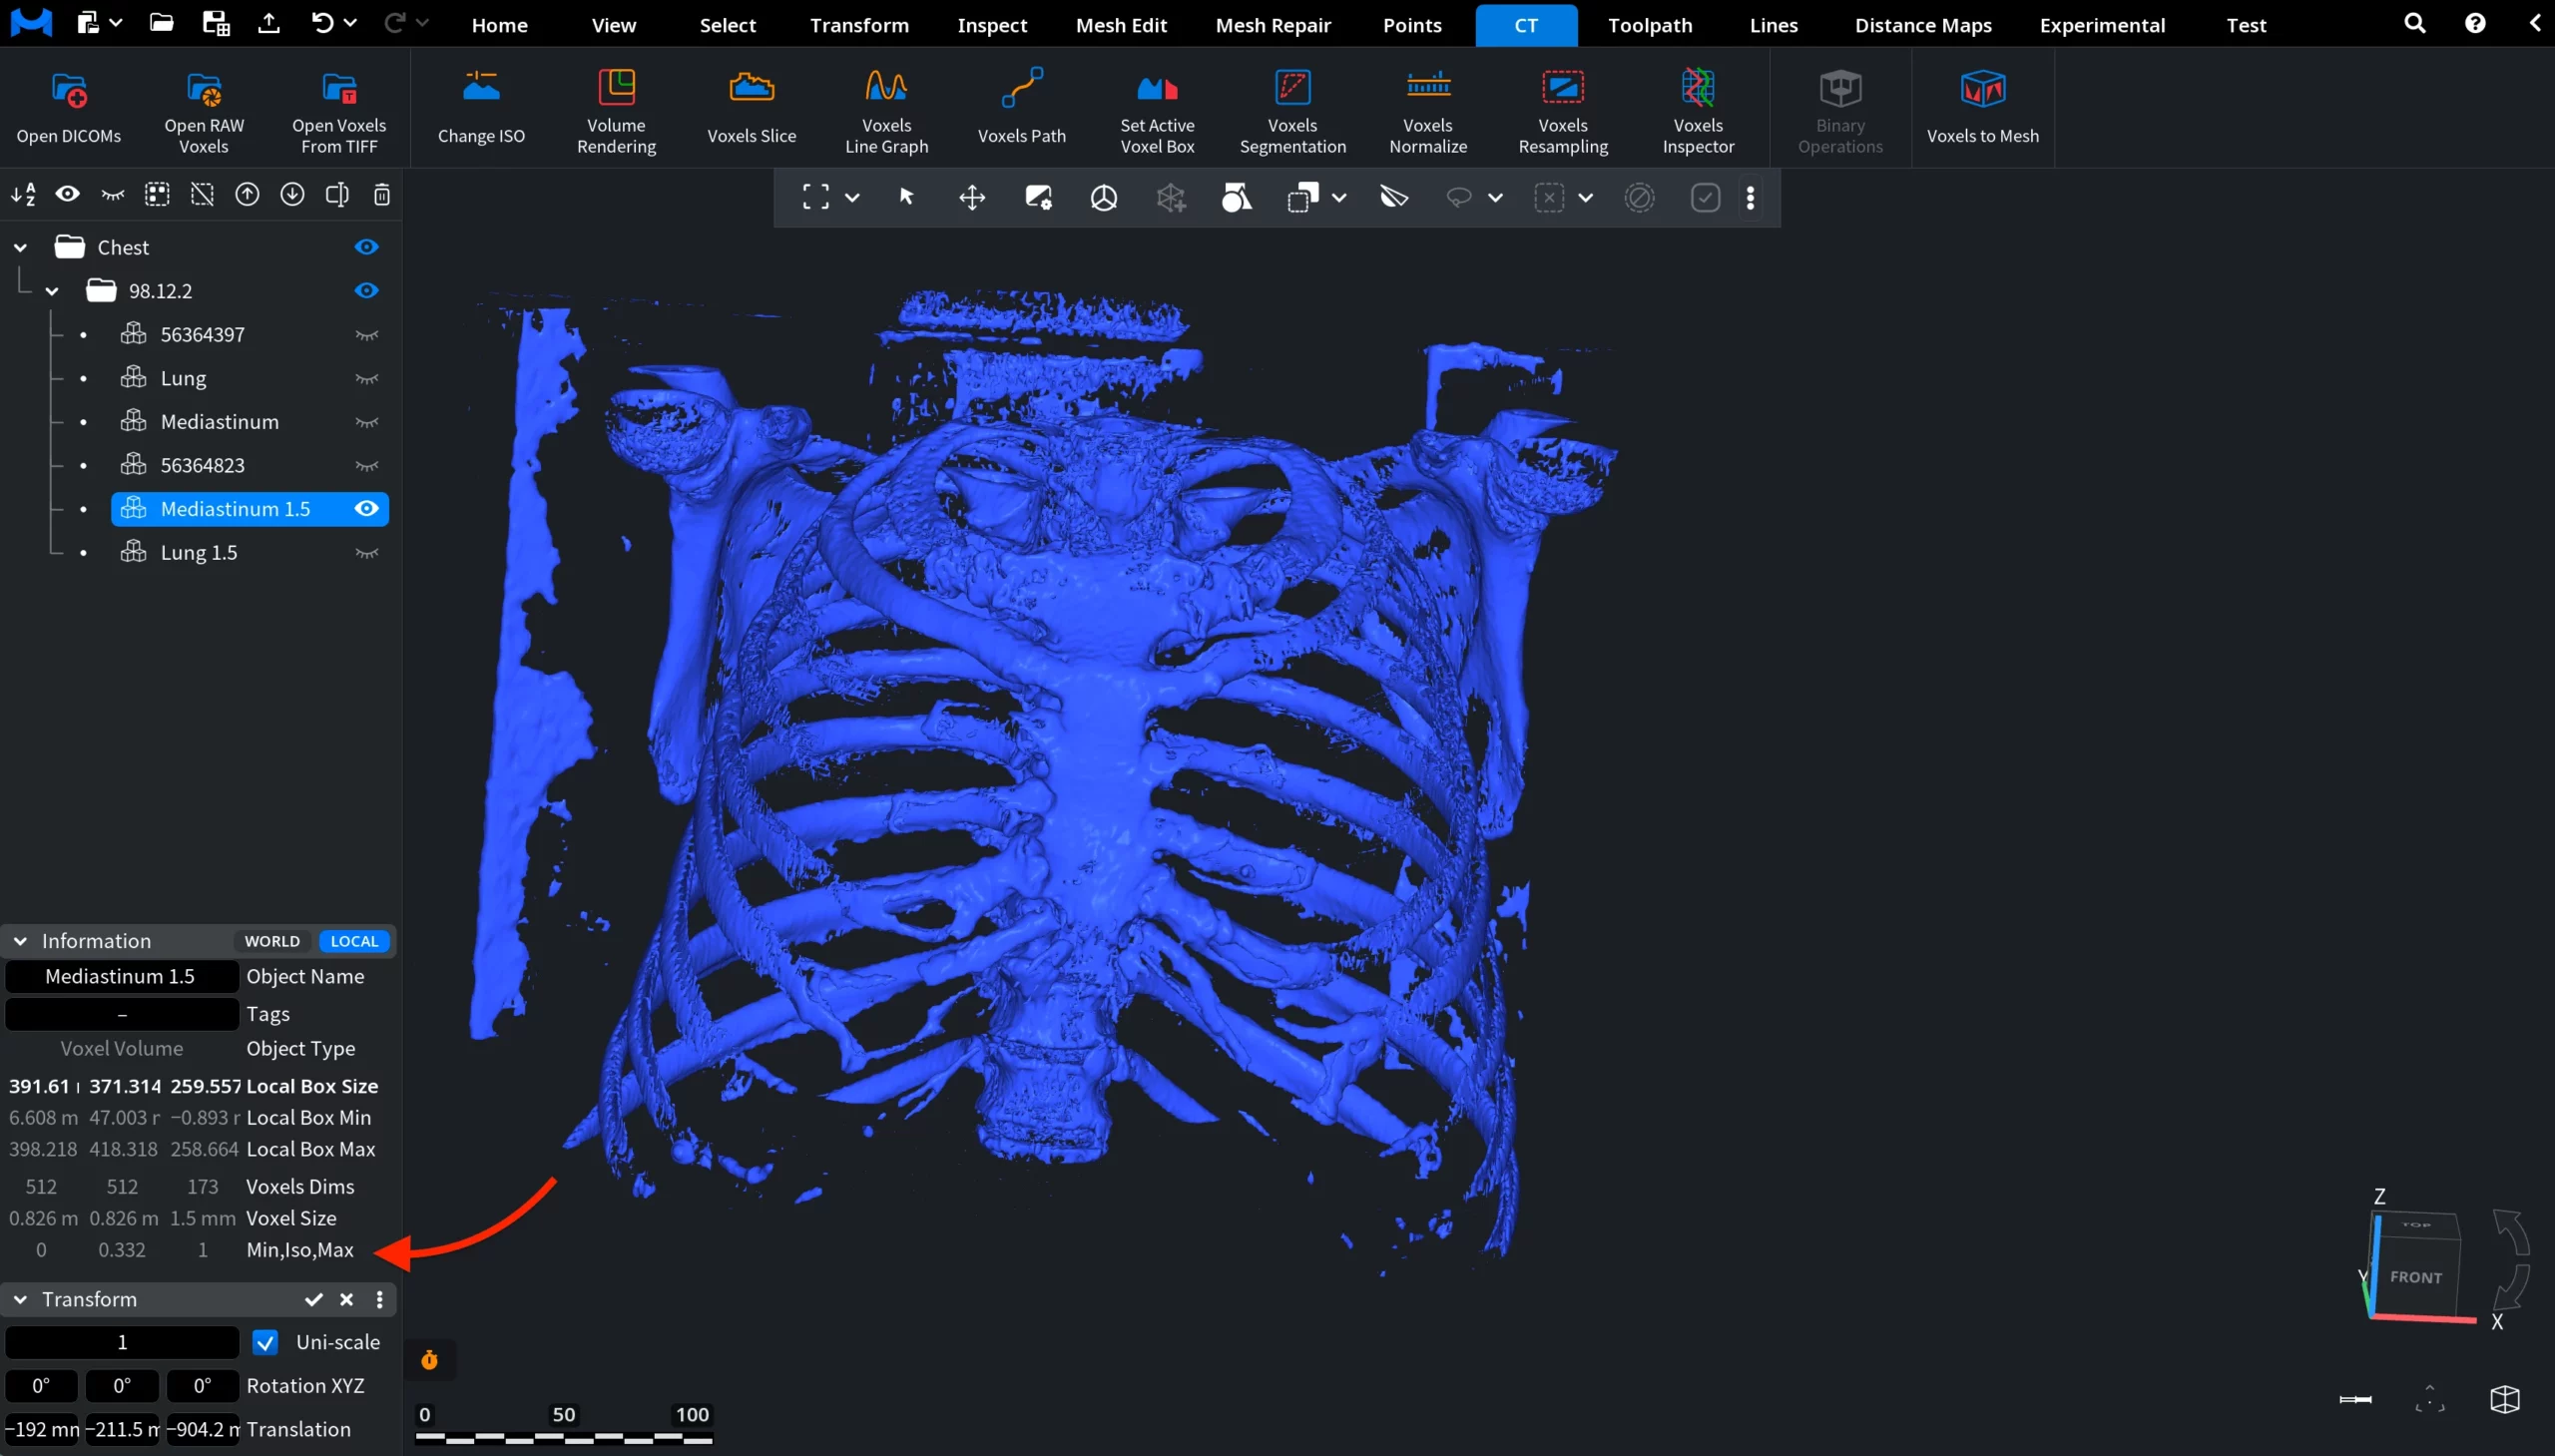
After applying the Voxels Normalize operation, the values shown in the Information panel change accordingly. The Min, Iso, and Max values now reflect the new voxel value (intensity) range defined by the normalization parameters. In this example, the voxel intensities have been remapped to the default 0–1 range.