When working with point clouds, computing normals for point clouds is often necessary. Normals describe the local surface orientation around each point and are important for many professional tasks. For this purpose, MeshInspector provides the Make Normals tool. This tool computes a normal vector for each point in the selected point cloud based on the surrounding geometry. Calculated normals can improve the visual appearance of the dataset and enable operations that rely on surface orientation.
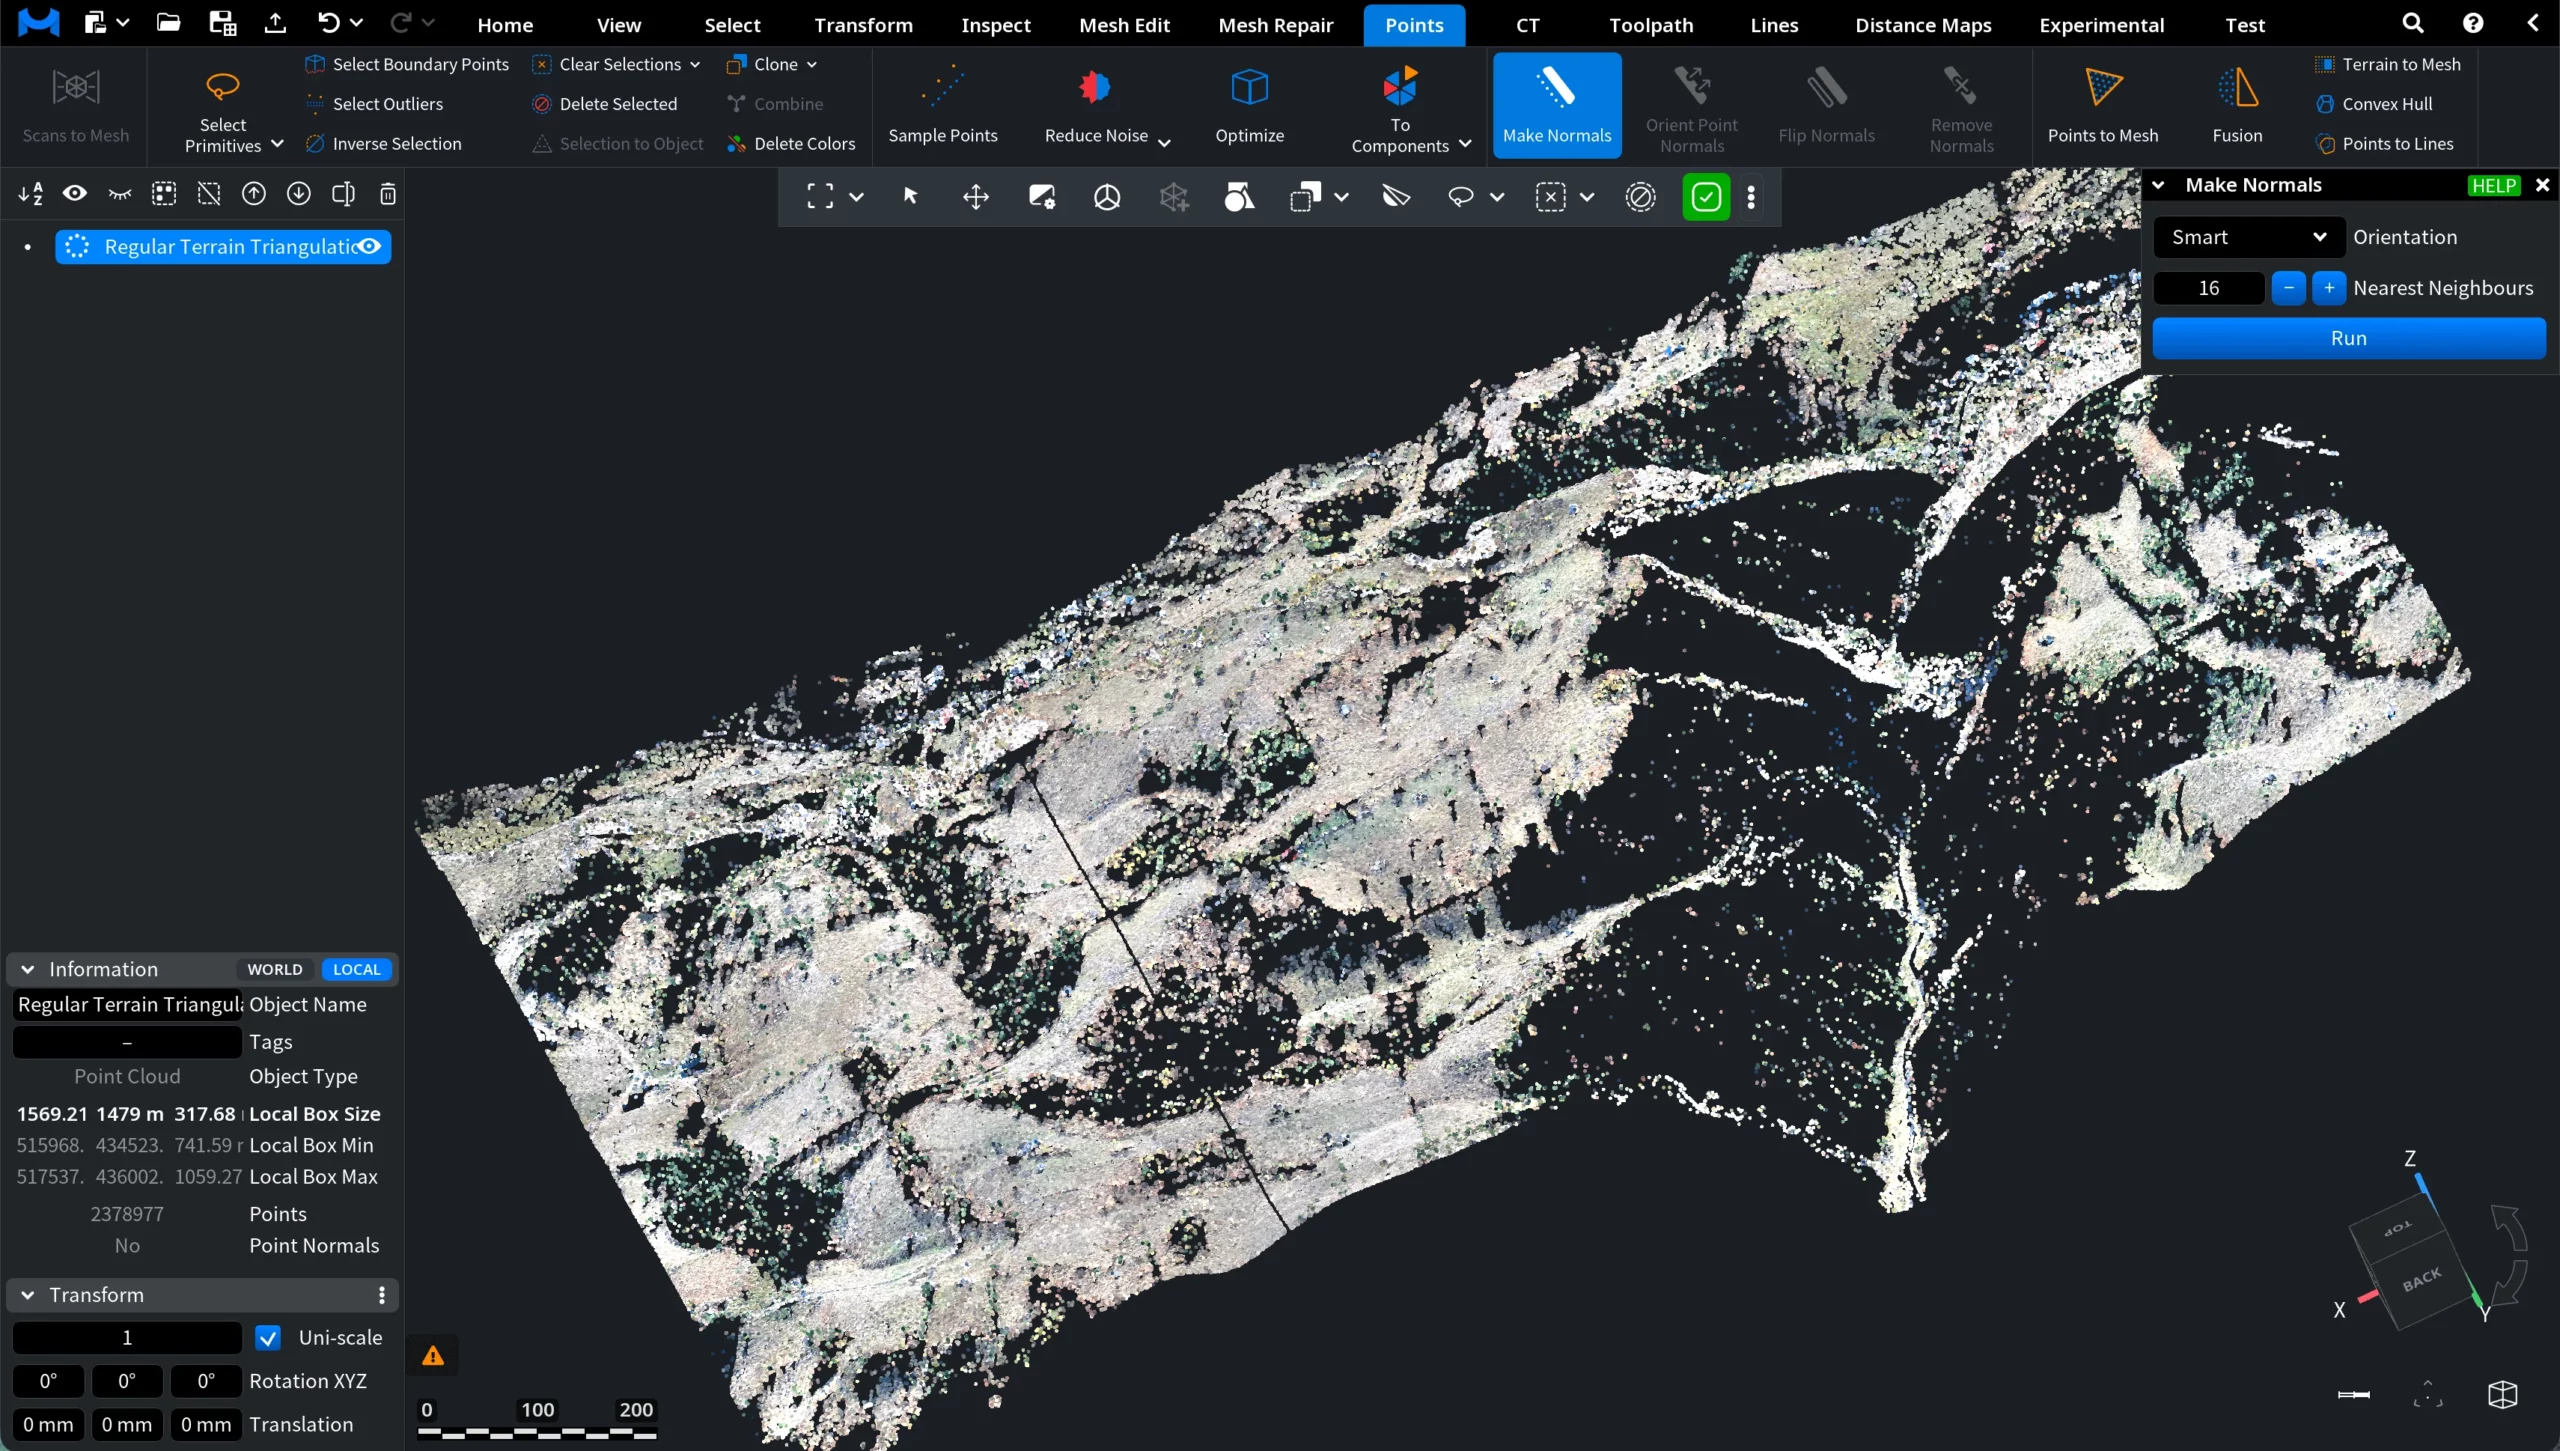
To access this tool, open the Points tab in the top toolbar and select Make Normals.

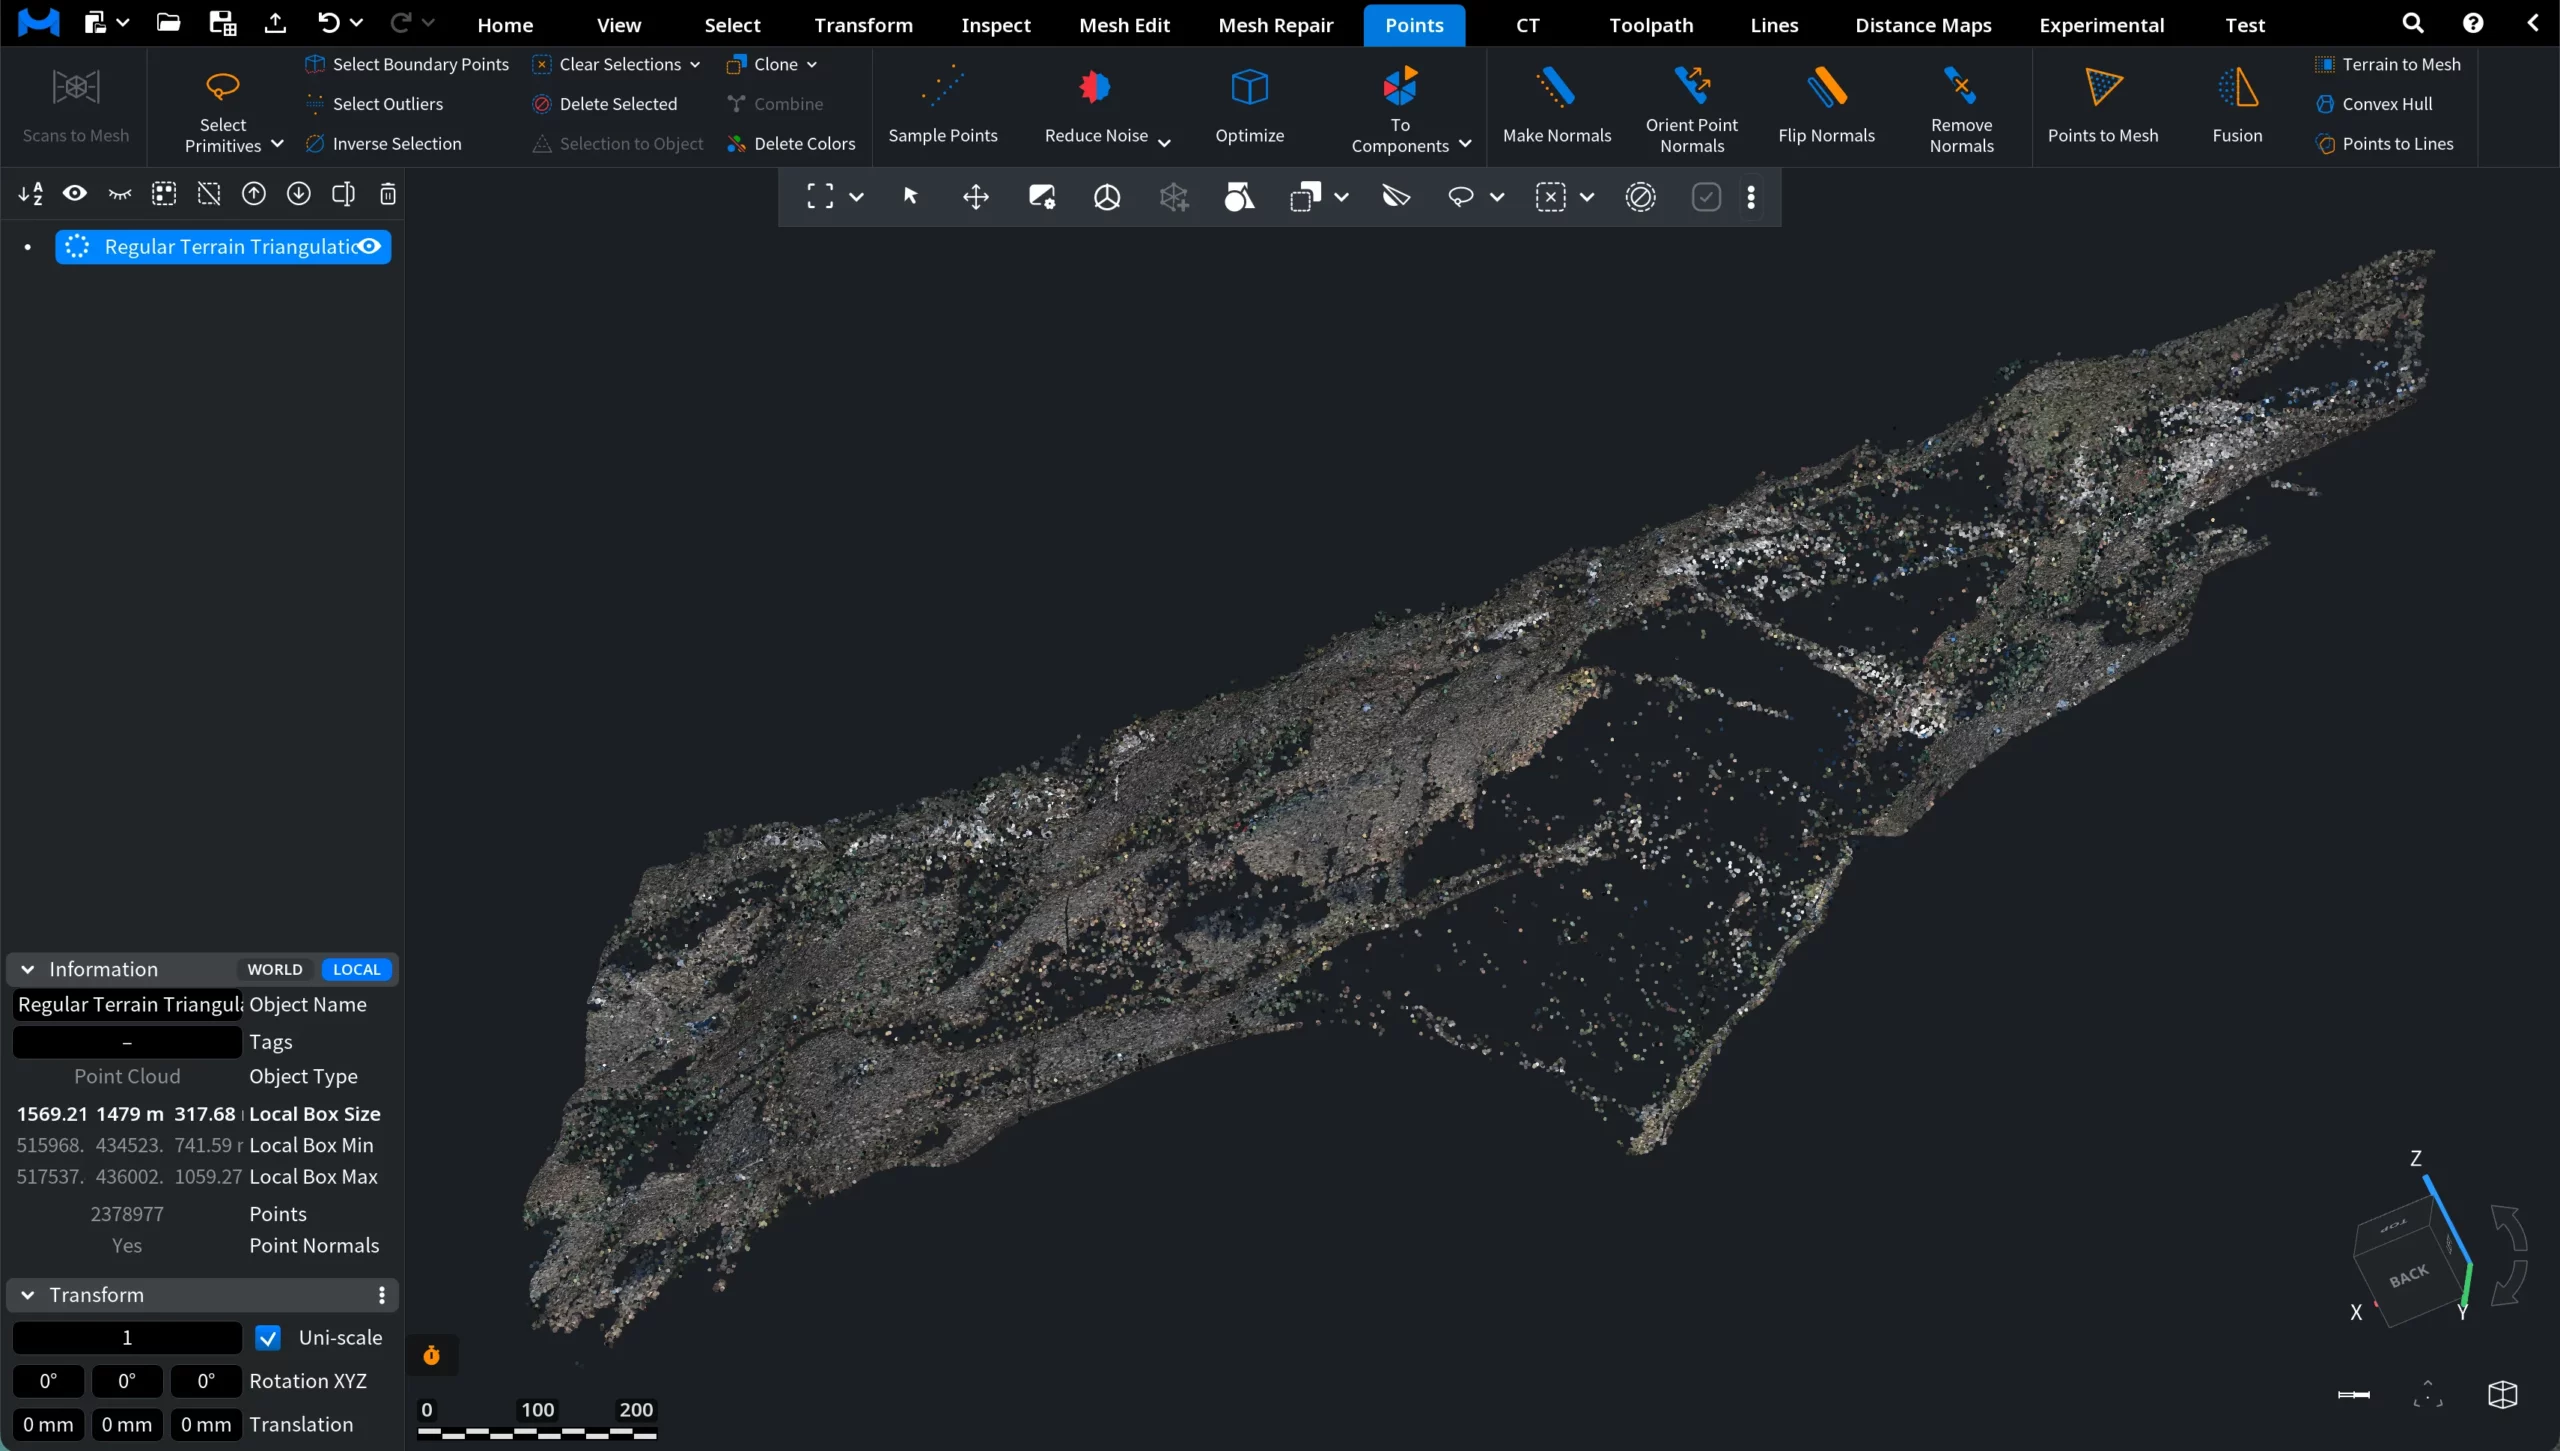
For this demonstration, we loaded a point cloud without normals and clicked Make Normals to open the dedicated settings panel.
Make Normals: Settings
The Orientation parameter defines how MeshInspector chooses between the two opposite normal orientations at each point. Three options are available:
- Smart activates a smart algorithm that selects similar orientations of normals in nearby points.
- Fast activates a fast algorithm (about 5 times faster than Smart) that orients all normals away from the cloud’s centroid.
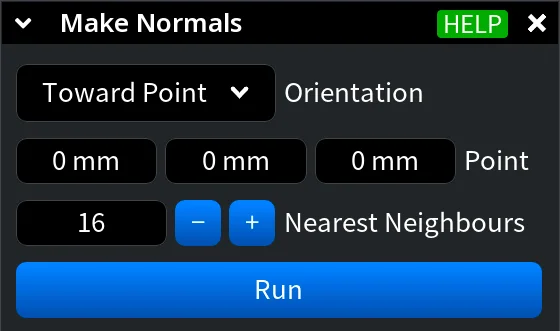
- Toward Point orients each normal toward the selected point.
When Toward Point is selected, additional Point fields appear. These fields define the X, Y, and Z coordinates of the position in the local coordinate system of the point cloud, where the LiDAR is located and toward which the normals shall be oriented.
The Nearest Neighbours parameter defines the number of nearest neighboring points used for building the local triangulation. If this value is too small, the triangulation may be suboptimal and may produce additional holes. If it is too large, optimization becomes more difficult and performance decreases.
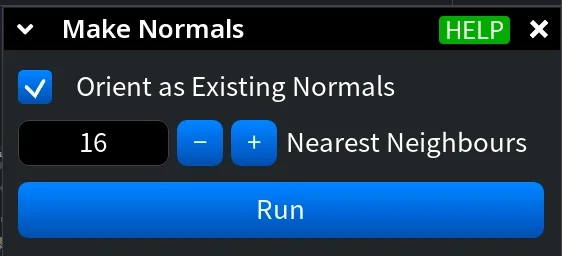
If the point cloud already contains normals, the Orient as Existing Normals option becomes available. When this option is enabled, MeshInspector keeps the orientation of the original normals and only adjusts their direction if necessary. This allows the tool to recompute or refine normals while preserving their overall orientation relative to the original dataset.
To commit the Make Normals operations with your chosen settings, click Run.
After Make Normals: Smart
In this example, Make Normals is executed with the Smart orientation and 16 Nearest Neighbours. As a result, normal vectors are computed for all points, which changes the visual appearance of the point cloud.
This happens because MeshInspector can now use the computed normals during rendering, allowing the lighting model to better represent the local surface orientation of the dataset.
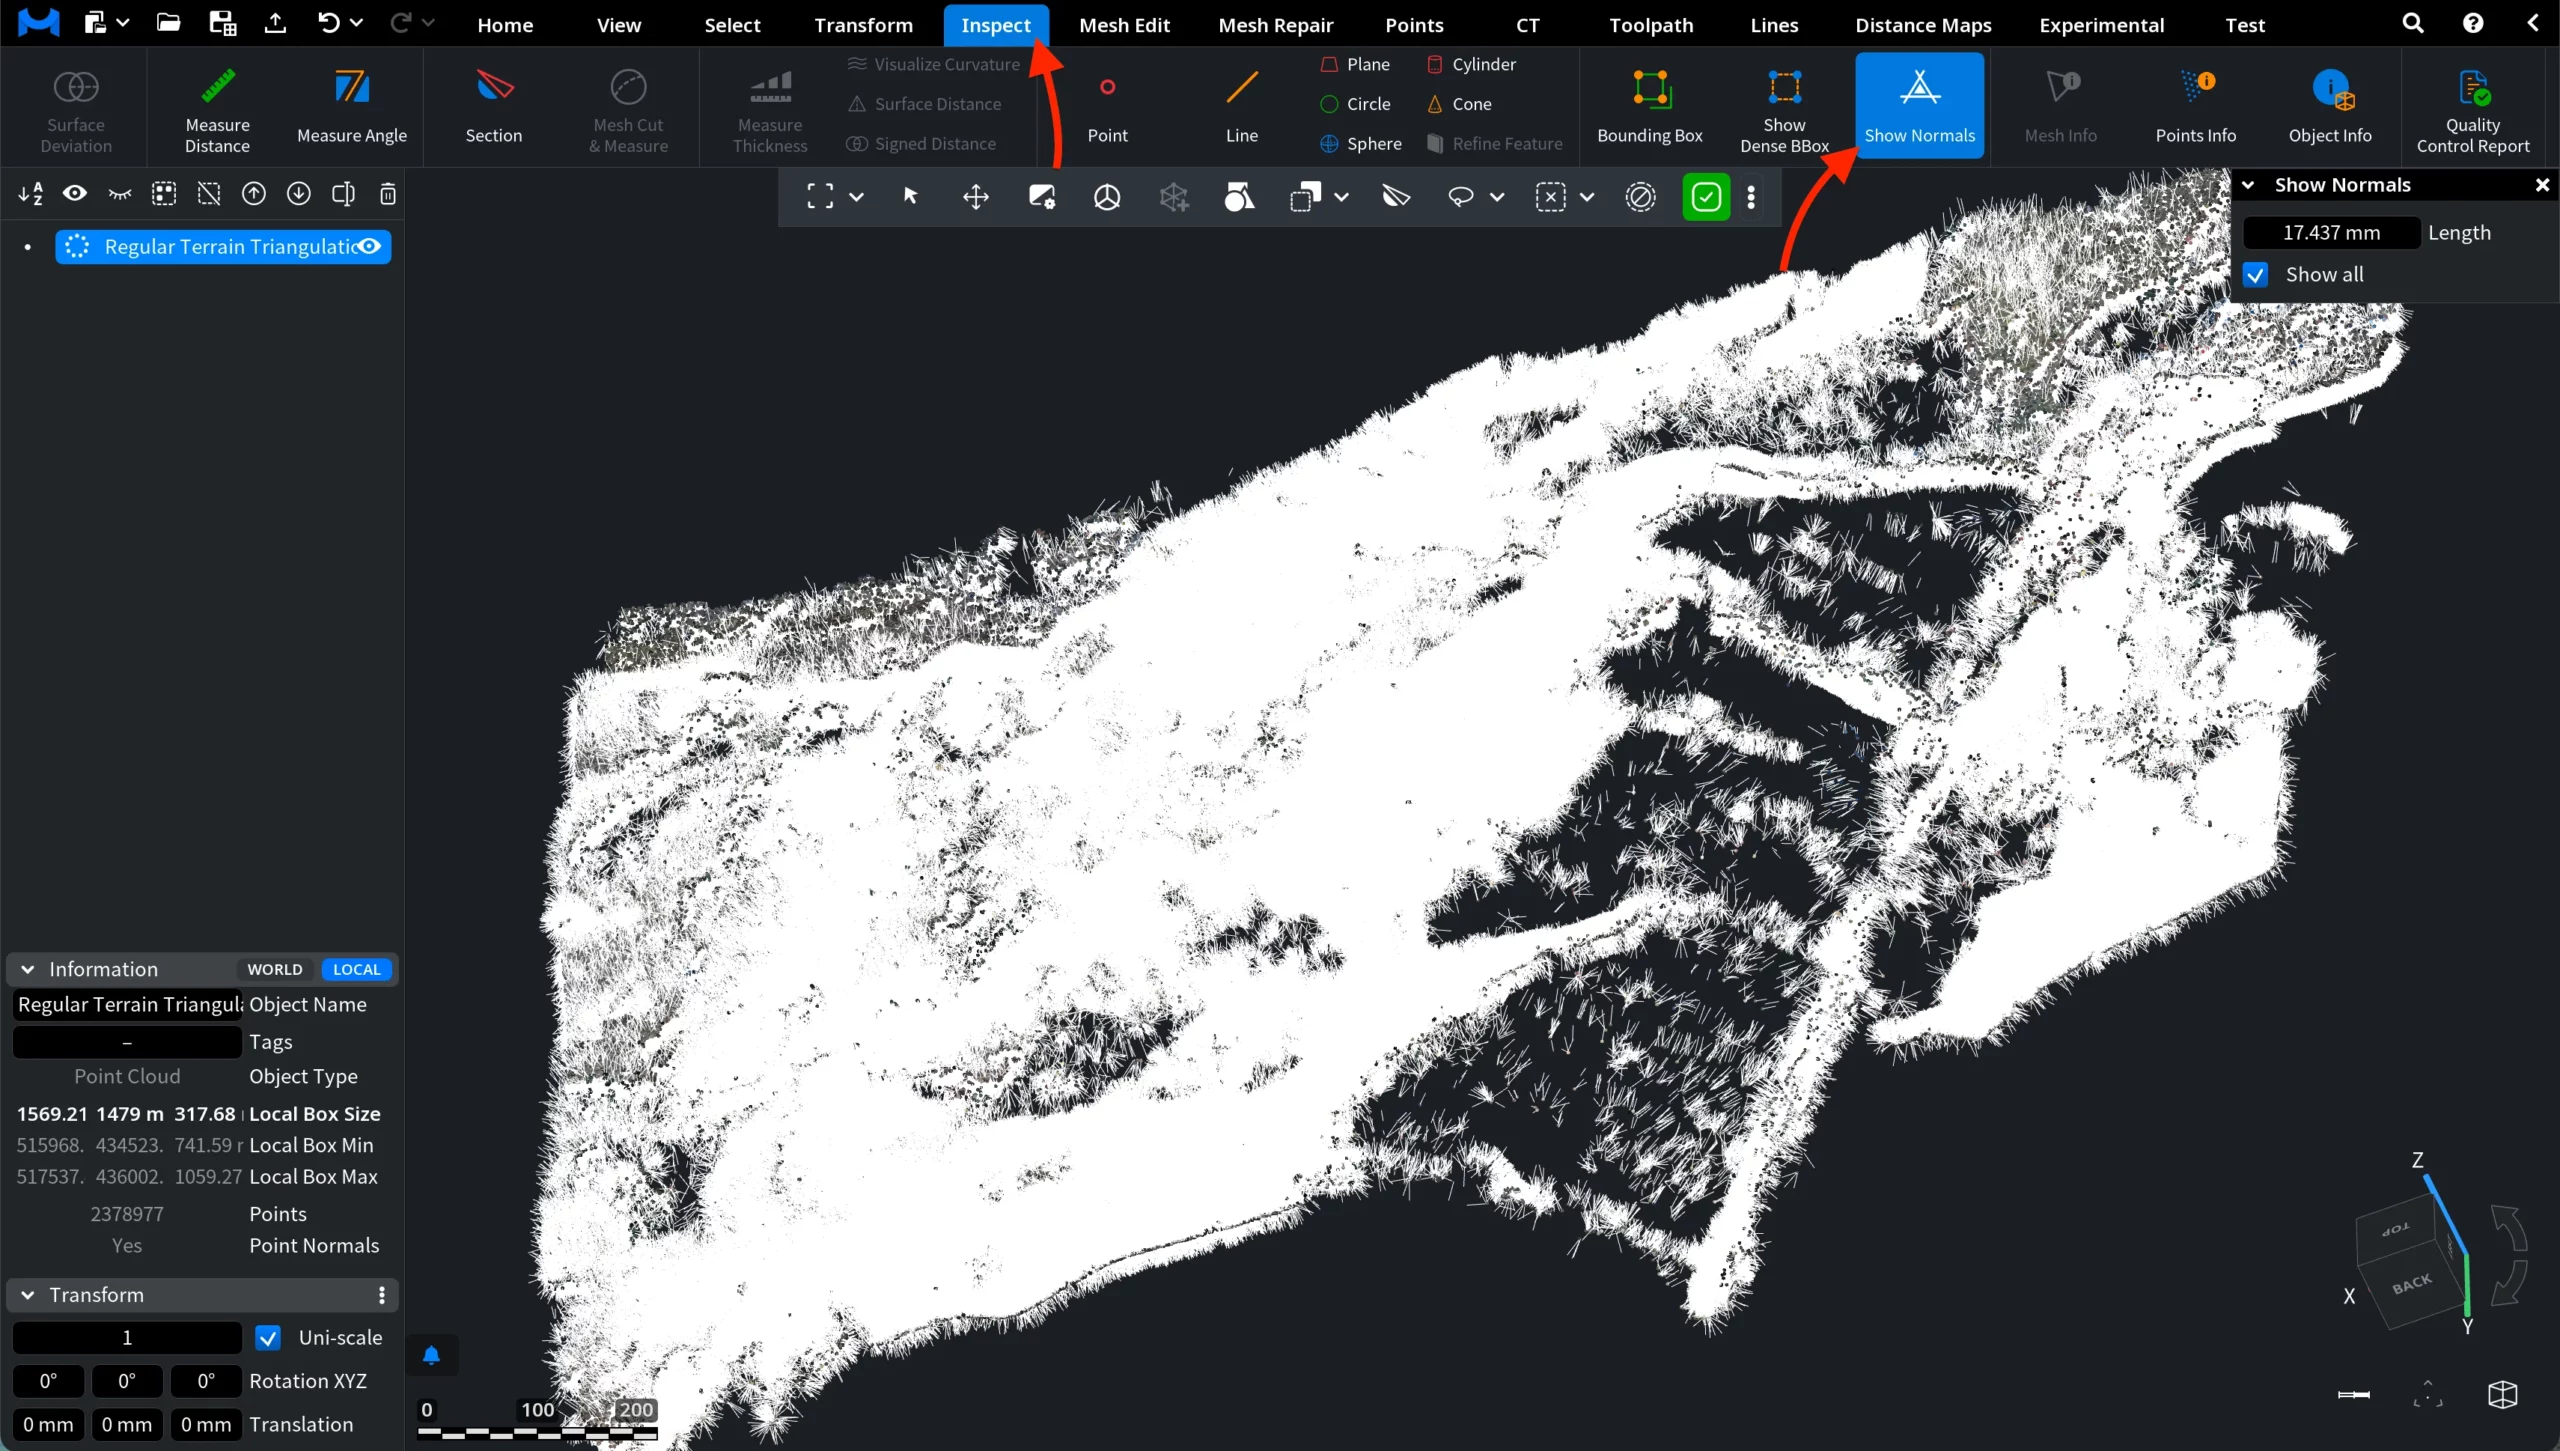
To visualize the computed normals, keep the object selected, open the Inspect tab, and click Show Normals. The normals will appear in the viewport as small line segments indicating the orientation of each point.