Select Component, located under the Select tab, allows you to select an entire connected component of a mesh by clicking on any triangle that belongs to it. A connected component is a group of triangles that are topologically linked to each other, without gaps or disconnected regions.

When the tool is active, clicking on a triangle selects the entire component it belongs to. A dedicated control panel appears on the right side of the viewport, and modifier keys can be used to refine the selection.
Modifier Keys (Where Applicable)
- None replaces the previous selection.
- CTRL (or Command) adds the clicked component to the current selection.
- SHIFT removes the clicked component from the current selection.
- SHIFT + CTRL (or Command) reverses the selection state of the clicked component.
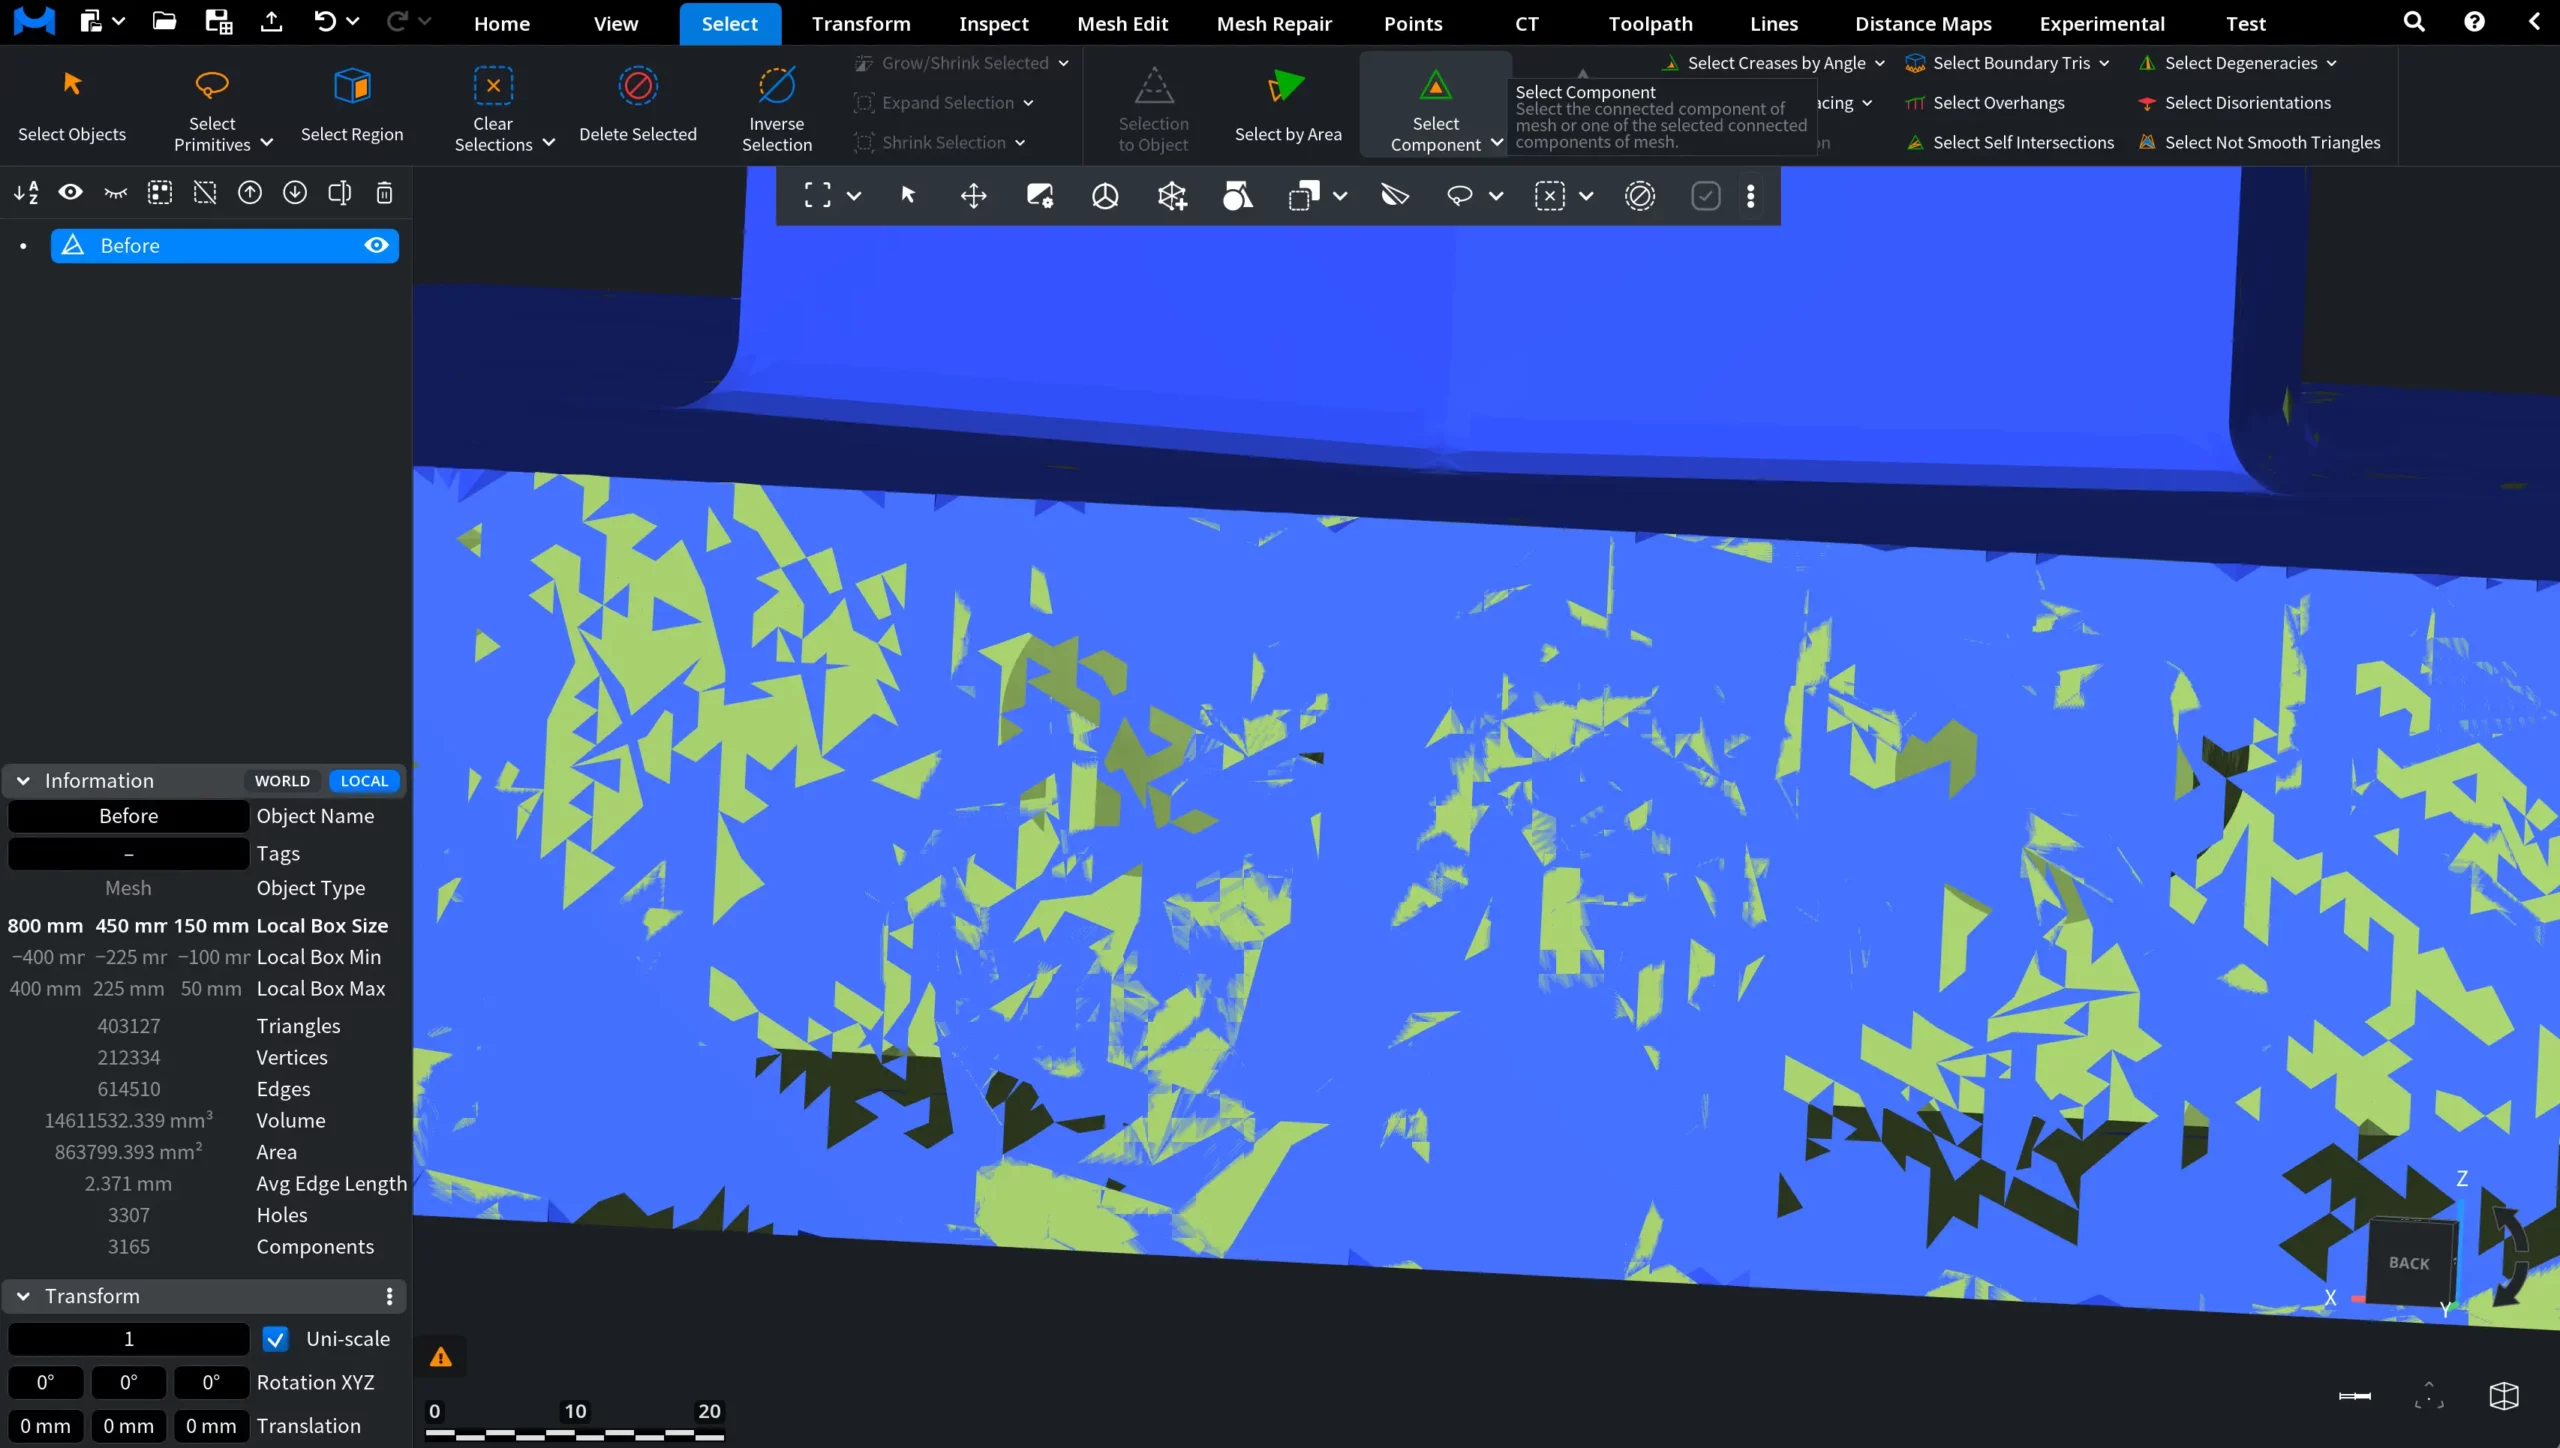
Select Component: Before
In the screenshot, you can see a mesh with many disconnected fragments.
Select Component: After
In this screenshot, Select Component is active: the selected mesh components are highlighted in red. Two components were selected by clicking on them while holding CTRL/Command.
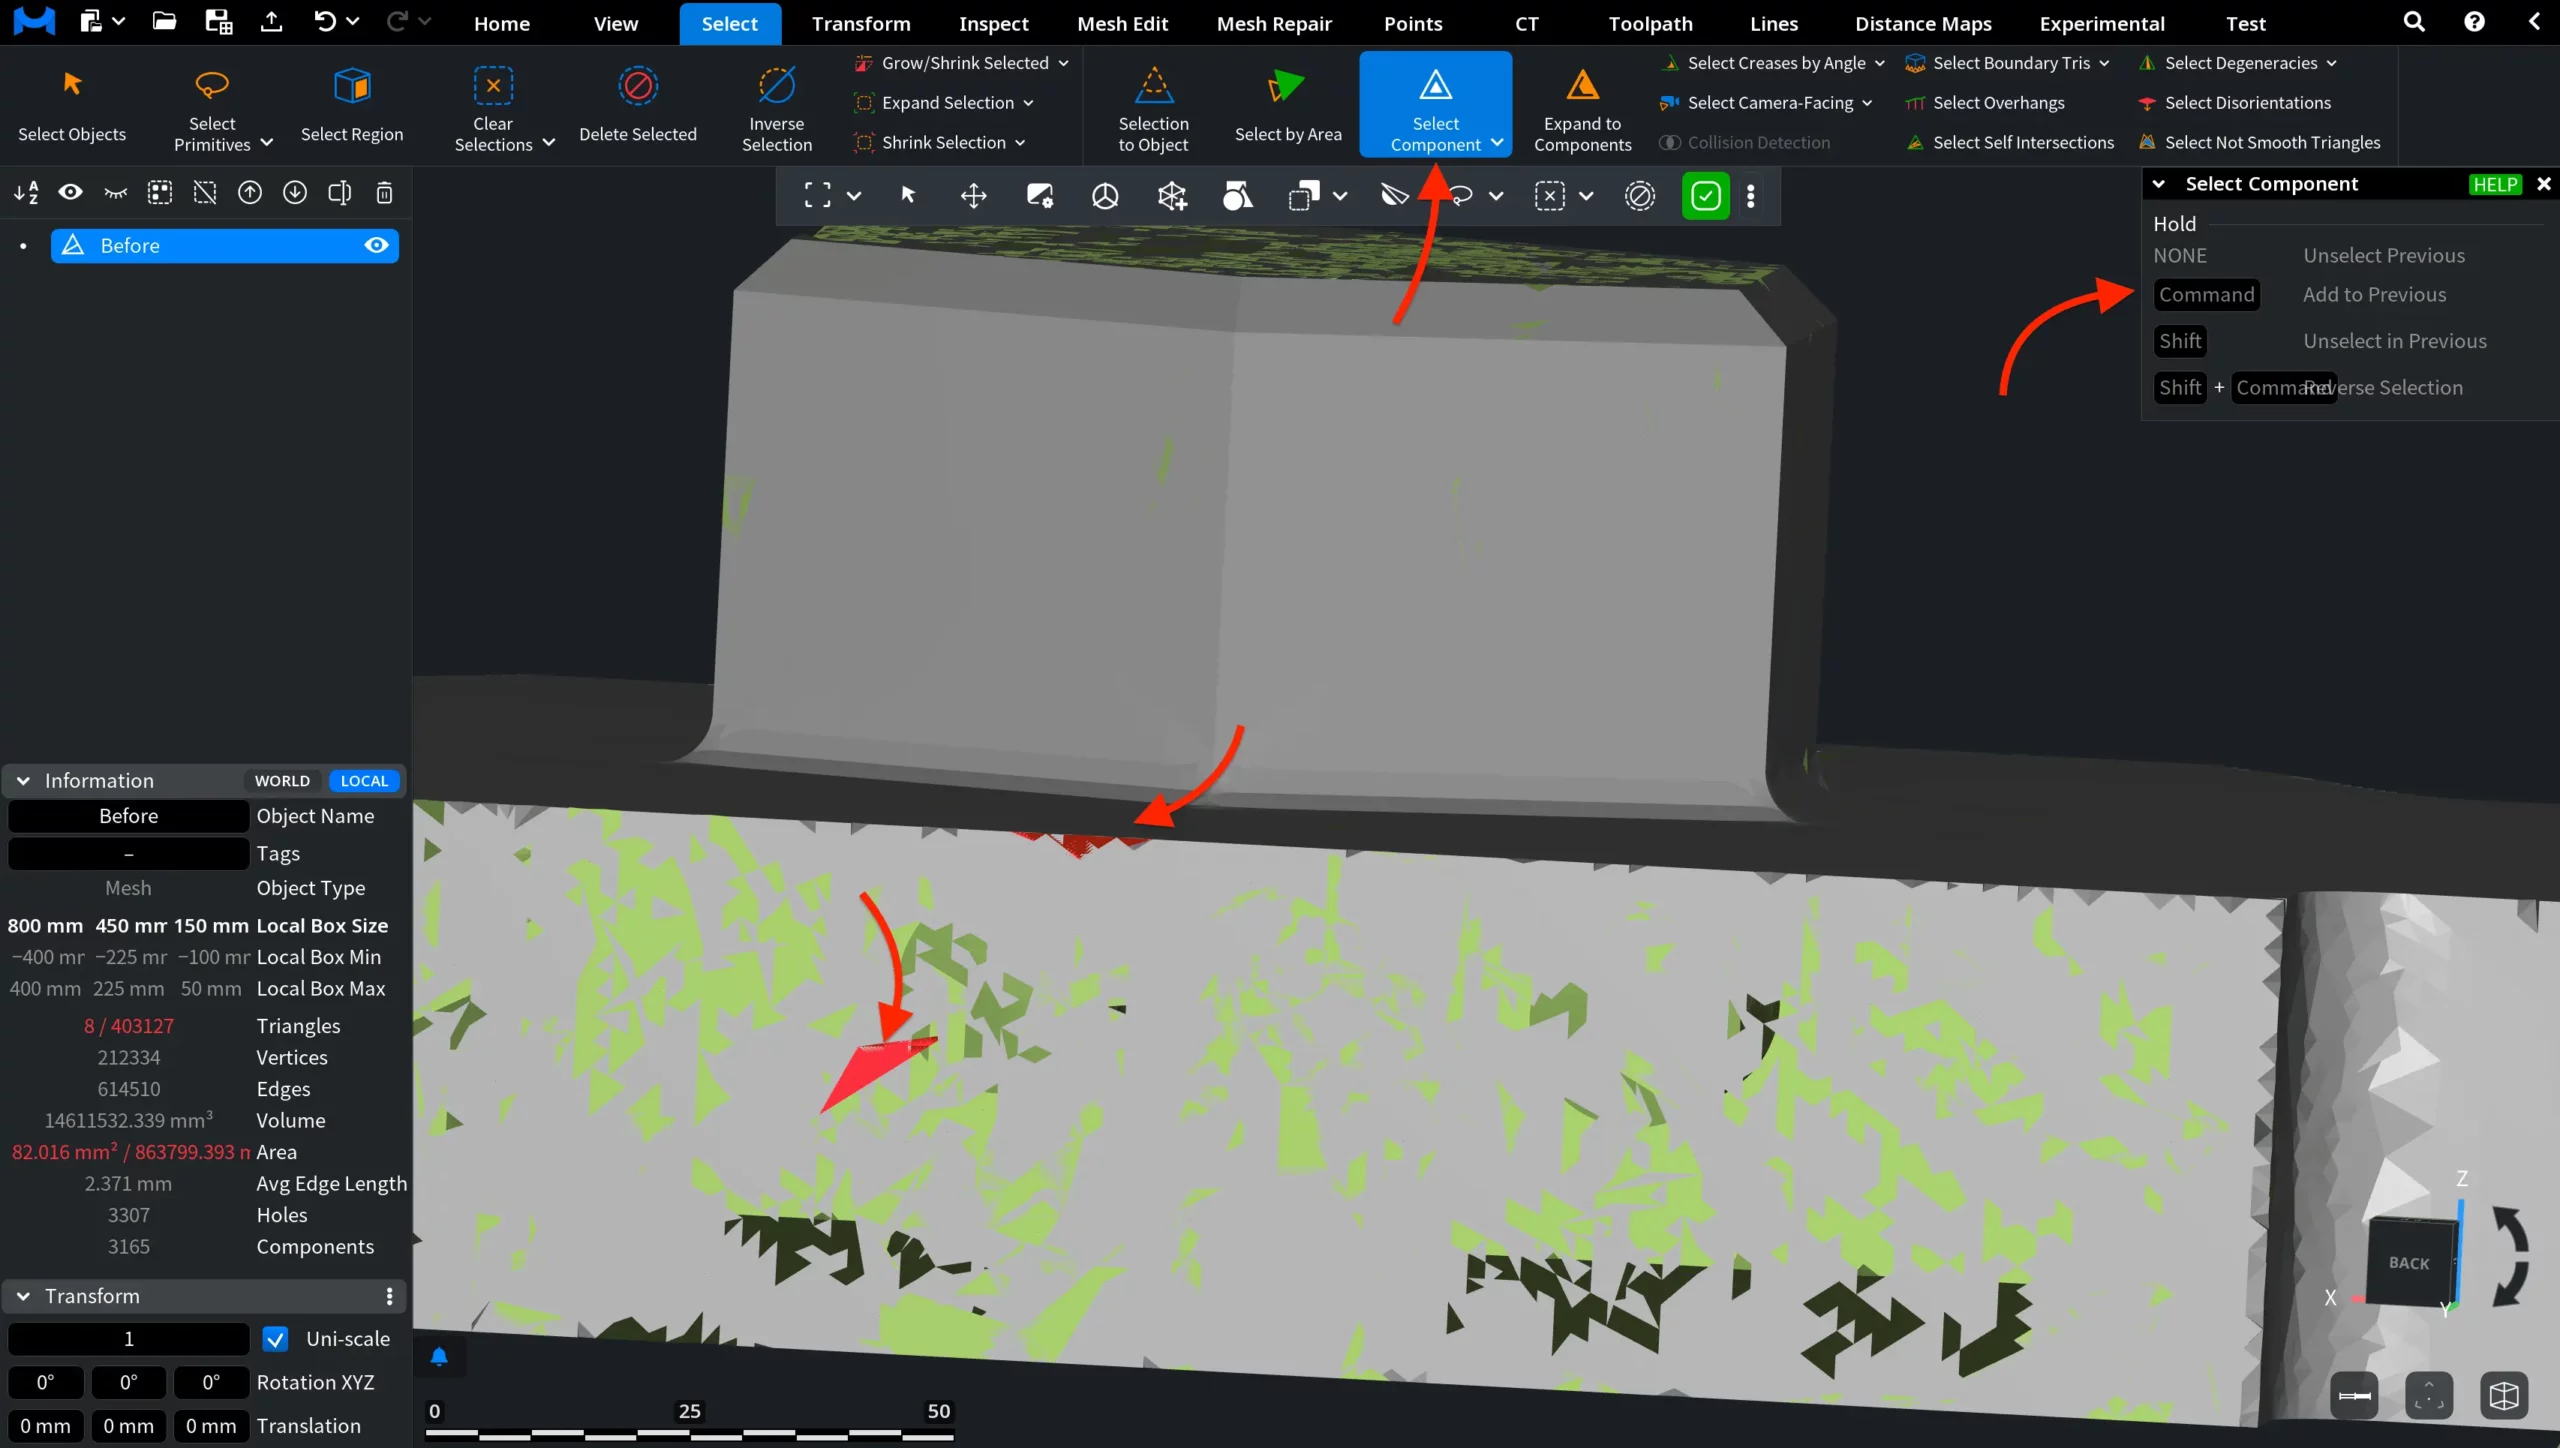
Select Component is useful for quickly isolating or removing parts of a mesh. For example, if a model contains multiple disjoint fragments, you can select an entire fragment with a single click and then delete, duplicate, or process it independently.