
Loads from YouTube (Google) when you press Play
Partitioner automatically splits a mesh into the number of segments you set and shows the borders between the segments as selected edges. Use it when a model has to be cut into parts along its natural edges: to print a large part in pieces, or to edit, measure or export one region of a model on its own. To draw the border of one region yourself, use Select Region instead.
Split a mesh into segments
- Select one mesh in the Scene tree.
- Click Select › Partitioner. MeshInspector computes the partition and shows the segment boundaries as selected edges.
- Choose where the boundaries should run: Any Curved, Concave or Convex.
- Set Num Segments. The boundaries update when you release the slider.
- To see each segment in its own color, turn on Color the Segments.
- Finish with a button in the Segments block of the panel, see below.
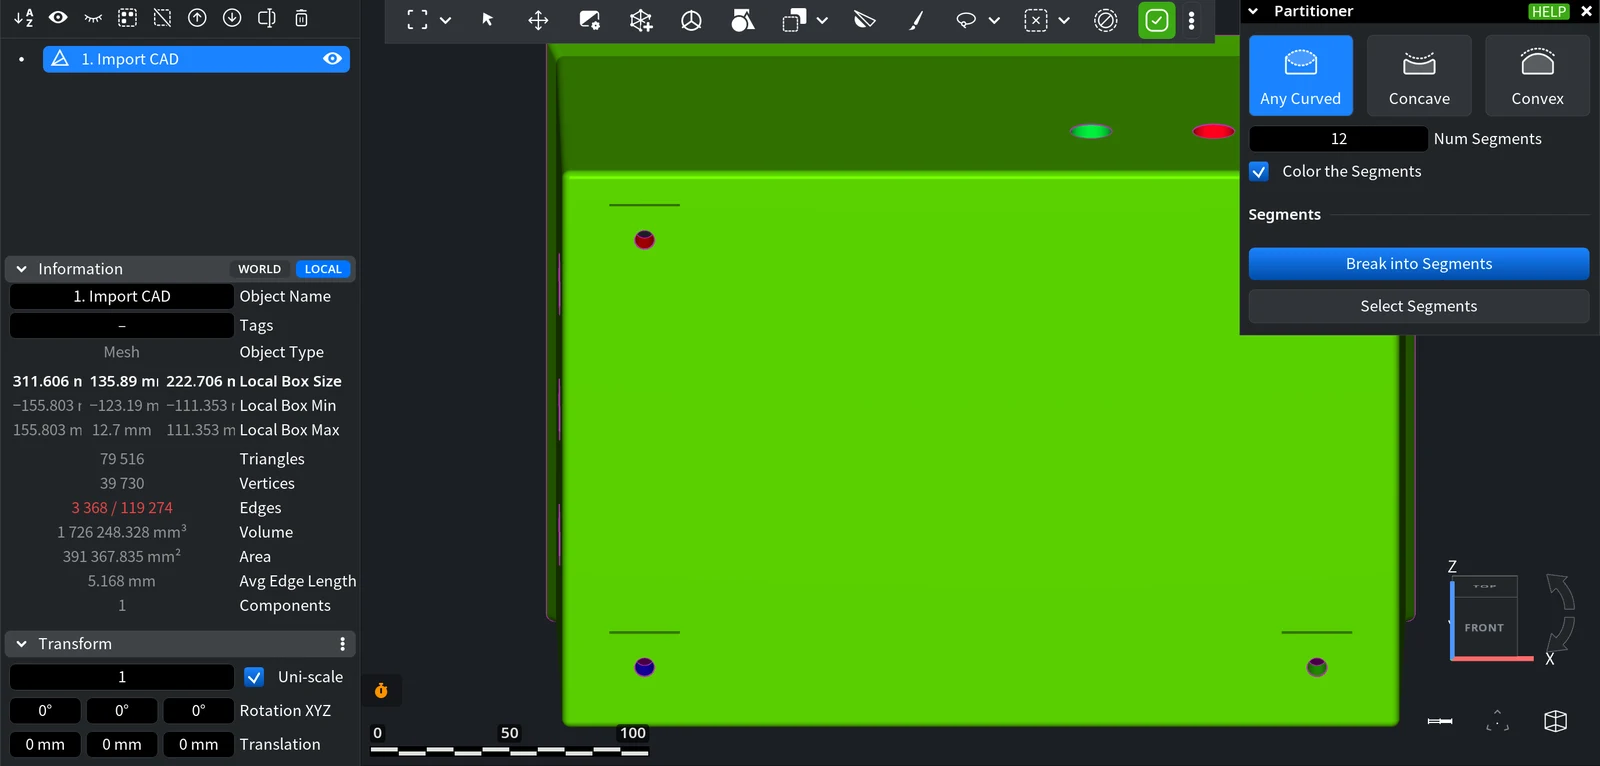
| Setting | What it does | Default |
|---|---|---|
| Any Curved | Boundaries tend to pass along concave or convex edges, but not across flat regions | Selected |
| Concave | Boundaries tend to pass along concave edges, such as grooves and inner corners where two parts of a model meet | |
| Convex | Boundaries tend to pass along convex edges, such as sharp outer edges | |
| Num Segments | The number of segments to split the mesh into, from 2 up to the number of triangles | 50 |
| Color the Segments | Gives all triangles of one segment the same color. When it is off, only the boundaries are shown, as selected edges | Off |
If a boundary cuts through an area you want to keep in one piece, change Num Segments or try another boundary type.
Get the segments as objects
The Segments block of the panel has two buttons:
- Break into Segments makes a separate object from every segment, with the shown boundaries as the borders between them. If some segments are selected, only they are kept in the output. It makes at most 100 separate objects: when there are more pieces, the 100 largest become objects and the rest are put together into one more object. This finishes the partitioning. The button runs To Components from the Mesh Repair tab for you.
- Select Segments turns on Select Component: a click on the model selects a whole segment, and the mesh remains one object. Click the button again to turn it off.
To keep only some of the segments:
- Click Select Segments and click a segment on the model. To add more segments, hold Ctrl (Cmd on macOS) while you click; the Select Component panel lists all modifier keys.
- Click Break into Segments to turn the selected segments into separate objects, or click Select › Selection to Object to copy them into a new object and keep the original mesh. For more on the second way, see Selection to Object.
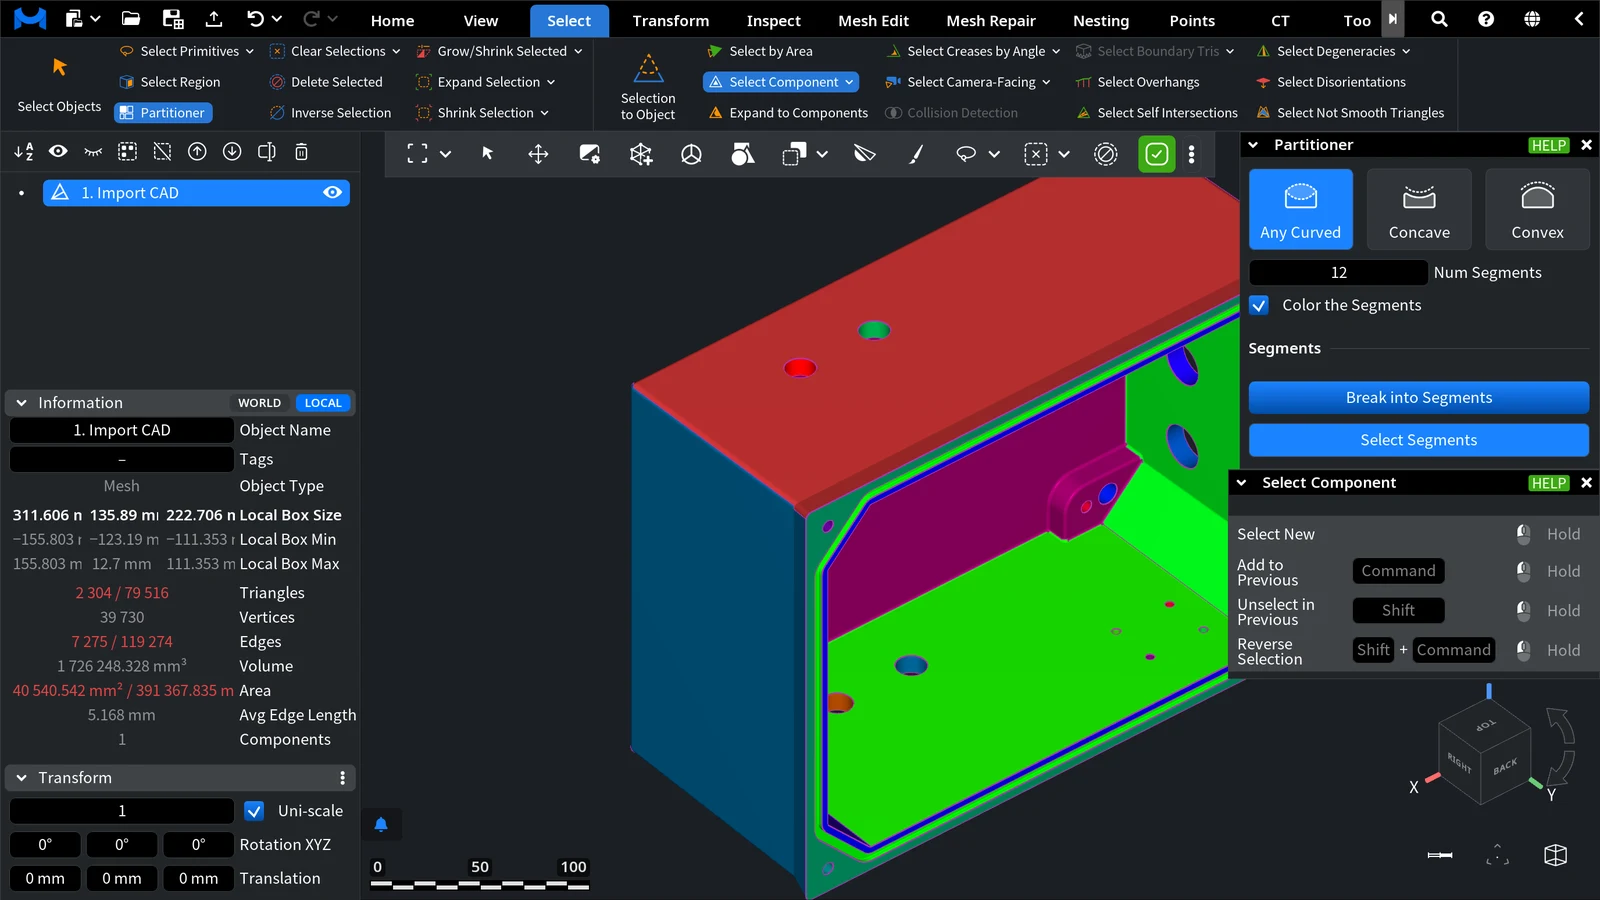
Every segment is one connected piece, so Break into Segments makes one object for each segment it splits off, within the limit of 100 separate objects described above: in a test, 12 segments of a CAD housing gave 12 objects, and 8 segments of a rocker arm gave 8 objects. The new objects keep the segment colors, and their names end with their area. If the model was already made of several separate pieces, every piece gets at least one segment of its own.
If you close the panel without breaking the mesh, the segment boundaries stay on the mesh as selected edges. To undo the partition, use Undo (Ctrl+Z, or Cmd+Z on macOS).


