Meshes may contain vertices that lie extremely close to each other but are not actually connected. Such situations often appear after scanning, after converting from or into specific file formats, mesh editing operations, or combining multiple mesh parts. As a result, the topology may contain small gaps, redundant vertices, or irregular edges that can affect further processing.
MeshInspector’s Unite Close Vertices tool helps resolve this issue by finding groups of mesh vertices that are located within a specified distance and replacing each group with a single vertex. This operation simplifies the mesh topology and removes unnecessary vertex duplicates.
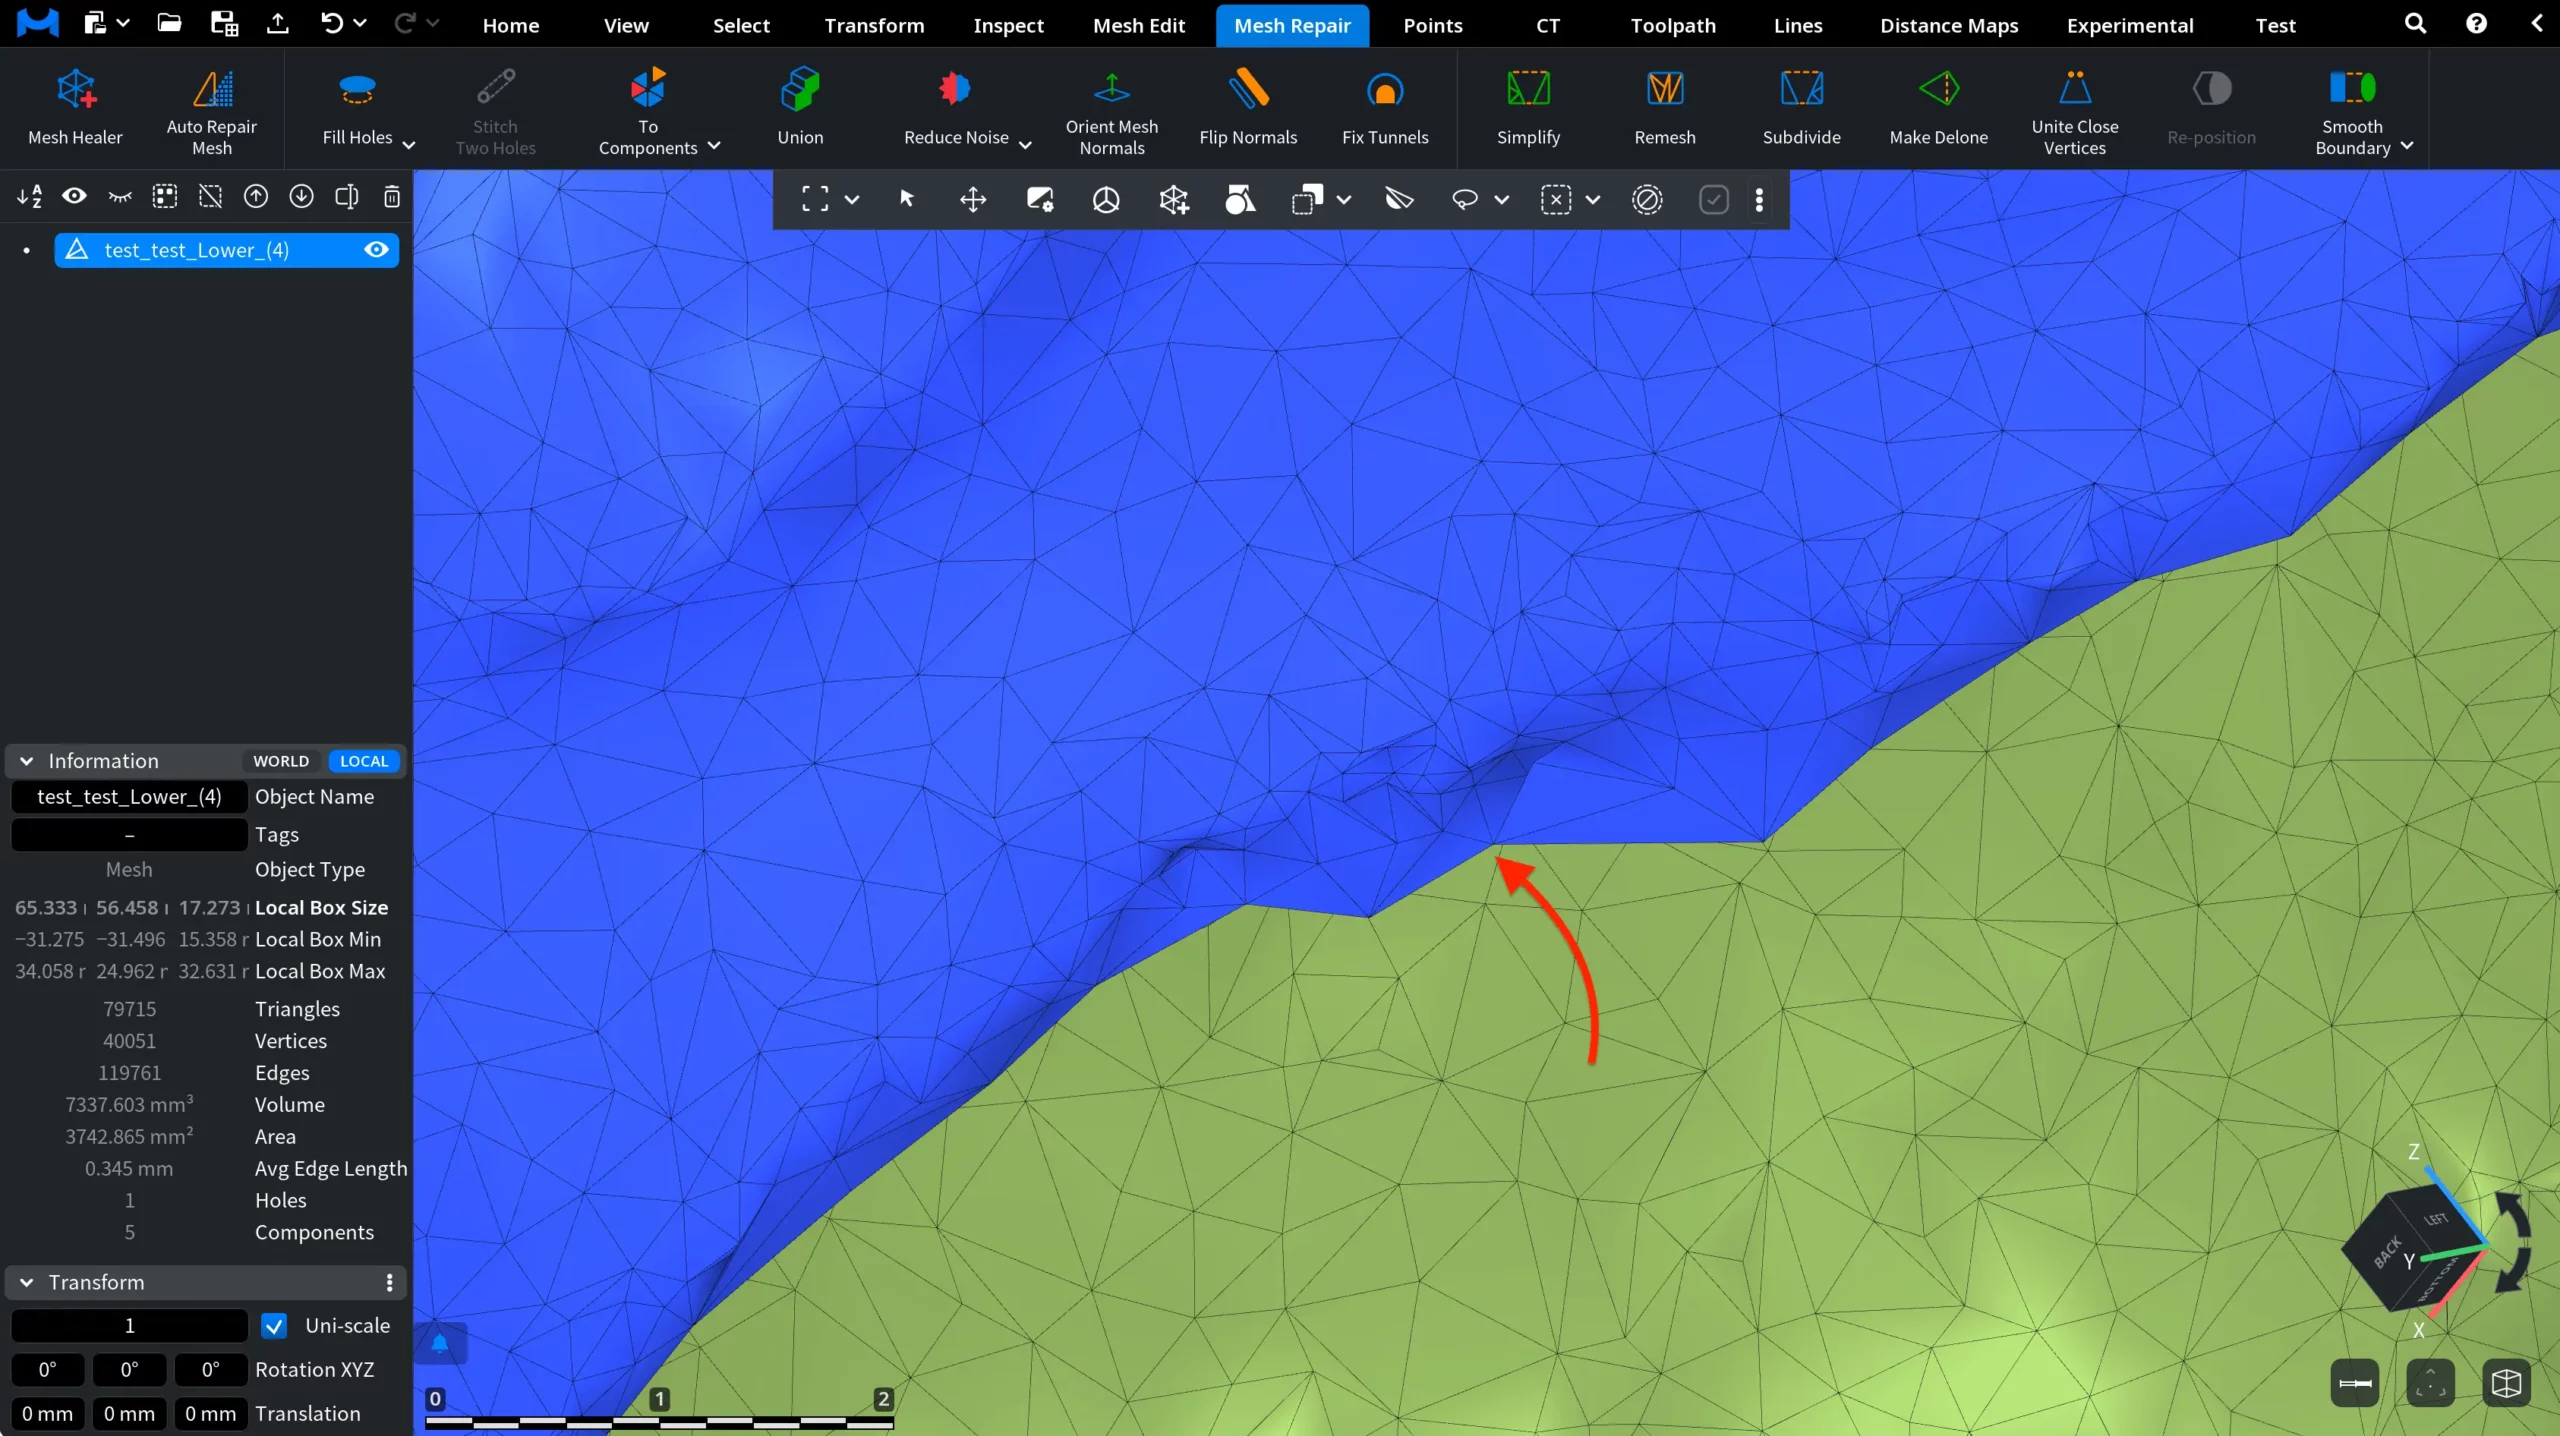
To initiate the Unite Close Vertices operation, open the Mesh Repair tab and click Unite Close Vertices, as highlighted below.

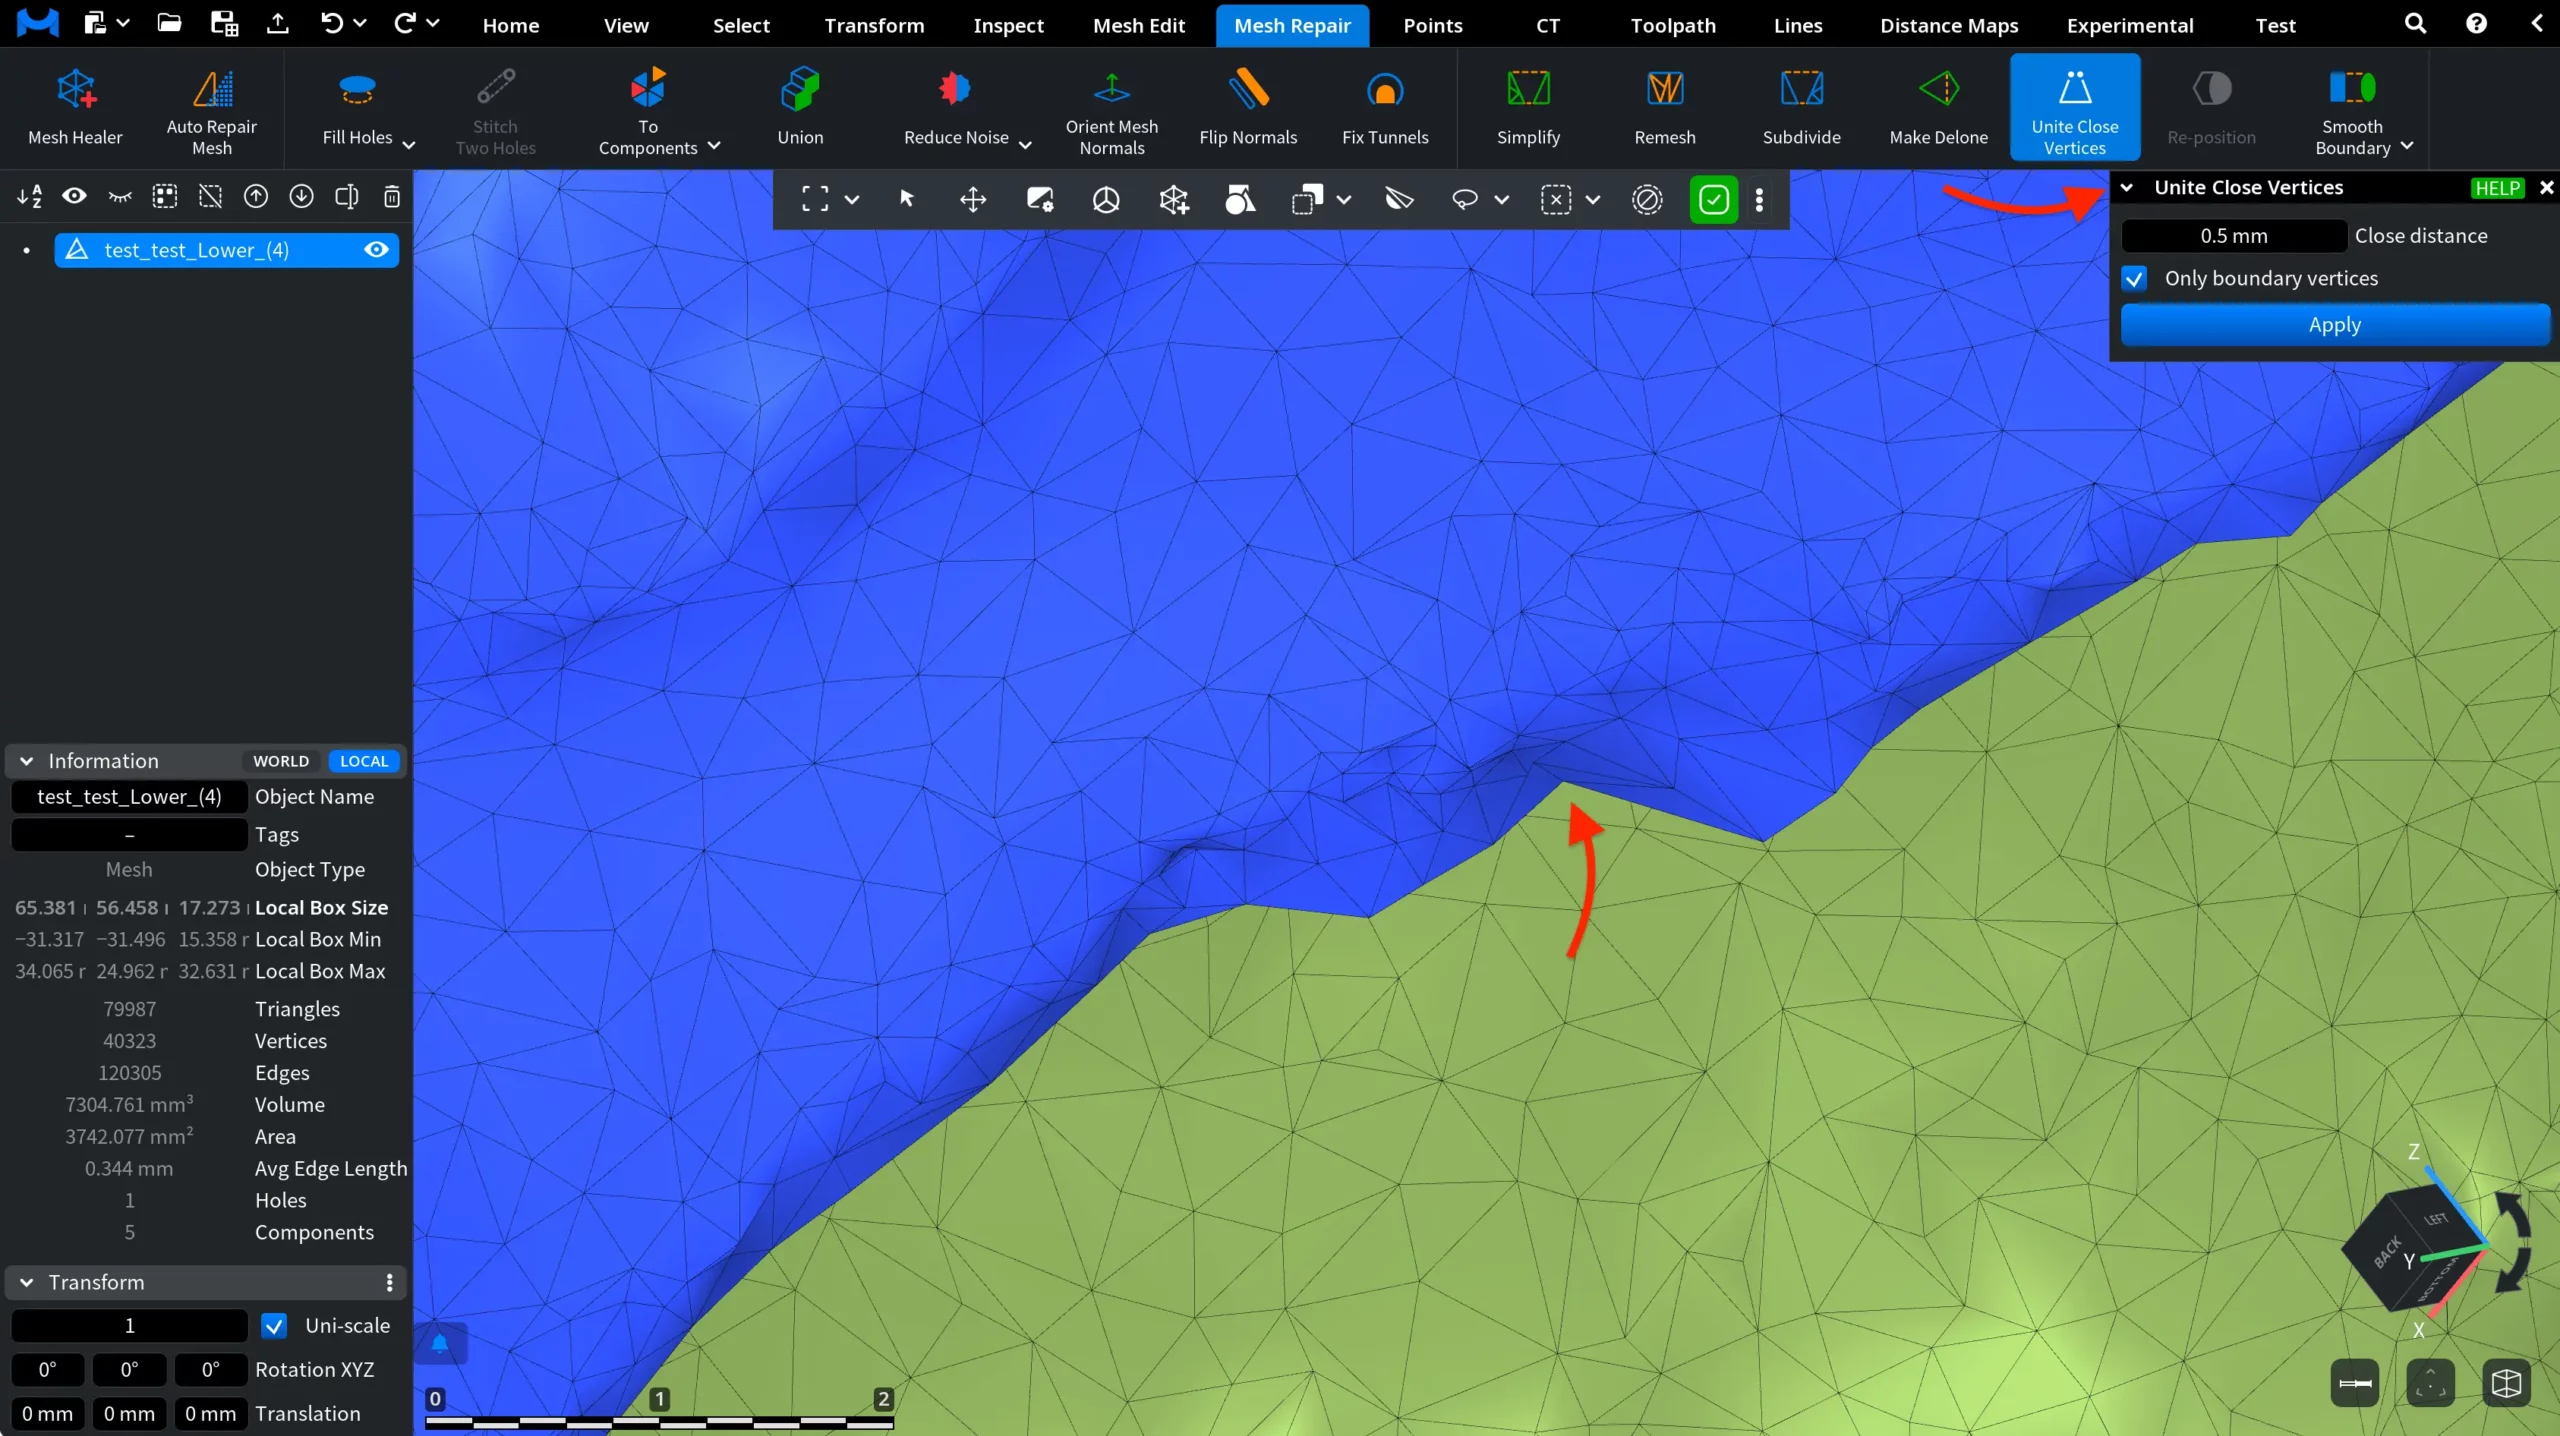
Clicking Unite Close Vertices opens a dedicated settings panel. Before reviewing the available settings, take a closer look at the jaw model shown below. In this zoomed-in view, several vertices along the mesh boundary are located very close to each other, forming an uneven edge. Such situations may appear in scanned meshes or after mesh editing operations and can result in irregular boundary topology.
By applying Unite Close Vertices with appropriate settings, nearby boundary vertices within a specified distance can be merged into a single vertex, simplifying the topology and producing a cleaner mesh boundary.
Settings
Close distance defines the distance threshold used to unite vertices. Vertices located closer than this distance will be united.
Only boundary vertices limits the operation to vertices located on the mesh boundary. When this option is enabled, only boundary vertices can be united.
For instance, we have applied Unite Close Vertices to this jaw model using the settings shown in the previous screen. As a result, nearby boundary vertices located within the specified distance were united, producing a cleaner and more continuous mesh edge.