
Re-position moves the vertices inside a selected area of a mesh so that the area becomes smooth. The vertices on the border of the selection stay in place, so the area stays joined to the rest of the mesh. Use it to smooth a patch after Fill Holes, a bump or a dent, or a rough spot of a scan, without touching the rest of the model.
Re-position changes the shape of the selected area: it moves vertices, but does not add or delete them. To smooth a whole mesh, use Reduce Noise instead.

Smooth a selected area
- Select one mesh in the Scene tree.
- Select the triangles to smooth, for example with Select › Select Primitives and the Lasso. Take a bit more than the defect itself, so that the border of the selection lies on good surface.
- Click Mesh Repair › Re-position.
- Choose the Positioning Type and click Apply.
The panel stays open after Apply, so you can apply again with other settings. Each Apply is one step that Undo (Ctrl+Z, or Cmd+Z on macOS) reverts.
Re-position is unavailable until the mesh has selected triangles. Apply is unavailable when the selection covers a whole connected component: some vertices must stay fixed. Vertices of selected edges also stay in place.
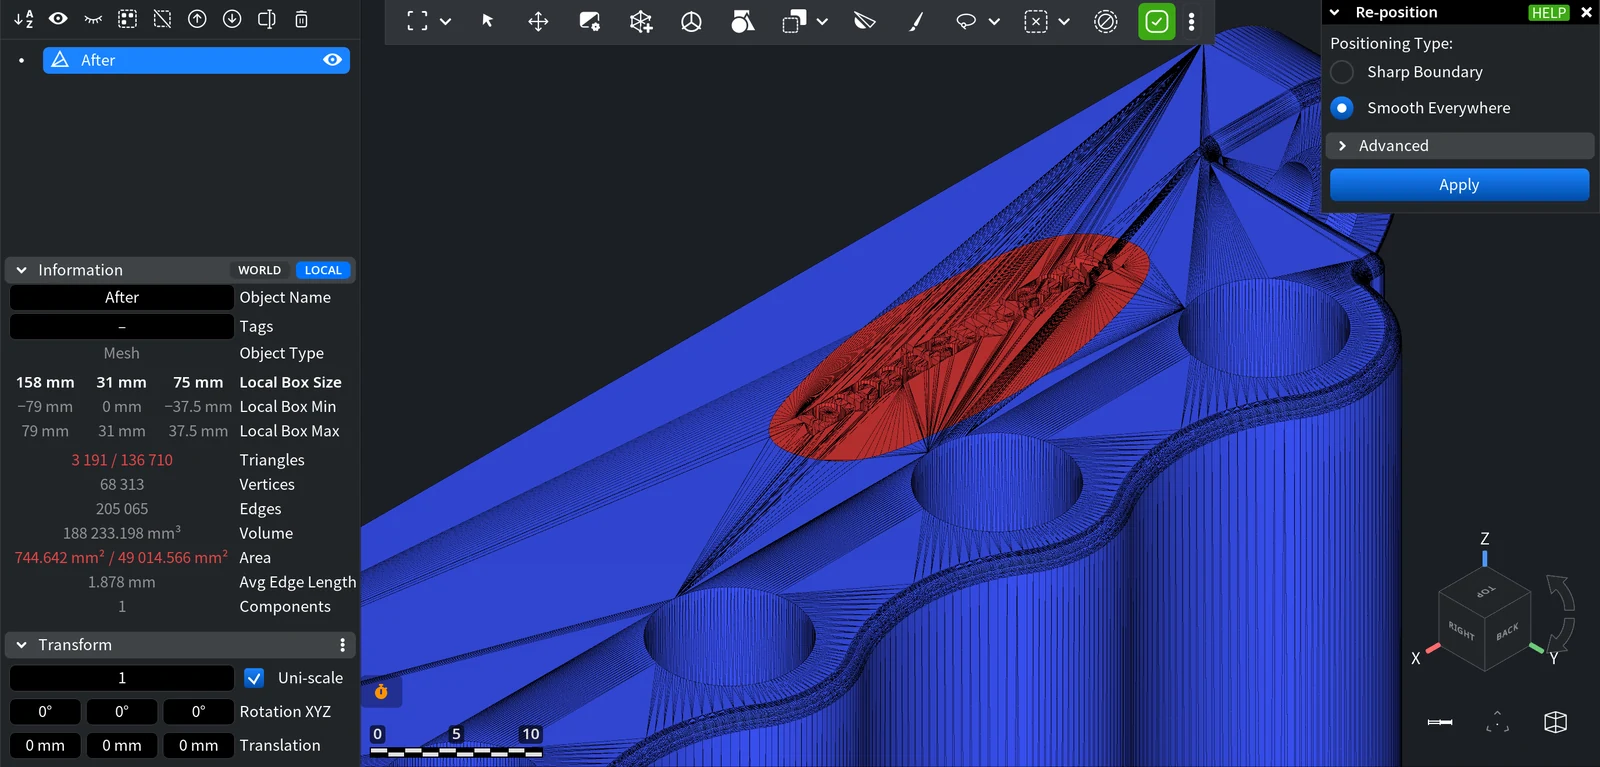
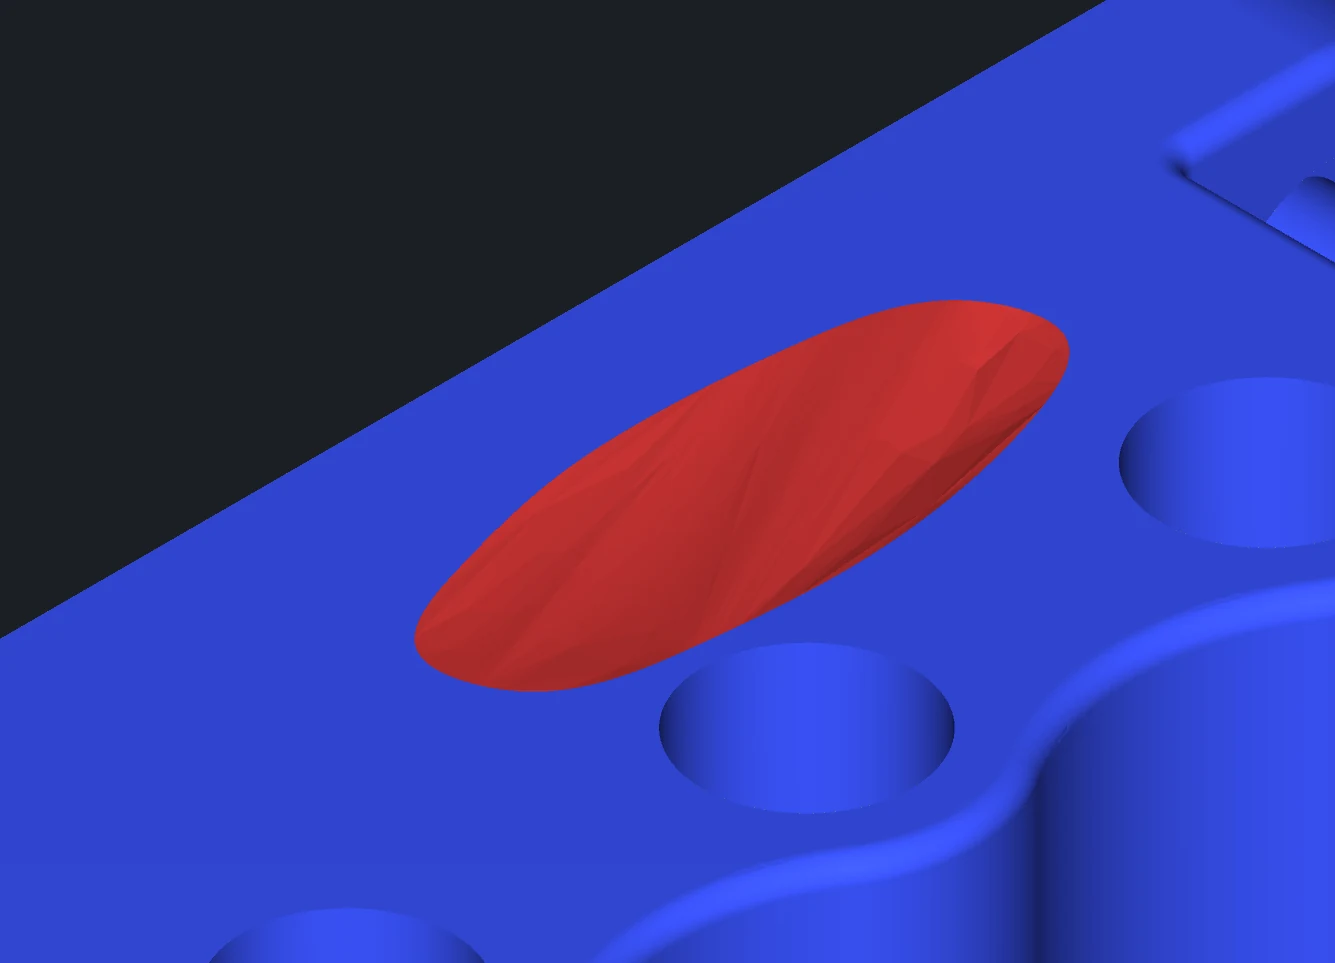
In the screenshot below, an area around an embossed text on a CAD housing is selected and highlighted in red. To show the triangles, we pressed L.
Positioning types
| Setting | What it does | Default and tip |
|---|---|---|
| Sharp Boundary | The area becomes smooth inside, but can have a sharp turn on its border. | Use it with Pressure to inflate or deflate an area. |
| Pressure | Only with Sharp Boundary. Positive pressure moves the vertices outside, negative pressure moves them inside, zero constructs a minimal surface. | 0 |
| Smooth Everywhere | The area becomes smooth both inside and on its border, so it blends into the surrounding surface. | The default. Best for patches and dents. |
Sharp Boundary
With Sharp Boundary, the vertices inside the selection move to make a smooth surface between the fixed border vertices. Pressure pushes this surface: with a positive value the area bulges outward, with a negative value it sinks inward.
Before Re-position with Sharp Boundary
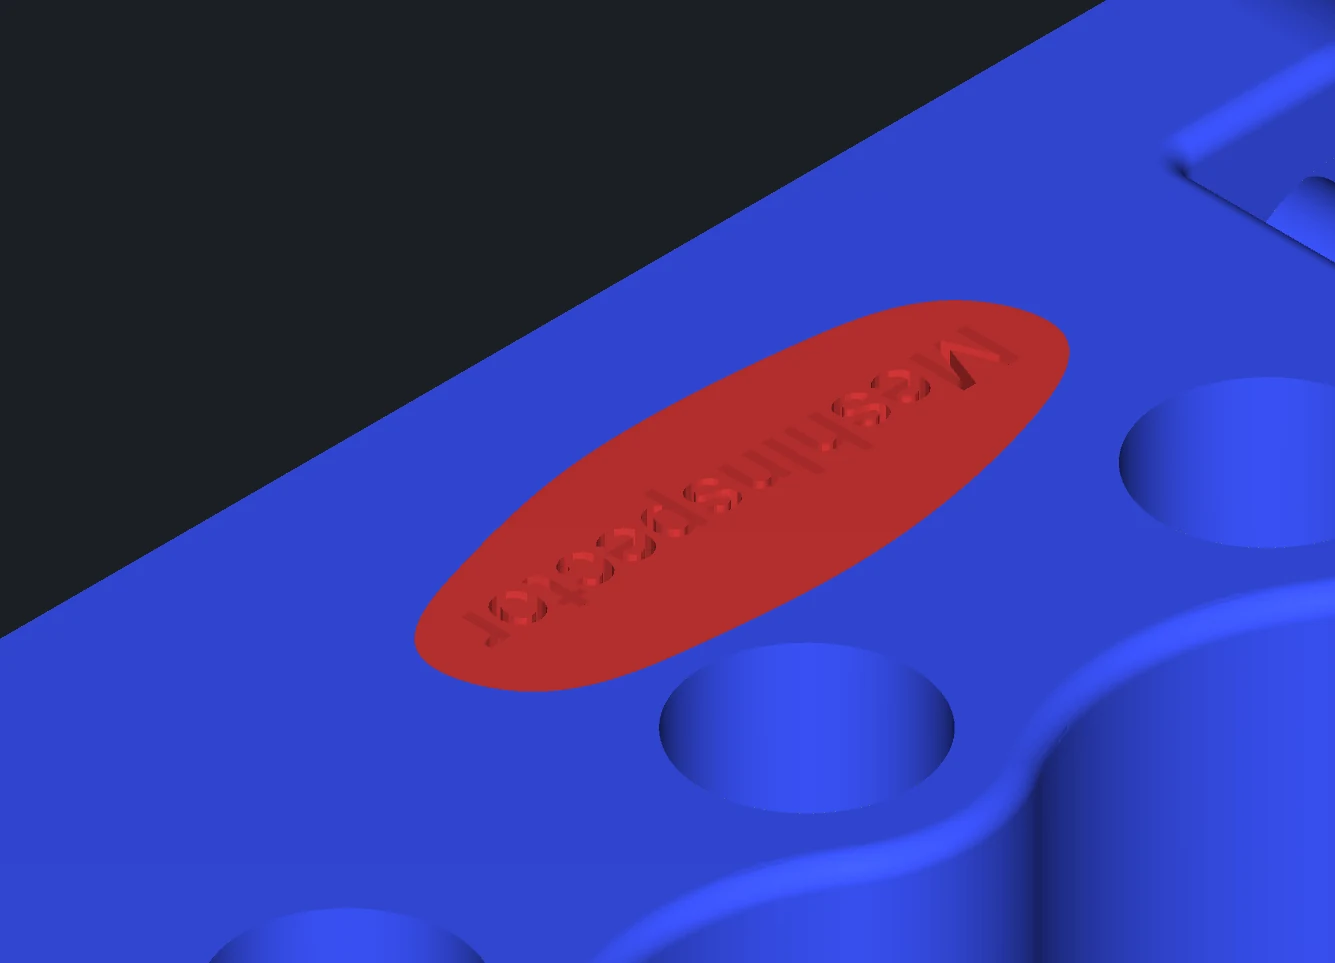
In this example, an area of the mesh is selected and highlighted in red. The surface inside it is uneven.
After Re-position: Sharp Boundary, Pressure = 0
With Pressure at 0, the vertices inside the area are placed evenly, and the surface becomes smooth. The border of the area does not change.
After Re-position: Sharp Boundary, Pressure = 4
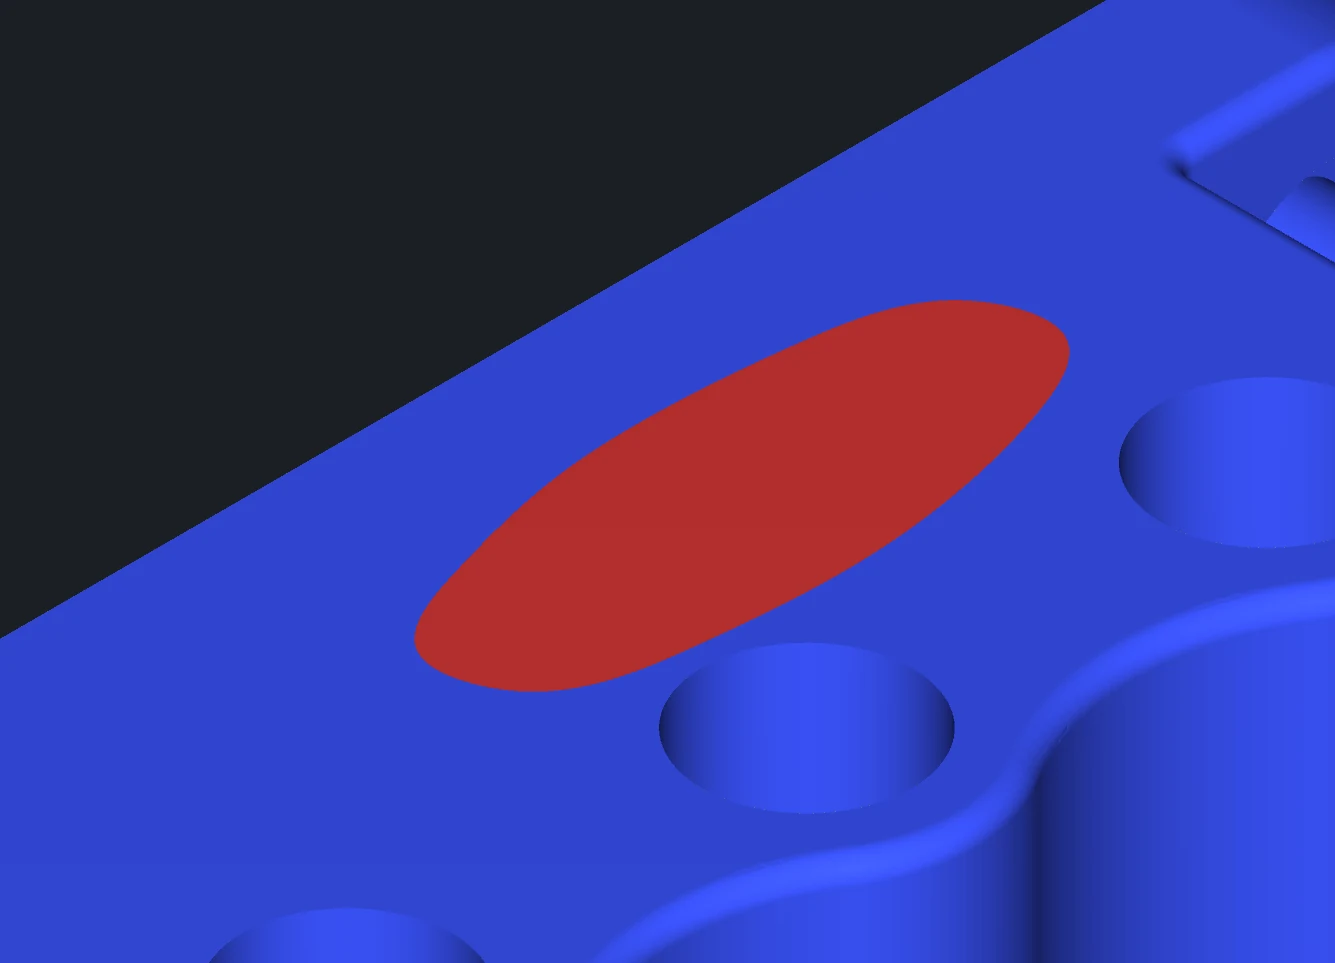
With Pressure at 4, the smooth surface bulges outward. The border of the area keeps its shape.
After Re-position: Sharp Boundary, Pressure = –4
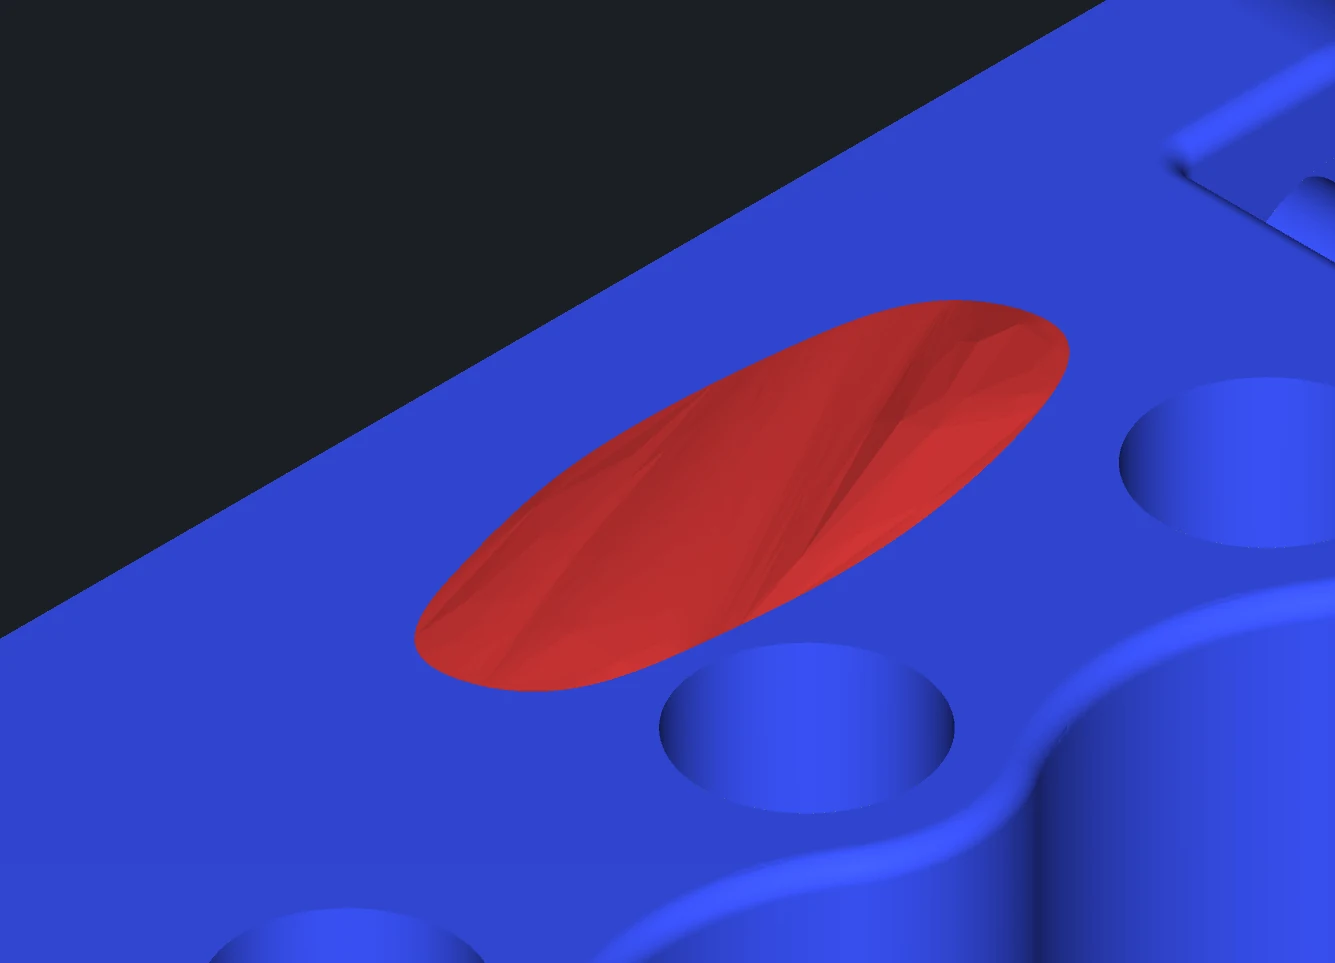
With Pressure at –4, the smooth surface sinks inward relative to the mesh around it. The border of the area stays fixed.
Smooth Everywhere
With Smooth Everywhere, the vertices inside the selection move so that the surface is smooth inside the area and also across its border: the area continues the curvature of the surface around it. The border vertices themselves stay in place, as with Sharp Boundary.
After Re-position: Smooth Everywhere
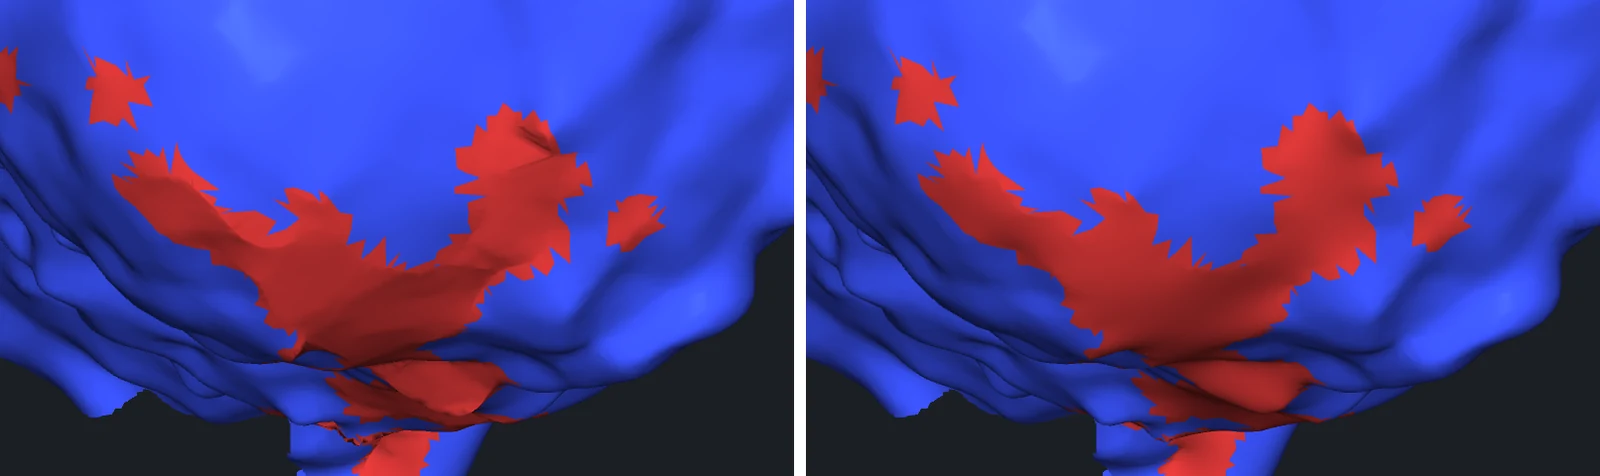
The example in Smooth a patch after Fill Holes below shows Smooth Everywhere on a head scan: after Re-position, the triangles inside the area are spread evenly, and the area passes into the surrounding surface without a visible edge.
Advanced settings
Open Advanced in the panel for these settings:
| Setting | What it does | Default and tip |
|---|---|---|
| Iterations | How many times the algorithm repeats. More iterations usually give a better result but take longer. | 3 (from 1 to 10) |
| Cotangent Edge Weights | Only with Smooth Everywhere. Uses cotangent edge weights in the equations, as the theory recommends. When off, all edges have the same weight. | On. Turn it off if the area has degenerate triangles. |
| Neighbor Area as Vertex Mass | Only with Smooth Everywhere. Gives each vertex a mass proportional to the area of the triangles around it. When off, all vertices have the same mass. | On. Turn it off if the area has degenerate triangles. |
| Optimize Triangulation | Makes the triangulation of the area Delaunay before smoothing, which improves the shape of its triangles. | Off |
Smooth a patch after Fill Holes
A hole filled with the Basic type of Fill Holes gets a flat patch, which stands out on a curved surface. Re-position bends the patch to follow the surface around it:
- Fill the holes with Mesh Repair › Fill Holes and the Basic fill type. After filling, the triangles of the new patches are selected.
- Click Select › Expand Selection once or twice. Each click adds one layer of triangles around the selection, so the border of the selection moves onto the original surface.
- Click Mesh Repair › Re-position, keep Smooth Everywhere and click Apply.
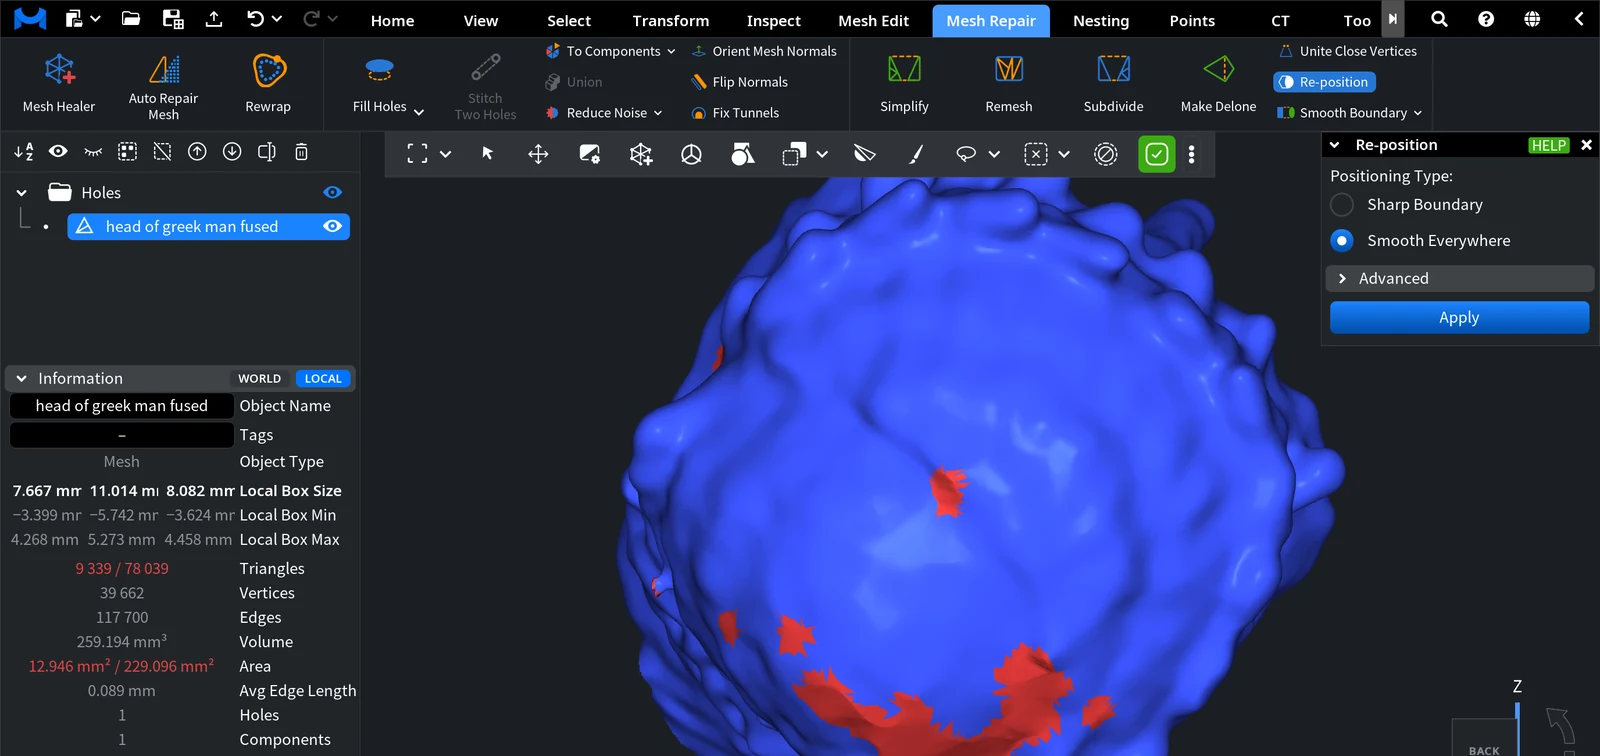
In the close-up below, the patches on the left are flat facets with visible creases; after Re-position (right) they follow the round shape of the head.
Do not use the Flat fill type for this: it adds no vertices inside the patch, and Re-position moves only vertices inside the selection. If Apply is unavailable after Expand Selection, the selection has swallowed a whole small part of the mesh; delete such loose parts first with Keep Largest Component.
If the patch is still too flat or too high, apply again, or press Undo and try Sharp Boundary with a small Pressure.


