
Loads from YouTube (Google) when you press Play
Auto Repair Mesh repairs one or several meshes by building a completely new surface for each of them from voxels. Use it when a mesh has so many defects (self-intersections, overlapping shells, holes) that fixing them one by one does not work. Auto Repair Mesh is part of the Professional plan.
The tool does not patch individual defects. It converts the mesh into voxels, finds which voxels are inside the body, and builds a new closed surface around them. Every triangle of the result is new, so details smaller than the voxel size can change.
Rebuild a mesh
- Select one or several meshes in the scene tree.
- Click Mesh Repair › Auto Repair Mesh.
- If one mesh is selected and it has holes, you see "Model has N holes. It is recommended to fix them before using Auto Rebuild." Fill the holes first with Fill Holes or Mesh Healer, or keep Close Holes on and check the result.
- Choose a Resolution preset. Open Advanced only if you need to change the defaults.
- Click Apply.
Each selected mesh is rebuilt separately and replaced in place. Textures, UV coordinates and vertex or face colors are removed, and the sharp edges of the result are selected. Undo returns the original mesh.
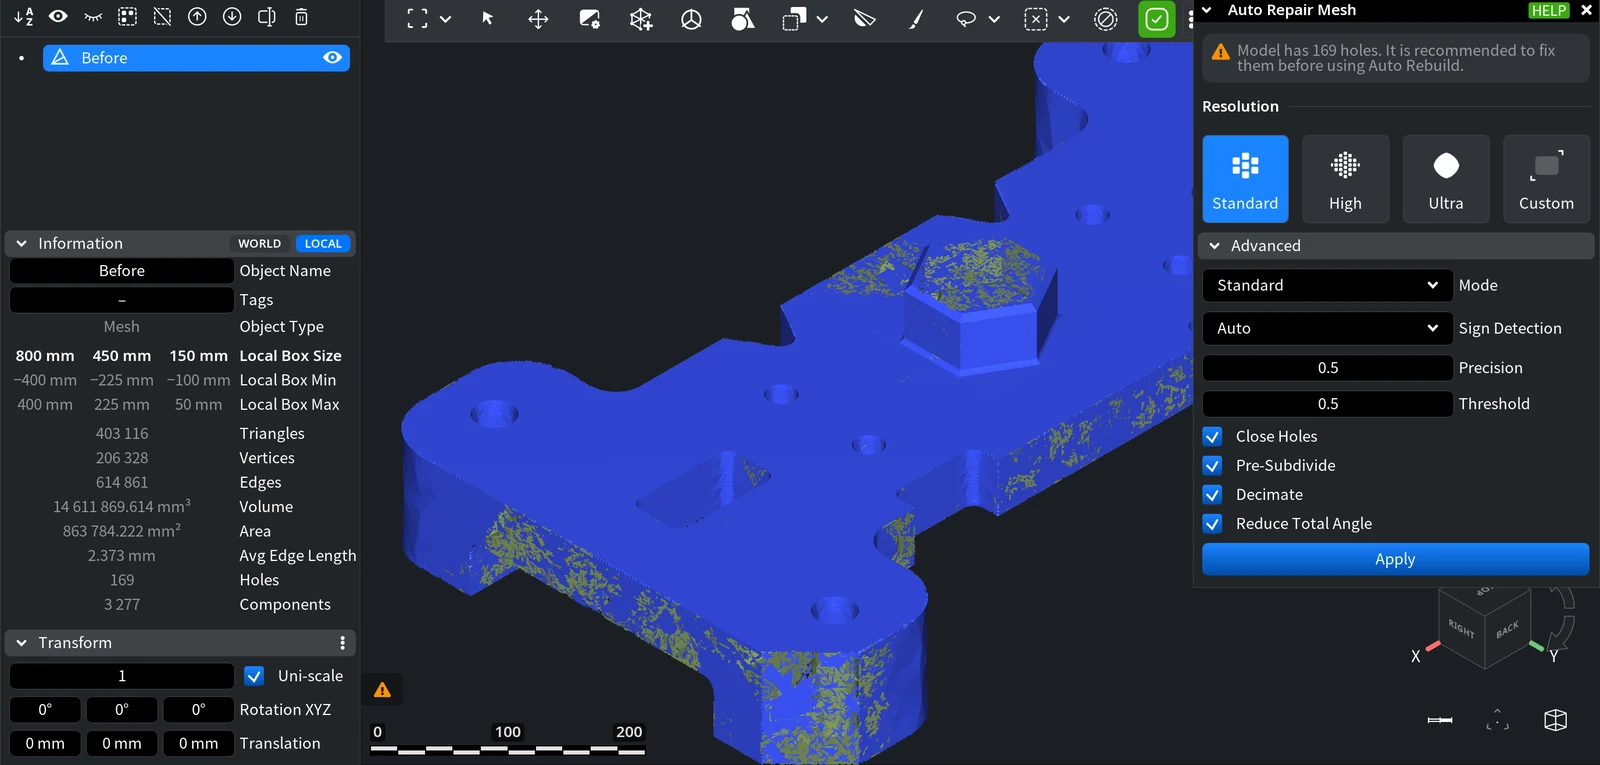
Resolution
Resolution sets the voxel size. Smaller voxels keep more detail, but the rebuild needs more time and memory.
| Preset | Voxel size | Note |
|---|---|---|
| Standard | Set automatically from the size of the selected meshes. | The default. |
| High | Smaller than Standard. | The panel warns: "Fine resolution - repair may take longer". |
| Ultra | The smallest preset. | The panel warns: "Ultra-fine resolution - expect significantly longer compute time". |
| Custom | Your own value in the Resolution field. | "The size of a cubical voxel used in the process, the smaller the size - the better quality is". |
With Custom, the Volume line shows the number of voxels along X, Y and Z and their total. The total is green below 10 million voxels, orange from 10 million and red from 100 million: a red value means a long rebuild and a lot of memory.
Advanced settings
| Setting | What it does | Default |
|---|---|---|
| Mode | How voxels are turned into the final mesh. Smooth: Dual Marching Cubes, corners are rounded. Standard: Marching Cubes, corners are sharper than in Smooth. Sharpening: Marching Cubes plus post-processing that restores sharp features. | Standard |
| Sign Detection | How the tool tells the inside of the body from the outside. Auto: the fastest safe method for this mesh. Winding Number: works with holes and self-intersections. Projection Normal: fast, but unsafe if the mesh has holes or self-intersections. | Auto |
| Precision | Relative precision of the winding number computation that finds the inner and outer parts of the body. Smaller values make the computation faster. From 0 to 1. Hidden with Projection Normal. | 0.5 |
| Threshold | The winding number value where the new surface is placed. For a closed mesh with normals pointing outward, the winding number is 1 inside and 0 outside, so 0.5 is ideal. For a flat open surface the ideal value is 0. From −0.5 to 1.5. Hidden with Projection Normal. | 0.5 |
| Close Holes | Closes all holes of the mesh during the rebuild. Hidden with Projection Normal and in Smooth mode. | On |
| Pre-Subdivide | Splits large input triangles first. This usually makes the rebuild faster but uses more memory. | On |
| Decimate | Simplifies the result at the end to get rid of short edges and degenerate triangles. | On |
| Reduce Total Angle | Makes neighboring triangles of the result as flat to each other as possible, which brings out sharp edges. With Decimate on, it runs before and after decimation and further reduces the number of triangles. | On |
On a computer with a CUDA-capable NVIDIA GPU, Advanced also has a checkbox to compute on the GPU.
Before and after
The example is a scan of a head, 11 mm in its largest dimension, with 29 holes and 10 components (one body and 9 small scanner fragments). For this model Standard means a voxel of 0.019 mm, and on our test Mac (no NVIDIA GPU) the rebuild was only at about 12% after half a minute. So we chose Custom with 0.05 mm: the Volume line showed 158/225/166 voxels (5.9M, green), and the rebuild with the default Advanced settings took 17 seconds.
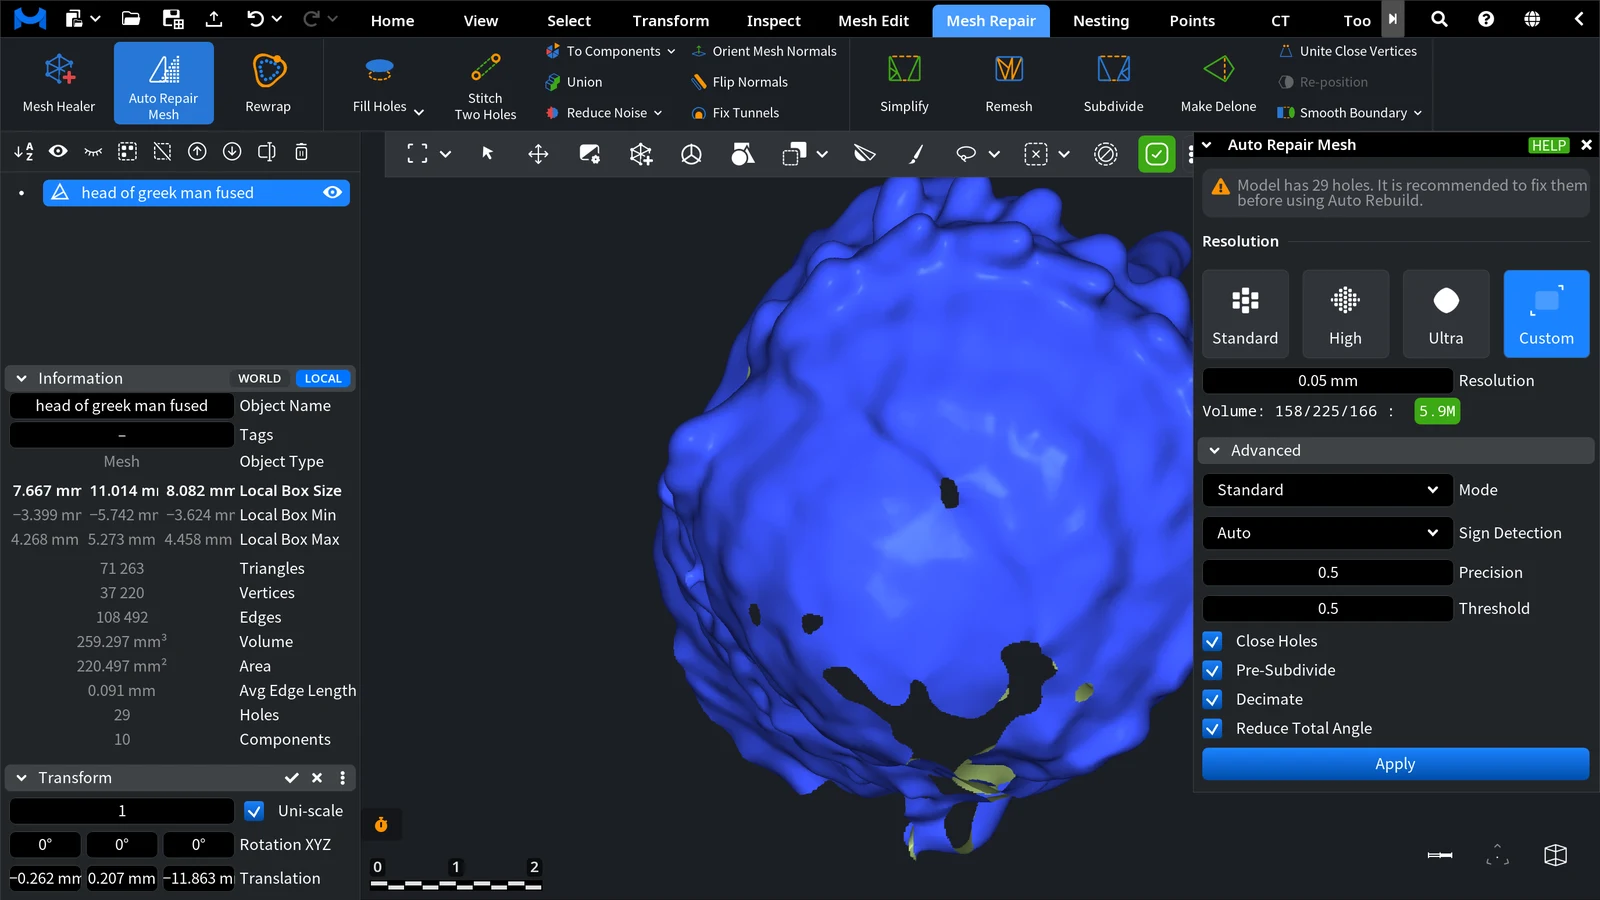
| Triangles | Holes | Components | Self-intersections | |
|---|---|---|---|---|
| Before | 71 263 | 29 | 10 | 0 |
| After Auto Repair Mesh (Custom, 0.05 mm) | 53 376 | 0 | 10 | 0 |
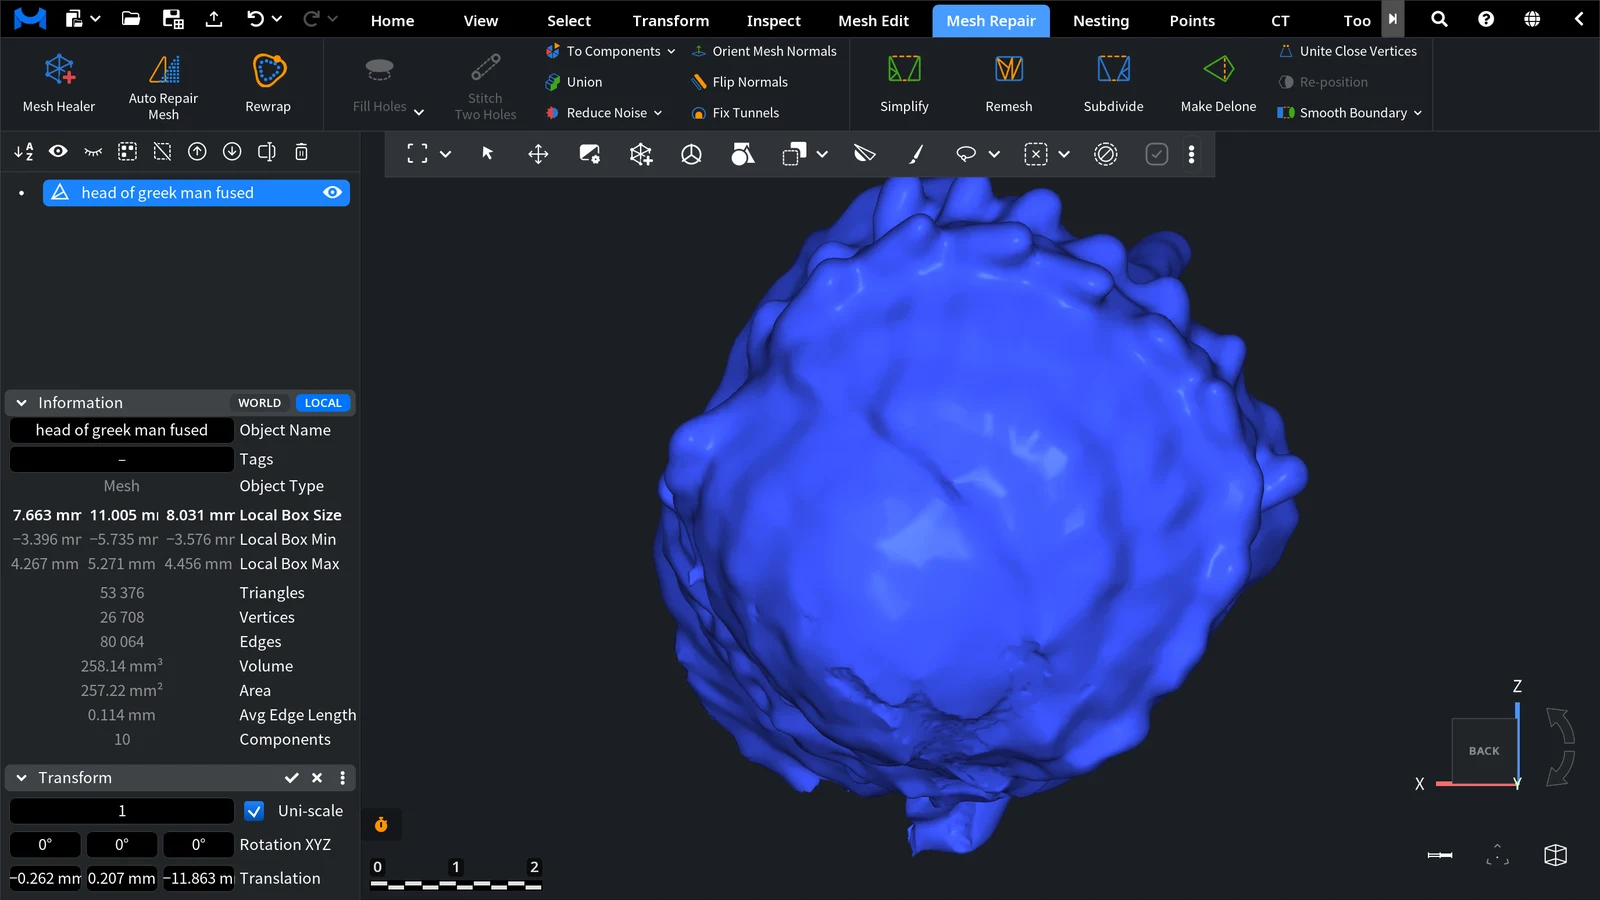
All holes are closed, but the 9 scanner fragments were not removed: they became 9 small closed parts. The number of triangles of the result depends on the voxel size and on Decimate; here it went down from 71 263 to 53 376.
Auto Repair Mesh, Mesh Healer or Rewrap?
- Mesh Healer › Local Repair fixes only faulty areas and keeps the rest of the surface. Try it first.
- Mesh Healer › Auto Repair runs the same rebuild with the same settings (the hole option is called Close All Holes there) for one mesh, and can show a deviation map of the result. See Auto Repair in the Mesh Healer guide.
- Auto Repair Mesh rebuilds several selected meshes in one run.
- Rewrap wraps the surface in a new mesh and keeps only its largest closed part, so it also removes inner parts and loose fragments.
After the rebuild
The rebuilt surface usually has more triangles than you need. Reduce them with Simplify. Loose fragments of a scan are not removed: they become separate solid parts. Remove them with Mesh Repair › To Components › Keep Largest Component (see Keep Largest Component). Clear the selection first with Clear Selections on the toolbar: Auto Repair Mesh selects the sharp edges of the new surface, and Keep Largest Component treats selected edges as borders between parts, so it could delete part of the model.


