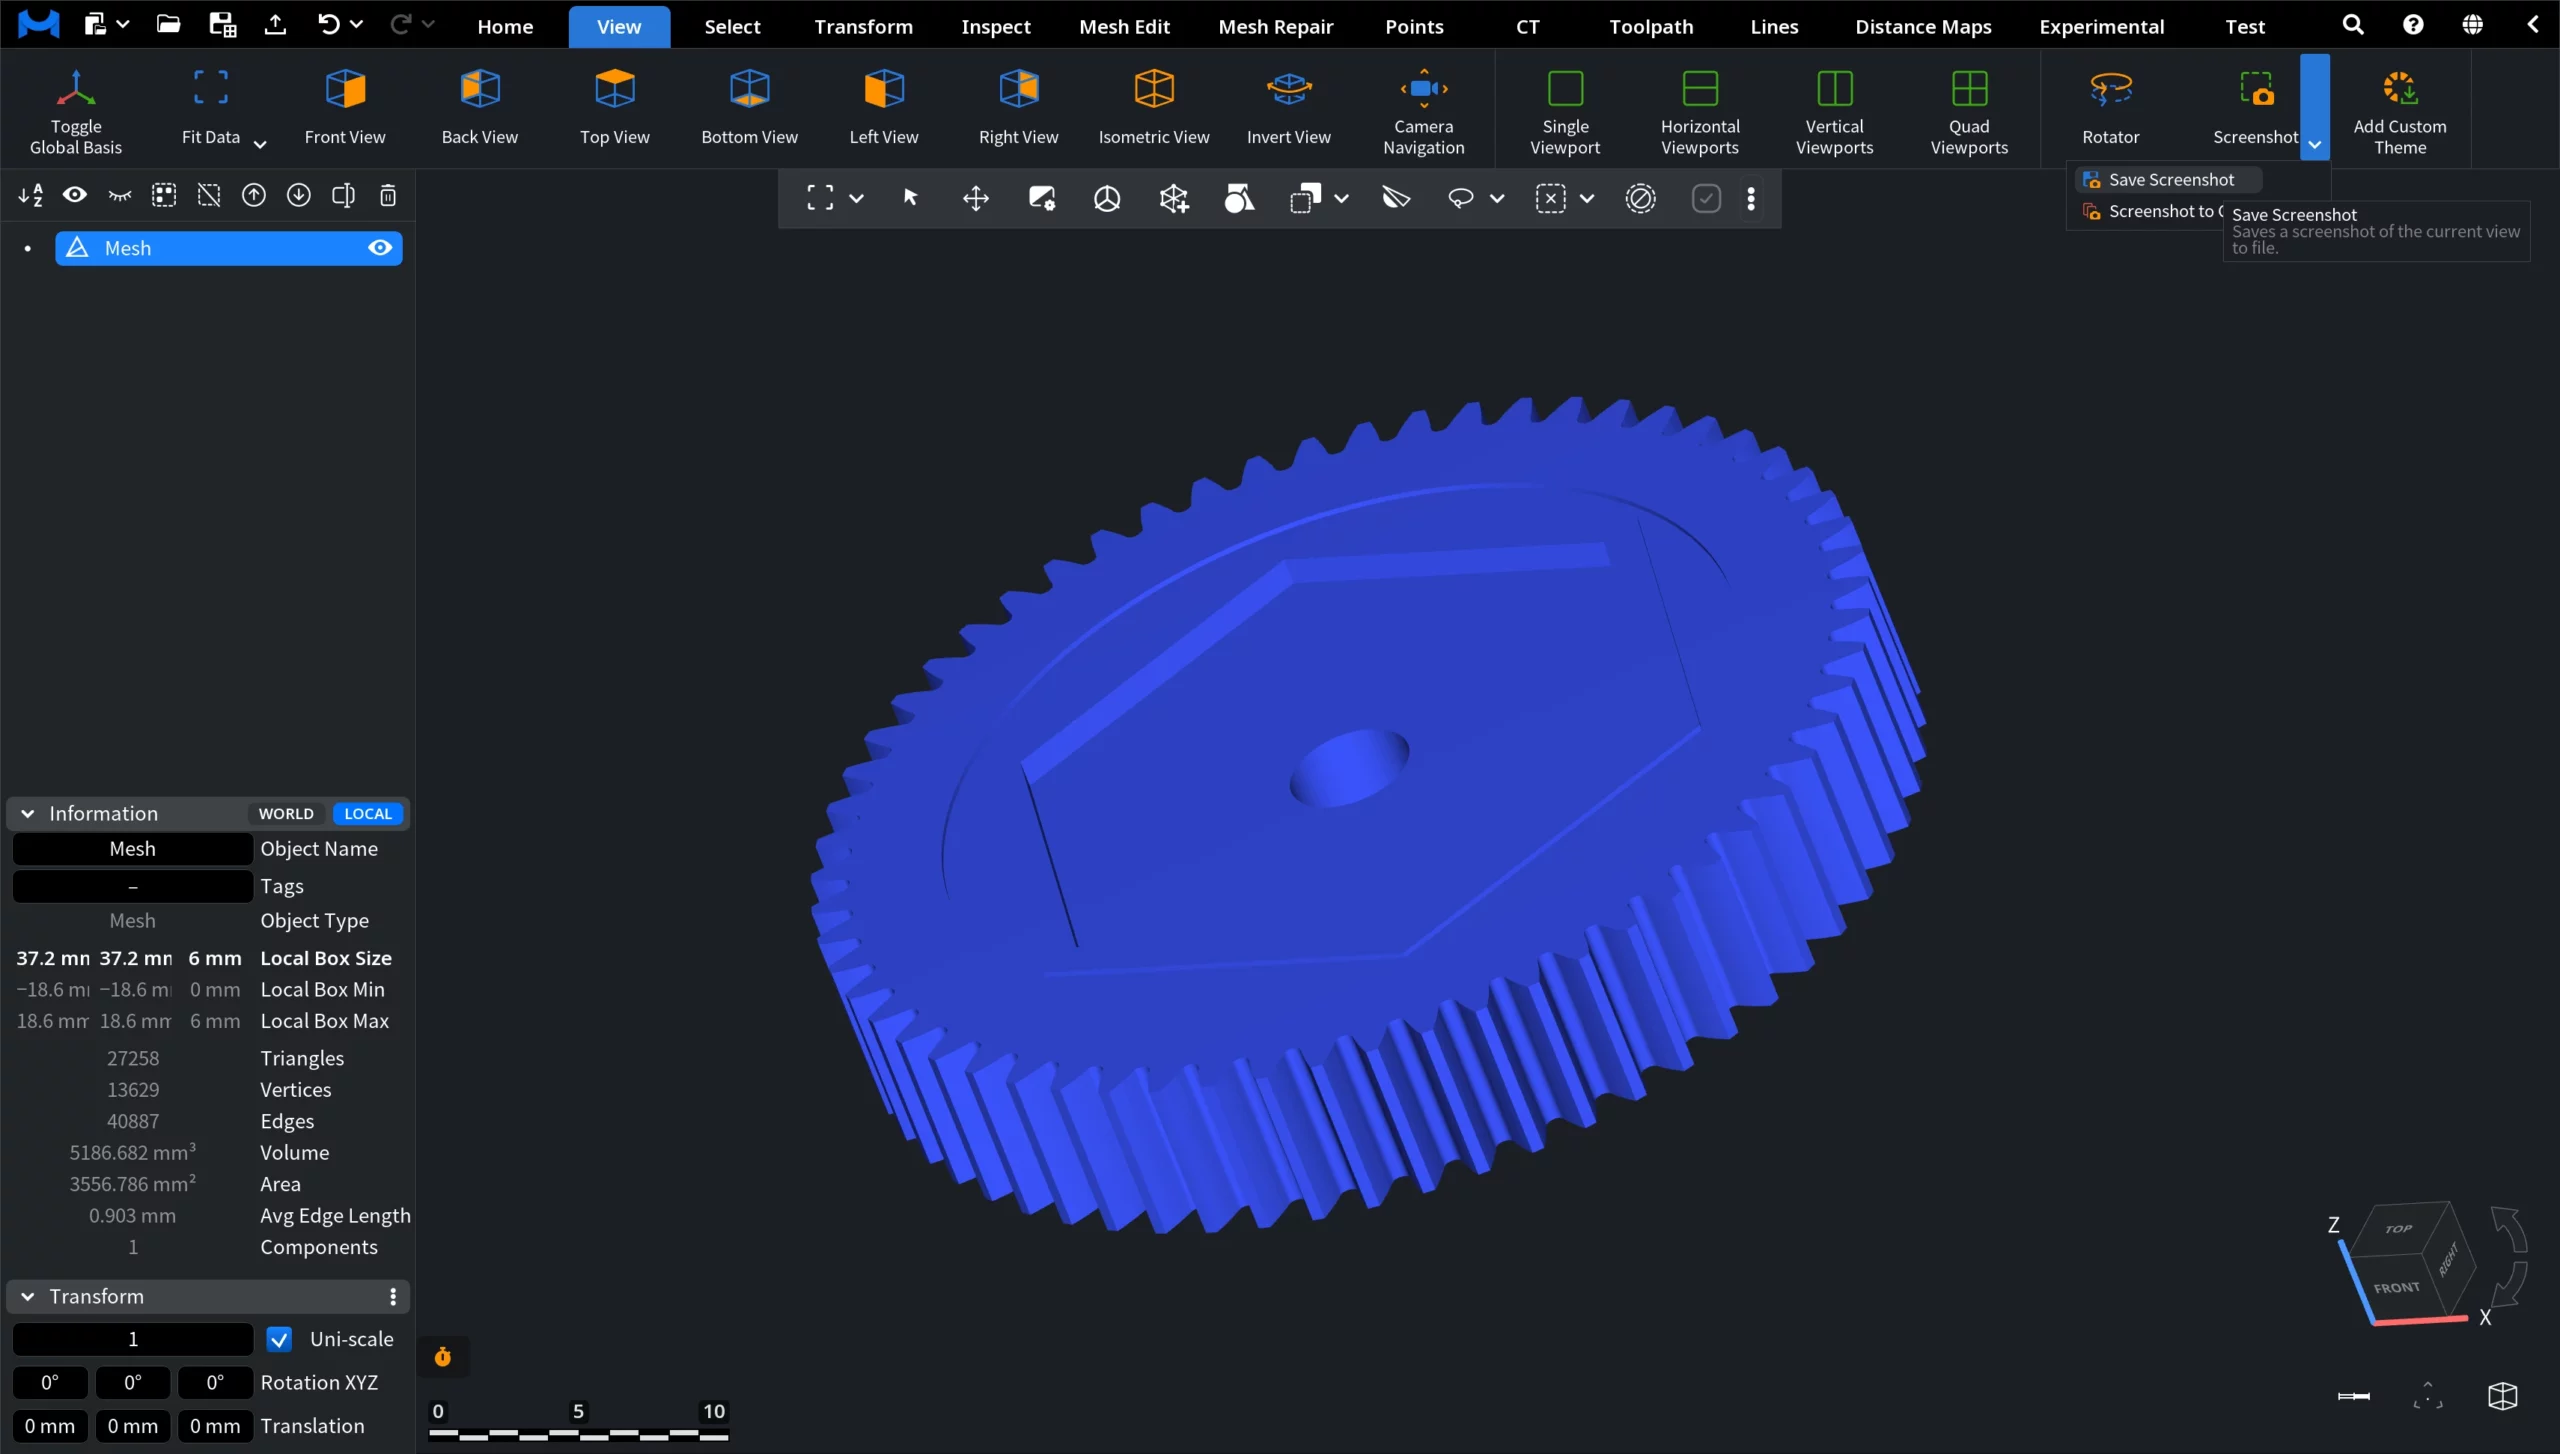
MeshInspector offers several built-in options for creating screenshots directly inside our solution. Depending on your workflow, you can use Screenshot, Save Screenshot, or Screenshot to Clipboard. All three options are available under the View tab.
Screenshot
The Screenshot option saves the current Viewport scene as an image file. It captures the visible objects from the current camera angle, including the active zoom level, visible scene elements, and their position in the Viewport. Once you click it, a dedicated panel with settings opens.
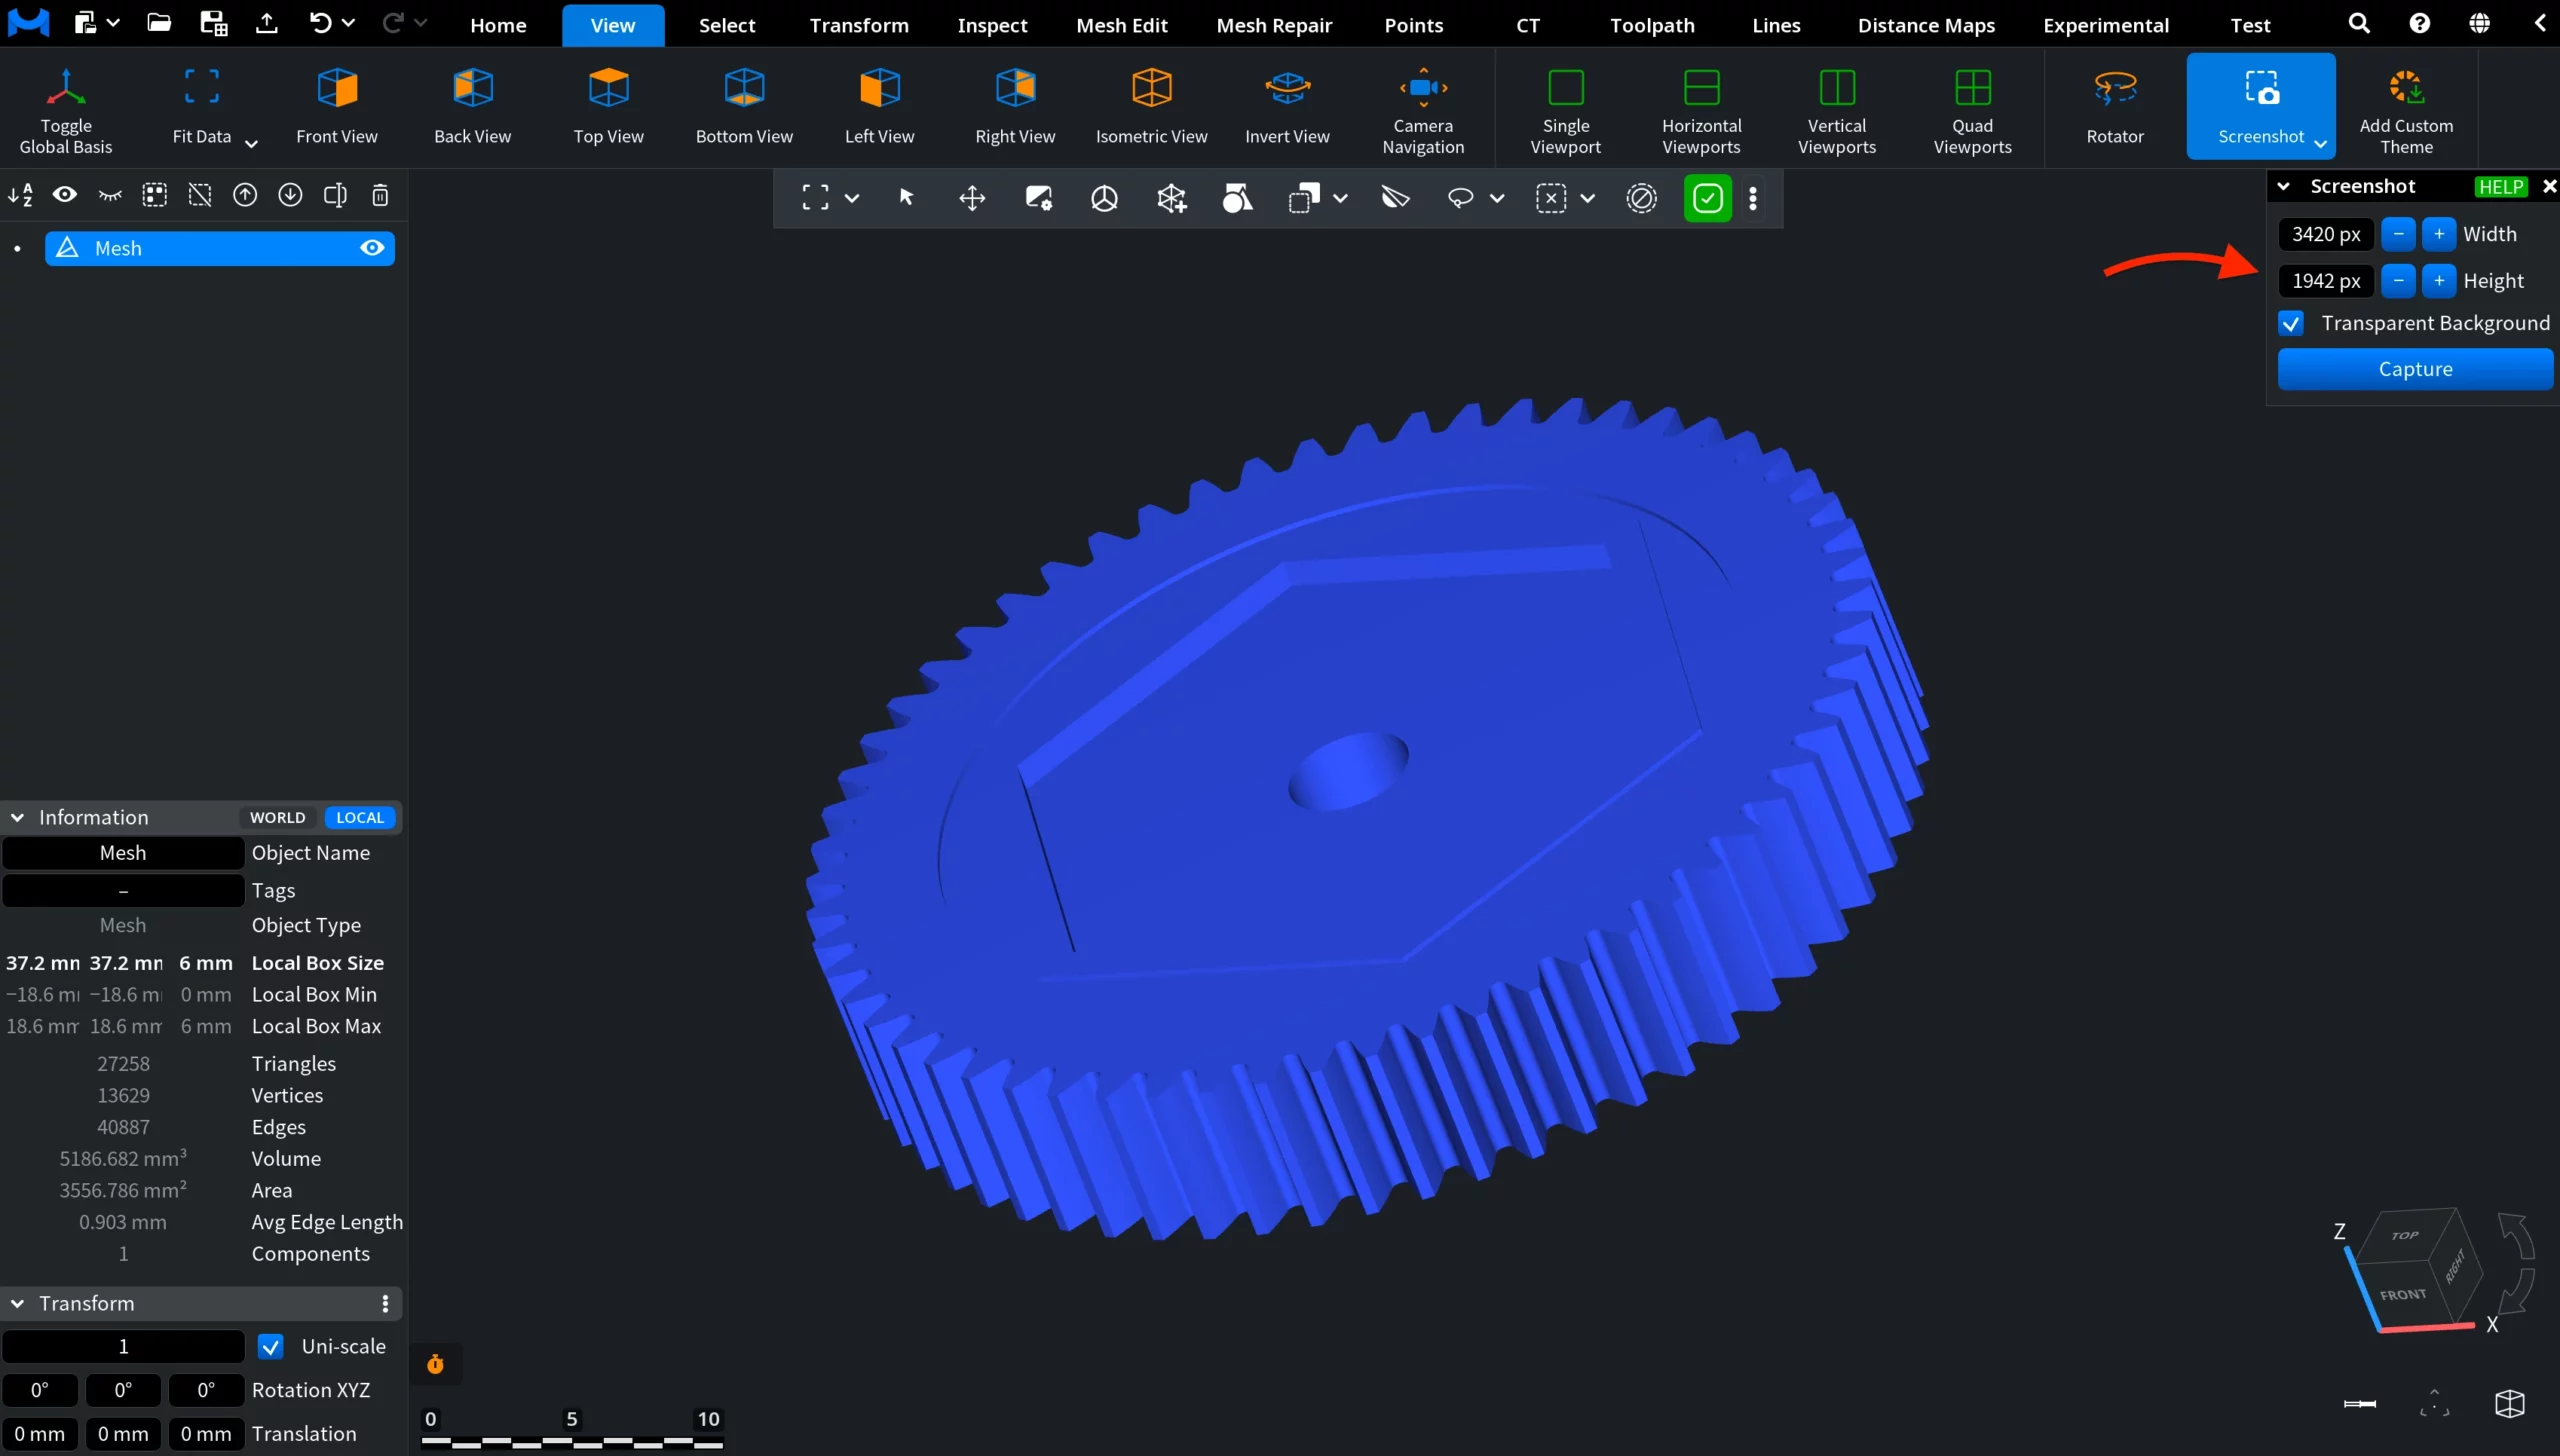
Here, you can adjust:
- Width defines the screenshot width in pixels.
- Height defines the screenshot height in pixels.
- Transparent Background, when enabled, removes the viewport background from the exported image. When disabled, the screenshot keeps the current viewport background.
Finally, clicking Capture creates the screenshot using the selected settings. After that, a saving window opens where you can choose the file location, enter the file name, and select the output format.
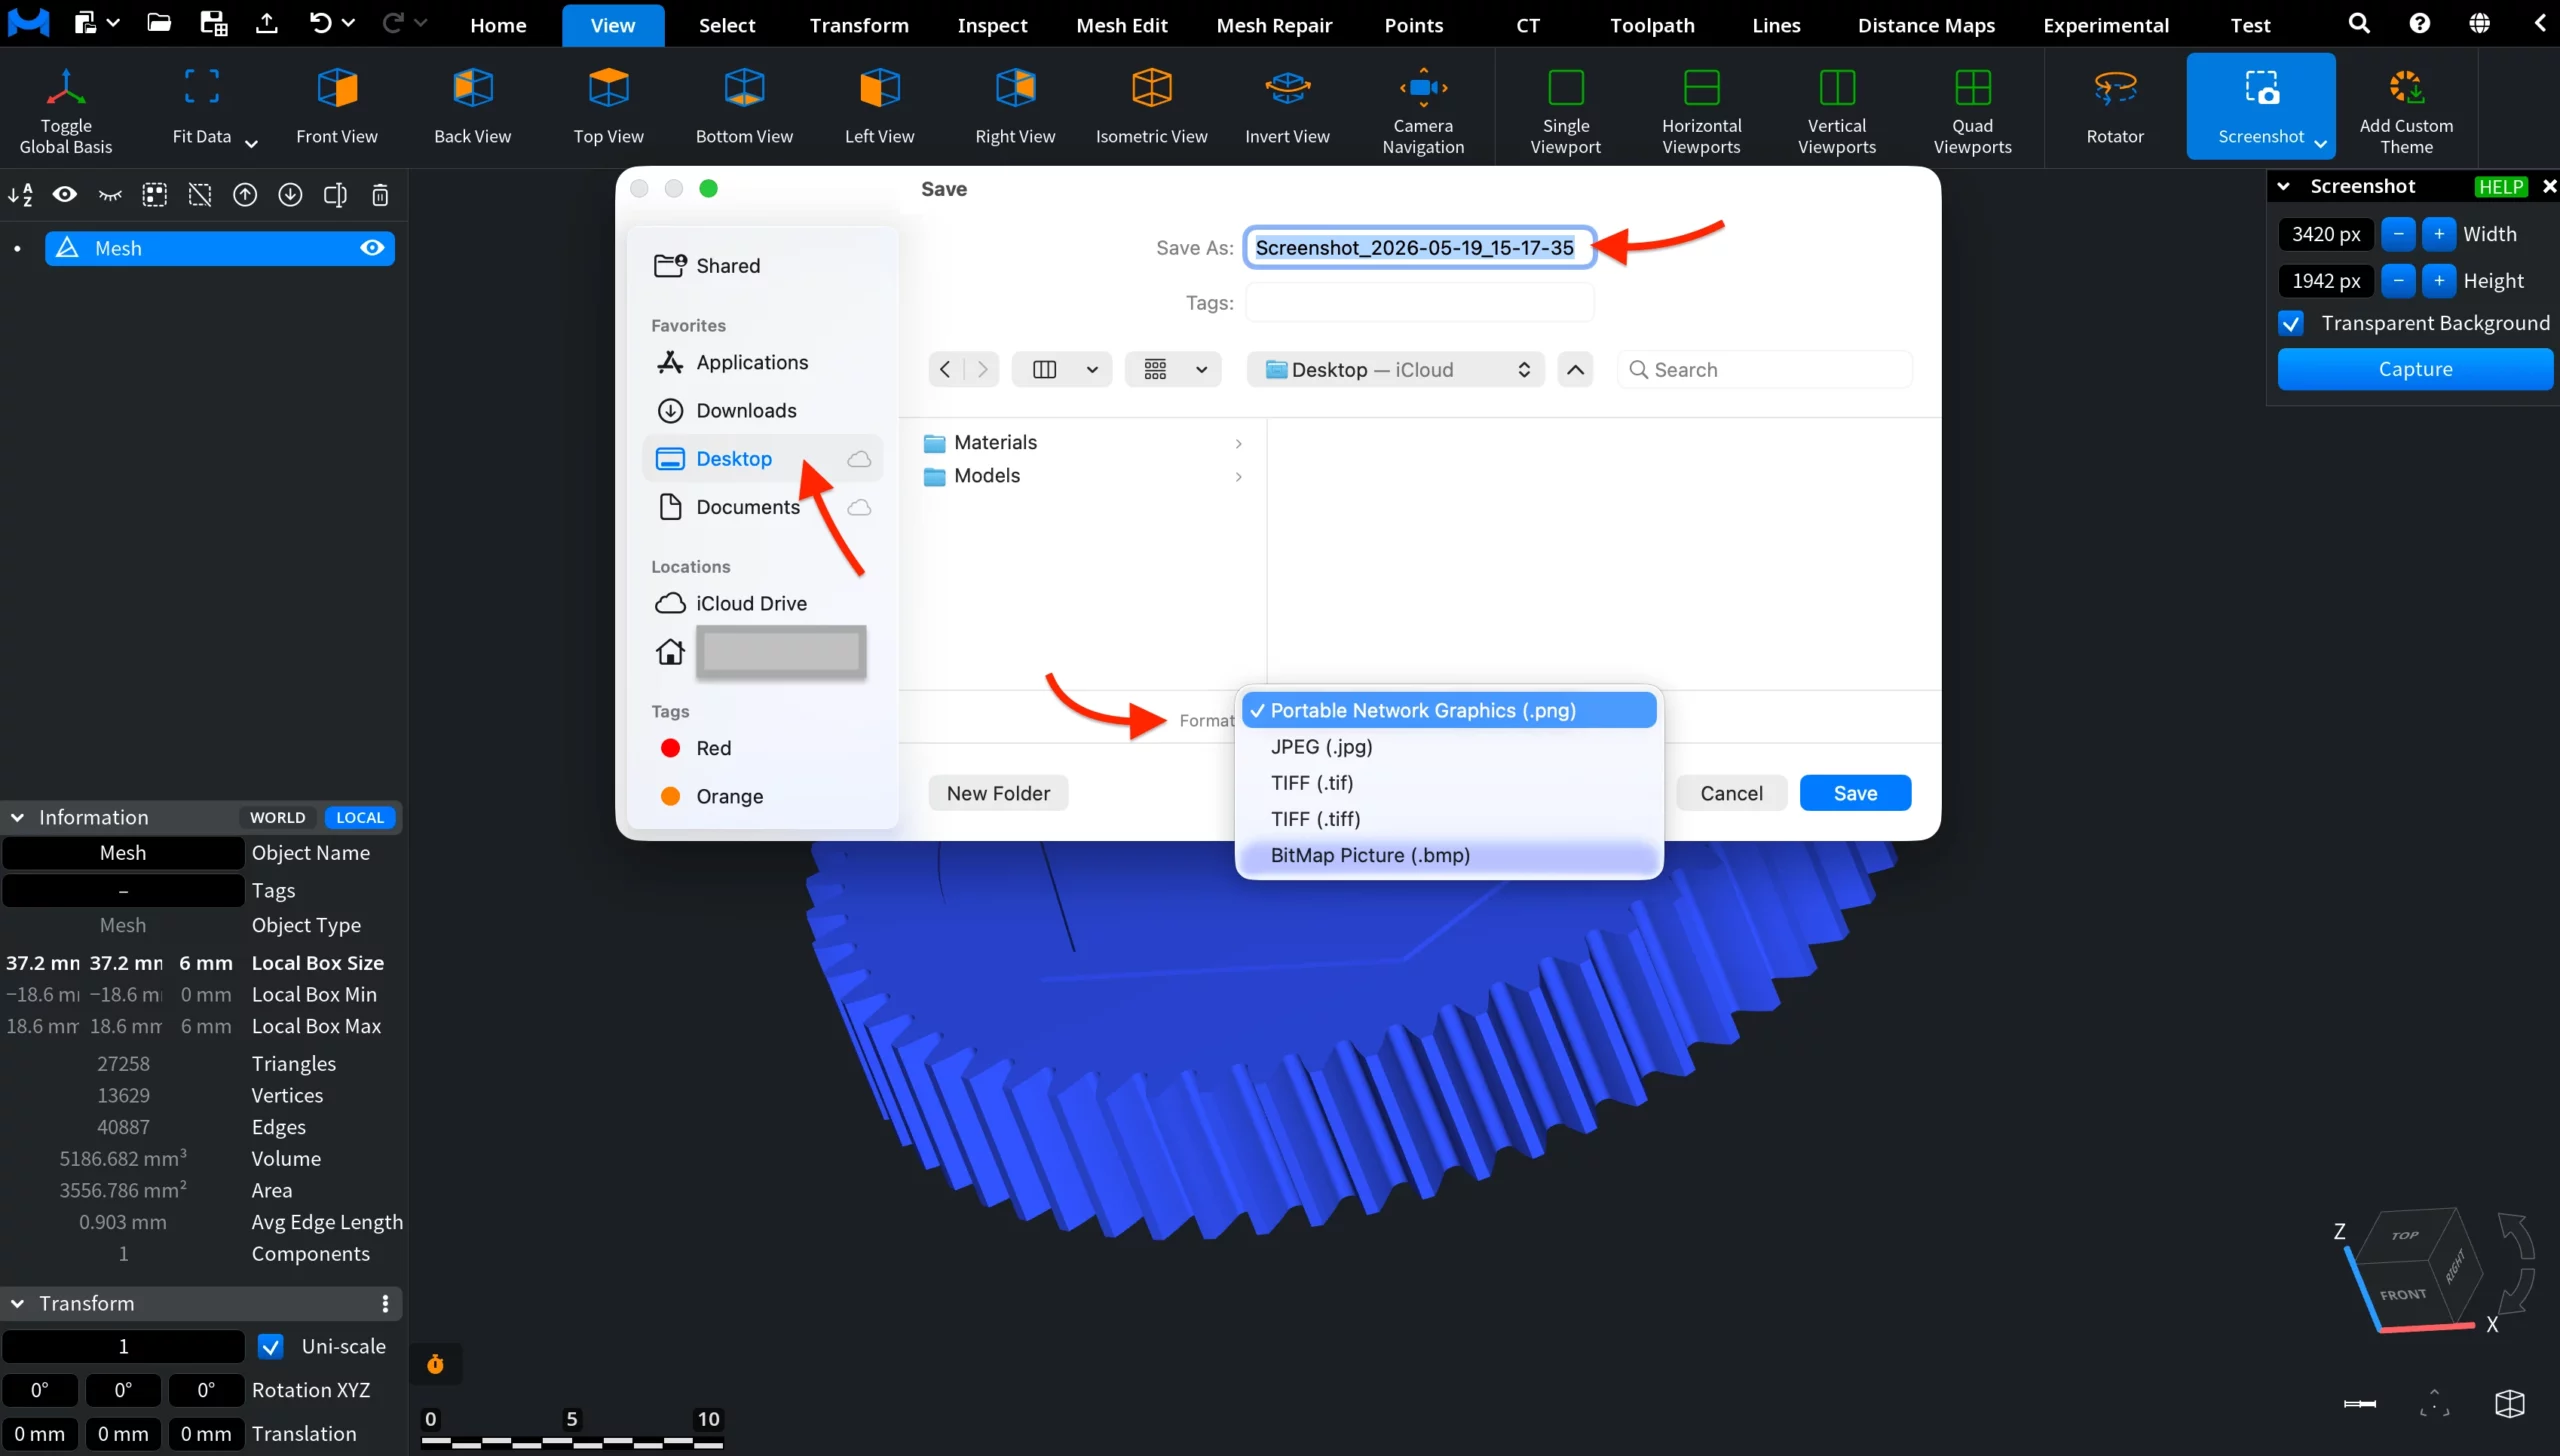
The Format dropdown lets you save the screenshot in one of the available image formats:
- PNG saves the screenshot as a Portable Network Graphics file.
- JPG saves the screenshot as a JPEG image.
- TIF/TIFF saves the screenshot as a TIFF image.
- BMP saves the screenshot as a bitmap image.
Once the location, name, and format are selected, click Save to export the screenshot.
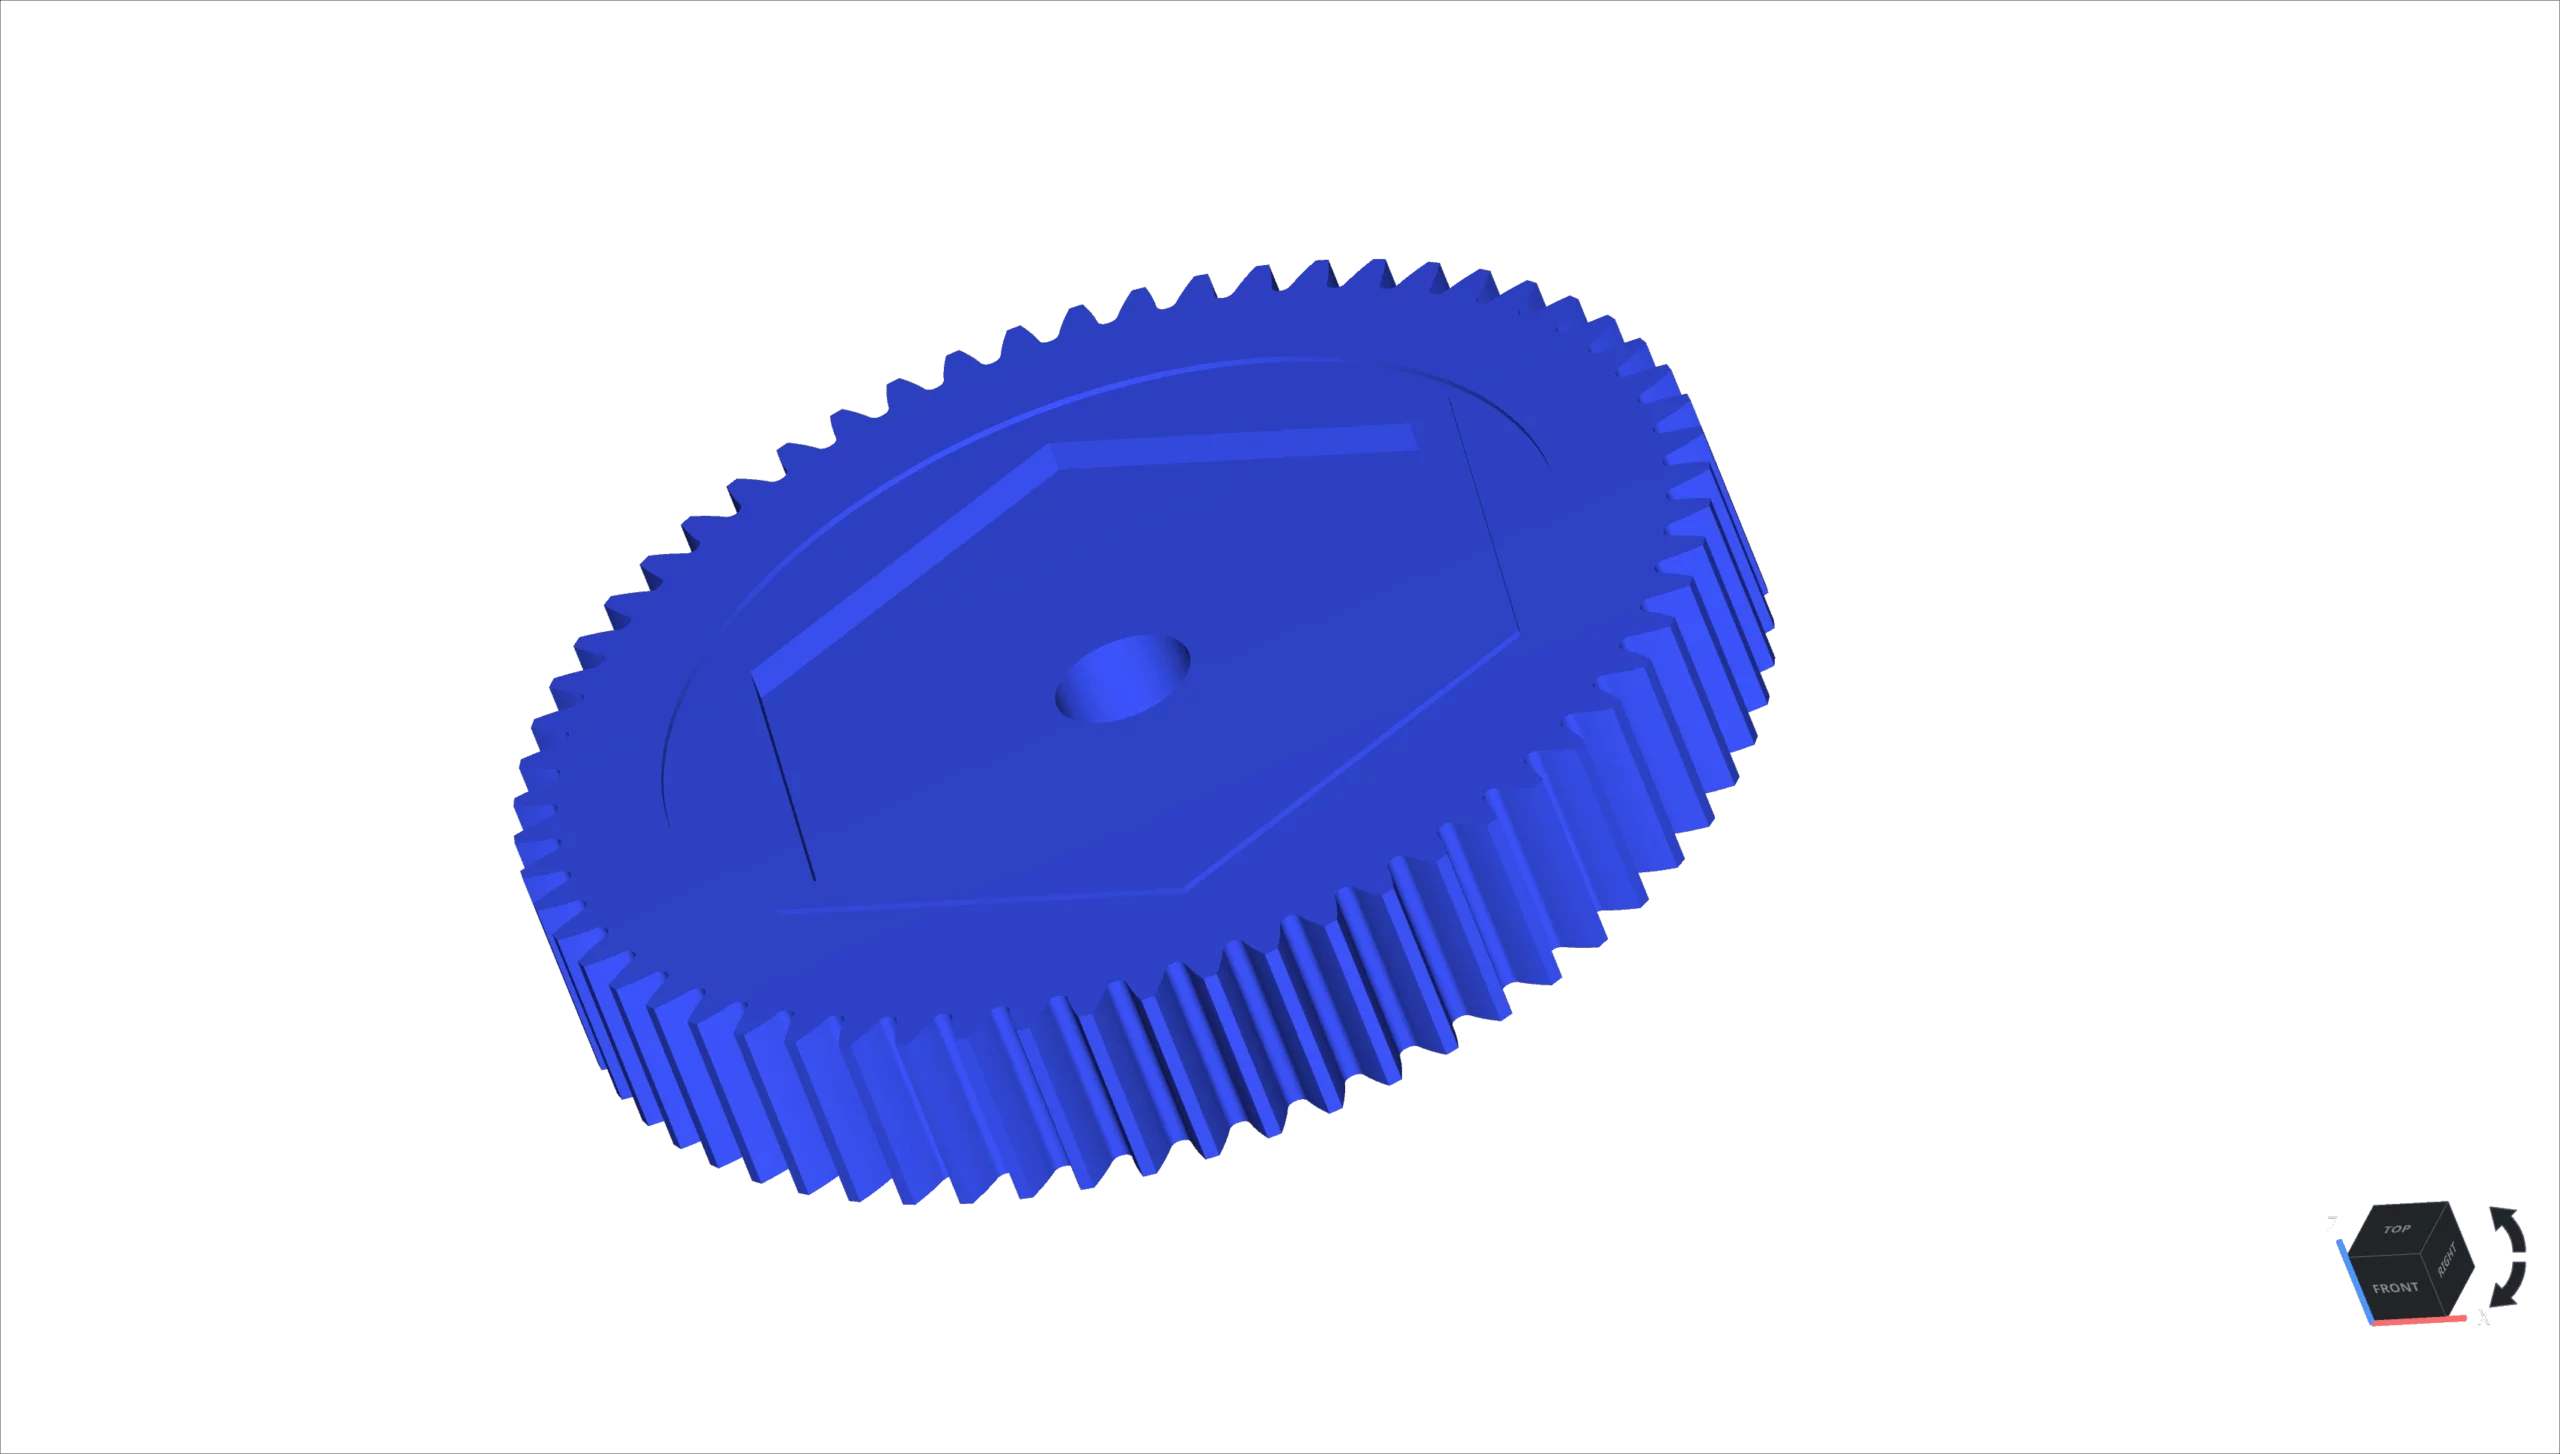
The exported screenshot below contains the current Viewport scene without the MeshInspector interface panels. Since Transparent Background was enabled and the PNG format was chosen, the viewport background is removed, leaving only the visible model and the orientation cube in the output image.
Save Screenshot
The Save Screenshot option saves the entire MeshInspector window as an image file. Unlike Screenshot, it captures not only the Viewport, but also the visible interface elements, including the toolbar, panels, and the Scene Tree. To use it, go to the View tab, open the Screenshot dropdown, and click Save Screenshot.

After you click Save Screenshot, no additional screenshot settings panel opens. Instead, the same saving window described above opens directly, allowing you to choose the file location, enter the file name, and select the output format.
As you can see below, the image exported via Save Screenshot contains the full MeshInspector interface, not only the Viewport scene.
Screenshot to Clipboard
The Screenshot to Clipboard option copies a screenshot of the current Viewport scene to the clipboard instead of saving it as a file. To use it, go to the View tab, open the Screenshot dropdown, and click Screenshot to Clipboard.

After you click Screenshot to Clipboard, no saving window opens. The screenshot is copied to the clipboard immediately. Unlike the Screenshot option, this tool does not open a settings panel and does not provide a Transparent Background option.
In the example below, we switched to a Google Doc and used Paste. The captured Viewport scene was inserted into the document as an image. The pasted image includes the visible model, viewport background, and orientation cube, but does not include the MeshInspector interface panels.
