A. Quick-Access Icons

| Icon | Tooltip |
|---|---|
| A→Z | Sort by Name |
| 👁️ | Show All |
| 🙈 | Hide All |
| ▢▣ | Select All |
| ▢✕ | Unselect All |
| ↑ / ↓ | Show Only Previous / Next |
| ✏️ | Rename |
| 🗑️ | Remove Selected |
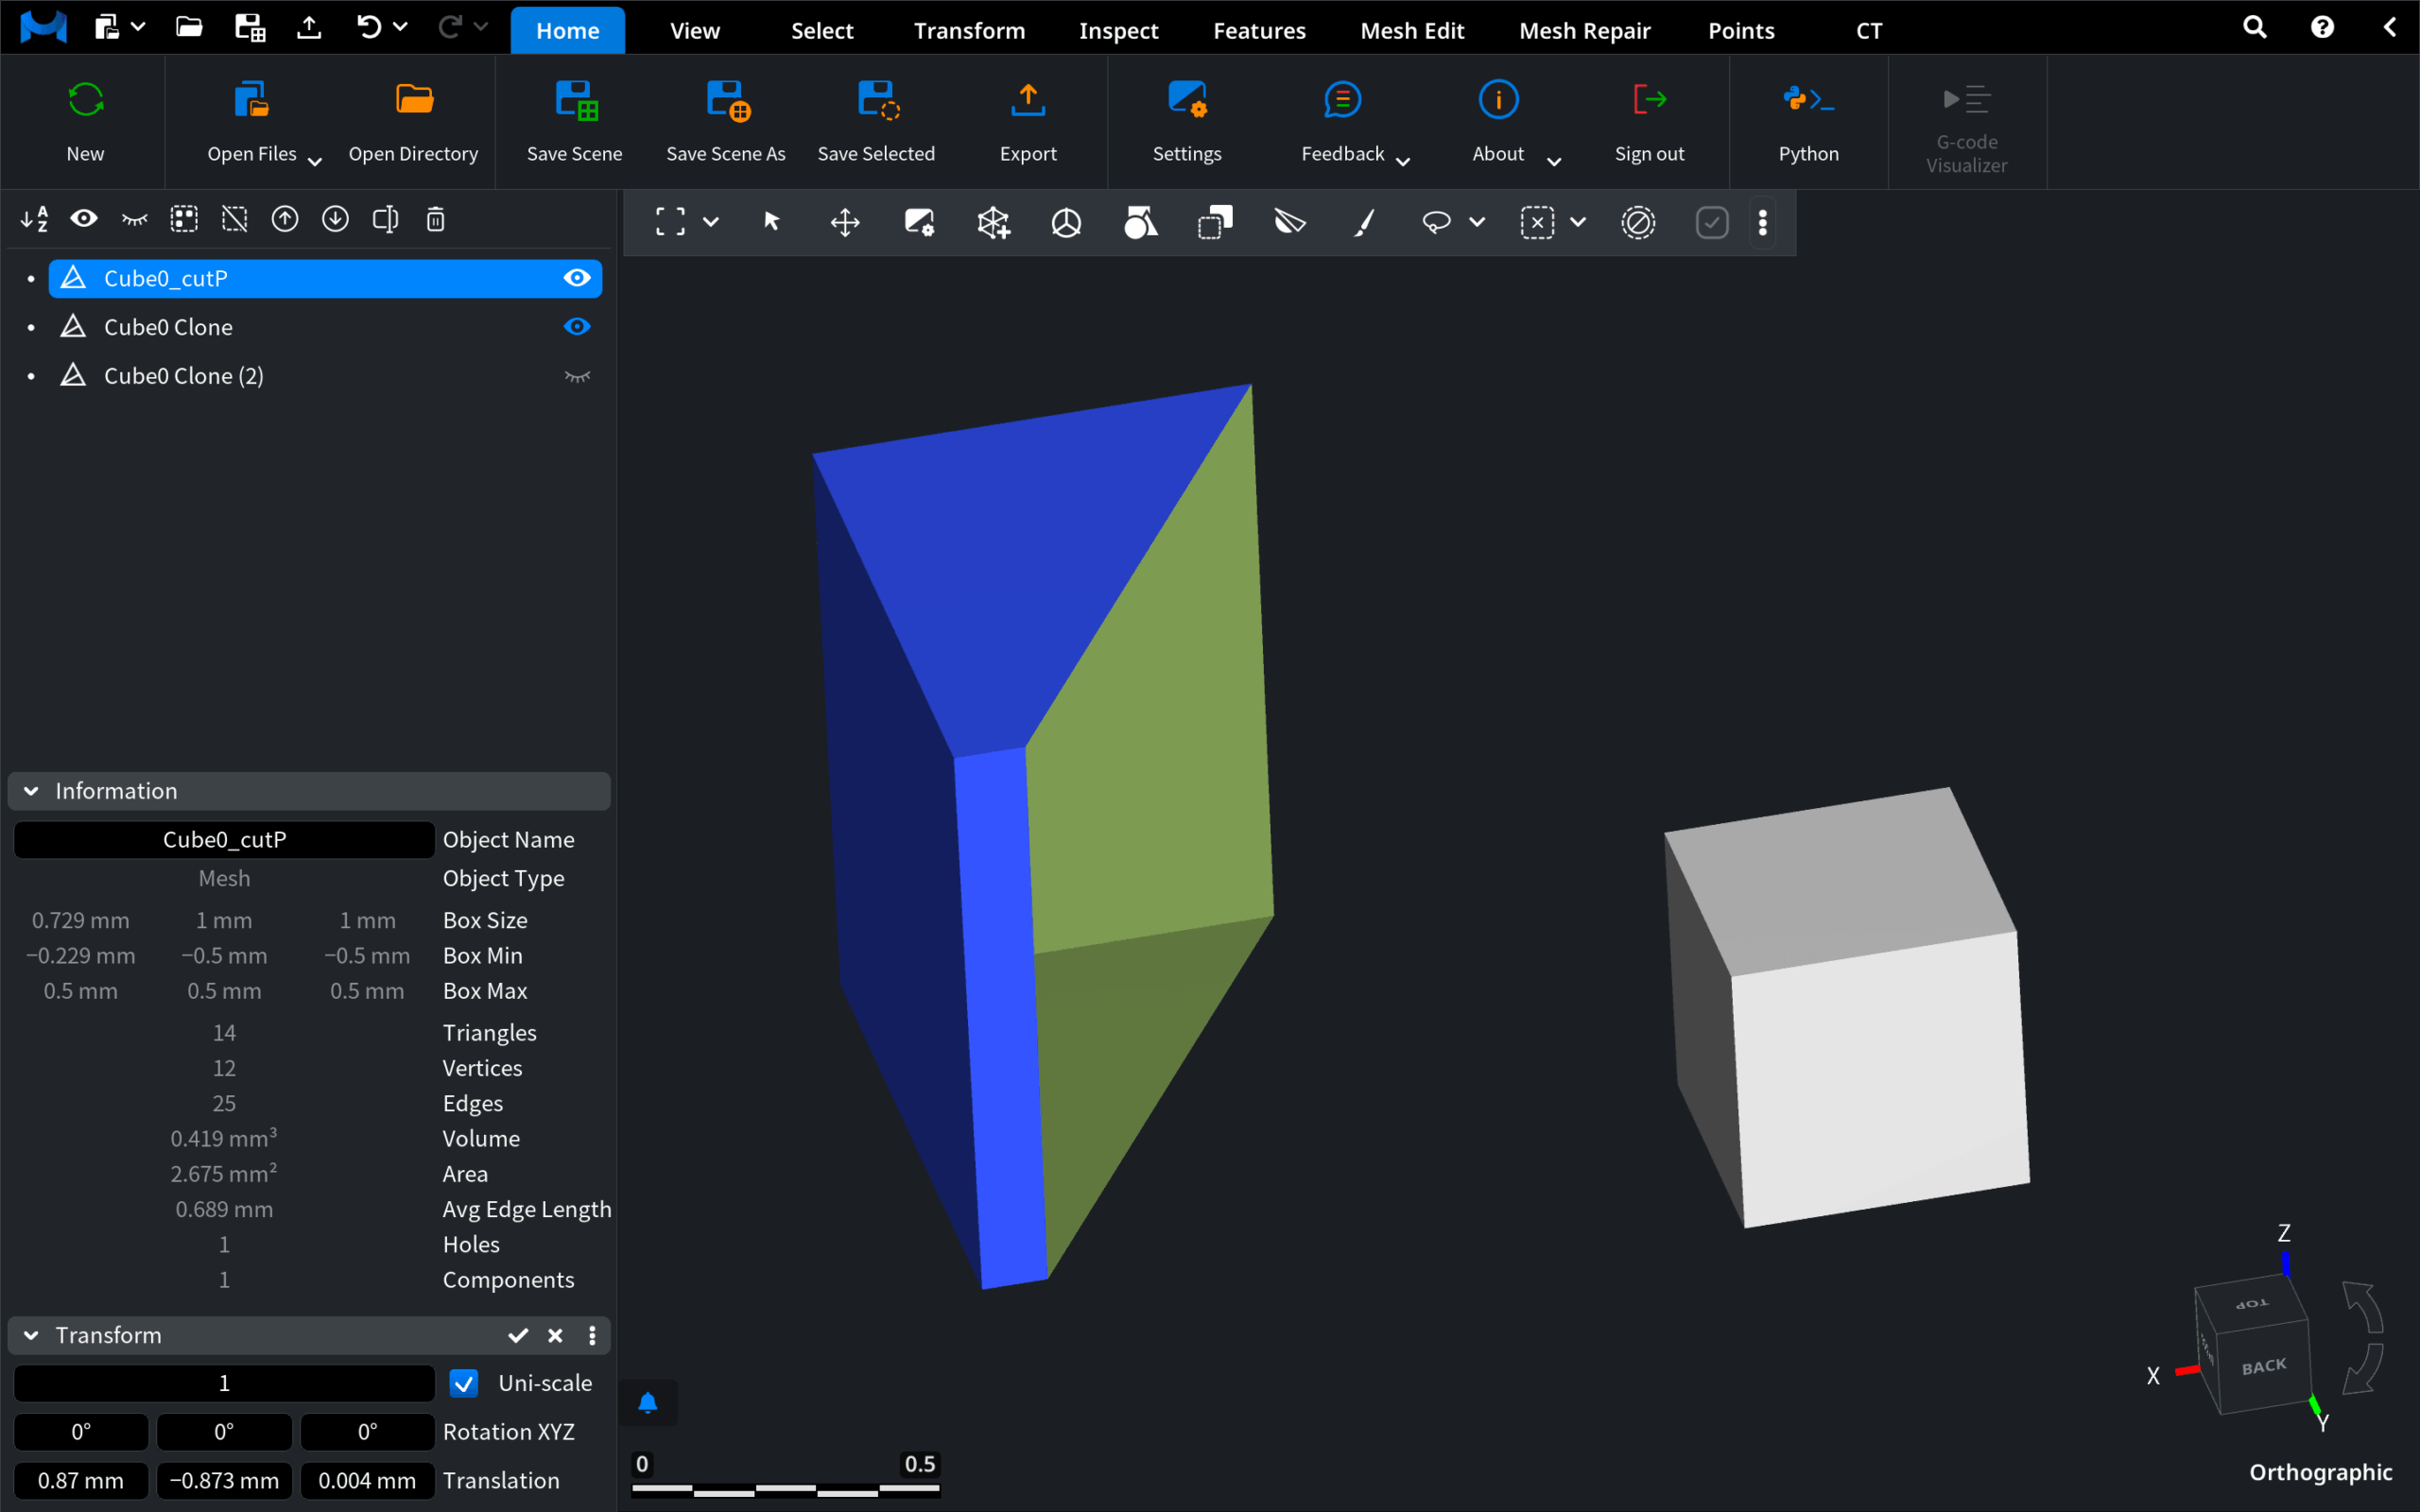
B. Color Logic in the Viewport
| Color | Meaning |
|---|---|
| Blue | Selected object |
| White | Visible, unselected object |
| Green | Back-faces (reverse sides of triangles) |
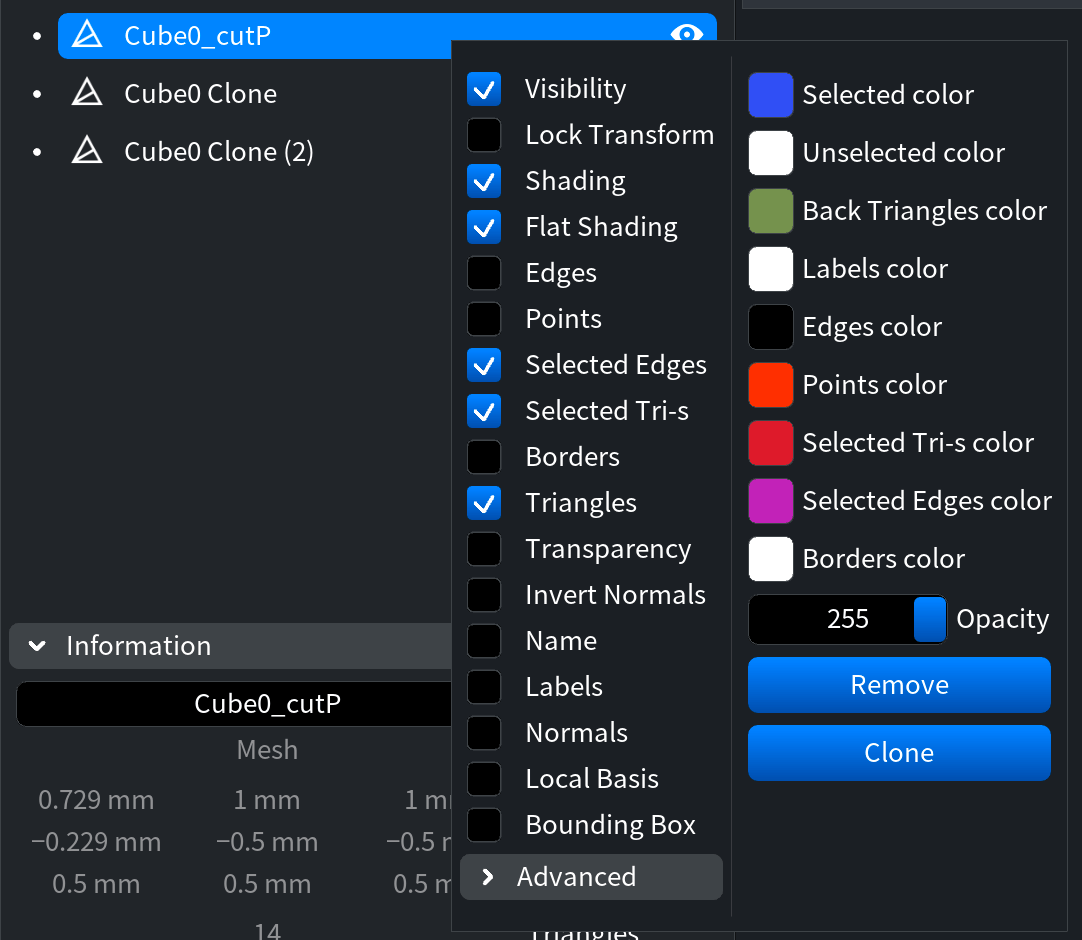
C. Right-Click Object ➜ Visibility & Appearance Menu
| Toggle / Control | What happens when it’s ON (or when used) |
|---|---|
| Visibility | Shows the object; off = hidden. |
| Lock Transform | Freezes move/rotate/scale. |
| Shading | Enables lighting-based shading. |
| Flat Shading | One solid color per triangle (great for spotting flipped normals). |
| Edges | Overlays black wireframe lines. |
| Points | Displays bright-red vertices. |
| Selected Edges | Highlights picked edges in magenta. |
| Selected Tri-s | Highlights picked triangles in dark red. |
| Borders | Marks open-surface boundaries in white. |
| Triangles | Toggles the mesh skin; off = faces hidden. |
| Transparency | Makes the whole object semi-transparent (independent of Opacity value). |
| Invert Normals | Flips face orientation—instantly visible via color scheme. |
| Name / Labels | Draws the object name and any labels in scene. |
| Normals | Shows short white rays for each face normal. |
| Local Basis | Displays a mini XYZ gizmo at the object’s origin. |
| Bounding Box | Outlines the object’s extents with a white box. |
| Opacity (0 – 255) | Numeric slider; 255 = fully opaque. Mouse-wheel over the field for quick changes. |
| Color Swatches | Nine editable swatches—Selected, Unselected, Back Triangles, Labels, Edges, Points, Selected Tri-s, Selected Edges, Borders. ▶ Click a swatch to open the RGBA/HEX color picker; hover to see exact values. |
| Advanced ▼ | Expands any extra plugin-specific options (if present in your build). |
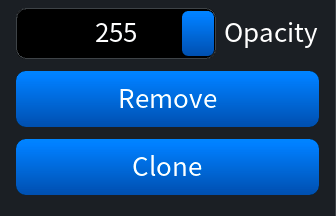
D. Action Buttons (blue, at the bottom)

| Button | What it does |
|---|---|
| Remove | Deletes the object. |
| Clone | Duplicates it. |
| Clone Selection | Duplicates only the current triangle/point selection. |
| Group | Appears when multiple objects are selected; creates a folder. |
(Group context-menu: Remove • Ungroup • Select Subtree • Clone • Merge Subtree)
F. Information Panel
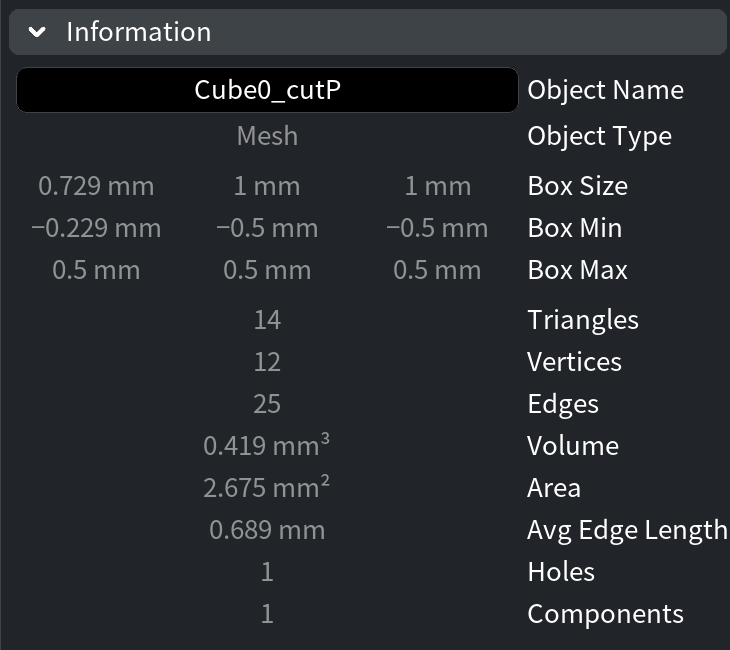
You can find the Information panel in the bottom left corner of the workspace. It appears when an object is selected in the scene tree and expands on click. The contents of this panel shows the type of the selected object (e.g. mesh, point cloud, etc) and the specific information about it depending on the type.
(Panel expands from the bottom-left; values update instantly when you change selection.)
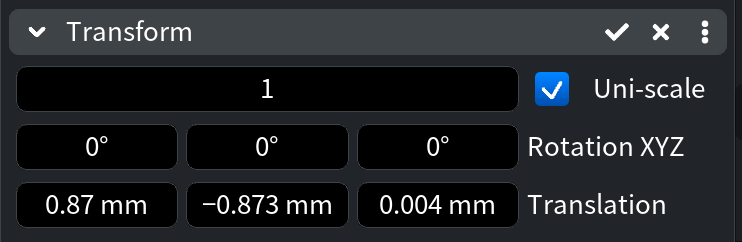
G. Transform Panel — Precise Position, Rotation & Scale

| Control | How to use it |
|---|---|
| Scale X Y Z | Enter numeric factors; click-drag up/down or mouse-wheel for fine tweaks. |
| Uni-Scale Lock | Toggle to keep X, Y, Z scaling uniform. |
| Rotation X Y Z (°) | Type angles in degrees; negatives allowed. |
| Translation X Y Z | Move the object along each axis in scene units. |
| Live Sync | Values update in real time while you drag the gizmo. |
| Reset / Zero | Revert scale to 1 × 1 × 1, rotations to 0°, or translations to 0 (if provided by your build). |
| Accept | Set new Transform values |