Opening OBJ Files
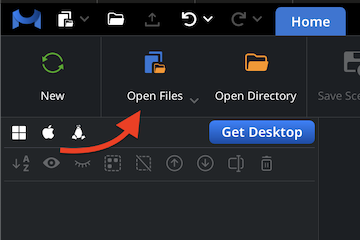
To initiate your quick and easy-to-perform conversion from the OBJ format to STL files, launch the MeshInspector program. Once it is up and running, go to the Home tab and click ‘Open Files’ to import your OBJ model, no matter how large it might be.
Browsing OBJ Files
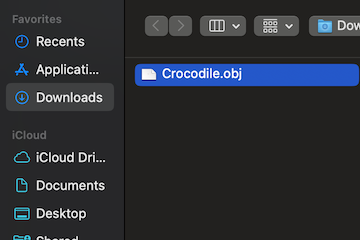
The program prompts you to select an OBJ. Click ‘Browse’, navigate, and confirm your choice. Note: if you are working on OBJ projects via the web version, they must be uploaded as zipped archives. On desktop, you can upload a single OBJ file.
Viewing OBJ Files
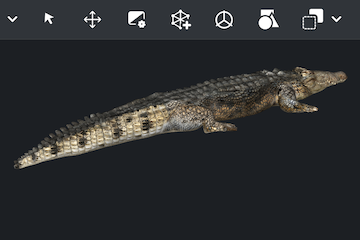
Once imported as a .ZIP, your .OBJ appears, ready for inspection. OBJ files may contain not only geometry but also textures and color data. MeshInspector can recognize all these, rendering them accurately. As a result, you are free to view the model from all angles.
Exporting Components
We will now proceed to export our OBJ model to convert it into another format. Locate your model in the scene tree. Right-click on it to open the context menu, then select the ‘Export’ option.
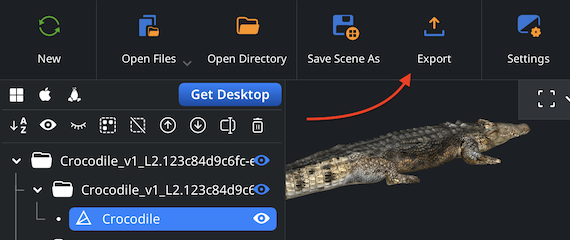
Combining for Export
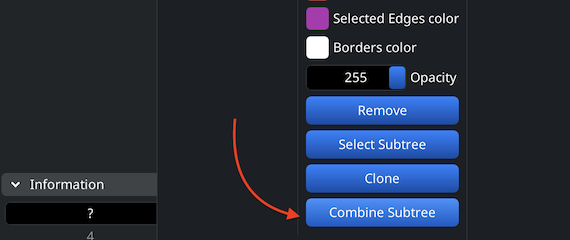
You can export several elements at once. Select what you are planning to export, right-click on them, then choose ‘Group’. After that, click on the resulting group and choose ‘Combine subtree.’ The tree can now be exported.
Setting the STL format
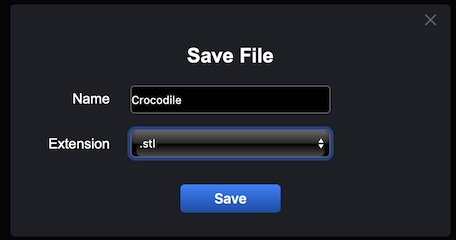
In the dialog window, opt for STL from the ‘Extension’ dropdown. Then, our program will save your model in the STL format. Click ‘Save’ to complete the OBJ to STL conversion.
Inspecting the STL Size
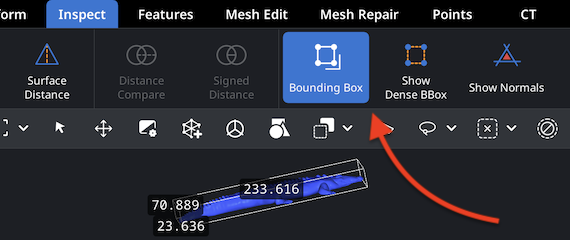
Go to the ‘Inspect’ tab and select ‘Bounding Box’ to check your STL’s dimensions. All measurements will be displayed, making it possible to verify the eventual export scale.
Adjusting the STL Size
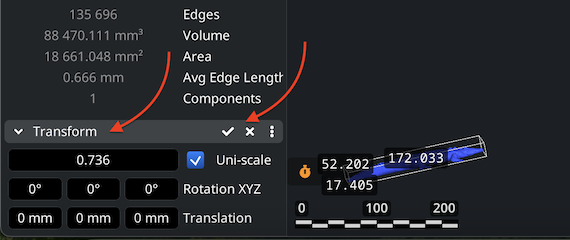
To modify the STL’s scale and volume, use ‘Transform’ under the ‘Information’ section. Adjust the Scaling bar, apply changes by clicking on the checkmark, and verify the dimensions.
Finding ‘Mesh Healer’
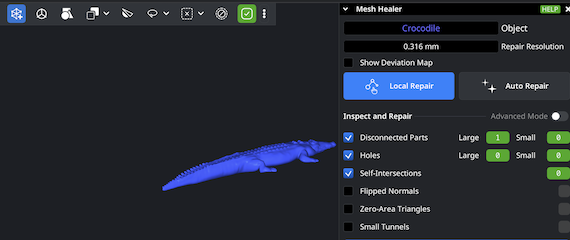
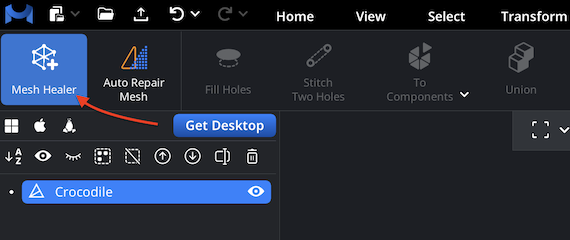
MeshInspector includes the dedicated ‘Mesh Healer’ tool, located right under the ‘Mesh Repair’ tab. This helpful and potent feature is designed to automatically detect and, subsequently, fix geometry issues that may interfere with successful 3D printing. Using it ensures a clean surface.
Fixing the STL File
Click ‘Mesh Healer’ to open a panel displaying all detected mesh problems: holes, flipped normals, non-manifold edges, zero-area triangles, or self-intersections. You can fix selected issues using ‘Local Repair’, or perform a full rebuild with ‘Auto Repair’, which reconstructs the mesh from scratch, in its entirety.
