
Convert OBJ files to PLY format with full support for color and geometry attributes.


Watch our quick tutorial or read:
Compare OBJ to PLY converters and find the best fit for your workflow
|
MeshInspector
|
MeshInspector
|
Other Converters
|
|
|---|---|---|---|
| Speed |
Ultra-fast Local processing
|
Fast
|
Slow
|
| File Size Limits |
Unlimited
|
Unlimited
|
File size limit (50 MB)
|
| File Number Limits |
Unlimited
|
Unlimited
|
Usually single file only
|
| Folder Support |
Full folder import
|
Full folder import
|
Not supported
|
| Assembly Conversion |
Partial or full assembly
|
Partial or full assembly
|
Not supported
|
| Mesh Validation |
Integrated
|
Integrated
|
Not supported
|
| Auto Mesh Repair |
Advanced
|
Advanced
|
Not supported
|
| Mesh Repair Options |
Advanced
|
Advanced
|
Not supported
|
| Accuracy Control |
Full
|
Full
|
Not supported
|
| 3D Viewer |
Advanced
|
Advanced
|
Basic or no preview
|
| 3D Editor |
Advanced
|
Advanced
|
Not supported
|
| Security & Privacy |
100% Local
|
SSL + Auto-delete
|
Files often stored on servers
|
| Cross-Platform |
Windows, macOS, Linux
|
All devices
|
Web only, limited mobile UX
|
| Suitable for |
Professionals and engineers
|
Quick online conversions
|
Not recommended
|
Join thousands of engineers who trust MeshInspector for their 3D file conversion needs. Start converting today with no limits and professional results.
Powered by MeshInspector technology for reliable file conversion.
If your 3D data workflow involves moving data between various tools, MeshInspector will handle all your OBJ-to-PLY conversion tasks. Convert and export your OBJ models to PLY, while maintaining full mesh accuracy and visual consistency. The process is streamlined, quick, and reliable.
To start the OBJ-to-PLY conversion, launch the MeshInspector program. Once it is up and running, go to the ‘Home’ tab and click on ‘Open Files’ to import your data.
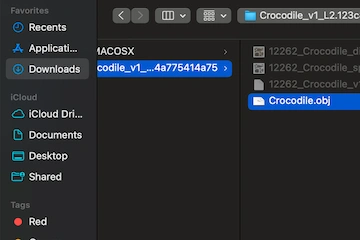
Click ‘Browse’, locate the OBJ file, and confirm your choice. On the web, upload OBJ projects as zipped archives. In the desktop version, you can import single files directly.
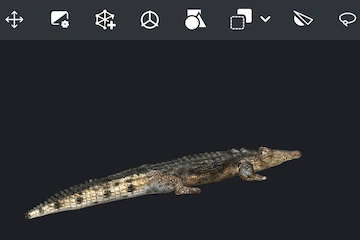
Your OBJ file will appear. OBJ files, when uploaded as zips, can store not only geometry but also textures and color data. We automatically read these when you upload OBJ files.
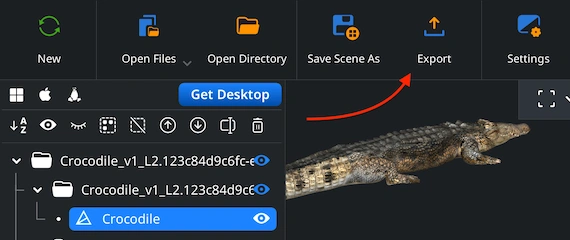
Initiate the MeshInspector workflow by right-clicking the OBJ model in the Scene Tree and selecting ‘Export’. This action opens the export dialog where you can set the export options.
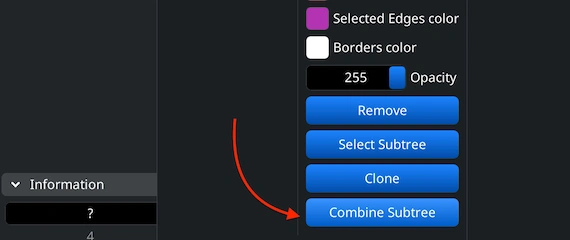
One can export multiple elements. Select the parts, right-click them, and choose ‘Group.’ Then, right-click the created group and select ‘Combine Subtree.’ The combined tree is now ready for export.
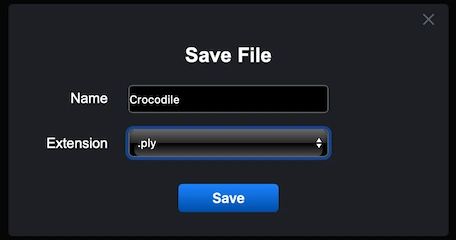
Once the ‘Export’ button is hit, our end-users can pick PLY as the format of choice to convert their OBJ model. Click on the ‘Extension’ dropdown list for this.
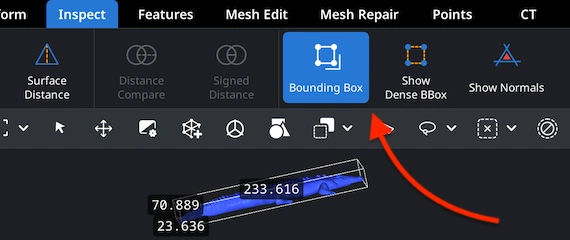
Open the ‘Inspect’ tab and choose ‘Bounding Box’ to review your PLY model’s dimensions. Your PLY measurements will appear on screen. This step makes it possible for end-users to confirm that their export scales are correct.
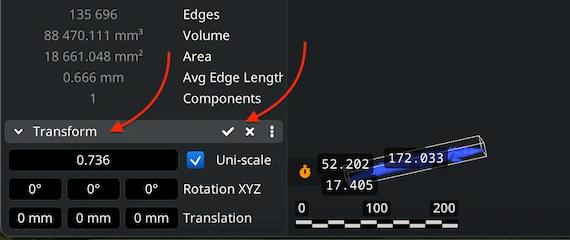
To modify your PLY model’s scale and volume, open ‘Transform’ under the ‘Information’ section in the Scene Tree. Move the scaling slider to adjust the size, then confirm your changes by clicking the checkmark.
100% Secure
No data leaves your device
Needed just the vertex points for a random experiment. This did exactly that without any fuss. Thanks for the niche tool.