


Loads from YouTube (Google) when you press Play
To work on a file in MeshInspector, open it with Open Files, drag it into the window, or load a whole folder with Open Directory. CT data has its own commands on the CT tab. The file commands are on the Home tab, and the most used ones are also at the top left of the window.

Which files open as which object type is listed in Supported File Formats.
Start a new scene
Home › New (Ctrl+N, Cmd+N on macOS) removes all objects from the scene, so you can start the next job from an empty scene.
- If nothing changed since you opened or saved the scene, the scene is cleared at once.
- If the scene has unsaved changes, the New Scene window asks Save your changes?:
- Save saves the scene first and then clears it. A scene that has no file yet asks for a file name.
- Don't Save removes all objects without saving.
- Cancel keeps the scene as it is.
New also clears the undo history, so Undo cannot bring the removed objects back. Your settings stay as they are.
Open files
- Click Open Files on the Home tab or at the top left of the window, or press Ctrl+O (Cmd+O on macOS).
- Select one or more files. The dialog shows every supported format.
- Click Open.
Each file becomes an object in the Scene tree, and the view zooms to fit the scene. Files are added to the objects that are already in the scene. A MeshInspector scene (.mru), and other files that open as a whole scene (for example glTF), replace the current scene instead; press Ctrl+Z (Cmd+Z) to bring the previous scene back.
Open Files also opens a .zip archive: MeshInspector unpacks it and loads the files inside, as Open Directory does with a folder.
Reopen a recent file
Click the arrow next to Open Files to see the last ten files and folders that you opened or saved. Click one to open it again.
Drag and drop files
Drag one or more files from Finder or File Explorer into the MeshInspector window. On an empty scene the start screen says Drag & Drop Files Anywhere to Open.
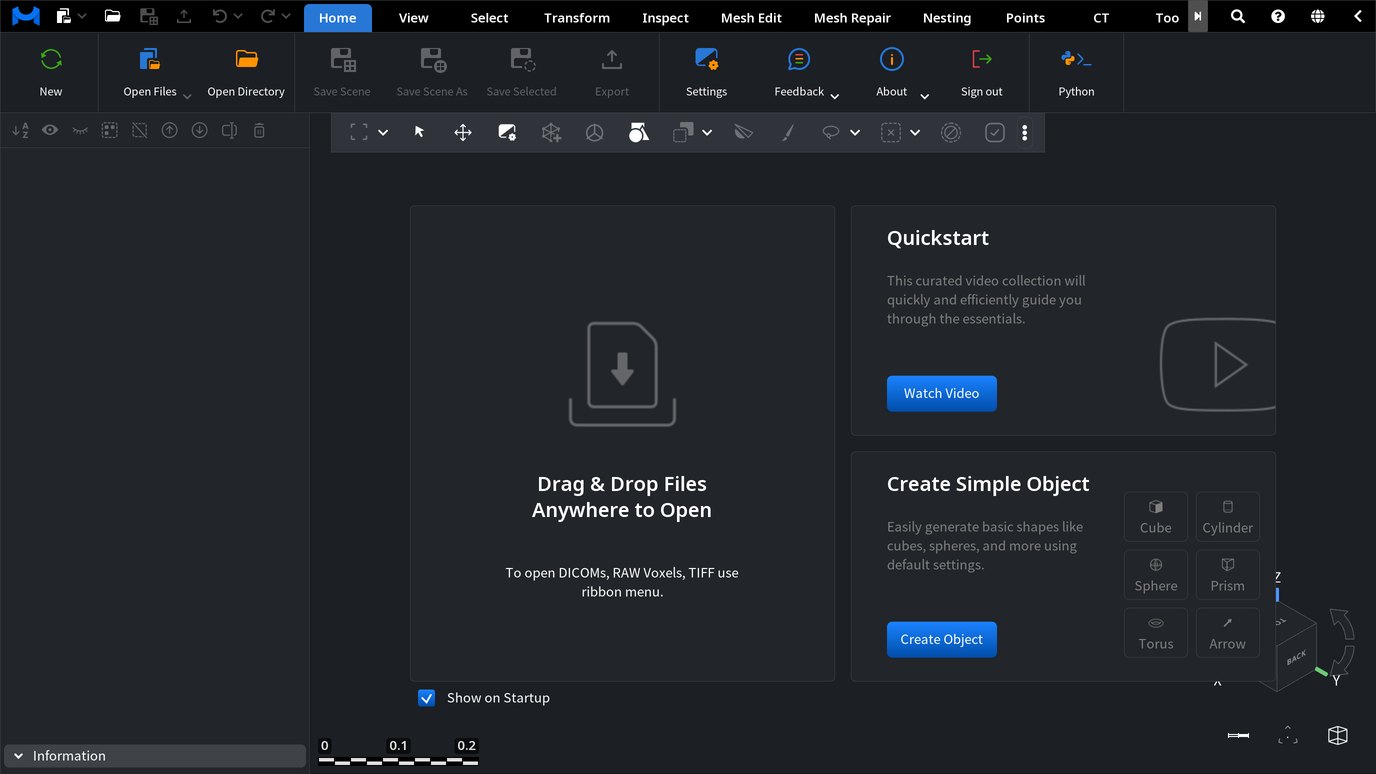
While you drag files over the window, it shows two drop areas. They matter when the scene already has objects:
| Drop area | What happens |
|---|---|
| Add Files (over the Scene tree) | The files are added to the current scene. |
| Load as Scene (over the viewport) | The files replace the current scene. Ctrl+Z (Cmd+Z) brings the previous scene back. |
To add dropped files in alphabetical order of their names, turn on Sort Dropped Files in Settings › Application.
Open a folder
Home › Open Directory loads every supported file from a folder and its subfolders:
- Click Open Directory on the Home tab or at the top left of the window.
- Select the folder and confirm.
The folder becomes a group in the Scene tree, and each subfolder becomes a group inside it. A folder that contains DICOM files is loaded as a CT volume; other files in that folder are skipped. Empty folders are left out.
Open CT and voxel data
DICOM series, RAW volumes and TIFF stacks open from the CT tab:
| Command | What it opens |
|---|---|
| CT › Open DICOMs | All DICOM series in a folder and its subfolders, each as a voxel volume. |
| CT › Open RAW Voxels | A .raw file. You enter its Dimensions, Voxel size and Scalar Type, or let Auto parameters read them from the file name. |
| CT › Open Voxels From TIFF | A set of TIFF images, one image per slice. |
Steps and settings are in Open DICOMs, Open RAW Voxels and Open Voxels From TIFF. OpenVDB (.vdb) and Micro CT (.gav) volumes open with Open Files. If you open one DICOM slice with Open Files, MeshInspector shows "Please use Open Directory for loading multi-file DICOM volumes."
Files that need care
- STEP (.step, .stp). The desktop app converts STEP files to meshes on your computer. The web app sends them to the MeshInspector conversion service, so you need to sign in first. The CAD surfaces are not kept.
- OBJ with textures. Keep the .obj file, its .mtl file and the texture images in one folder. MeshInspector reads the material and the textures from the files that the .mtl file names.
- .txt files open as G-code. If your .txt file holds X Y Z point coordinates, rename it to .xyz to open it as a point cloud.
- PLY files open as a mesh, a point cloud or a polyline, depending on what they contain.
After the file opens
Check the object
Select the new object in the Scene tree and look at the Information panel under it. For a mesh it shows the size of the bounding box, the number of triangles and vertices, the volume, the area, the holes and the components. For a point cloud it shows the number of points, and for a volume its dimensions and voxel size. The articles on object types explain these values.
MeshInspector reports what it had to fix while reading the file in a notification, for example "… triangles were skipped as having repeated vertex ids or being inconsistent with others" or "Point cloud … has no normals."
The mesh contains errors
If a mesh that you open has holes or consists of several separate parts, MeshInspector shows the window The mesh contains errors: "Mesh Healer can automatically fix the most common issues."
- Repair Mesh selects this mesh and opens Mesh Healer.
- Skip closes the window and keeps the mesh as it is.
- Do not launch on file upload turns the check off. To turn it on again, select Inspect Loaded Meshes in Settings › Application.
The window appears only when your plan includes Mesh Healer.
Check the size and units
Most mesh and point cloud files, such as STL, OBJ and PLY, store plain numbers without units. MeshInspector reads these numbers in the Model Units of Settings › Units. By default they are the same as the UI units, which are millimeters. So a part that was modeled in inches opens 25.4 times too small: check its size in the Information panel and fix it with Scale.
3MF and .mru files store their units, and MeshInspector converts these files to the Model Units when they open.
Large files
Large point clouds and volumes need a lot of memory. A very large point cloud opens with the notification "Visualization is simplified (only part of the points is drawn)": the app draws only part of the points, but the tools work with all of them.

