The Viewport in MeshInspector is a space where you can view, interact with, and modify visible objects. By default, MeshInspector uses Single Viewport mode, in which one Viewport occupies the main workspace.
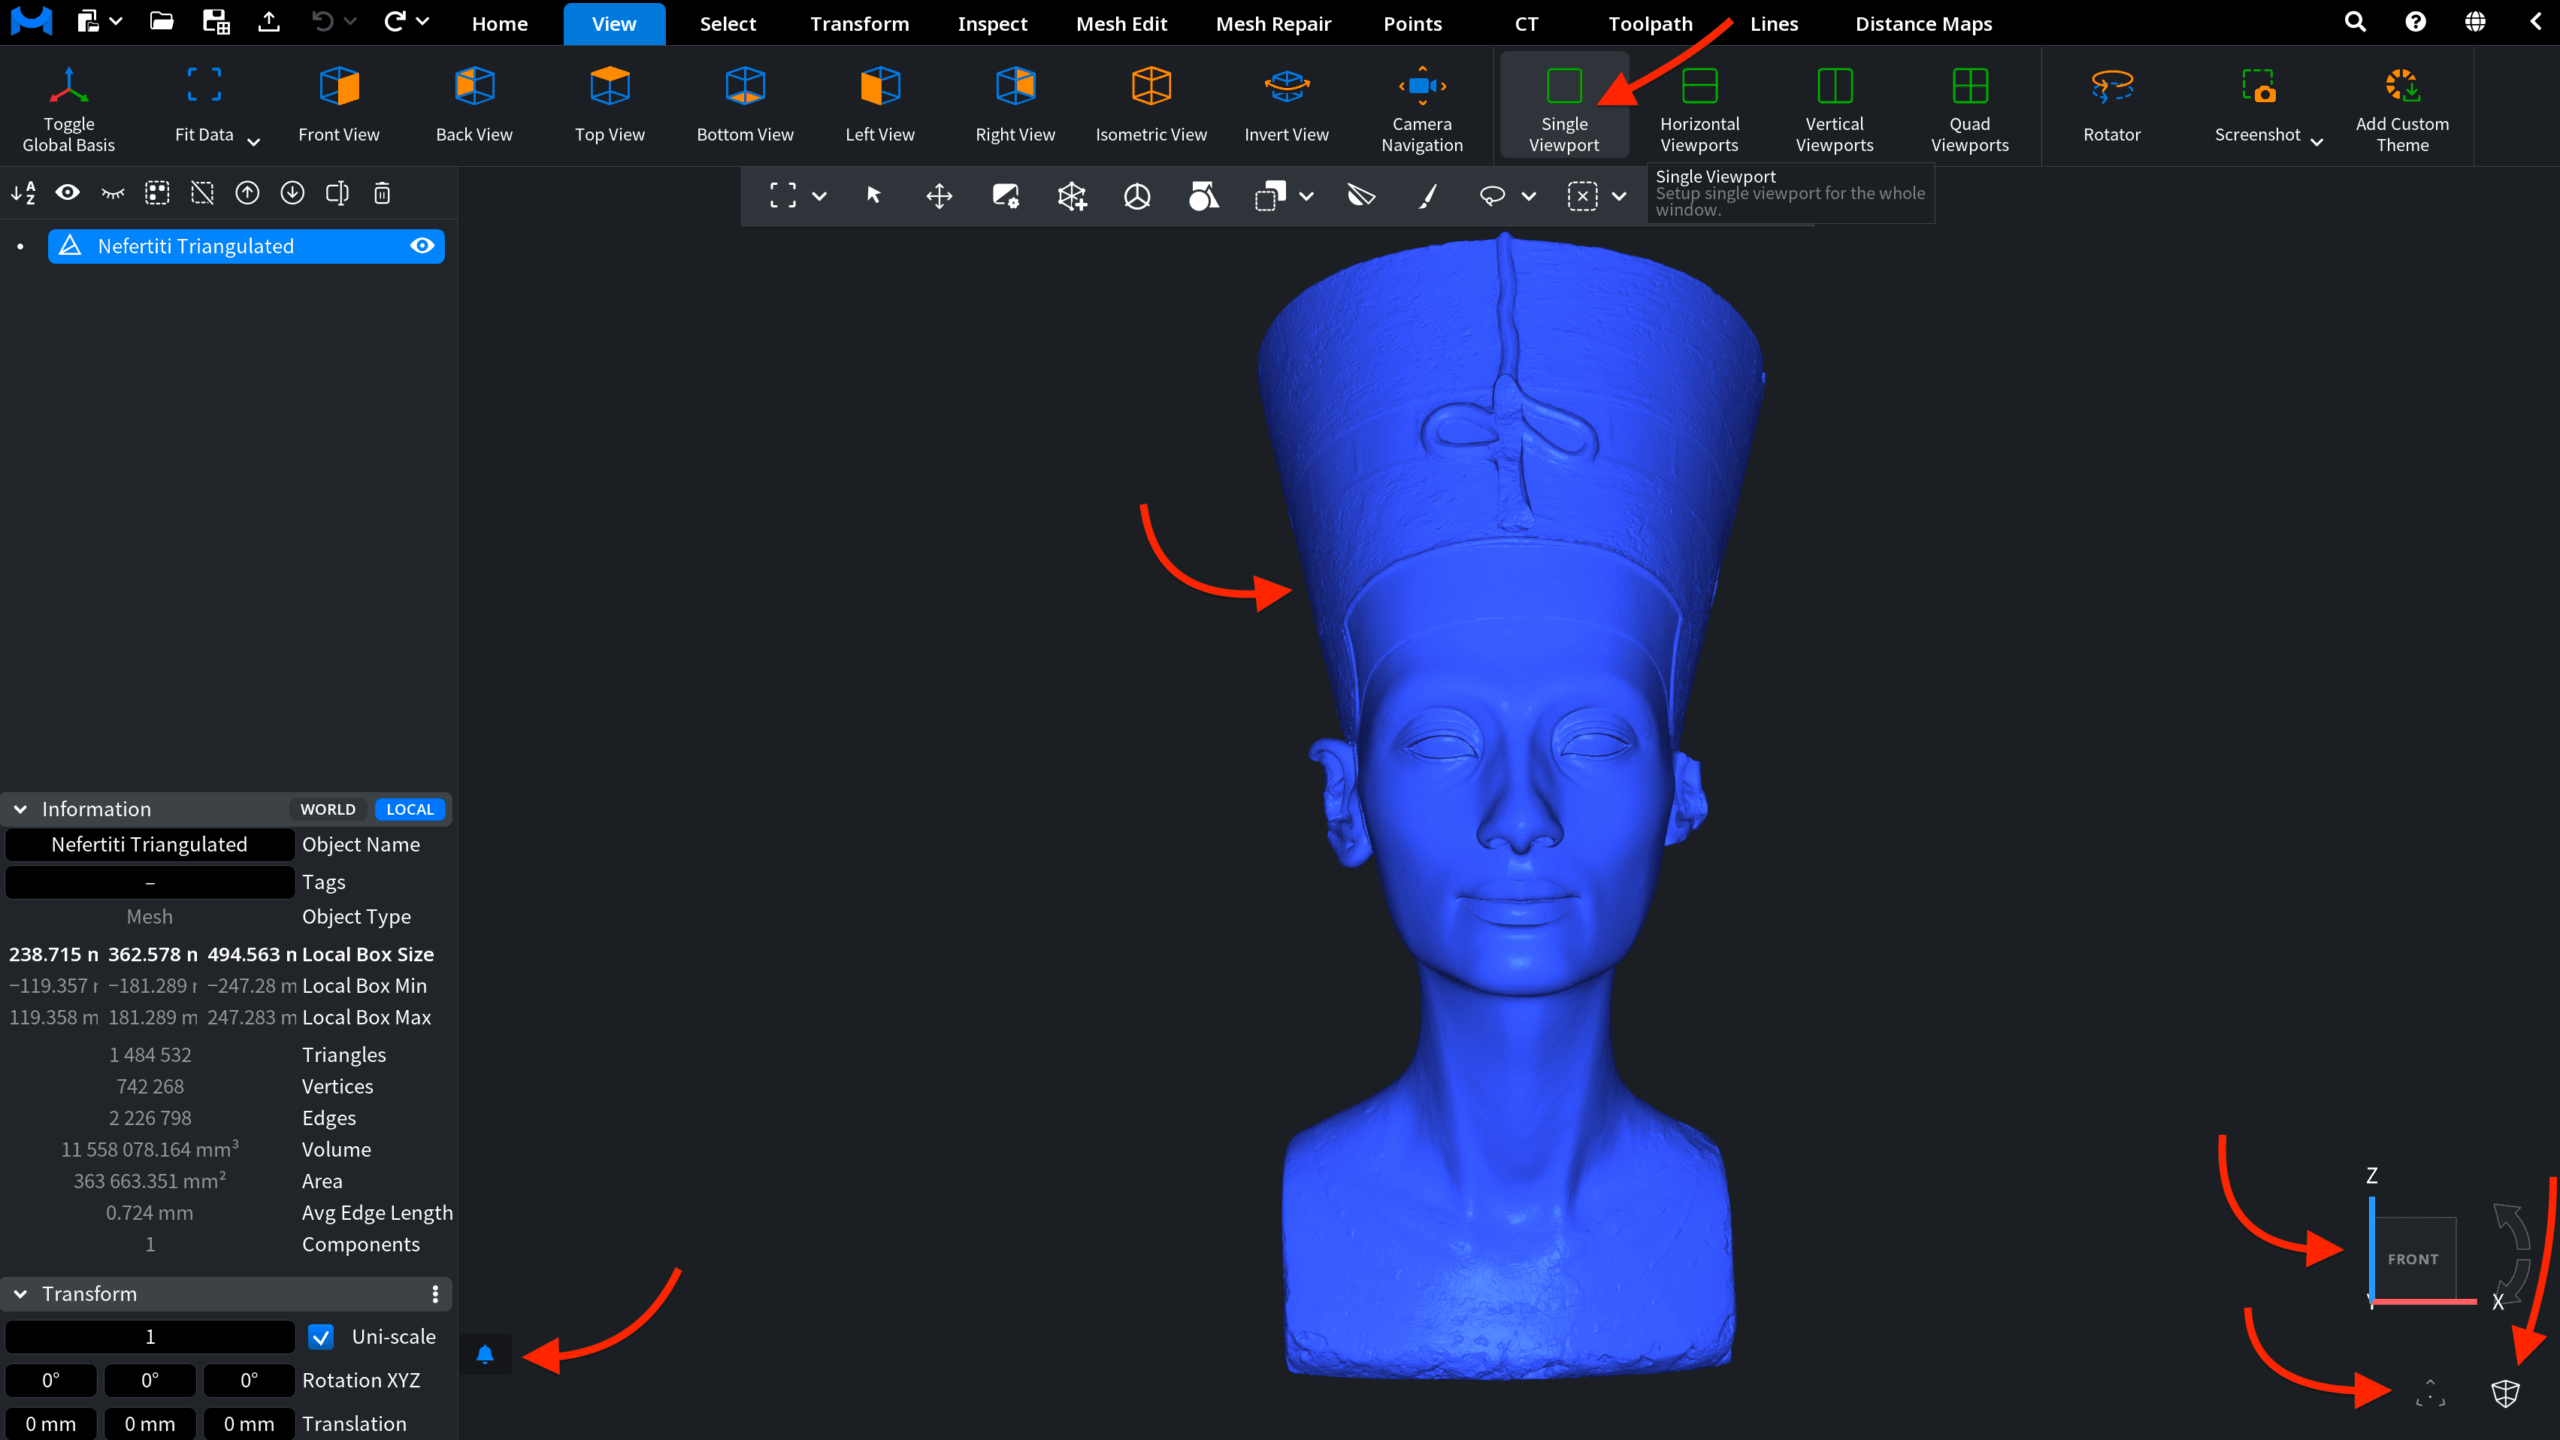
With the default settings, the Viewport includes the following elements:
- The navigation cube has faces labeled FRONT, RIGHT, BACK, LEFT, TOP, and BOTTOM. Click any face to snap the camera to the corresponding standard view. You can also click the cube’s edges or corners to switch to an intermediate viewing angle.
- The bell icon opens the notification center, which lists your recent actions, as well as MeshInspector’s reminders and warnings.

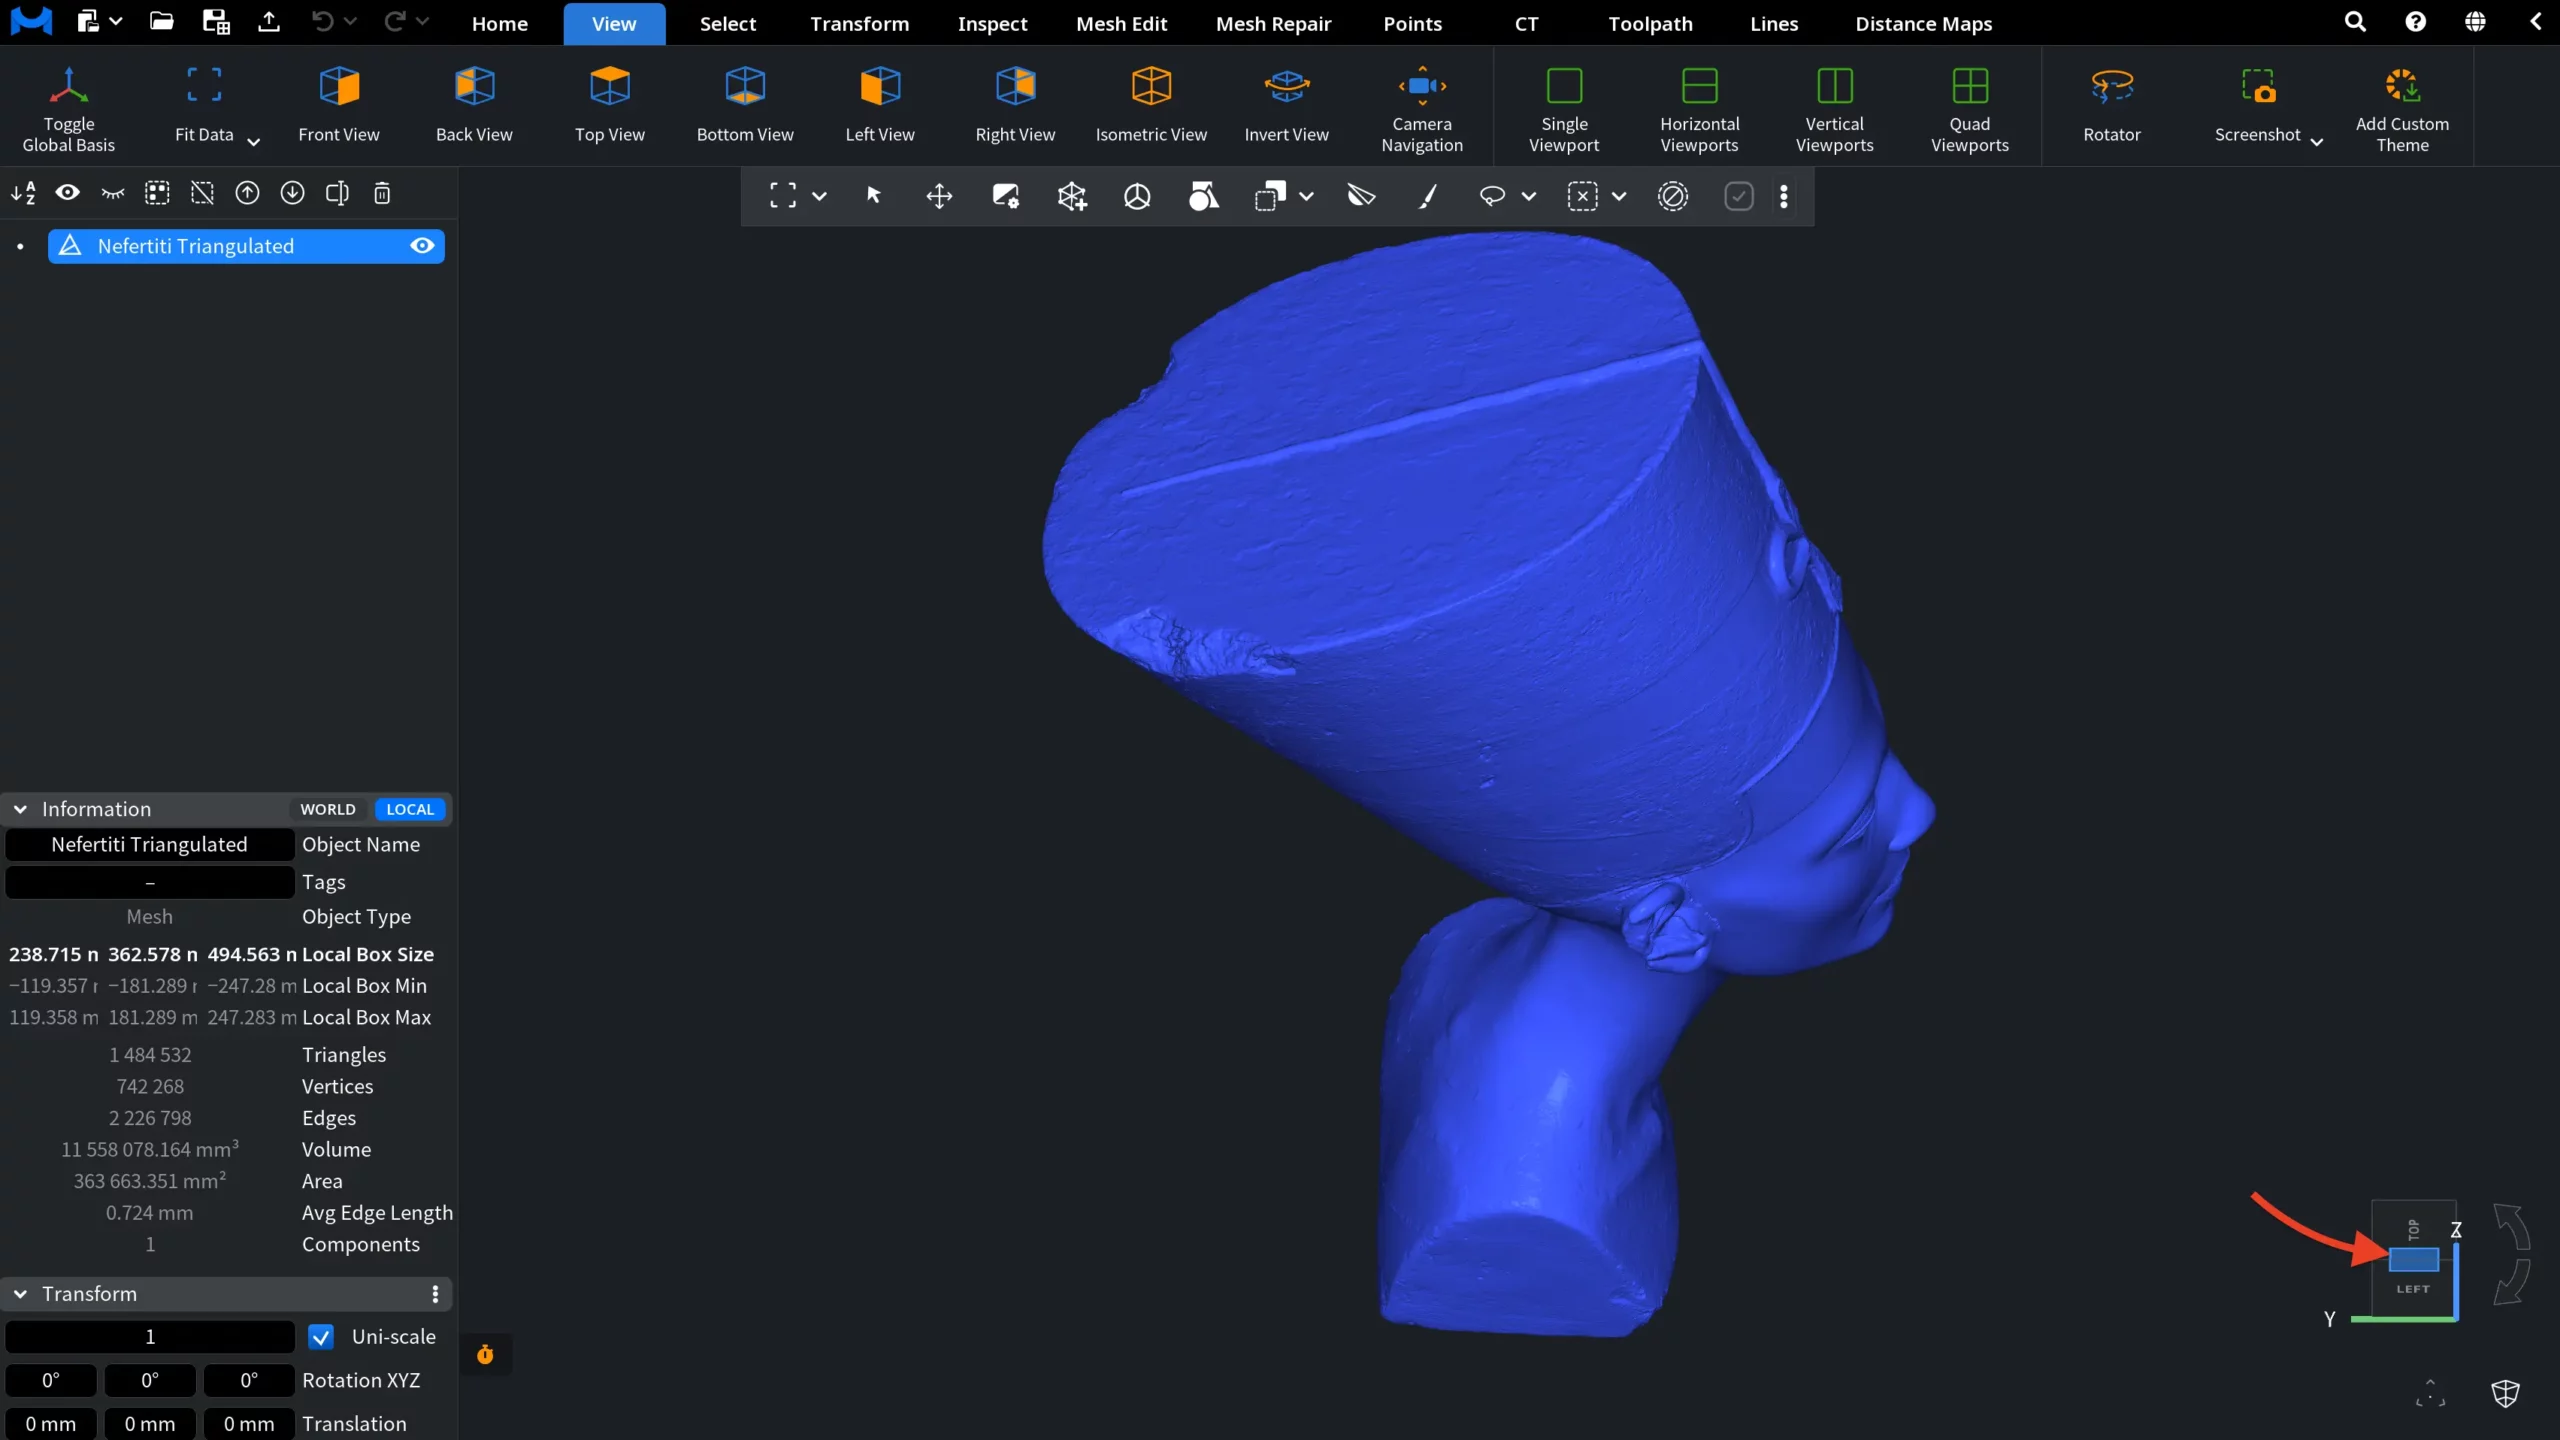
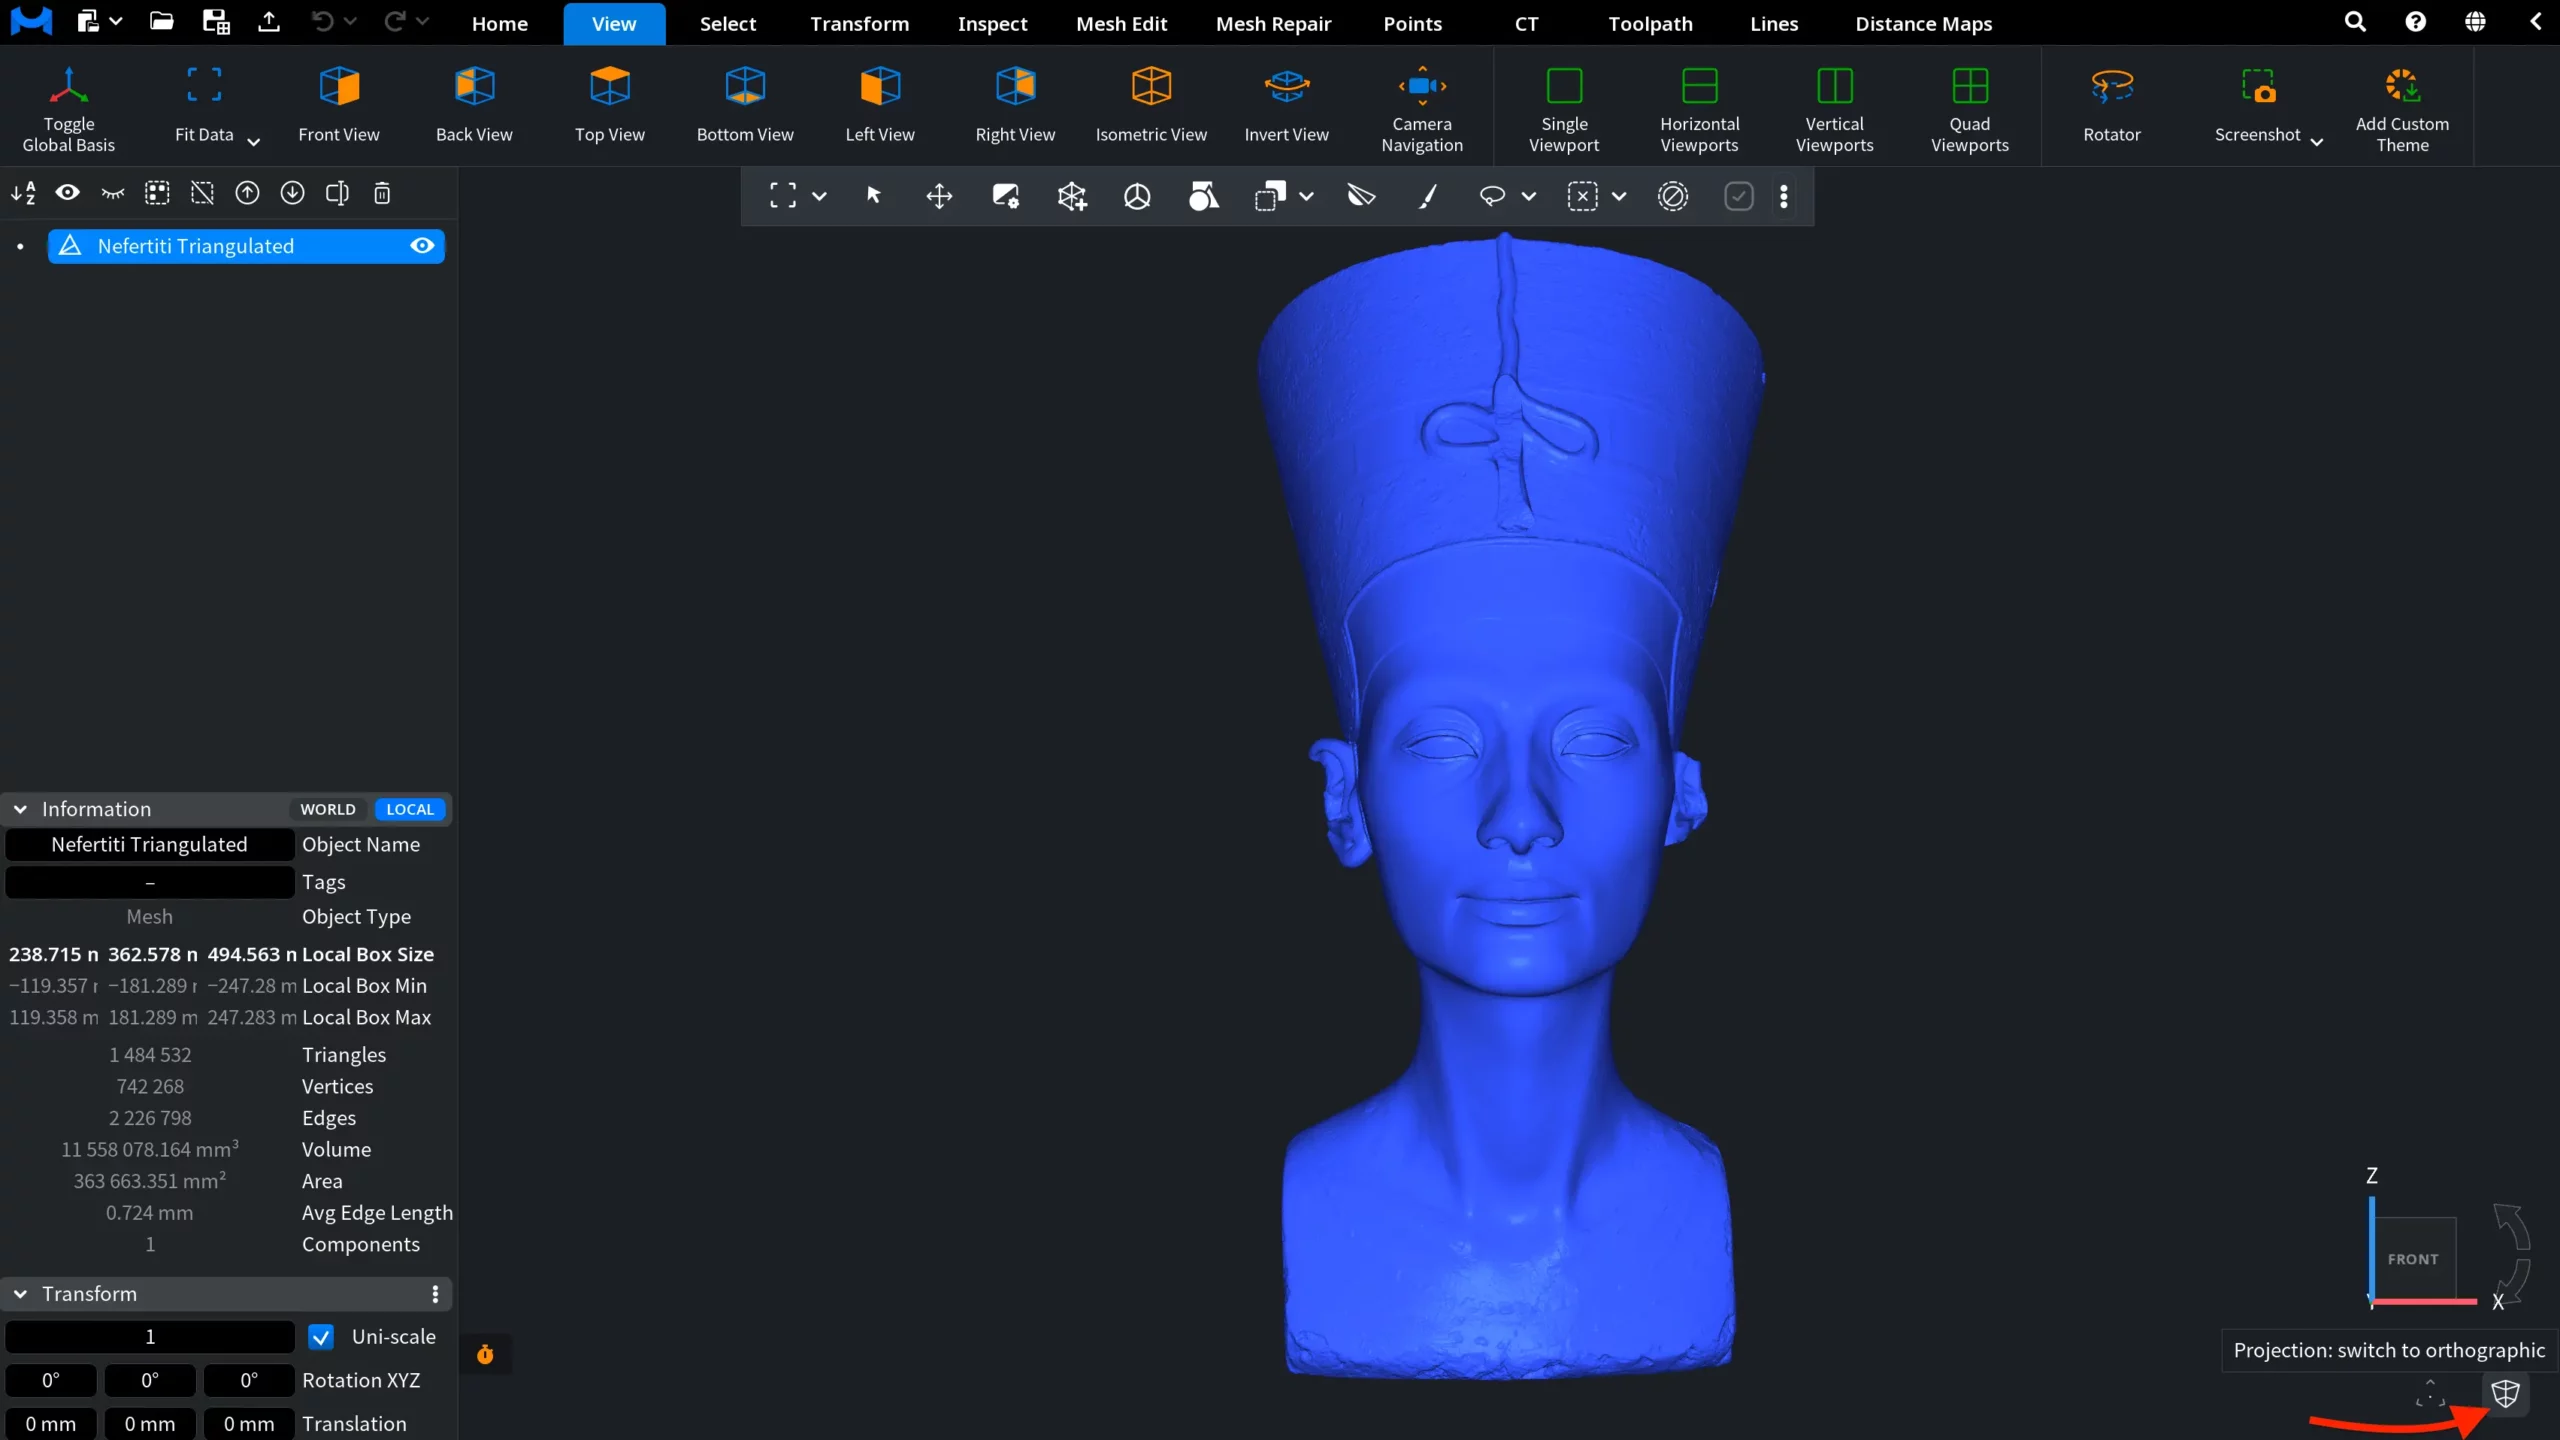
- In the lower-right corner, you can find the projection icon, which allows you to switch between orthographic and perspective projections. Orthographic projection displays objects without perspective distortion, while perspective projection creates a more natural sense of depth. The image below shows the Viewport using perspective projection.
- When you switch to orthographic projection, additional viewport elements appear. An automatically adjusting scale ruler is displayed in the lower-left corner. In the lower-right corner, an additional icon appears that allows you to replace the ruler with a grid. Note that the projection icon also changes to indicate the currently active projection mode.
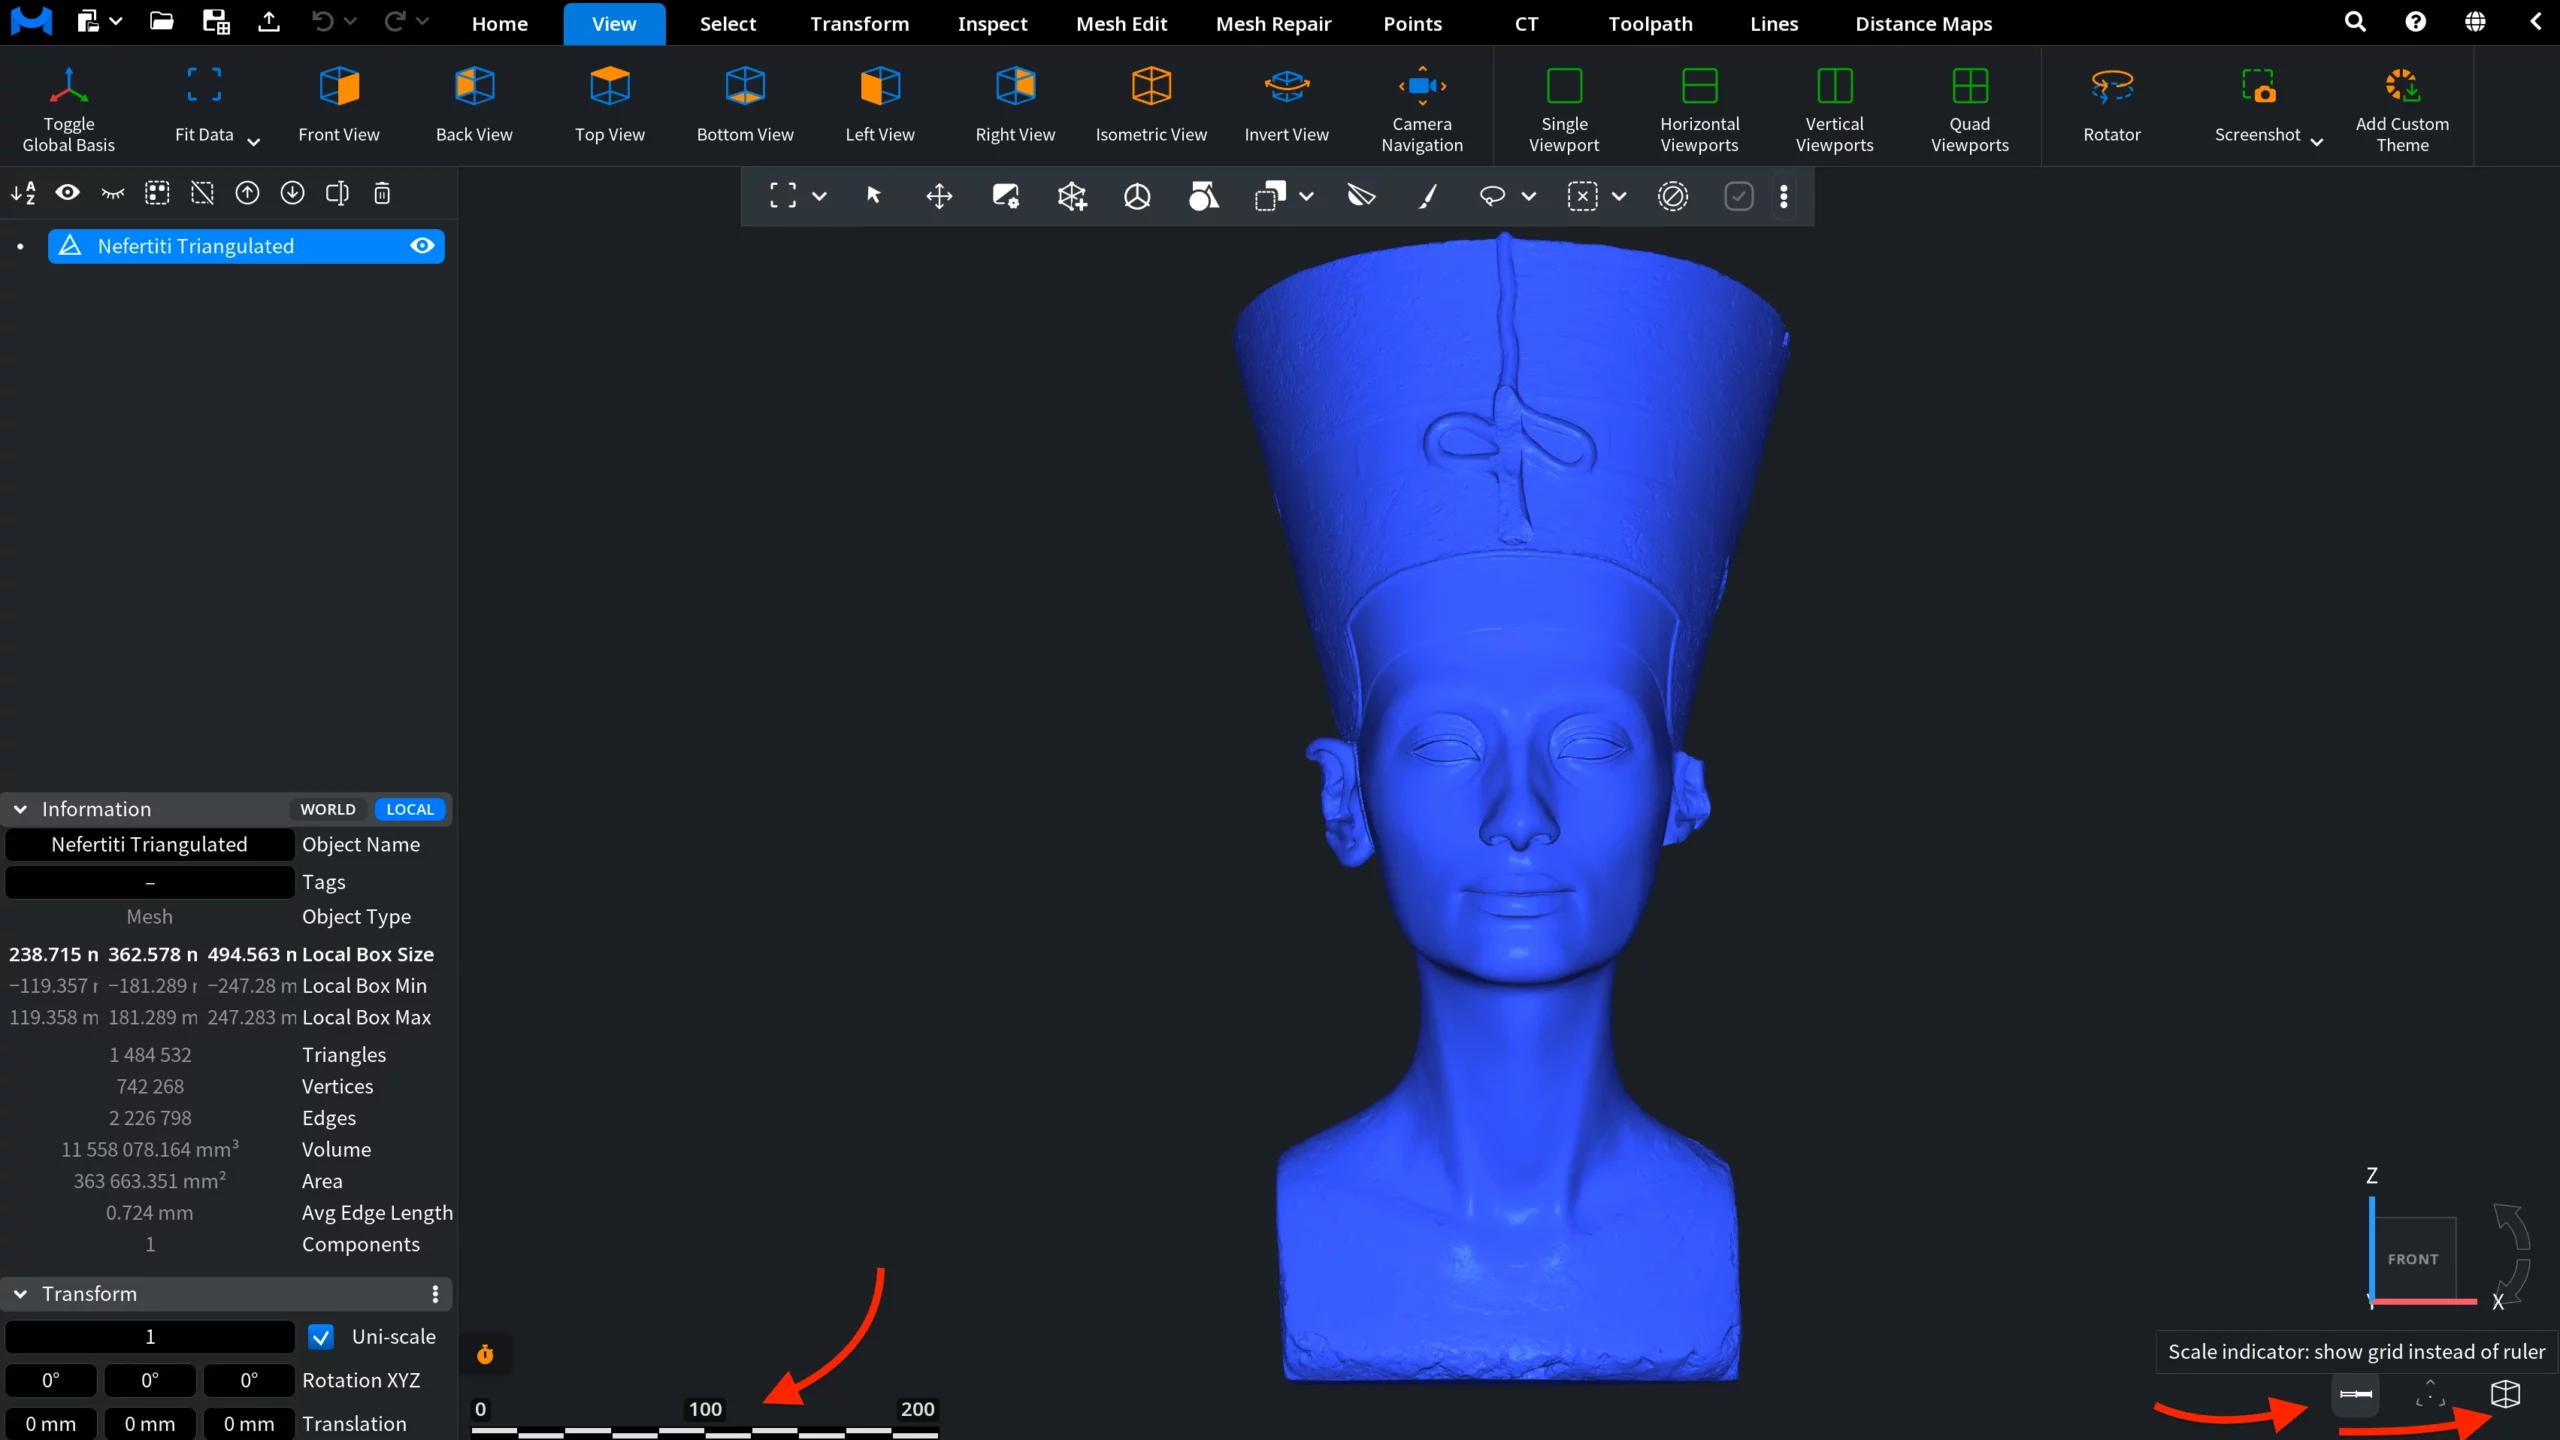
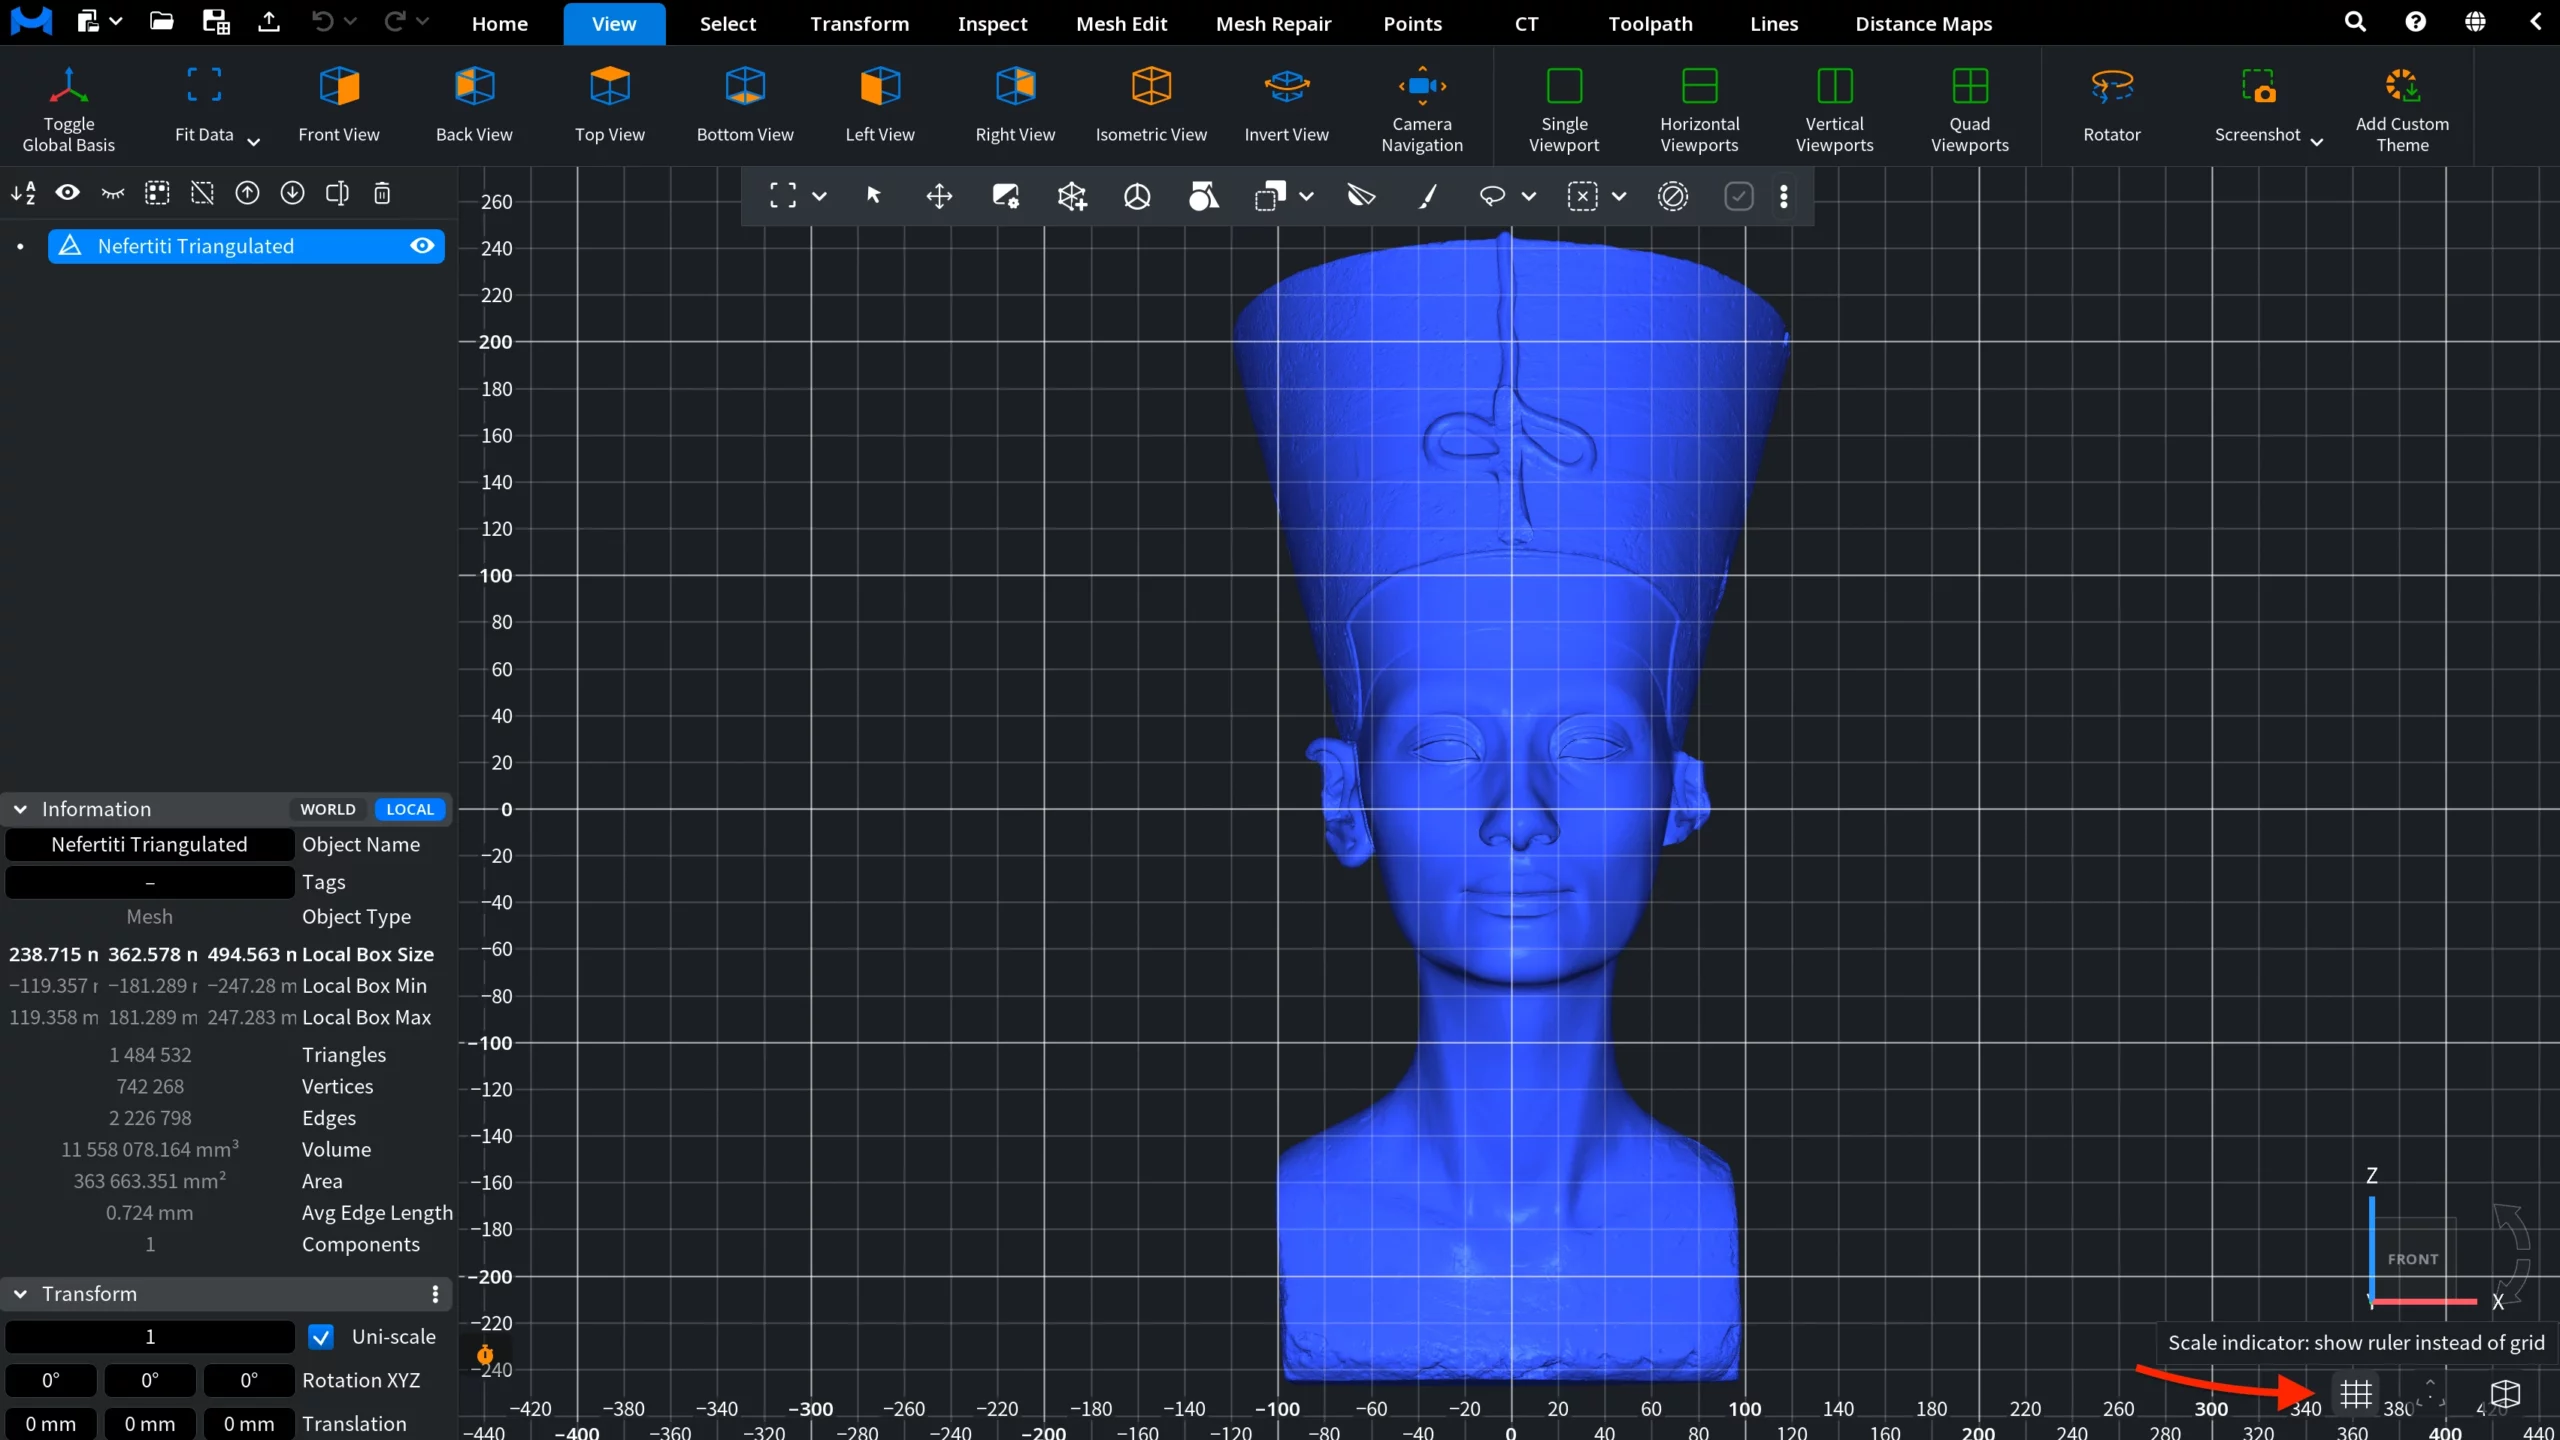
- If you select the grid, the scale ruler is replaced by a coordinate grid covering the Viewport. Numbered horizontal and vertical scales appear along the bottom and left edges, helping you assess the object’s dimensions and position in the current orthographic view. The grid scale adjusts automatically as you zoom in or out.
- Finally, to the left of the projection icon, you can find the Basis icon. This control cycles through three display modes. Starting from the default view, the first click displays the coordinate basis. The second click replaces it with a coordinate grid, while the third click hides both the basis and the grid and returns the Viewport to its default appearance. Note that, unlike the scale grid, this coordinate grid is less dense and is intended primarily as a spatial reference.

Horizontal Viewports
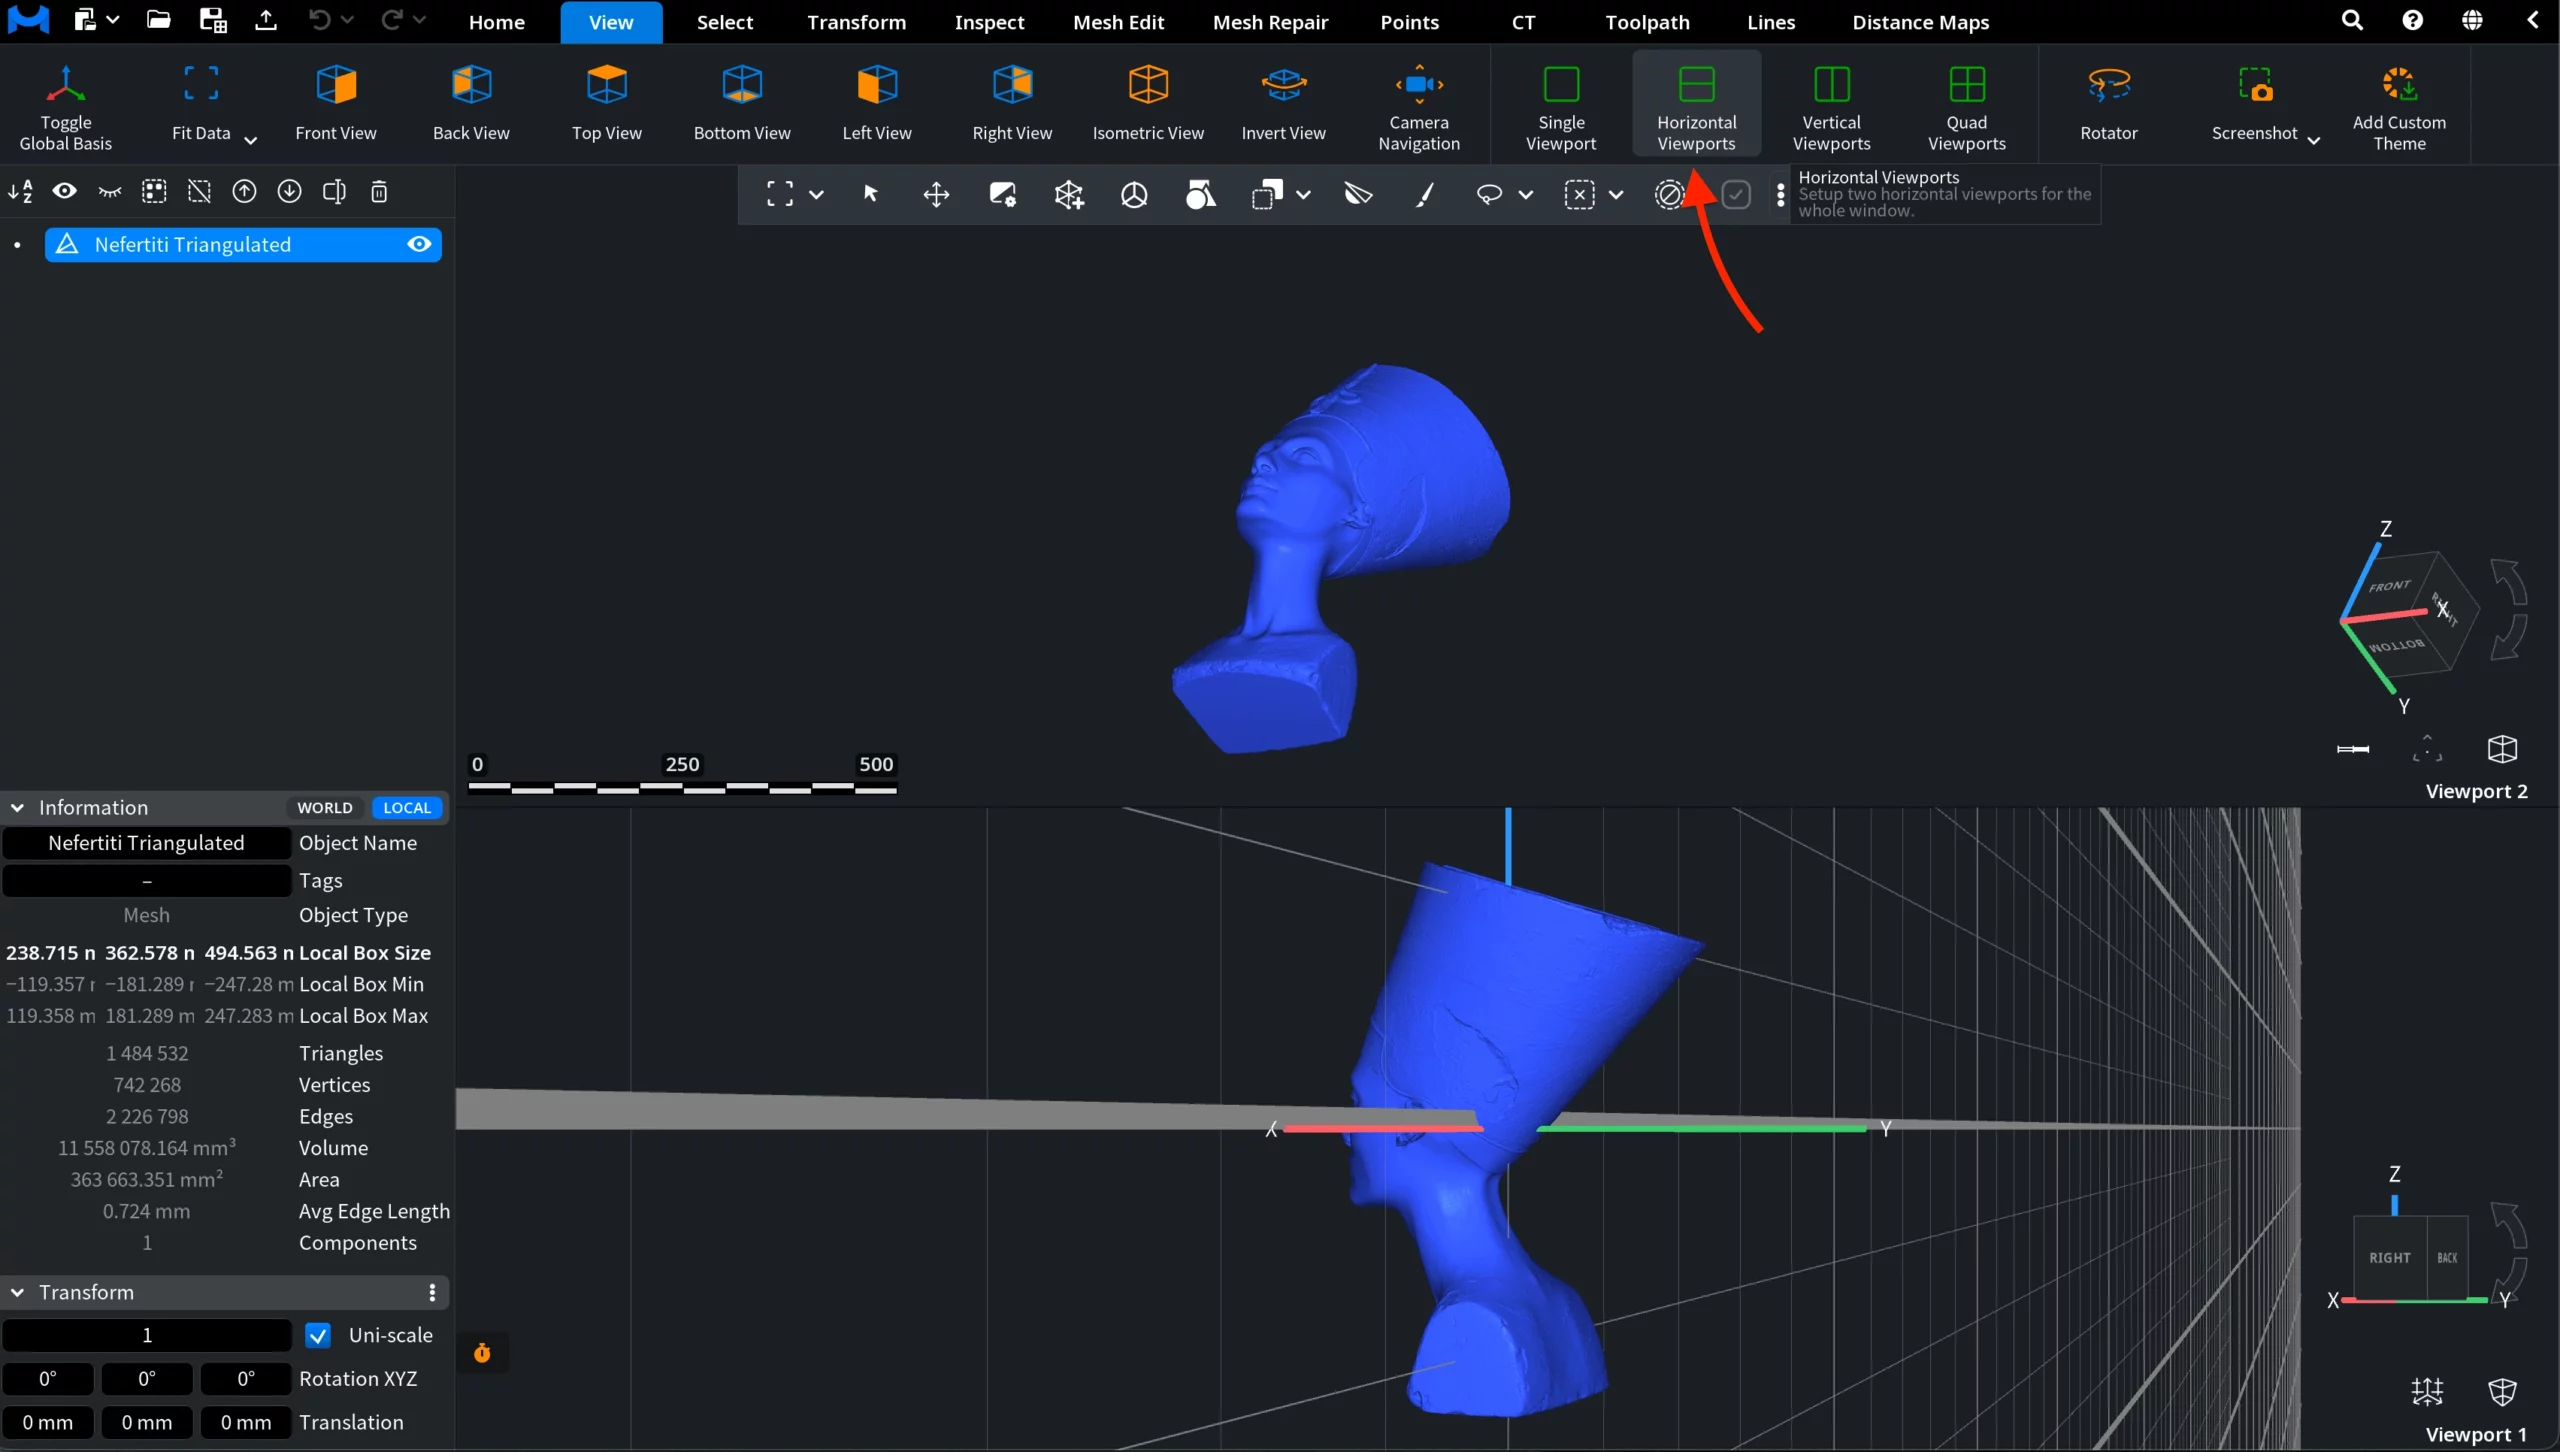
You can also switch to Horizontal Viewports mode by clicking Horizontal Viewports on the View tab. This mode divides the workspace into two Viewports separated by a horizontal divider, with one Viewport above the other. In each Viewport, you can independently tilt, pan, zoom, etc. view, as well as configure the viewport display settings. As a result, the two Viewports may show the object from different angles and with different visual settings. However, both display the same model with the same position and orientation in the scene.
Vertical Viewports
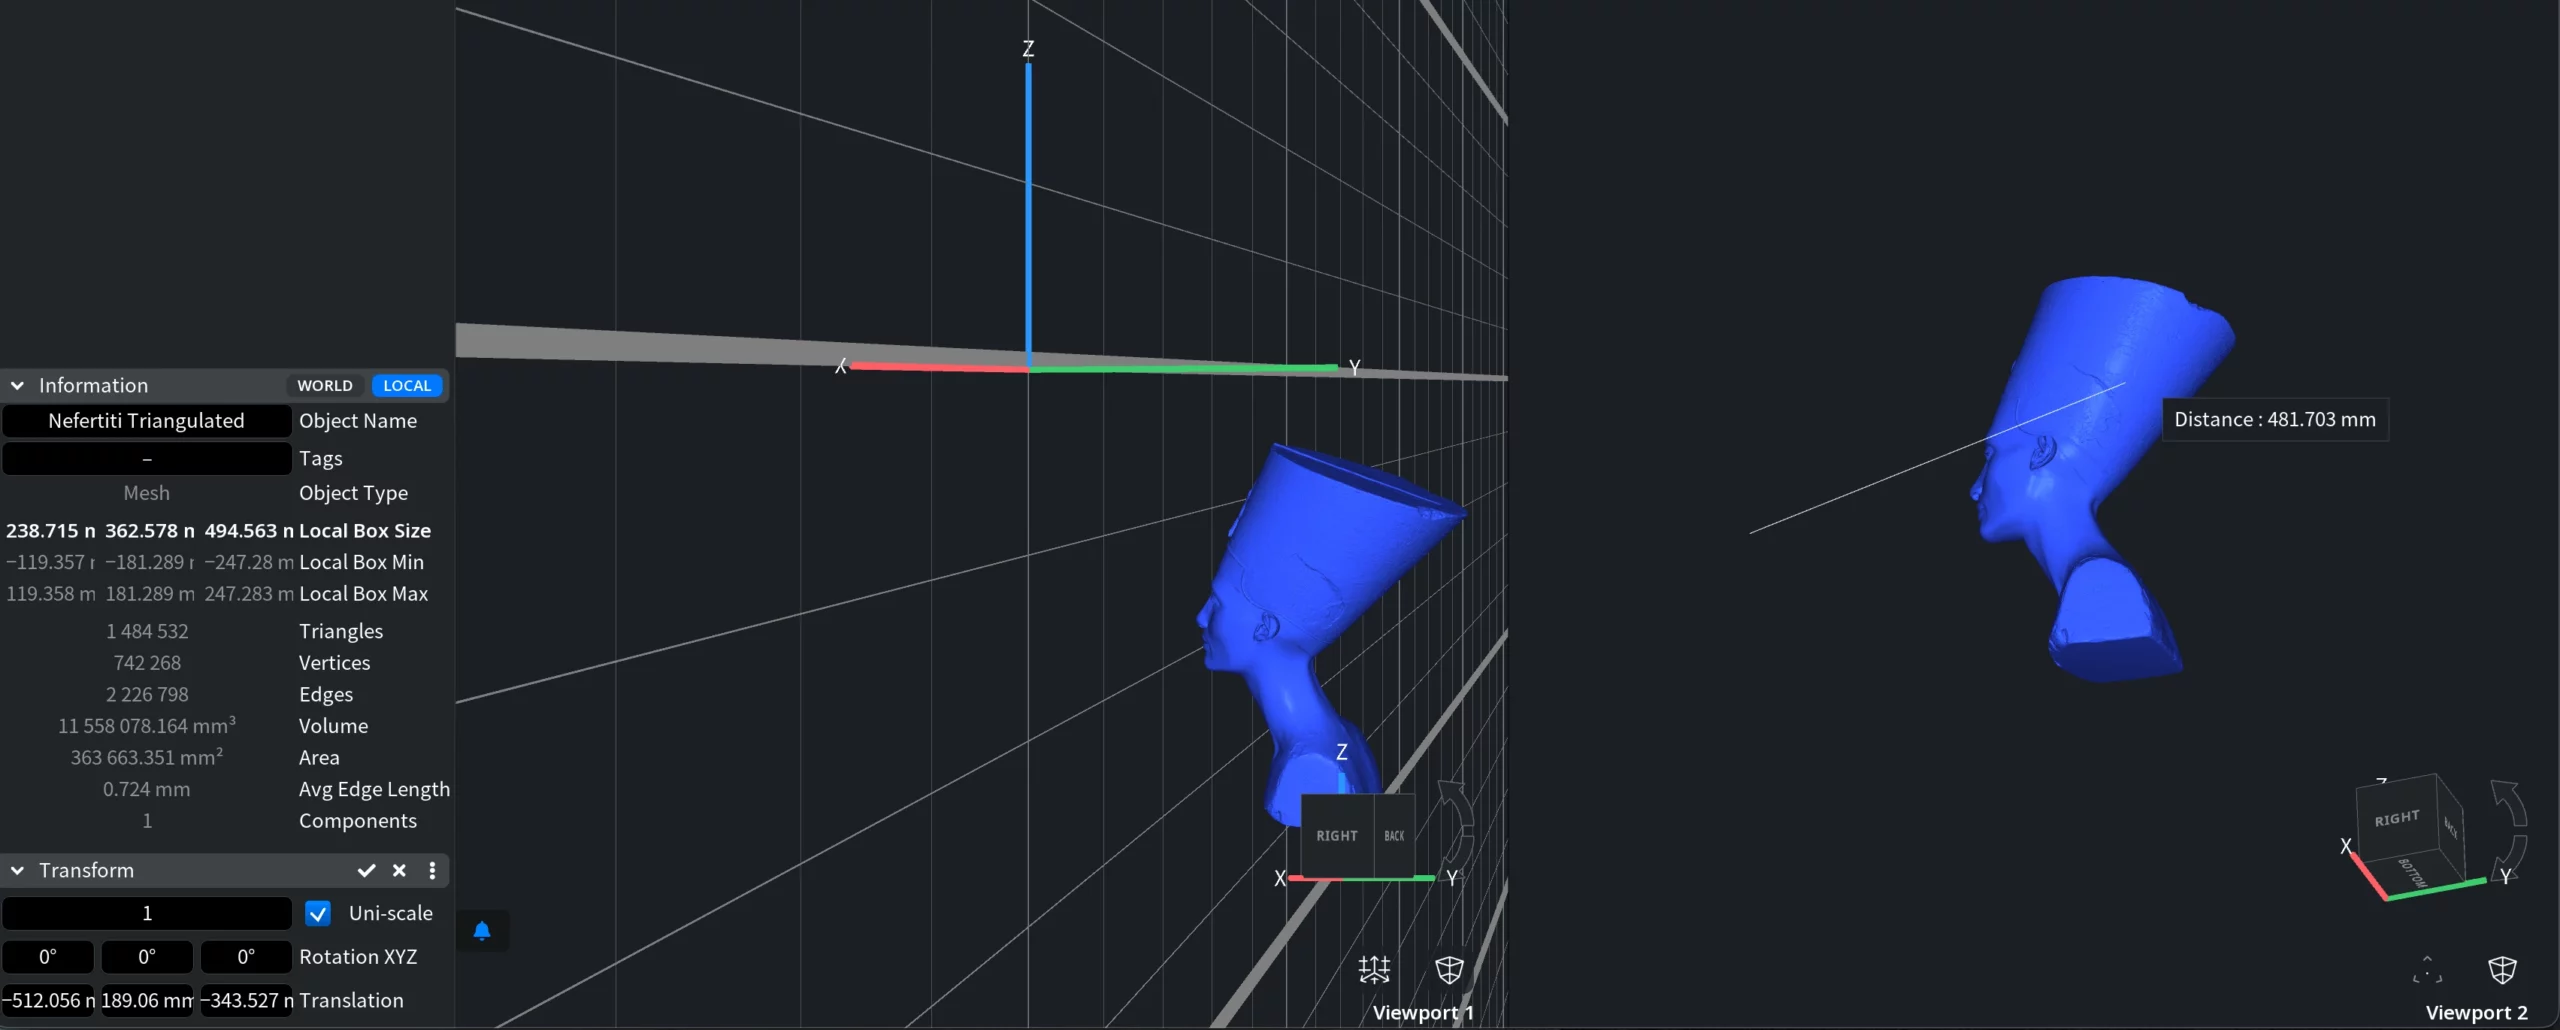
It is possible to switch to Vertical Viewports mode by clicking Vertical Viewports on the View tab. This mode divides the workspace into two Viewports separated by a vertical divider, placing them side by side. Camera navigation and display settings remain independent in each Viewport. However, both Viewports show the same model in the same scene rather than separate copies. To demonstrate this, we moved the model in space: its position changed simultaneously in both Viewports. In the left Viewport, the displacement is visible relative to the coordinate basis, while the right Viewport shows the distance by which the model was moved.
Quad Viewports
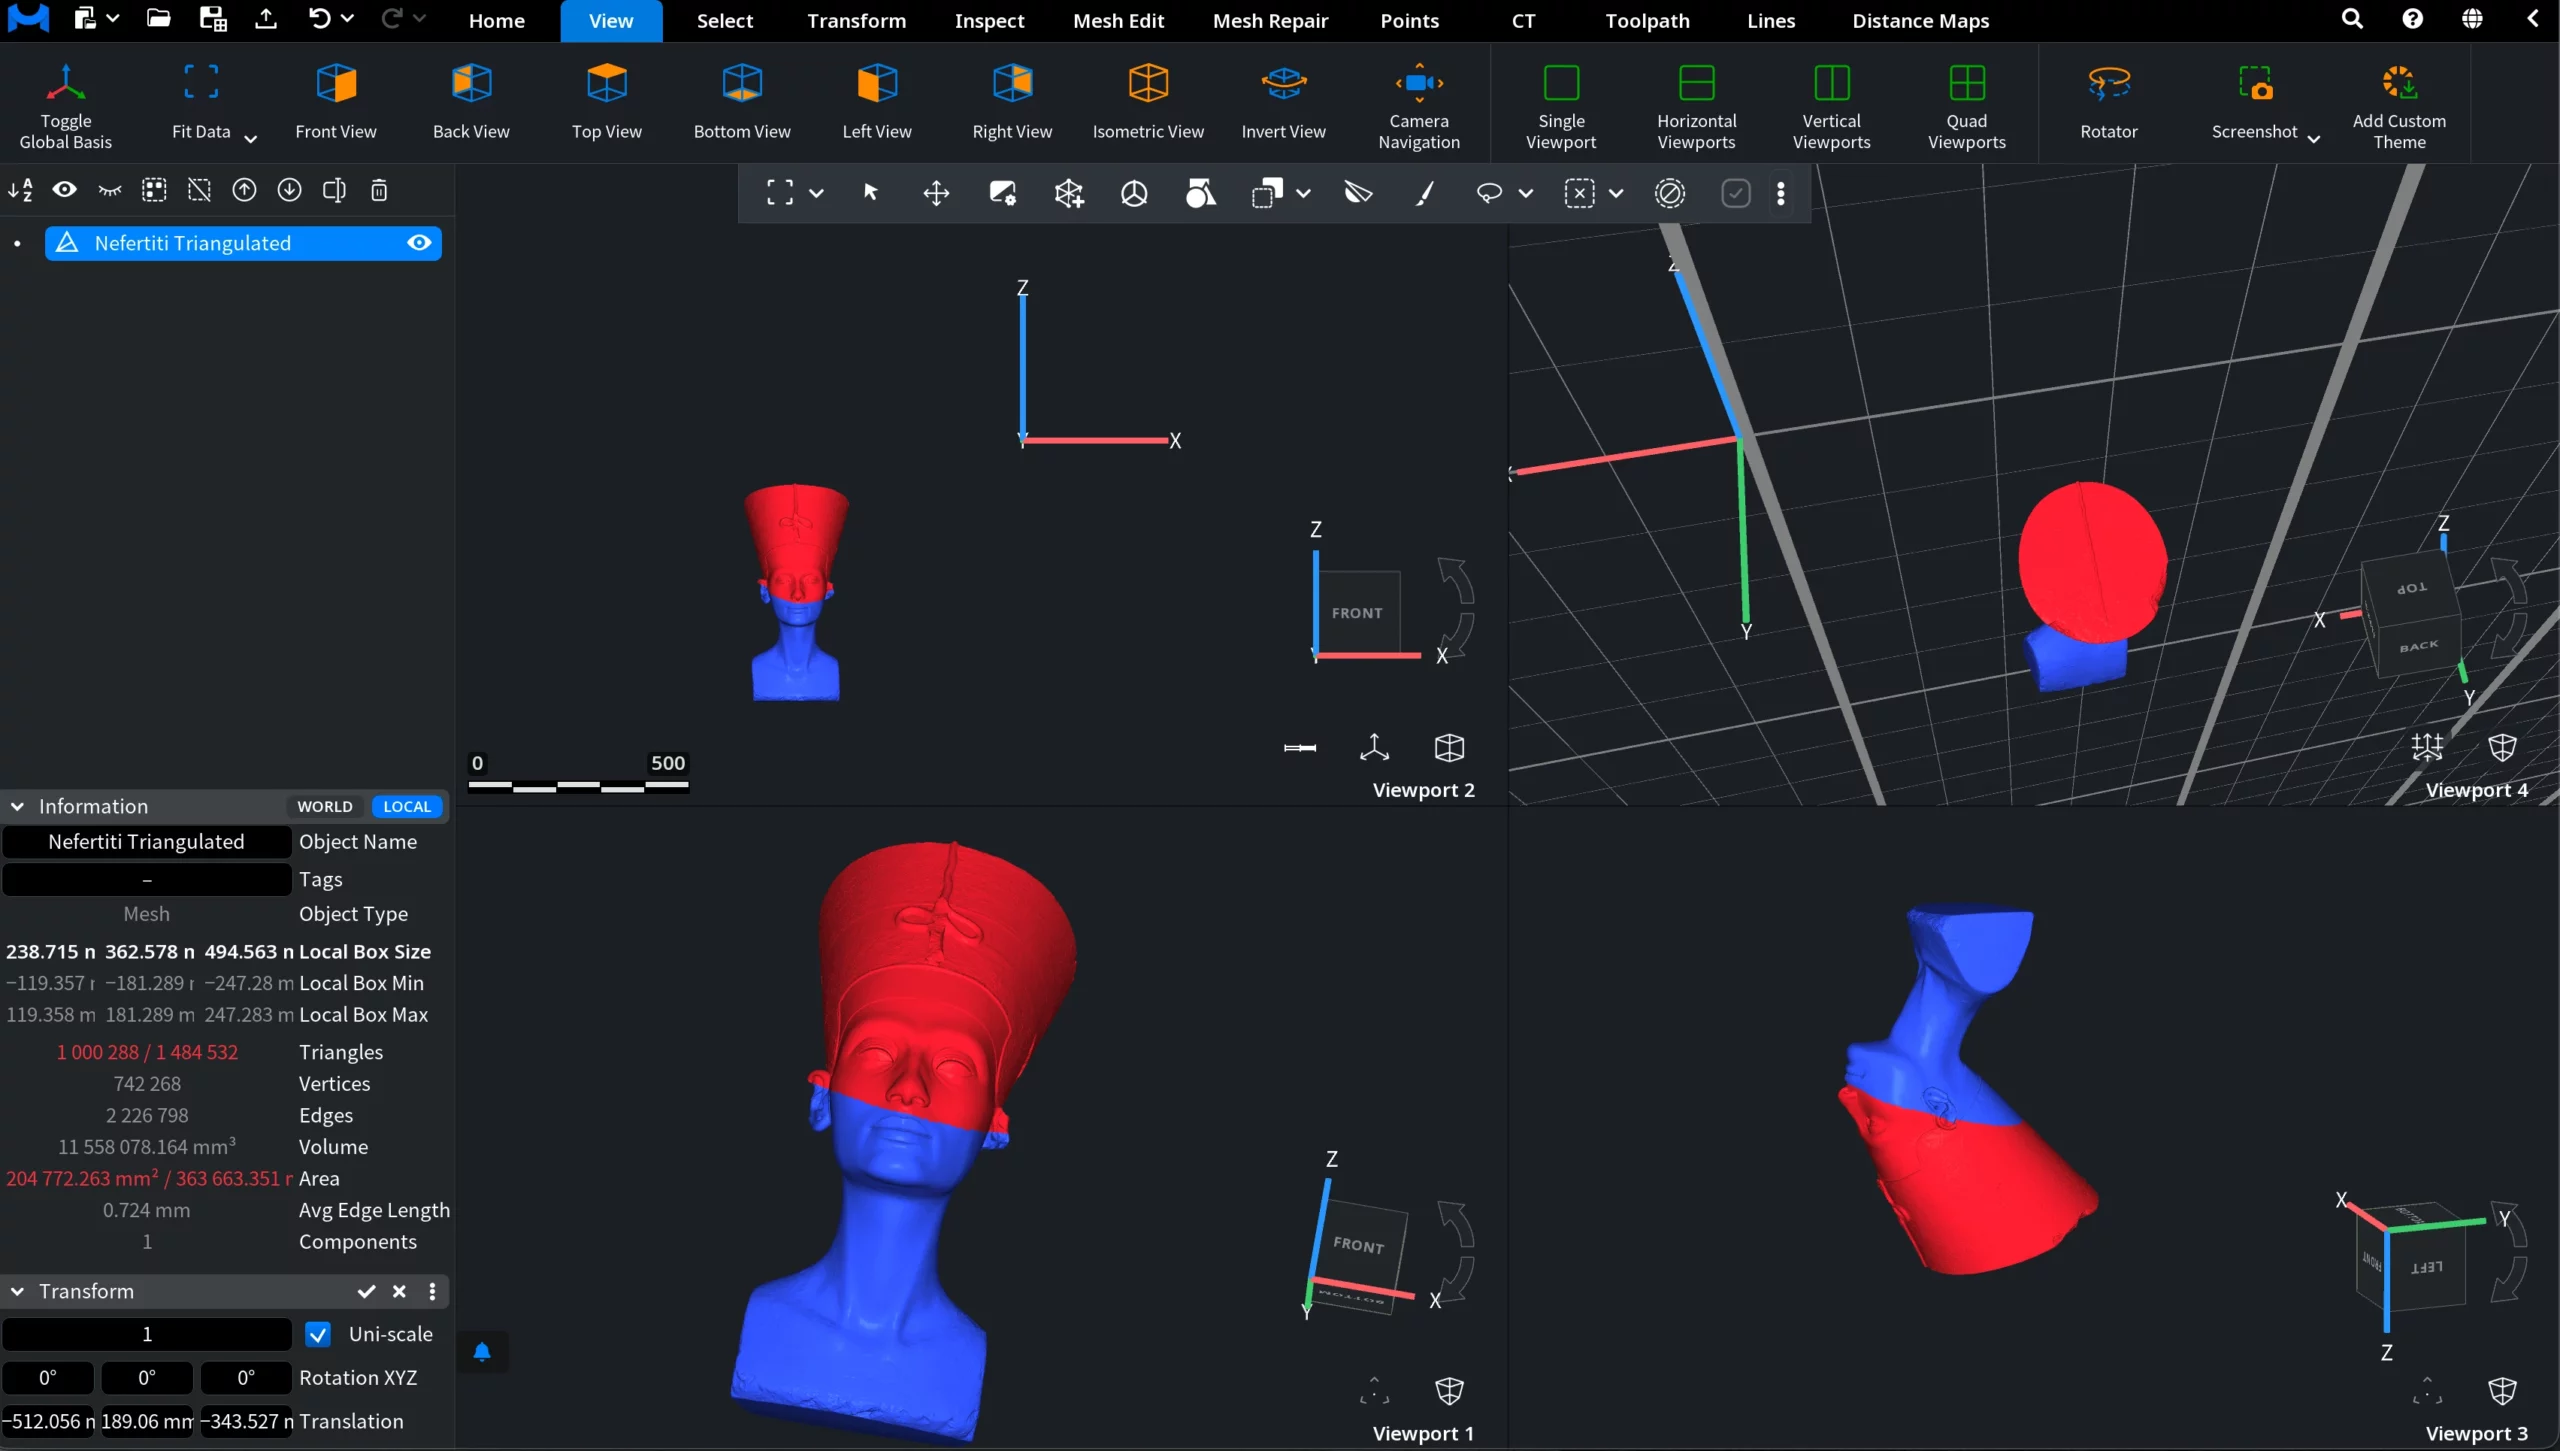
Finally, you can switch to Quad Viewports mode by clicking Quad Viewports on the View tab. This mode divides the workspace into four Viewports. As in the two-viewport modes, you can navigate the camera and configure the display settings independently in each Viewport. However, actions that affect the object or its selection state are reflected in all four Viewports. In this example, primitives selected in one Viewport are immediately highlighted in every other Viewport, allowing you to inspect the same selection from several angles.