
Loads from YouTube (Google) when you press Play
To turn a CT scan or any other voxel volume into a mesh, you choose the surface you want with CT › Change ISO and then convert it with CT › Voxels to Mesh. You need a mesh to 3D print, measure, compare or edit the part: a voxel volume is a grid of values, not a surface.
Before You Start
You need one voxel volume in the scene. Get it in one of these ways:
- Open a scan with CT › Open DICOMs, CT › Open RAW Voxels or CT › Open Voxels From TIFF. See Open DICOMs, RAW and TIFF voxels.
- Make one from a mesh with Mesh Edit › Mesh to Voxels or from lines with Lines › Lines to Voxels.
What a voxel volume is: Voxels. All tools of the CT tab: CT & Voxels Basics.
Step 1. Choose the Surface
Voxels to Mesh does not build a new surface: it copies the iso-surface the volume shows in the viewport. So make that surface right first.
- Select the volume and open CT › Change ISO. If Volume Rendering is on for the volume, turn it off first: Change ISO is not available while it is on.
- Set the Iso-value: the surface passes through the voxels with this value. On a CT scan, a higher value keeps only denser material, a lower value adds lighter material and noise. You can also click a bar of the histogram to use its value.
- Leave Dual Marching Cubes on (default) or clear it to build the surface with the standard Marching Cubes algorithm.
- Close the panel. The surface you see now is what you will get as a mesh.
How to pick a good value: Change ISO. To work only with a part of the volume, limit it first with Set Active Voxel Box.
Step 2. Convert
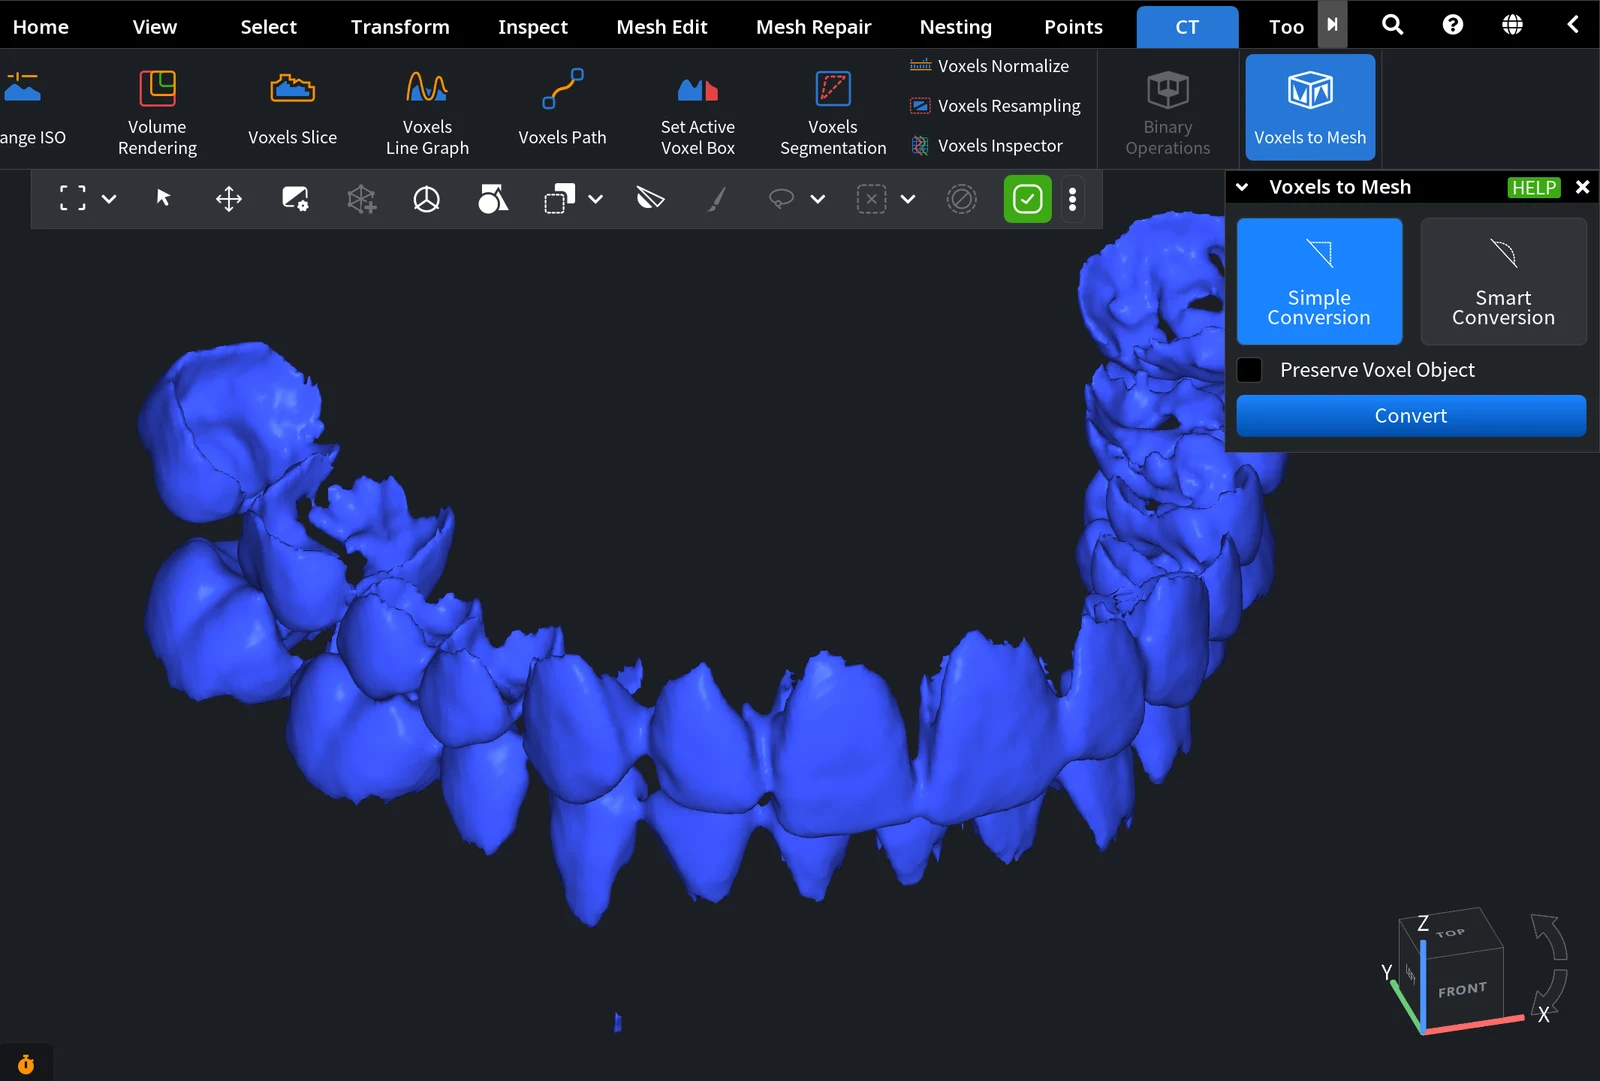
- Select exactly one voxel volume and open CT › Voxels to Mesh.
- Choose the method:
- Simple Conversion (default): the mesh is the current iso-surface as it is. Fast.
- Smart Conversion: after copying the iso-surface, the app moves each vertex along its normal to the place where the voxel values change fastest, that is, to the edge of the material. This sub-voxel correction gives a more precise surface but takes more computing time. The app recommends it for CT and MRI scans.
- Turn on Preserve Voxel Object to keep the volume in the scene. It is then hidden, not deleted. With the box cleared (default), the mesh replaces the volume.
- Click Convert.
The new mesh gets the name of the volume plus Mesh (for example, Dental CT scan Cropped Mesh), stays in the same place as the volume and is selected. The panel closes.
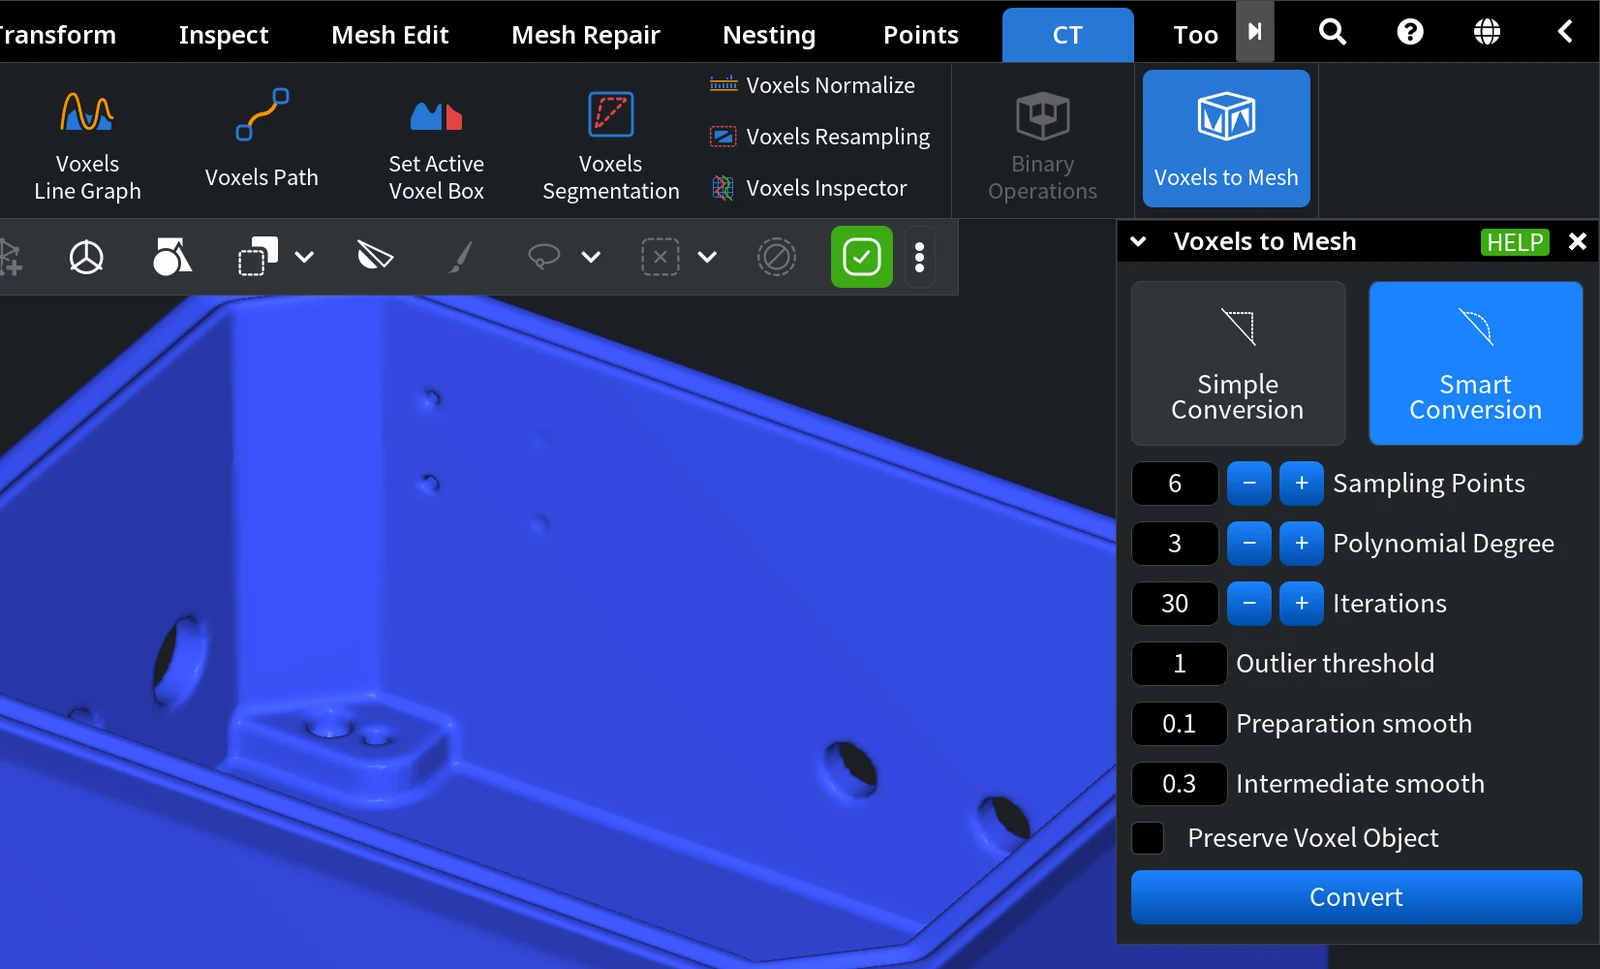
Smart Conversion Settings
These fields appear when you select Smart Conversion. Start with the defaults.
| Parameter | What it does | Default (range) |
|---|---|---|
| Sampling Points | Number of points sampled for every vertex | 6 (2–20) |
| Polynomial Degree | Degree of the polynomial fitted to the sampled points | 3 (3–6) |
| Iterations | Number of iterations; each one moves the vertices only slightly | 30 (1–100) |
| Outlier threshold | A vertex whose target position is farther than this, in voxels, is not moved in that iteration. Keep it small for small degrees | 1 (1–10) |
| Preparation smooth | Speed of the smoothing done once before the iterations. Can be 0 if the surface is already smooth | 0.1 (0–1) |
| Intermediate smooth | Speed of the smoothing done in every iteration. Small values are generally not recommended | 0.3 (0–1) |
Step 3. Check the Result
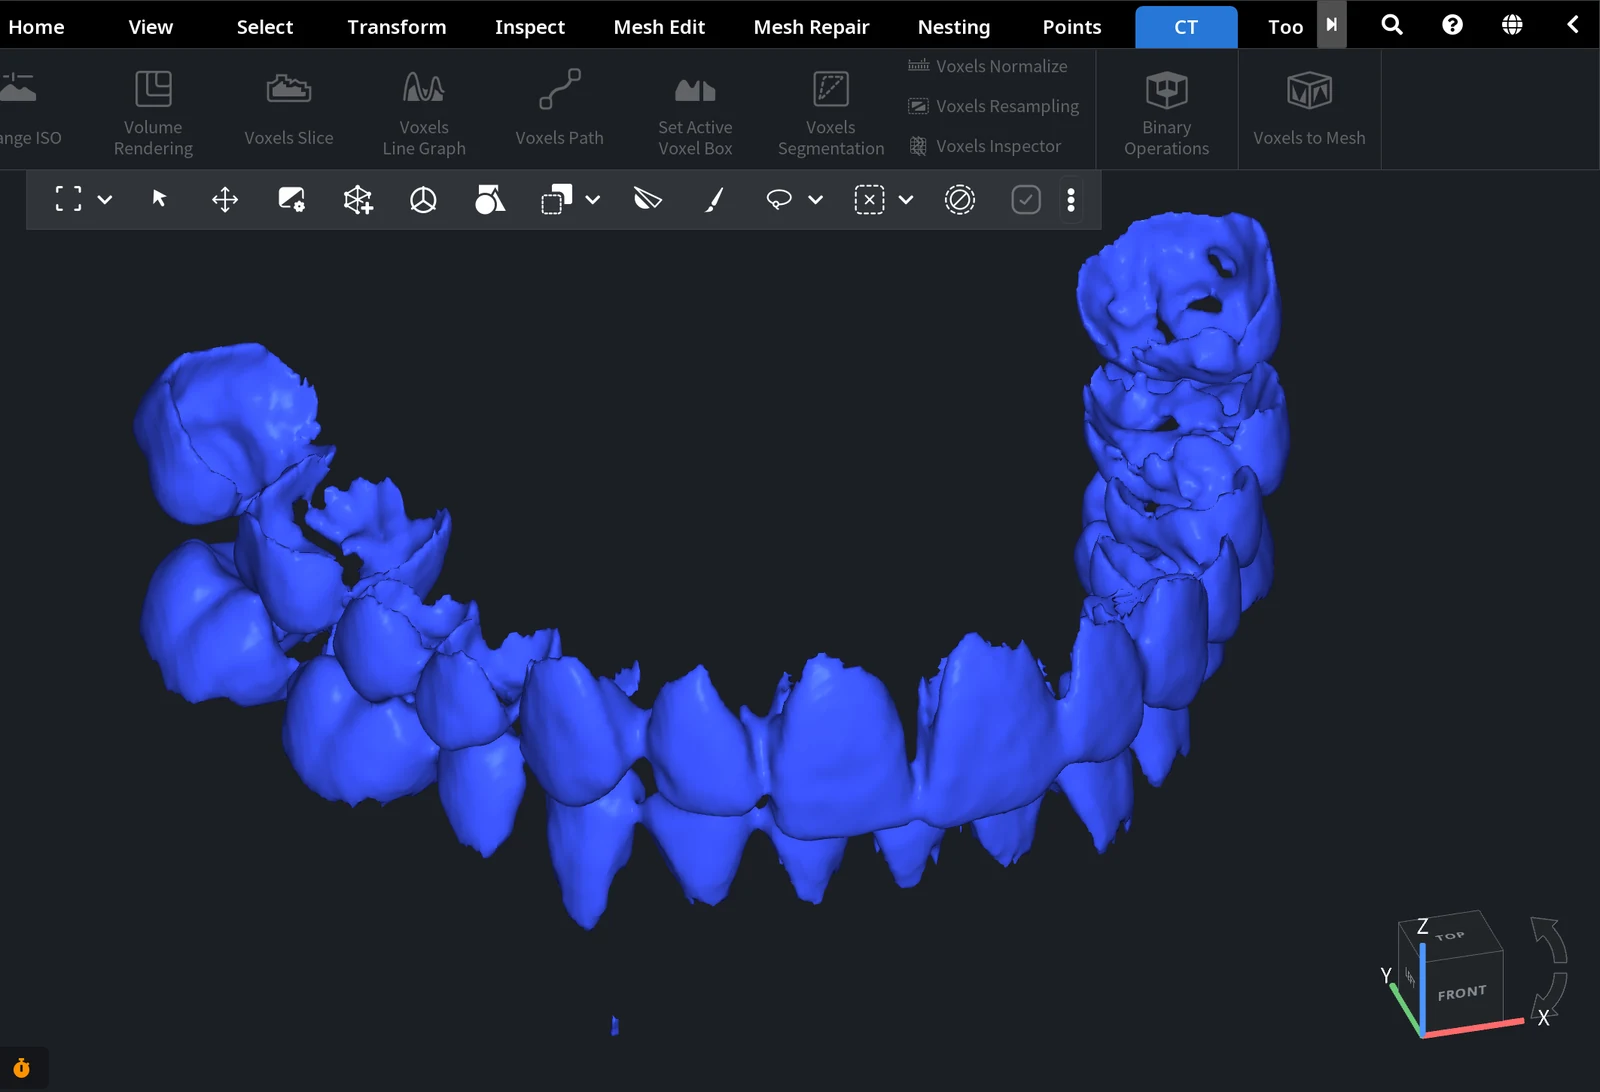
Select the mesh and look at the Information panel: Triangles, Vertices, Volume, Area and Components. One component is what you expect for a single part; many small ones usually mean scan noise.
For example, a dental CT scan cropped to the teeth with Set Active Voxel Box (300 × 240 × 100 voxels) and converted with Simple Conversion at an iso-value of about 2 000 gave a mesh of 168 956 triangles in 36 components, without holes.
If the result is not what you need:
- Noise, loose pieces or a too thick surface in a CT scan: the iso-value is too low. Undo, raise it in Change ISO and convert again.
- Thin parts are missing or have holes in a CT scan: the iso-value is too high. Lower it.
- In a volume made with Mesh to Voxels the values are distances, so it works the other way round: a higher iso-value moves the surface outward and thickens walls (see Change ISO).
- Too many triangles: the number of triangles follows the voxel size. Reduce it with Simplify.
To see what Smart Conversion changes, convert the same volume twice with Preserve Voxel Object on (show and select the volume again before the second run), select both meshes and open Inspect › Surface Deviation. Both meshes lie in the same place, so no alignment is needed.
Step 4. Repair and Export
- Fix what is left with Mesh Healer: it removes small disconnected parts and fills small holes.
- Save the mesh, for example as STL for 3D printing: Exporting Objects.


