
Mesh to Distance Map (Distance Maps › Mesh to Distance Map) converts the selected mesh into a distance map: a regular grid of pixels, each storing the depth of the surface seen from the current camera direction. Use it to get a depth map of a relief, to export it as an image with Distance Map to Image, or to compare two states of a part with Distance Map Boolean.

Create a distance map
- Select one mesh in the Scene tree.
- Turn the camera so that you look at the side you want to map, for example the Top view. The map is built along the current view direction: what the camera sees is what gets into the map.
- Click Mesh to Distance Map. The panel opens.
- Set Pixel Size (or the resolution) and click Convert.
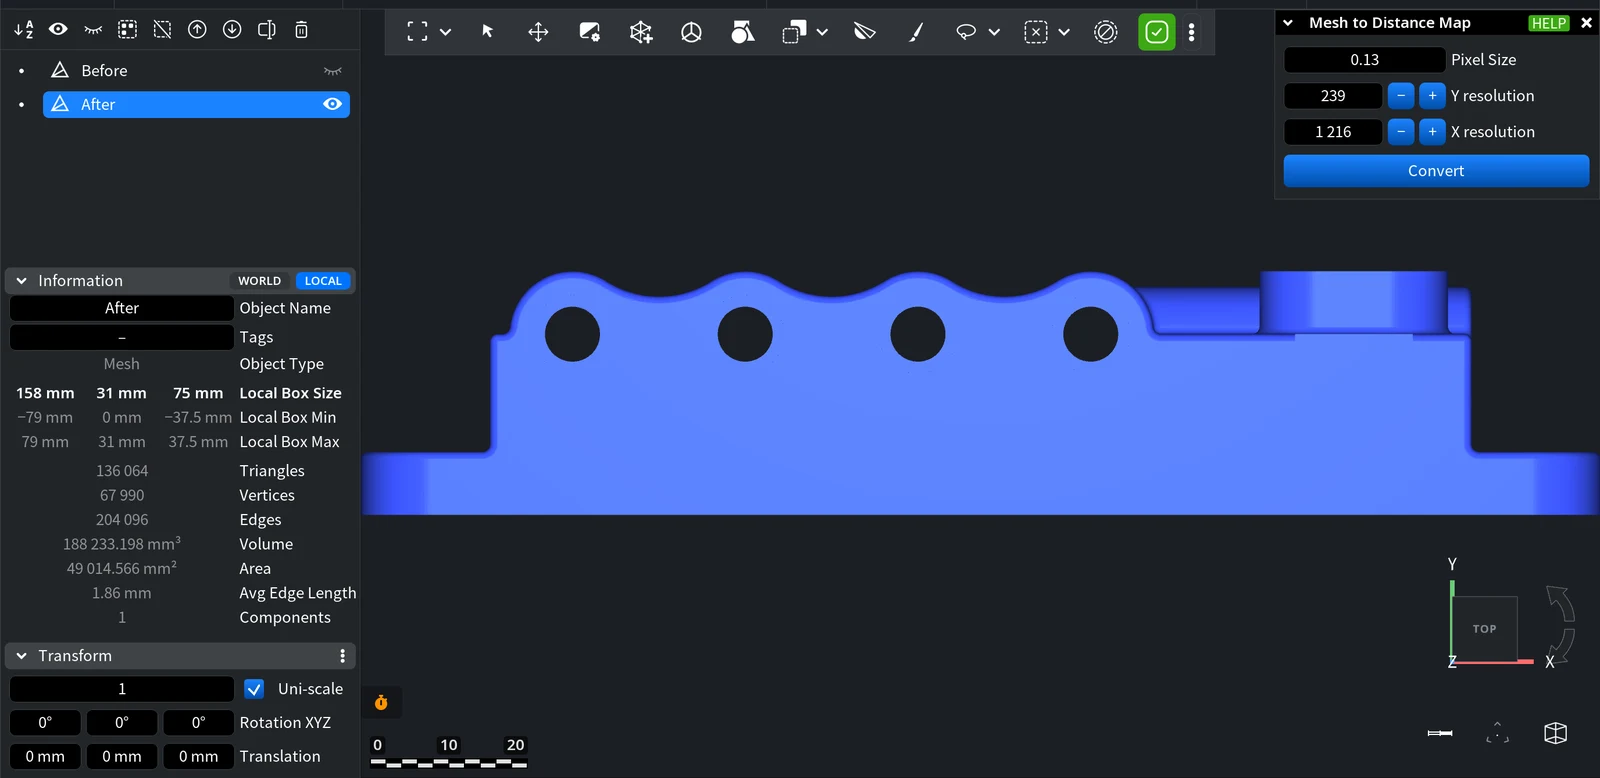
| Parameter | What it does | Default / tip |
|---|---|---|
| Pixel Size | Size of one map pixel in scene units. Smaller pixels capture finer detail. | The shorter side of the part divided by 100 |
| Y resolution | Number of pixels along the vertical axis of the view. | Linked to Pixel Size |
| X resolution | Number of pixels along the horizontal axis of the view. | Linked to Pixel Size |
The three values are linked: change one and the other two follow. The largest resolution depends on the memory of your computer (on a machine with 8 GB of RAM the limit is 1,250 pixels per side), so very small pixel sizes are not accepted on large parts.
If some triangles of the mesh are selected, only the selected area goes into the map. Use this to map just the region you need.
Result
After Convert the panel closes, and the mesh is replaced in the Scene tree by a new Distance Map object named <mesh name> Distance Mesh double. The original mesh is removed from the scene; press Undo (Ctrl+Z, Cmd+Z on macOS) if you need it back, or make a copy before converting.
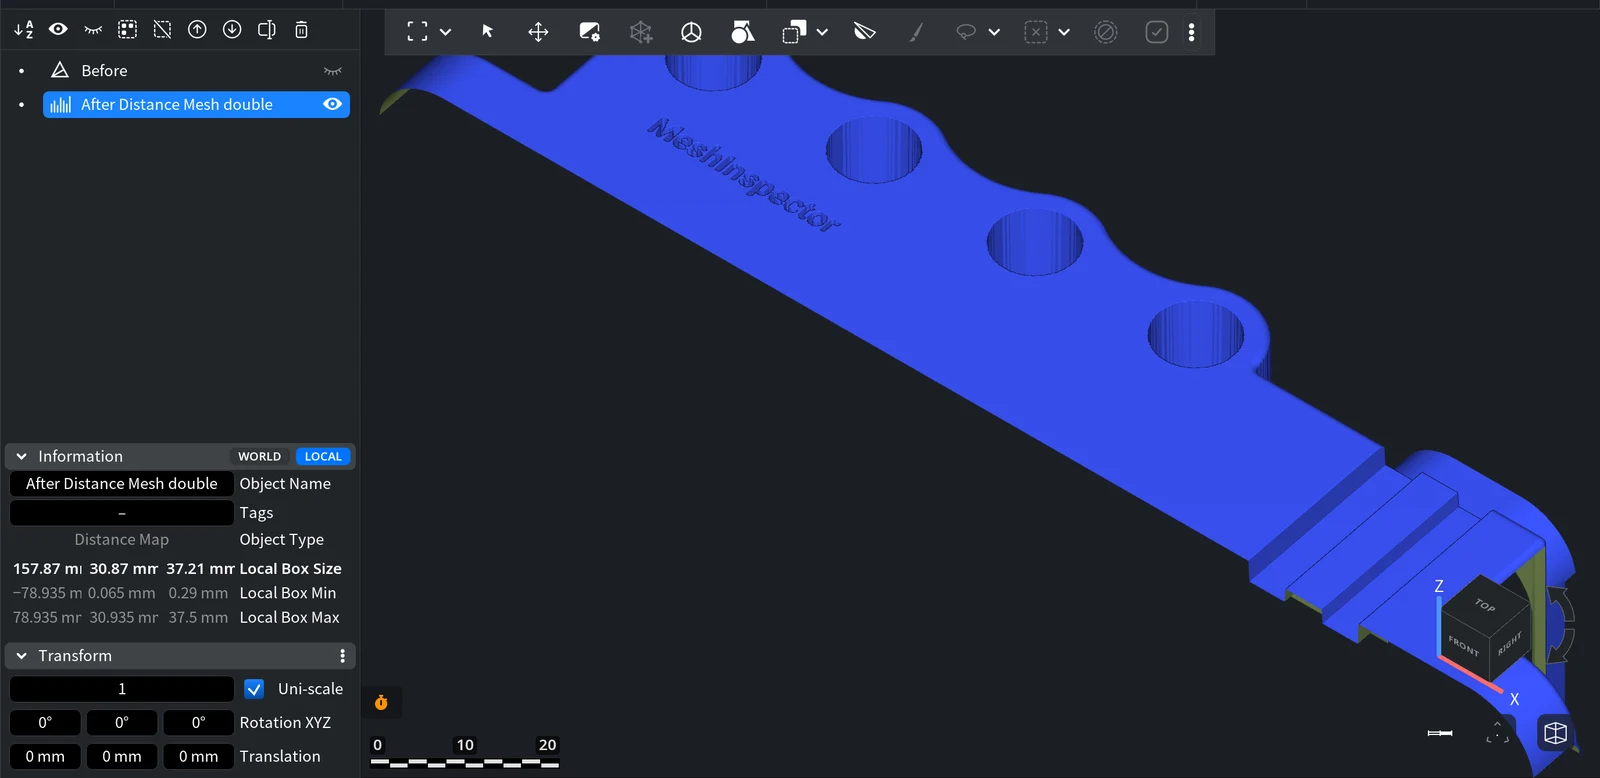
The map looks like the part seen from the camera: surfaces facing away from the view and through-holes have no data. To get a mesh back from the map, use Distance Map to Mesh; to draw contour lines at a given depth, use Distance Map to IsoLines.


