

Combine and Union both turn several selected objects into one object, but in different ways. Combine only puts the objects together: every triangle stays as it was, including overlaps and inner faces. Union is a Boolean operation: it fuses meshes into one closed surface and removes everything inside.
| Combine | Union | |
|---|---|---|
| What it does | Puts the selected objects into one object | Fuses the selected meshes into one closed surface |
| Geometry | Unchanged: overlaps, inner faces and separate components stay | Overlaps are fused, inner faces are removed, intersections are resolved |
| Object types | Meshes, point clouds or polylines (all of one type) | Meshes only |
| How many | At least two objects | Two or more meshes, or one mesh with several components |
| Settings | None: one click | A panel with options and the Unite button |
| Original objects | Replaced by the new object | Deleted, or kept hidden with Preserve Original Meshes |
| Use it for | Exporting or moving several parts as one file or object | A single watertight part for 3D printing or volume measurements |
Both tools are on the Mesh Edit tab. Combine is also on the Points and Lines tabs, and Union on the Mesh Repair tab.

Combine
Combine joins the selected objects into a single object without changing their geometry. No Boolean operation, welding or topology change is done: intersections and inner faces stay.
- Select two or more objects of the same type in the Scene tree: only meshes, only point clouds, or only polylines. Ctrl+click (Cmd+click on macOS) adds an object to the selection.
- Click Mesh Edit › Combine.
The tool works at once, without a panel. The new object gets the names of the combined objects and replaces them in the Scene tree; objects that were nested in them move into the new object. If you combine point clouds and only some of them have normals, MeshInspector warns that all normals are lost.
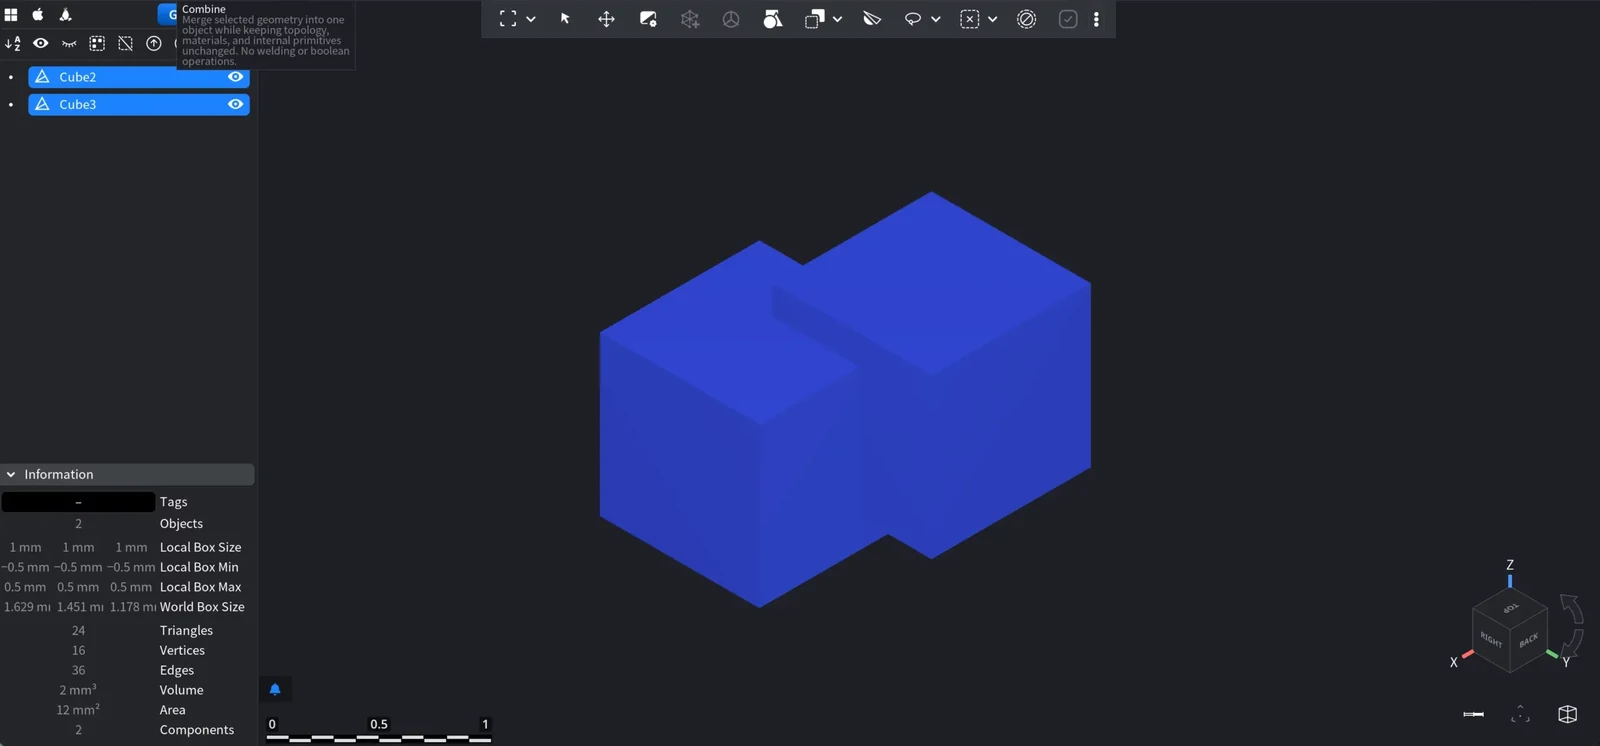
In the screenshot below, two intersecting cubes are selected for Combine.
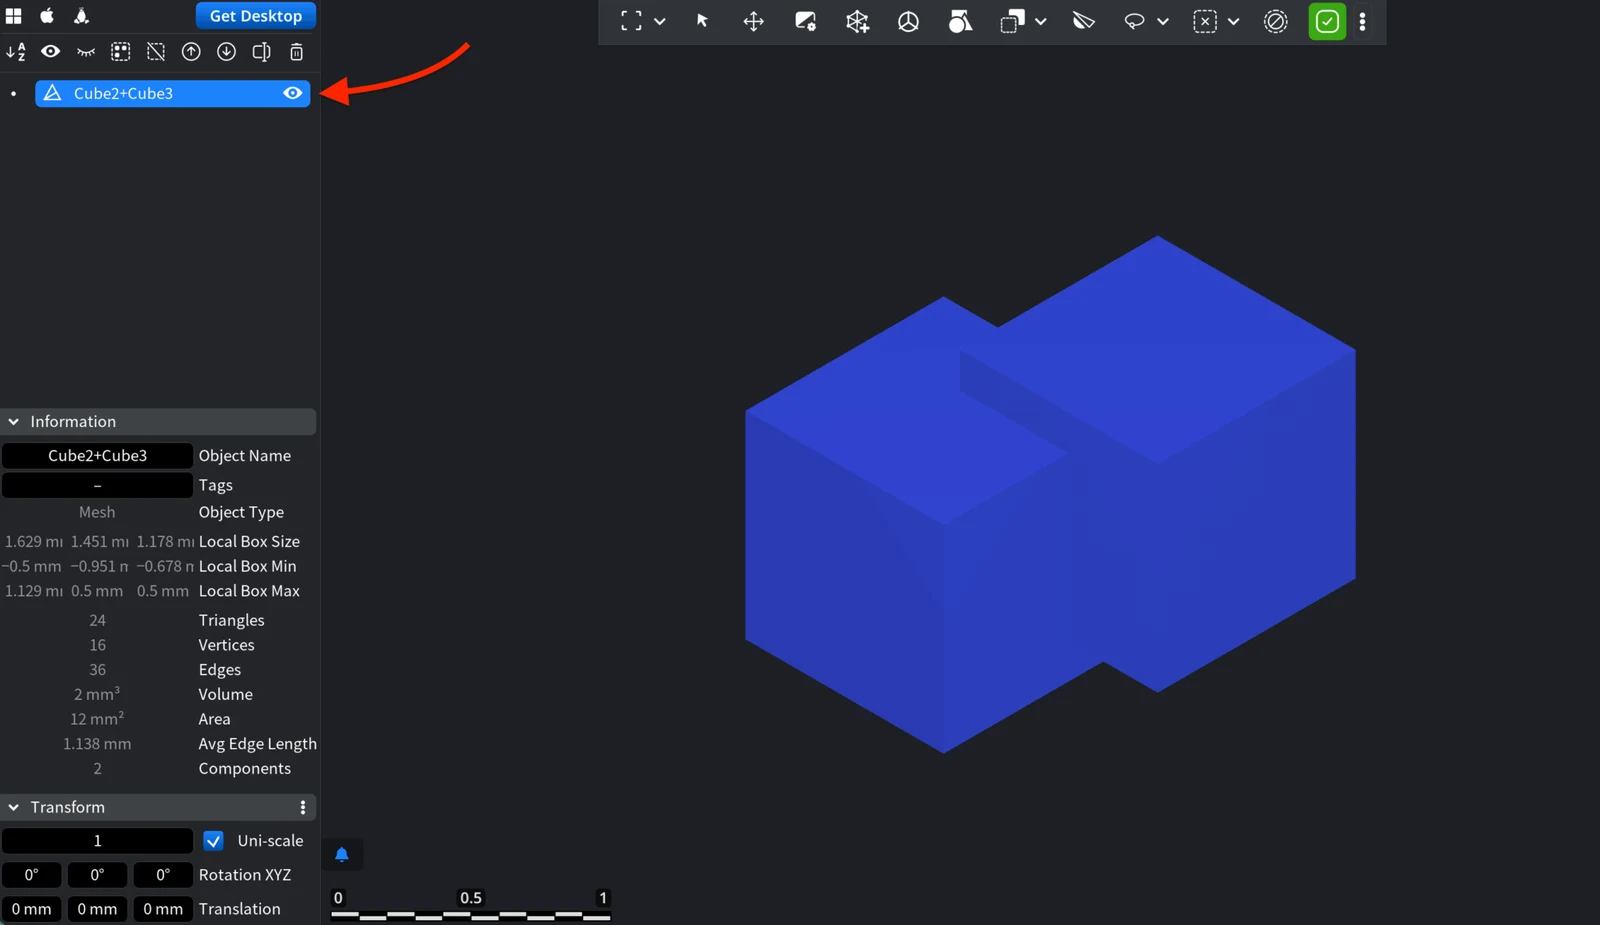
After Combine, the Scene tree shows one object. The Information panel still shows two components: the cubes were put into one object, not fused.
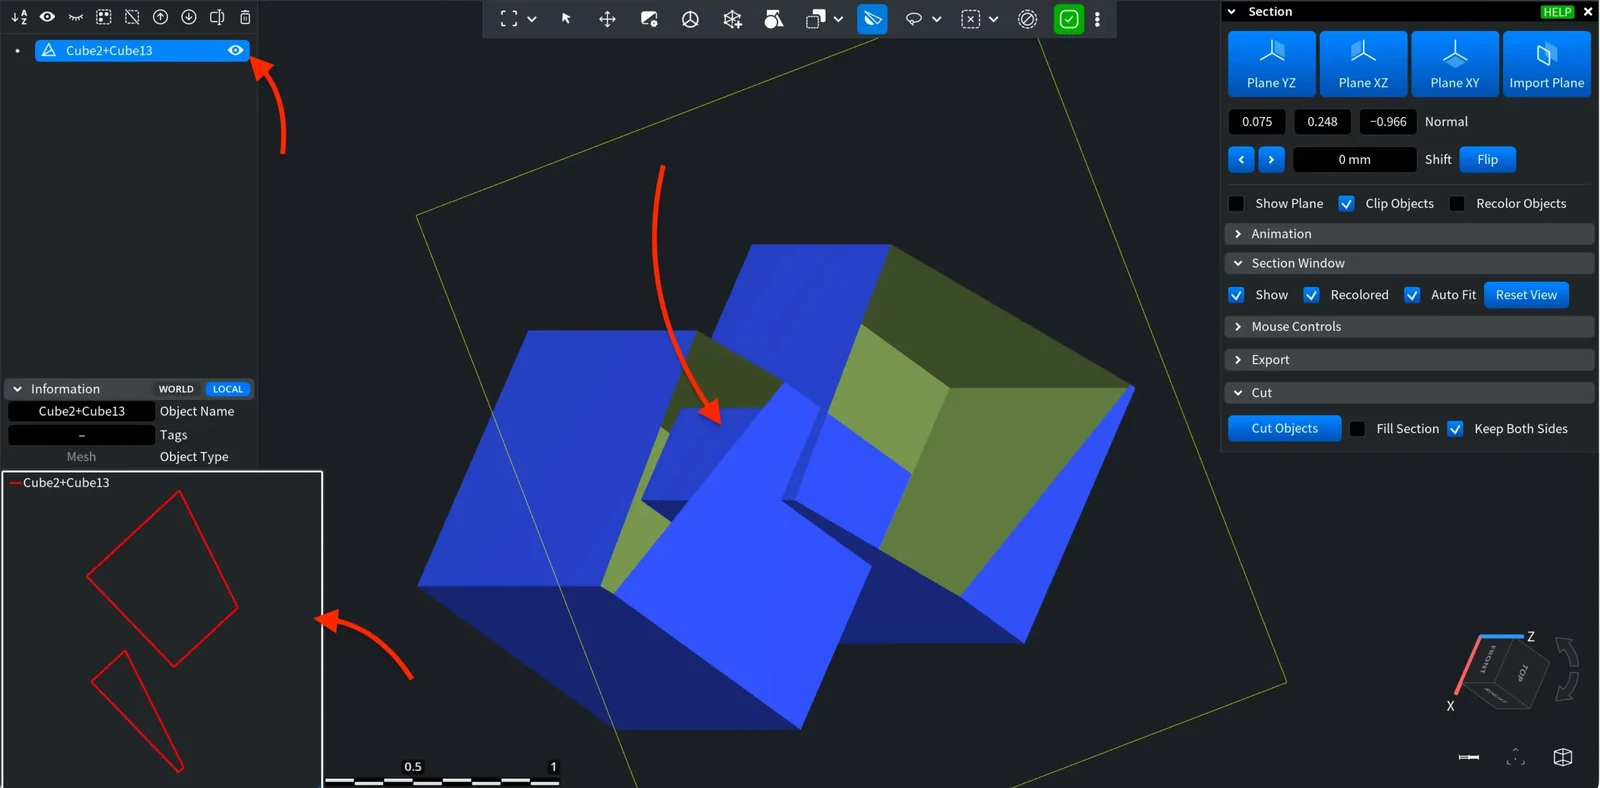
A cut with Mesh Edit › Section shows it clearly: the outlines of the two cubes cross each other, and the inner faces are still there.
Union
Union performs a Boolean union of the selected meshes. Overlapping parts are fused, inner faces are removed, and intersections are resolved, so the result is one mesh with a single outer surface. If you select one mesh that consists of several components, Union fuses its components.
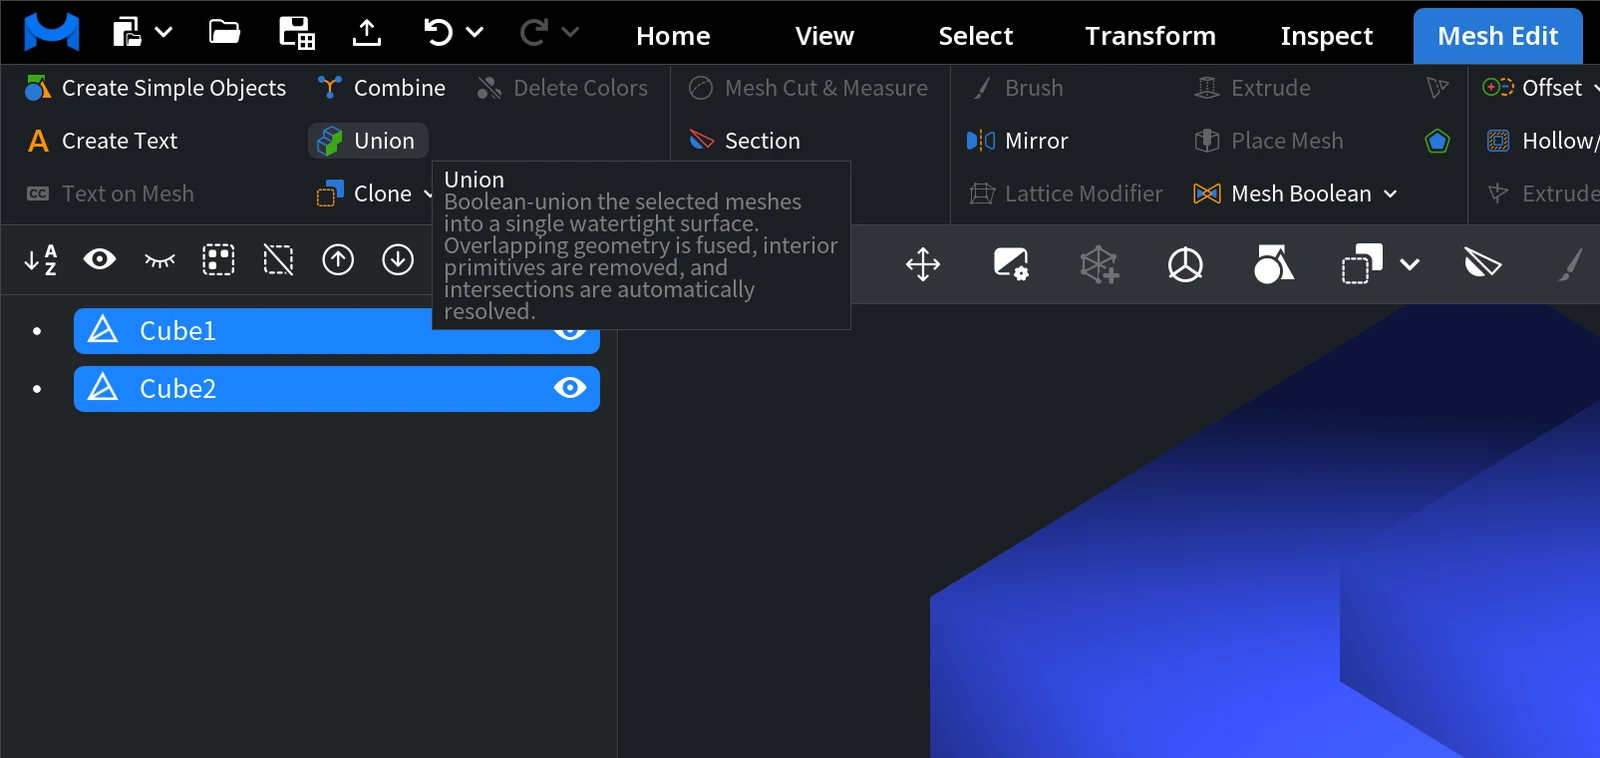
- Select the meshes in the Scene tree.
- Click Mesh Edit › Union. The Union panel opens.
- Check the options (the defaults suit most cases) and click Unite.
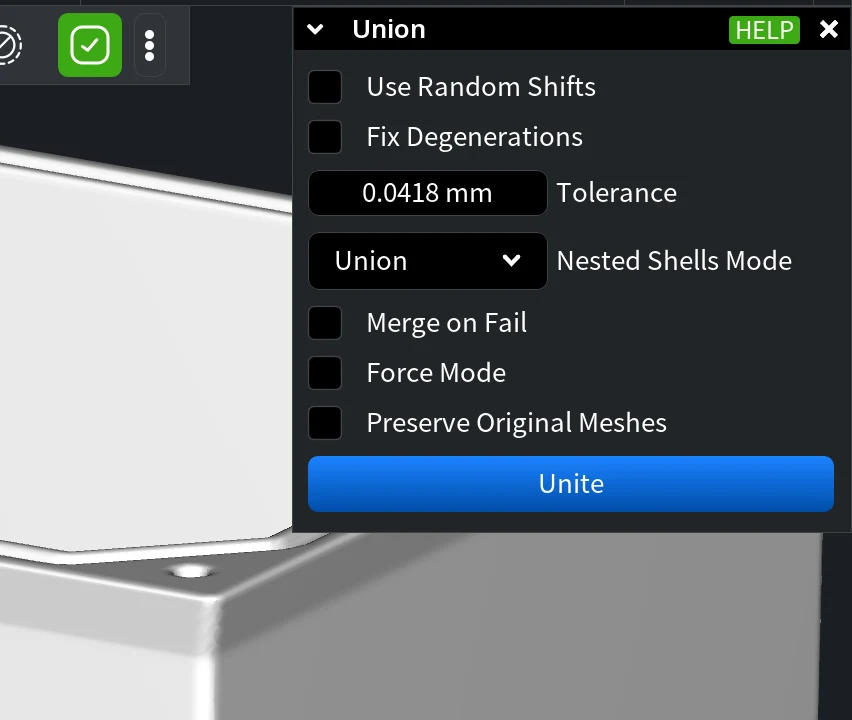
| Option | What it does | Default |
|---|---|---|
| Use Random Shifts | Shifts each mesh by a tiny random amount, to prevent errors on surfaces that coincide exactly | Off |
| Fix Degenerations | Tries to fix degenerate triangles after each Boolean step, so that the union does not fail because of them | Off |
| Tolerance | The largest allowed random shift in each direction, and the largest allowed deviation when fixing degenerations | 1/10 000 of the size (bounding box diagonal) of the selected meshes |
| Nested Shells Mode | How to treat shells that lie completely inside other shells: Remove deletes them (for meshes that each have one component); Merge keeps them (for meshes that are parts of one object); Union unites all input meshes as they are, slower but correct when meshes have several components | Union for several meshes, Merge for one mesh |
| Merge on Fail | If the Boolean operation fails, combines the shells instead of showing an error | Off for several meshes, on for one mesh |
| Force Mode | Closes all holes during the union. The app marks it "Not recommended" | Off |
| Preserve Original Meshes | Keeps the original meshes in the scene, hidden, in addition to the result | Off |
The result is a new selected object with the names of the input meshes. Without Preserve Original Meshes, the input meshes are deleted from the scene (Undo brings them back).
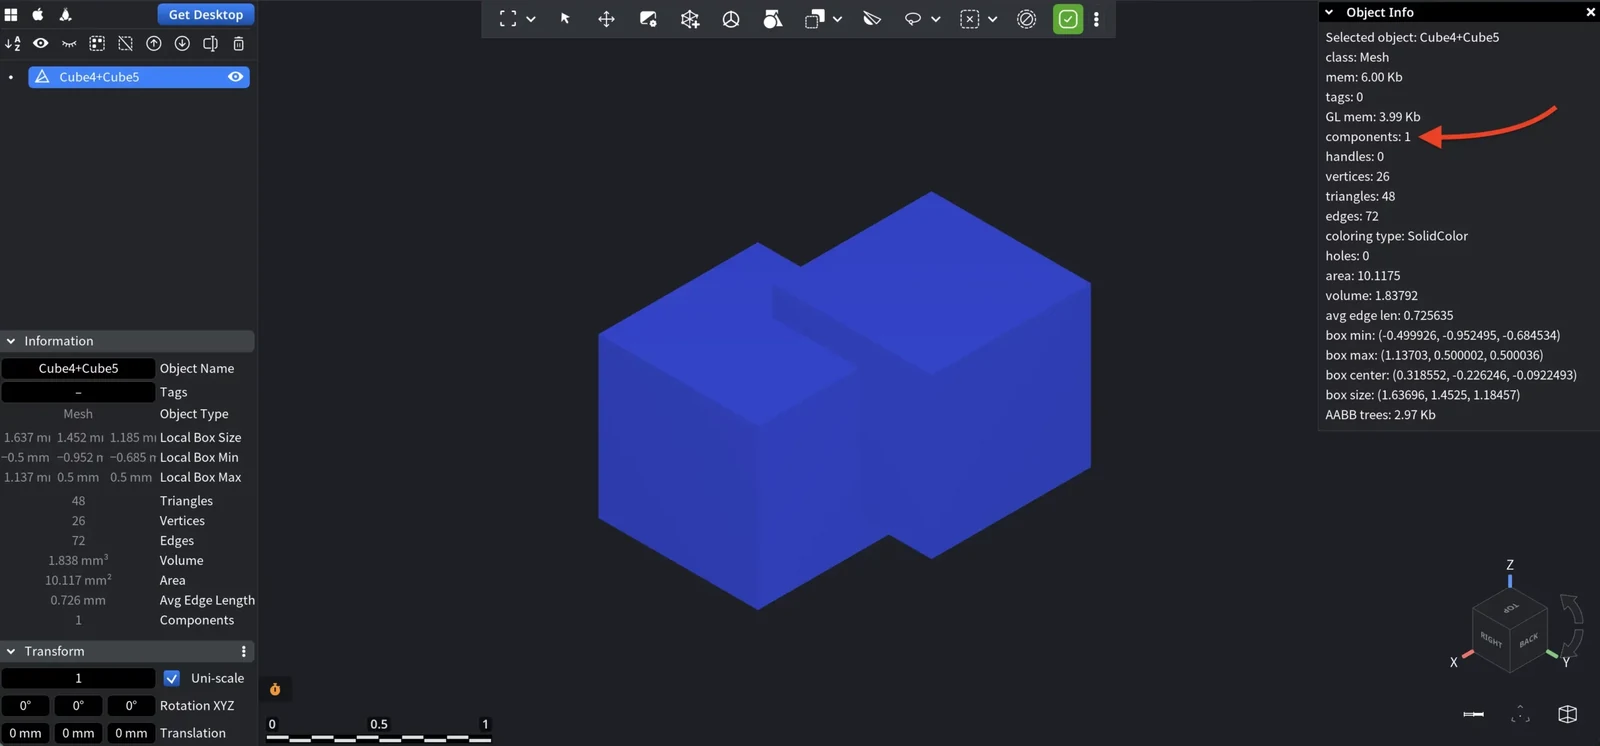
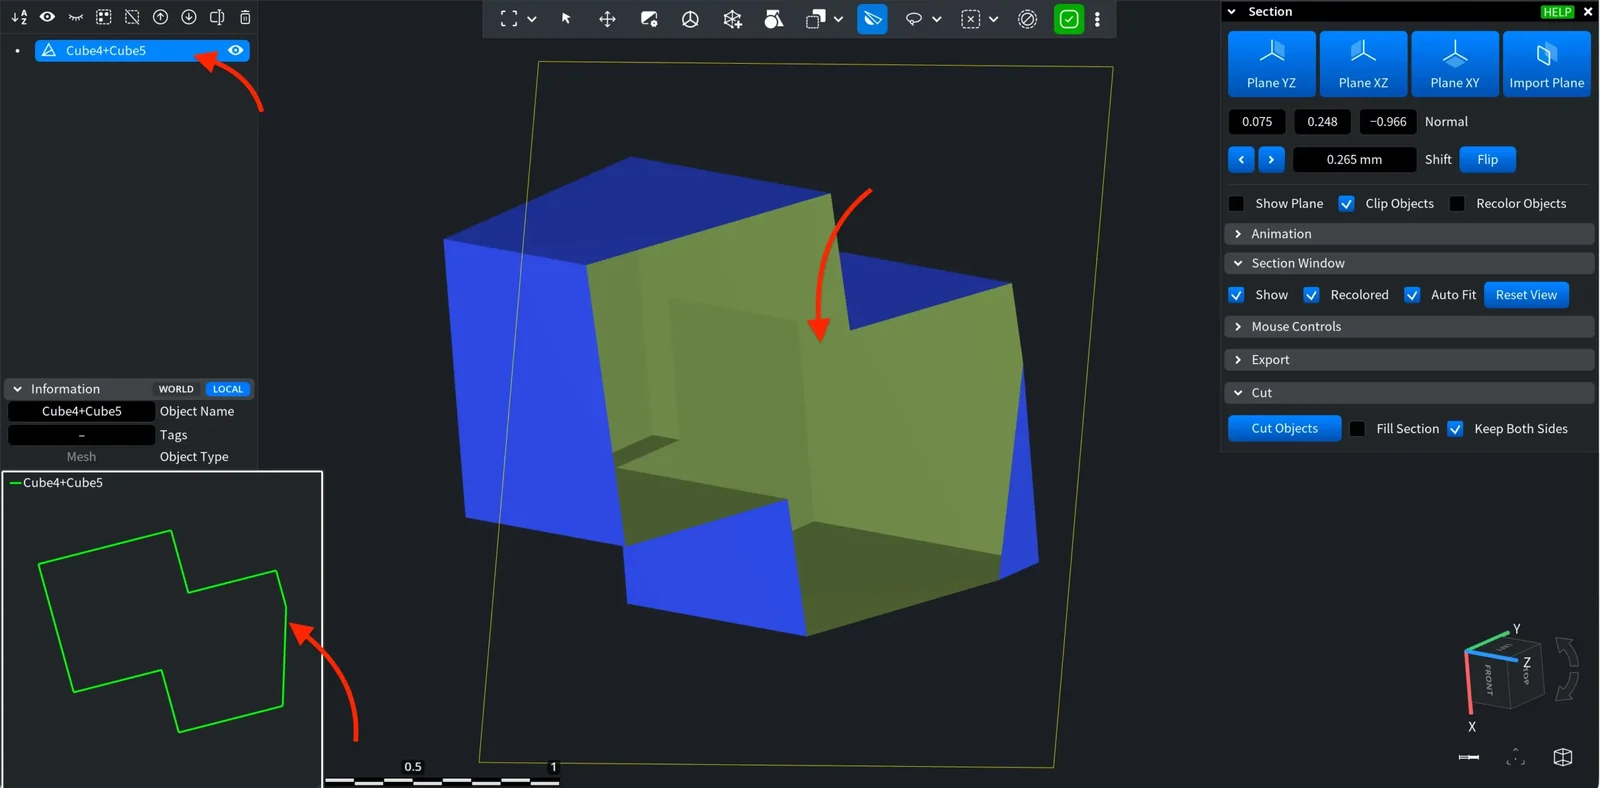
The Information panel now shows one component, and a Section cut shows one outline without the inner faces between the cubes:
If Union fails
- Find and fix self-intersections and other defects with Mesh Healer, then run Union again.
- Turn on Use Random Shifts if the meshes have faces that lie exactly on top of each other, and Fix Degenerations if they have many very thin triangles.
- For two meshes, try Mesh Boolean or Voxel Boolean: see Boolean operations. Voxel Boolean works with messy closed meshes, at the cost of slightly rounded edges.
Union handles any number of meshes at once. To subtract or intersect, or to see a preview before you apply the result, use Mesh Boolean: it works with exactly two meshes.


