
Loads from YouTube (Google) when you press Play
Place Mesh puts copies of one mesh on the surface of other objects with mouse clicks. Then it can unite the copies with those objects or subtract them, in one step. Use it to:
- add pins that connect the parts of a large print;
- cut matching holes or slots in the other part;
- attach a logo or another decorative part to a surface.
Prepare the scene
You need two things in the scene:
- the target: the model you place objects on;
- the object to place: a pin, a logo or any other mesh.
To get an object to place, either create it or open it:
- Mesh Edit › Create Simple Objects creates a cube, a cylinder, a sphere and other simple shapes; a cylinder makes a good pin. See Create Simple Objects.
- Mesh Edit › Create Text makes a text mesh for a label or a logo. See Create Text.
- Home › Open Files opens a ready mesh, for example your logo.
Set the size of the object before you place it, for example with the tools of the Transform tab: Place Mesh places the object at its current size.
Place the objects
- Make sure the target is visible. The object to place may stay hidden.
- In the Scene tree, select only the object to place. The tool works with exactly one selected mesh.
- Click Mesh Edit › Place Mesh. The Object field at the top of the panel shows the name of the object to place.
- Move the cursor over the target. A green preview shows where the object will go.
- Click to place a copy. Each click adds one more copy; the copies get the name of the object with Placed at the end. Do Union, Do Subtraction and Add to Scene become available after the first copy.
MeshInspector puts the center of the object's bounding box on the surface point under the cursor and turns the object so that its Z axis follows the surface normal. So a pin stands upright on the surface and goes halfway into it.
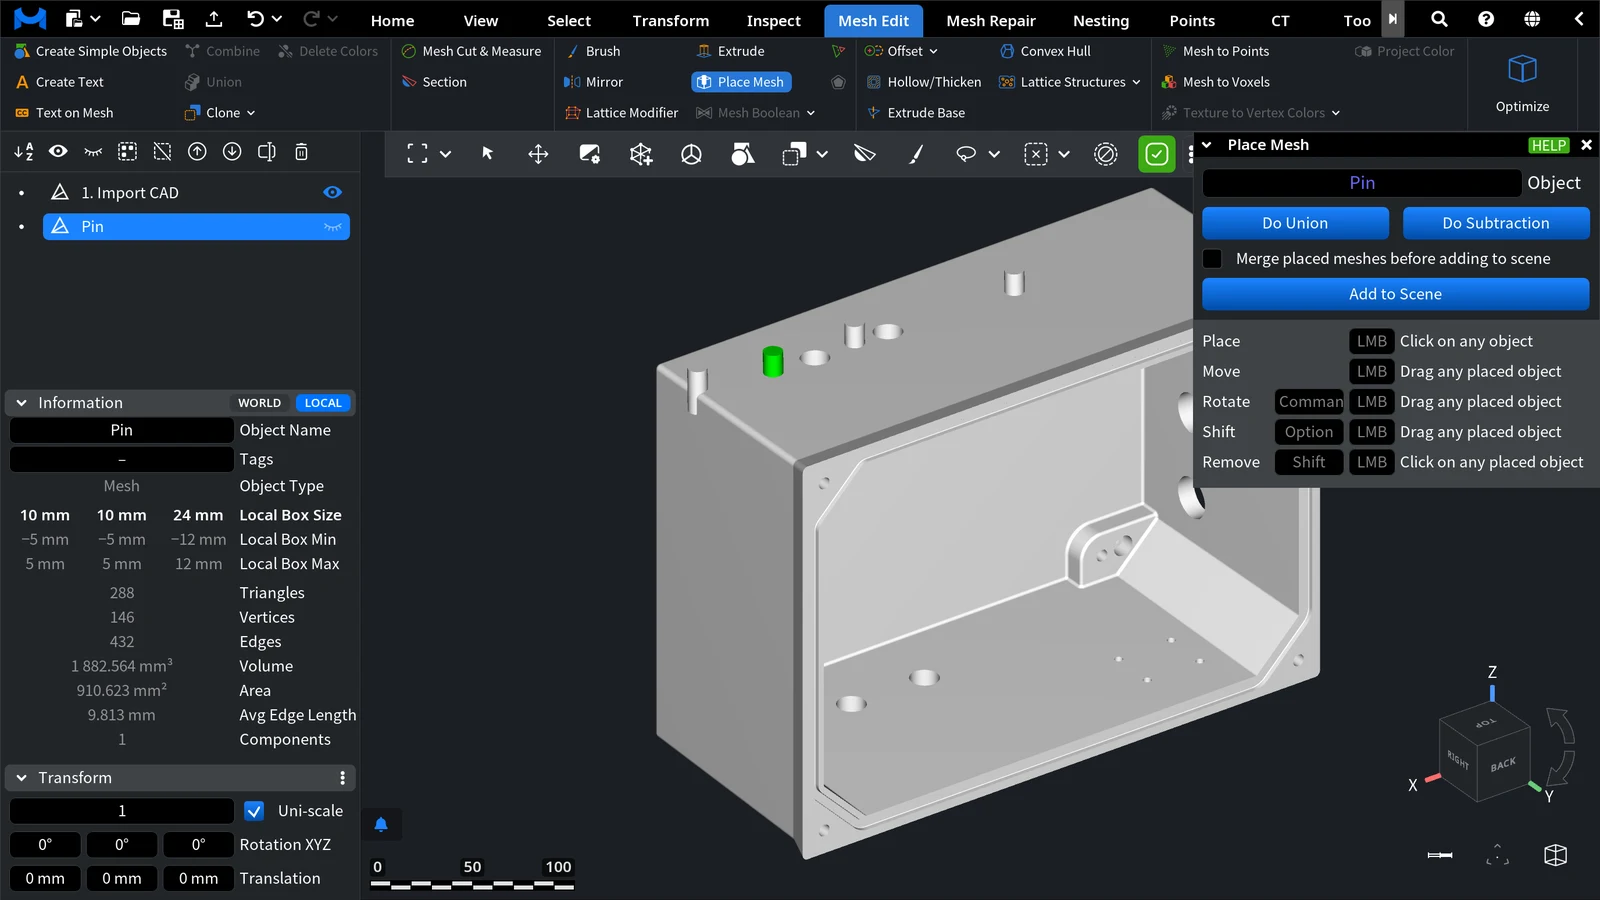
Placement controls
The mouse controls are listed at the bottom of the panel. All of them except Place work on copies that are already placed:
| Action | How |
|---|---|
| Place | Click on any object |
| Move | Drag a placed copy over the surface |
| Rotate | Ctrl + drag a placed copy (Cmd + drag on macOS). The copy turns around the surface normal |
| Shift | Alt + drag a placed copy (Option + drag on macOS). The copy moves along the surface normal, deeper into the surface or out of it |
| Remove | Shift + click a placed copy |
What to do next
When the copies are in place, choose one of two ways.
A. Direct Boolean to merge or subtract immediately
- Do Union unites the placed copies with the target: use it for pins and raised logos.
- Do Subtraction subtracts the copies from the target: use it for holes, slots and engraved logos.
MeshInspector first unites all copies placed on the same object, then makes the Boolean operation with that object and closes the tool. If you placed copies on several objects, each object gets its own result.
The Boolean operation removes textures, vertex and triangle colors and the selection from the target and turns on flat shading. If the operation fails, check the target for holes and self-intersections with Mesh Repair › Mesh Healer and try again.
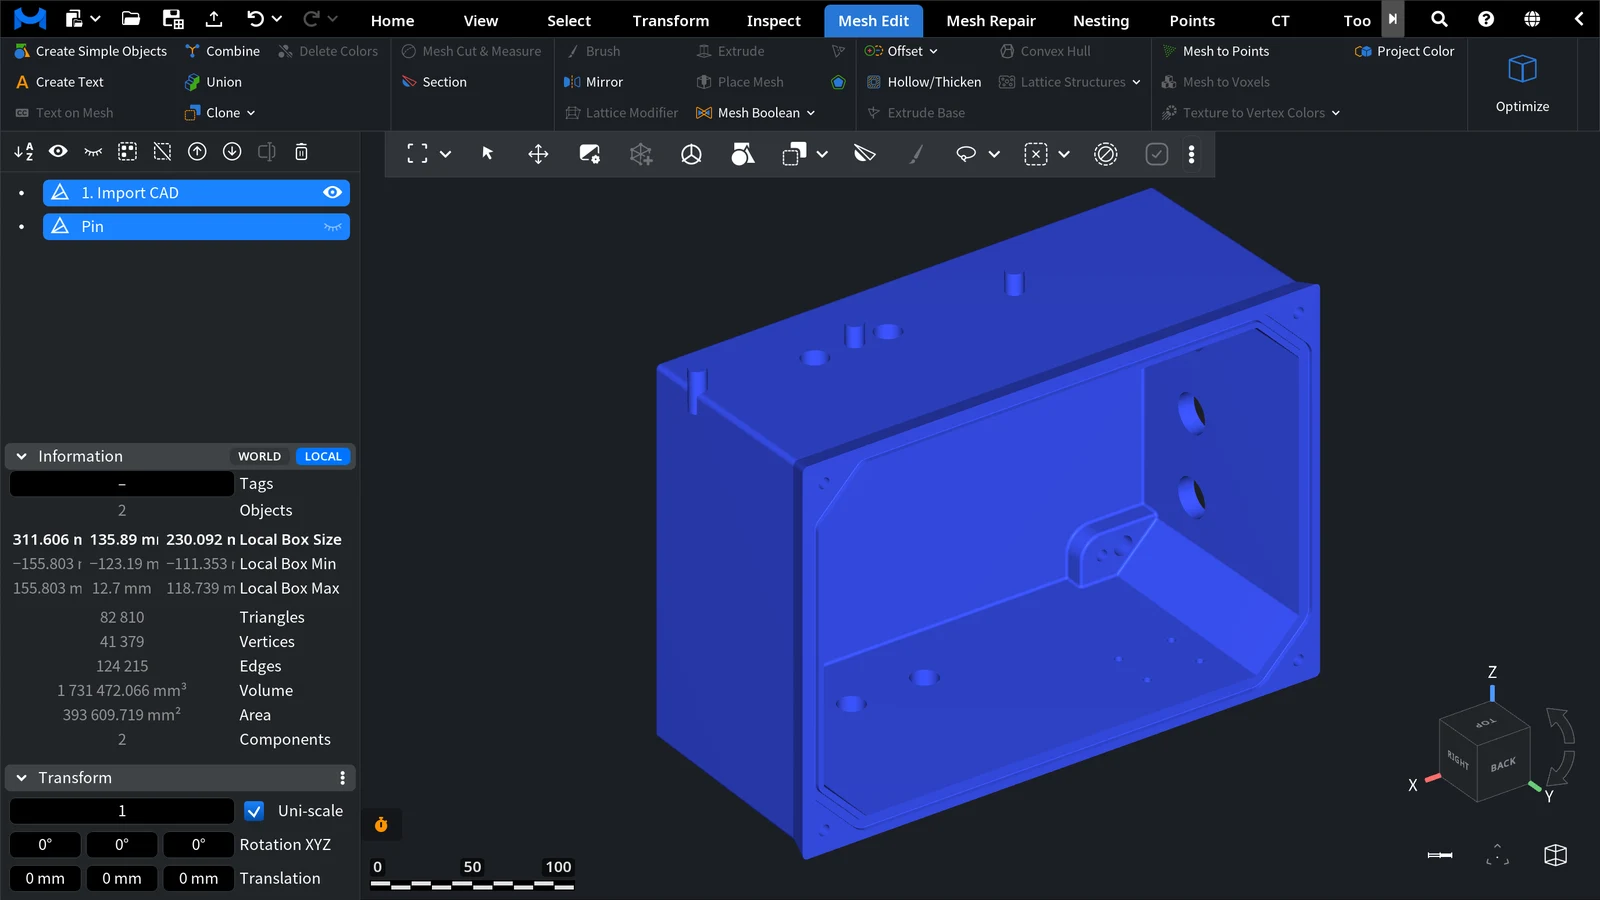
B. Add to Scene to keep objects separate first
Add to Scene keeps the copies as separate objects and closes the tool. They appear in the Scene tree inside a new object called Placed Meshes. Turn on Merge placed meshes before adding to scene to get one mesh with all copies as its components instead.
Use this way when you want more control: for example, to make the Boolean operation later with Mesh Boolean, or to use the same pins for two parts.
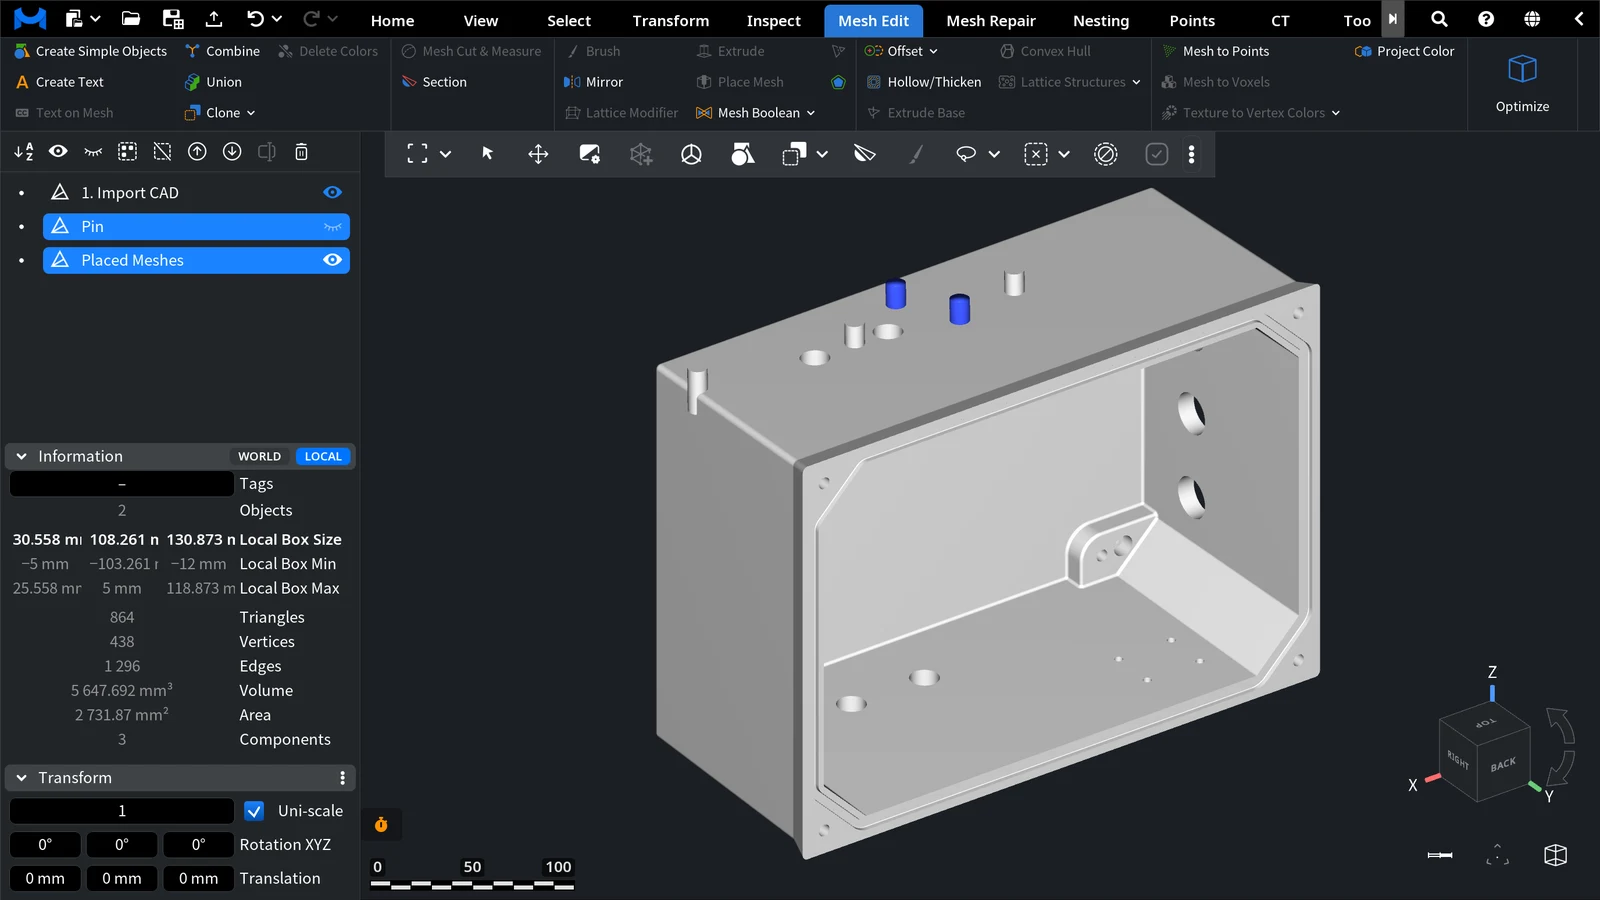
If you close Place Mesh without Do Union, Do Subtraction or Add to Scene, the placed copies are removed.
Examples
Pins and holes. The simplest case is one part with pins: place cylinders on its cut face and click Do Union. For pins and matching holes at exactly the same spots, place the cylinders once and click Add to Scene with Merge placed meshes before adding to scene on. Make a copy of the Placed Meshes object with Mesh Edit › Clone. Then, with Mesh Boolean, unite one copy with one part and subtract the other copy from the other part. To cut a model into parts first, see how to slice a mesh for 3D printing.
Logos and decorative parts. Open or create the logo, scale it in the Transform tab, place it on the surface and click Do Union. For text that follows a curved surface, Text on Mesh may suit you better.
Finalize for 3D printing
- Check the result with Mesh Repair › Mesh Healer and fix the problems that can spoil the print. See the Mesh Healer guide.
- Save the model with Home › Export.


