
Loads from YouTube (Google) when you press Play
Extrude pulls a selected area of a mesh outward or pushes it inward and builds side walls that connect it to the rest of the surface. Use it to raise a pad or a boss on a part, to make a recess, or to lengthen a flat end of a model.
You find the tool in Mesh Edit › Extrude.

Extrude Step by Step
-
In the Scene tree, select one mesh.
-
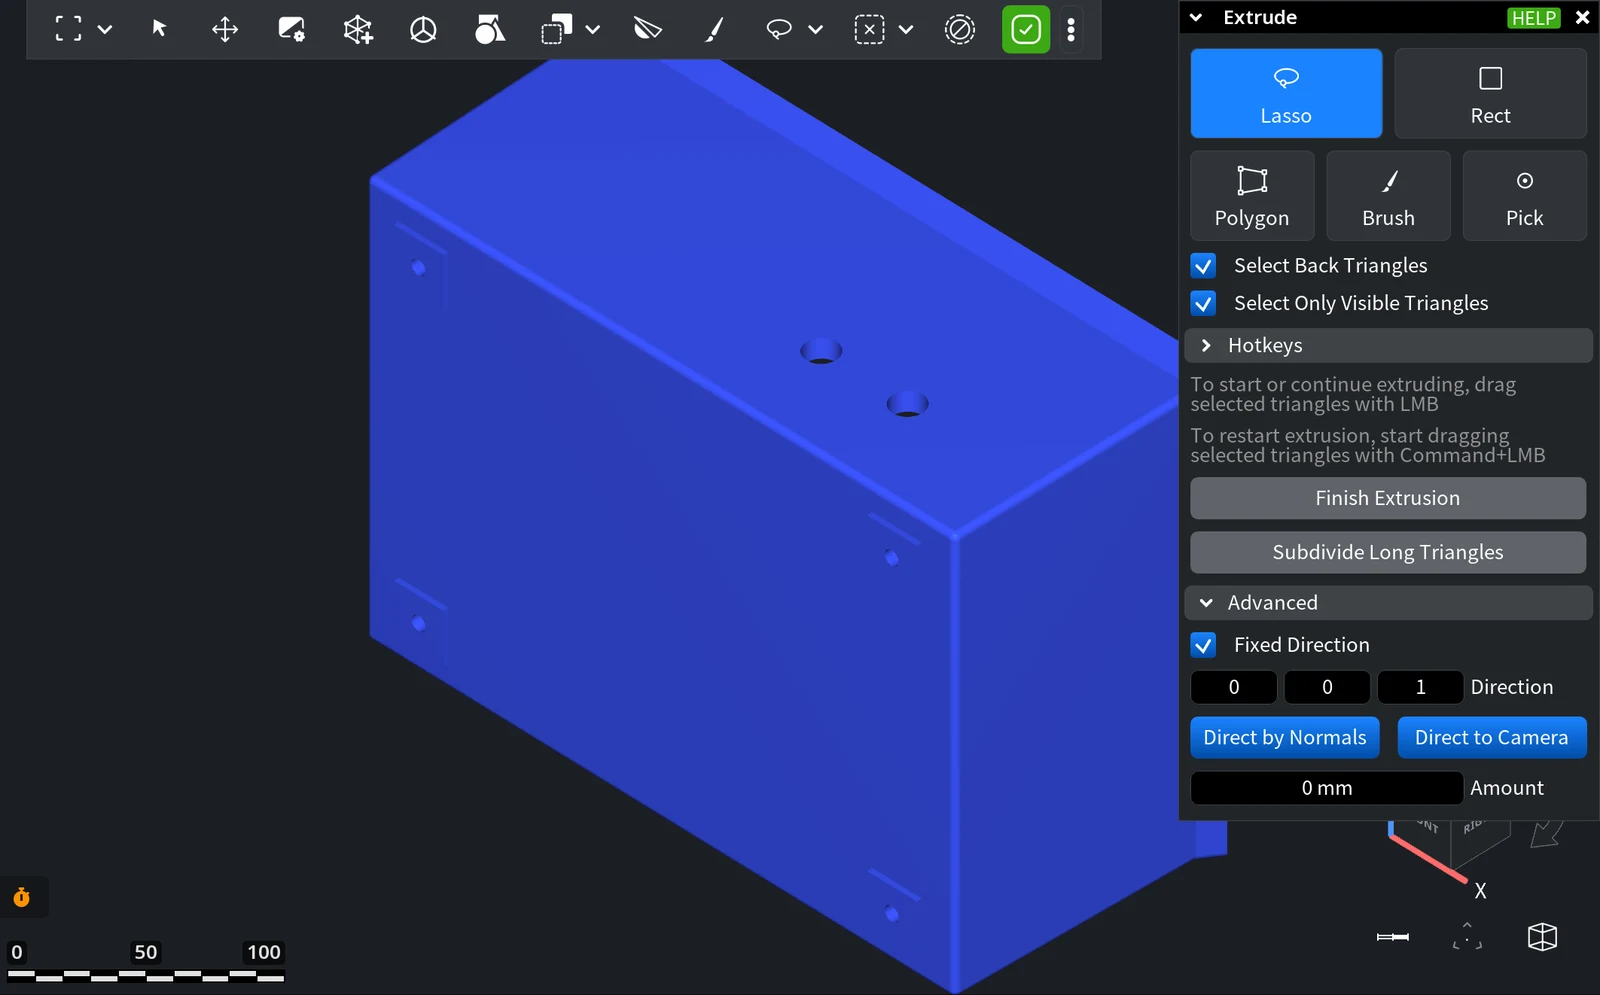
Go to Mesh Edit › Extrude. The Extrude panel opens with the selection tools at the top.
-
Select the triangles to extrude. Choose a selection mode:
- Lasso: draw a free-form outline with the mouse.
- Rect: drag a rectangle.
- Polygon: click the corners of a polygon.
- Brush: paint over the triangles.
- Pick: click single triangles.
-
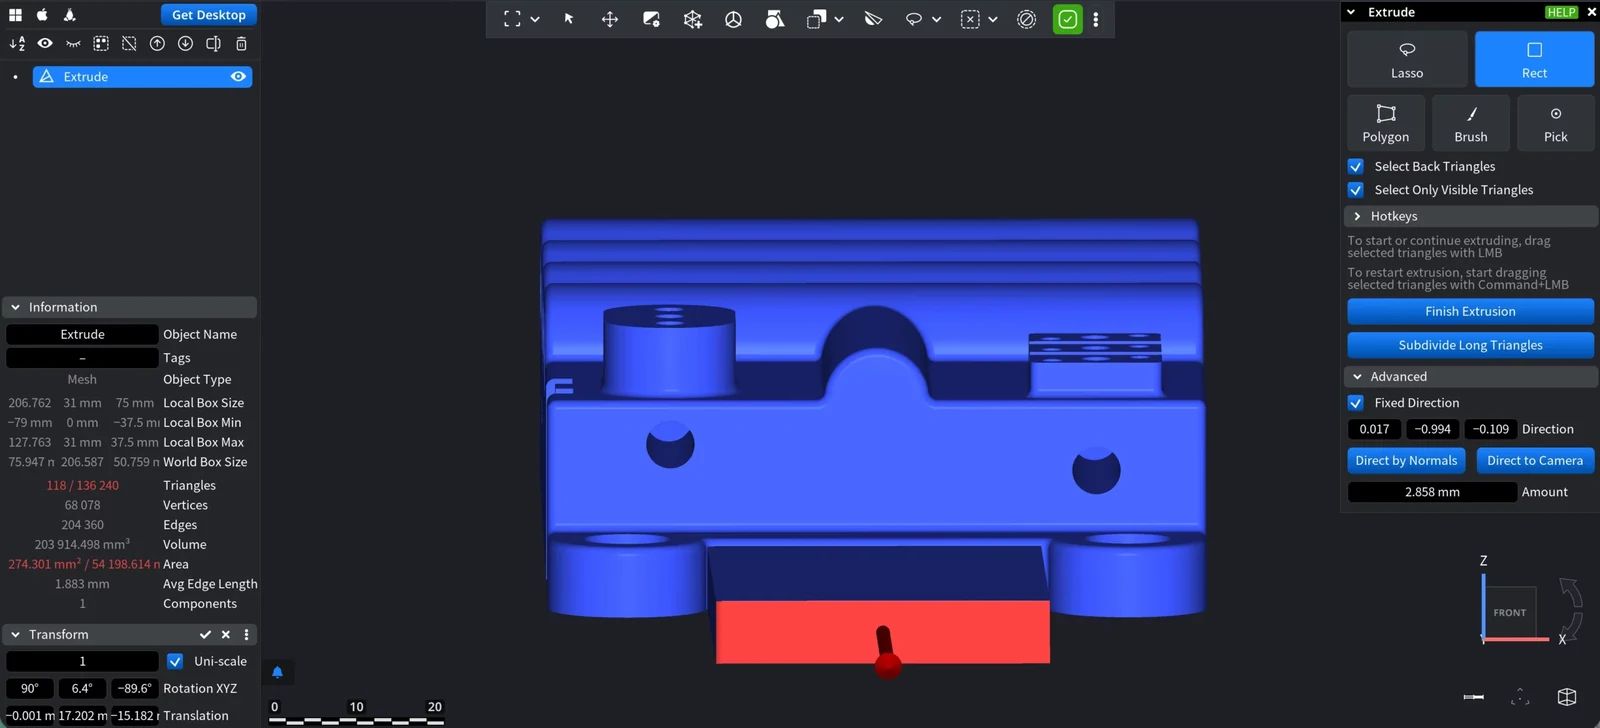
Drag the selected triangles with the left mouse button. The area moves along the extrusion direction (shown as an arrow) and side walls appear. To set an exact distance instead, type it in Amount (see Advanced Settings).
-
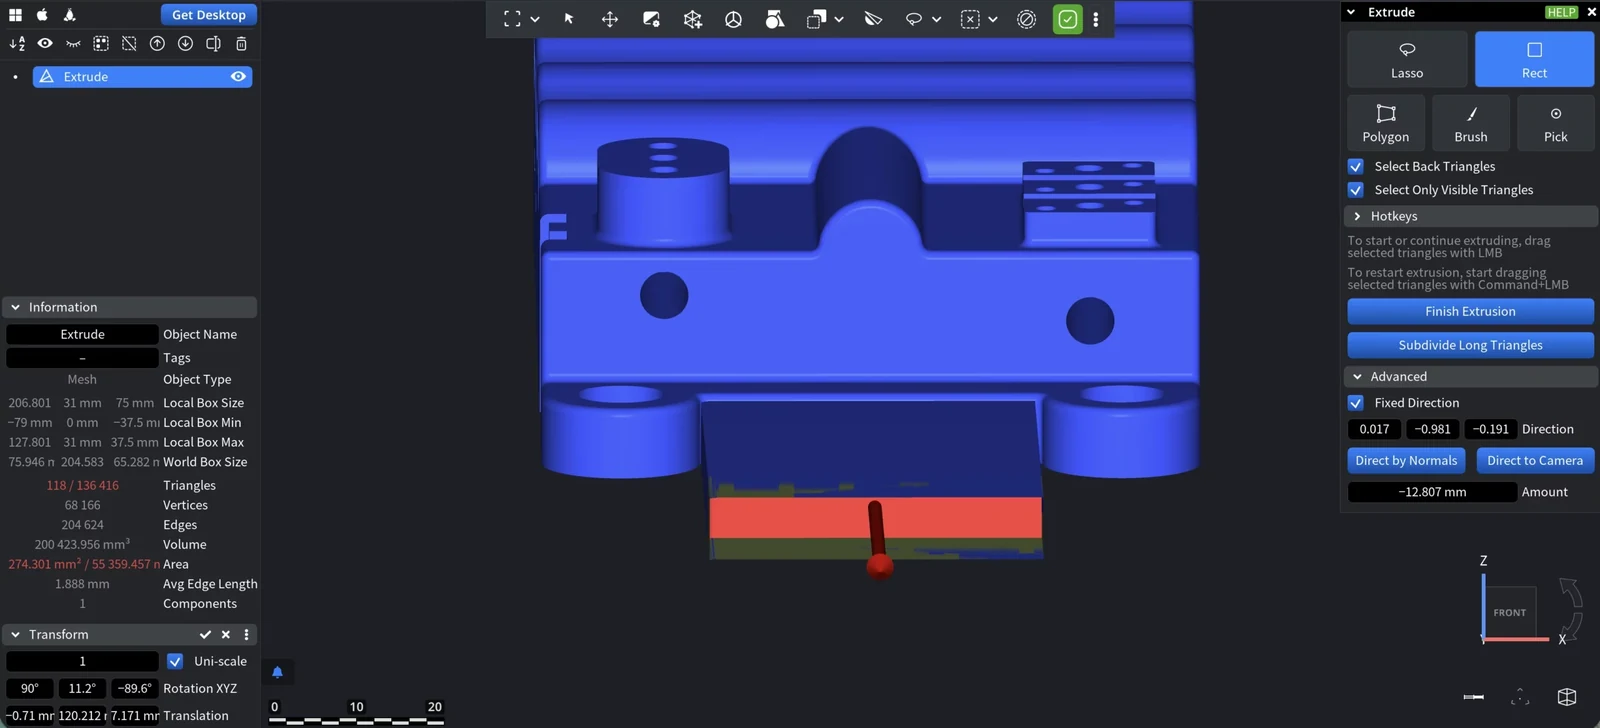
To continue the same extrusion, drag again with the left mouse button. To start a new extrusion from the current position, for example to make a step, drag with Ctrl+left mouse button (Cmd+left mouse button on macOS), or click Finish Extrusion first.
-
Click Finish Extrusion to fix the result. Close the panel when you are done.
To take back a step, press Ctrl+Z (Cmd+Z on macOS).
Selection Options
- Select Back Triangles: also select triangles that face away from the camera.
- Select Only Visible Triangles: select only triangles that are visible in the current view, not the ones hidden behind other parts of the model.
- Hotkeys: this section of the panel shows which modifier key adds triangles to the selection, removes them from it or reverses it.
For more ways to build a selection, see Select Primitives.
Buttons
| Button | What it does |
|---|---|
| Finish Extrusion | Fixes the current extrusion and makes the tool ready for a new one. Available while you extrude. |
| Subdivide Long Triangles | Splits the triangles of the new side walls into bands no longer than the longest edge of the selection boundary. Use it after a long extrusion, so that the walls do not consist of a few very long triangles. |
Advanced Settings
Expand Advanced to control the direction and the distance.
| Setting | What it does |
|---|---|
| Fixed Direction | Extrudes the selected triangles along one direction, shown as an arrow on the selection. On by default. The settings below appear only when it is on. Turning it on finishes the current extrusion. |
| Direction (X, Y, Z) | The three components of the extrusion direction. |
| Direct by Normals | Sets the direction to the average normal of the selected triangles. Finishes the current extrusion. |
| Direct to Camera | Sets the direction toward you, the position of the camera. Finishes the current extrusion. |
| Amount | Extrusion distance along the direction, in scene units, from −1000 to 1000. A negative value extrudes the opposite way, for example into the part. |
Example: Out and Back In
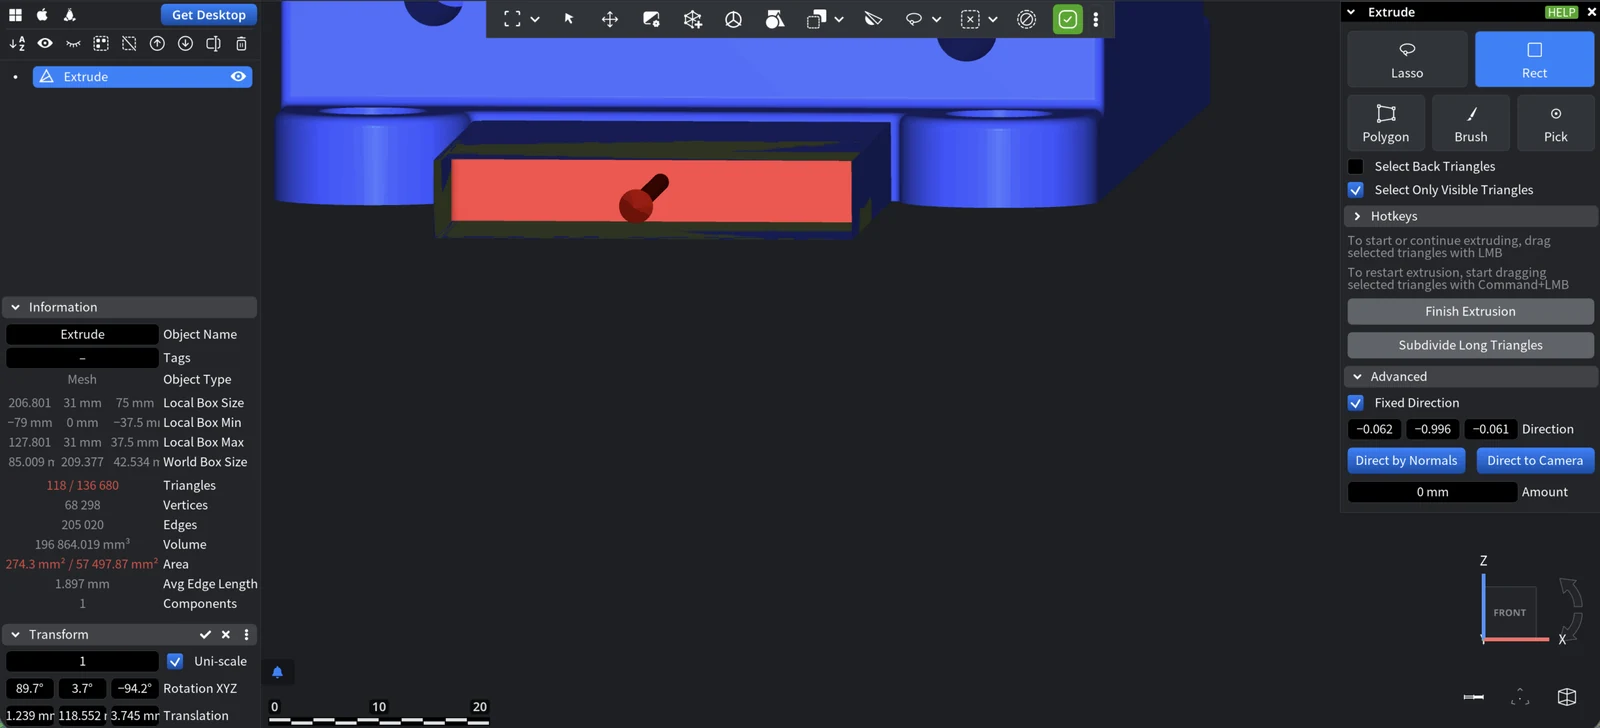
In the pictures above, the bottom face of a part is selected with Rect and pulled out with the mouse. Then the extrusion is restarted with Ctrl+left mouse button (Cmd+left mouse button on macOS) and pushed back inward. This is the result after Finish Extrusion:
To close a model and give it a flat base, use Extrude Base instead. To raise or lower an area softly, without side walls, use the Add and Remove modes of Brush.


