
Loads from YouTube (Google) when you press Play
Brush edits the mesh surface locally under the mouse cursor: it adds or removes material, smooths noise, moves a patch of the surface, or cuts out a small defect and fills it again. Use it for local touch-ups of scans and models that a whole-mesh tool would overdo.
You find the tool in Mesh Edit › Brush.
Start Editing
- In the Scene tree, select one mesh.
- Go to Mesh Edit › Brush. The Brush panel opens.
- Choose a mode: click its button or press its hotkey (see the table below).
- Set the Radius: type a value, drag the field, click one of the Radius presets, or hold Ctrl (Cmd on macOS) and scroll the mouse wheel over the model.
- Click the surface for a single touch, or press and drag to paint continuously.
- To undo a stroke, press Ctrl+Z (Cmd+Z on macOS). Close the panel when you are done; your edits stay in the mesh.
Tip: press L to show the triangle edges of the mesh. It helps to see how the brush changes the triangulation.
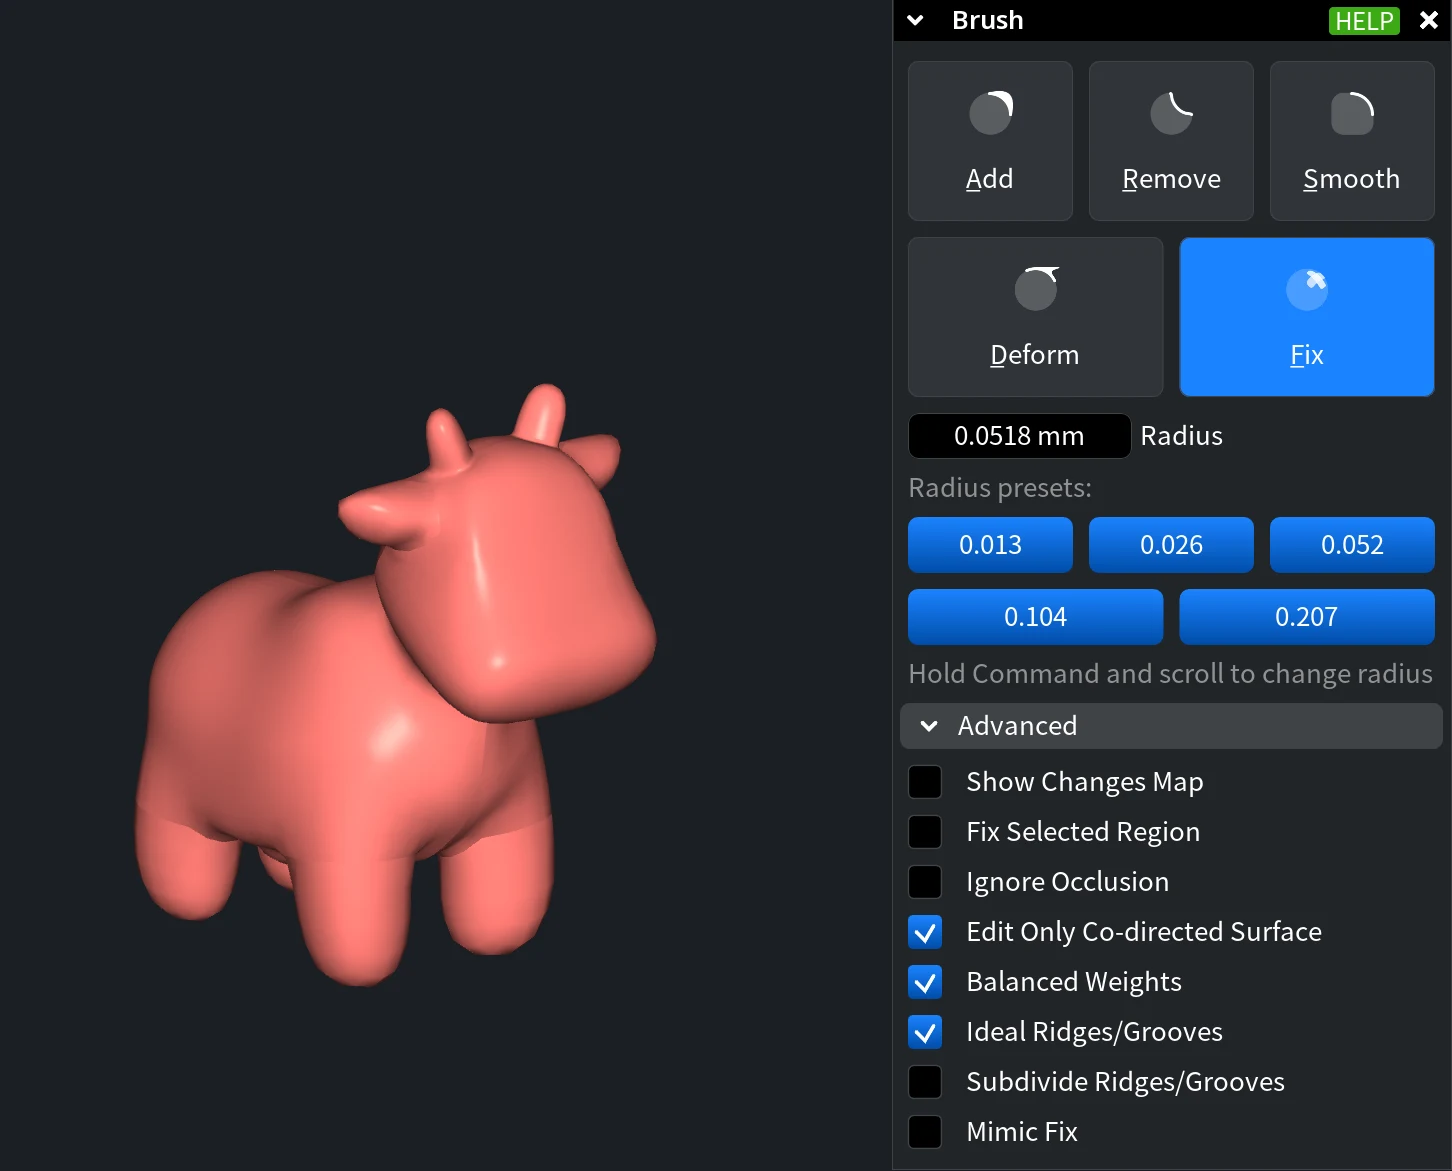
Brush Modes
| Mode | Hotkey | What it does |
|---|---|---|
| Add | A | Adds material: moves the surface under the brush outward, along its normals. |
| Remove | R | Removes material: moves the surface under the brush inward, against its normals. |
| Smooth | S | Smooths the surface under the brush: reduces noise and makes the vertex distribution more even. |
| Deform | D | Moves the surface under the brush after the mouse and keeps a smooth connection with the surrounding area. |
| Fix | F | Cuts out the surface under the brush and fills the gap with a new patch with new triangulation. |
Which Mode for Which Defect
| Defect | Mode |
|---|---|
| Bump, spike or burr | Remove, then Smooth |
| Dent or missing material on the surface | Add, then Smooth |
| Noisy, rough area of a scan | Smooth |
| Area in the wrong place, for example a bent edge | Deform |
| Small damaged spot, crumpled triangles or a small pit in a scan | Fix |
For large holes use Fill Holes or the Mesh Healer instead of Fix.
Parameters
The panel shows only the parameters of the current mode. Default values depend on the size of the model: they are set from the diagonal of its bounding box.
| Parameter | Modes | What it does |
|---|---|---|
| Radius | All | Size of the editing area. By default, 2% of the model diagonal. |
| Radius presets | All | Five buttons with ready radii: 0.5%, 1%, 2%, 4% and 8% of the model diagonal. Hotkeys 1 to 5. |
| Material Thickness | Add, Remove | How much material one stroke adds or removes. By default, 1% of the model diagonal. |
| Sharpness | Add, Remove | How strongly the effect fades toward the edge of the brush, from 0 to 100. Higher values give a sharper, more local bump or groove. Default 50. |
| Smoothness | Add, Remove | How much the edited area is smoothed after the stroke, from 0 to 100. 0 means no smoothing. Default 50. |
| Smoothness | Smooth | Strength of the smoothing, from 1 to 100. |
Deform and Fix use only the Radius.
Advanced Settings
Expand Advanced at the bottom of the panel for these options:
| Option | What it does |
|---|---|
| Show Changes Map | Colors the mesh by how far the surface moved from its original position, so you see where and how much you edited. Palette Settings below it set the color scale (Set Zero to Green, Discrete Palette, Palette Type, range, Save Palette as, Reset Palette) and the Calculation Method: Point to Point, Point to Plane or Exact Distance (distance from the modified point to the original mesh). |
| Fix Selected Region | Locks the selected triangles: the brush does not move, add or delete their vertices. Select the triangles to protect before you open Brush. |
| Ignore Occlusion | Lets you edit parts of the object that are hidden in the current view by other objects. |
| Edit Only Co-directed Surface | Edits only vertices whose normals look into the same half-space as the normal under the cursor. This keeps a stroke on a thin wall from reaching the opposite side. |
| Balanced Weights | Uses the weights recommended in the academic literature to place vertices smoothly. Turn it off to use unit weights, which tolerate any degenerate triangles. |
| Ideal Ridges/Grooves | In Add and Remove, the nearest vertices are pulled toward the cursor to form an even ridge or groove. |
| Subdivide Ridges/Grooves | In Add and Remove, the changed part of the mesh is subdivided when you release the mouse button. |
| Mimic Fix | In Fix, turns off smoothing and keeps the patch closer to the original surface. |
Check Your Edits with the Changes Map
- Expand Advanced and turn on Show Changes Map.
- Expand Palette Settings and set Calculation Method to Exact Distance.
- Edit the surface. Unchanged areas keep the zero color, while added and removed material get the colors of the positive and negative ends of the scale.


