Loads from YouTube (Google) when you press Play
A hollow dental model has a wall of a set thickness instead of a solid body, so it needs less material to print. This recipe hollows a model with Offset, repairs and closes its bottom, and checks the wall. For the whole preparation of an intraoral scan, from trimming to the base and an inner lattice, see Preparing a dental model for 3D printing.
The video shows an older version of MeshInspector; the tool names below are the current ones.
Steps to hollow a dental model
1. Hollow the model with Offset
- Select the model in the Scene tree and click Mesh Edit › Offset.
- Choose the Thickening mode. With a negative Value, it hollows the model, and the absolute value is the wall thickness: for example, −2 mm makes a 2 mm wall.
- Keep Resolution at Standard and click Apply.
For all modes and settings of the tool, see Offset.
2. Clean up the mesh
Click Mesh Repair › Mesh Healer. In Local Repair, keep the default checks and click Repair Selected to fix the problems it finds, such as small loose parts or self-intersections. See the Mesh Healer guide.
3. Stitch the bottom holes
If the hollowed model has two holes at the bottom, the outer and the inner edge of the wall, connect them:
- Click Mesh Repair › Stitch Two Holes.
- Click the edge of each hole in the viewport.
- Click Stitch Holes.
The new triangles between the two holes stay selected; you need this selection in the next step. See Stitch Two Holes.
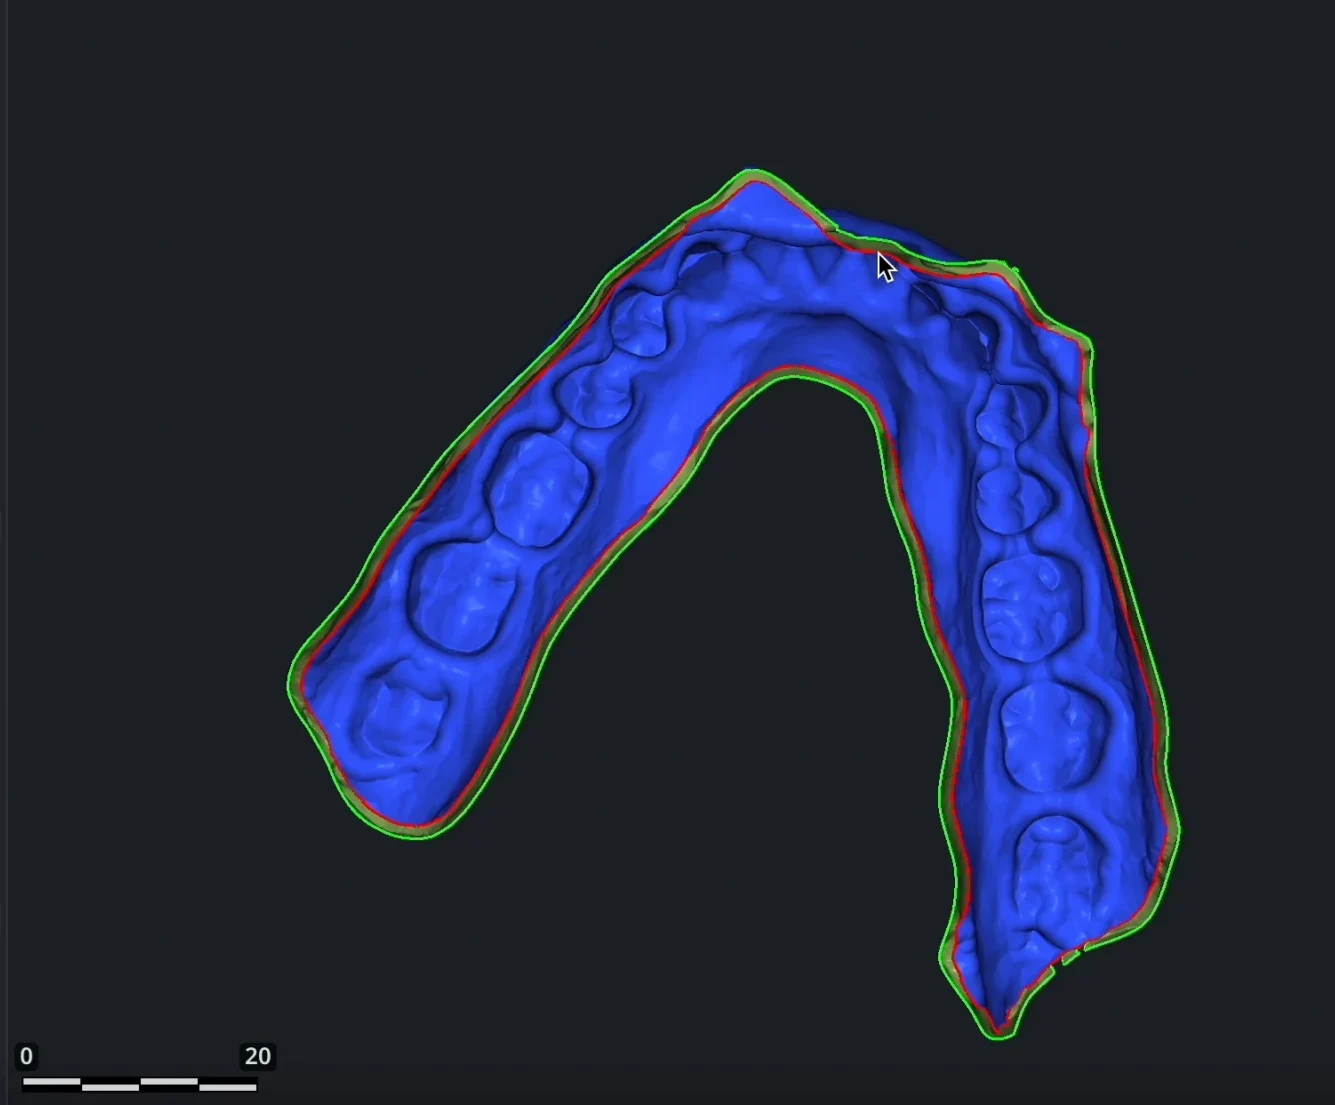
4. Finalize the bottom of the model
With the stitched triangles still selected:
- Click Mesh Edit › Extrude Base.
- Make the red arrow point up, away from the bottom: turn the view so that you look at the model from the top, and click Direct to Camera.
- In Options, set Fix Undercuts to Selection Only, so that only the stitched bottom is changed.
- Click Extrude Base.
See Extrude Base for all options.
5. Final mesh healing
Run Mesh Repair › Mesh Healer again and repair the remaining problems, if it finds any.
6. Inspect the model
Click Mesh Edit › Section and move the section plane through the model: you see the wall and the cavity inside. To compare how much material you saved, look at Volume in the Information panel before and after hollowing. See Section.


