Loads from YouTube (Google) when you press Play
An intraoral scan of a patient with braces shows the brackets as bumps on the teeth. To get a clean model of the teeth, for example for aligners or crowns, you cut each bracket out, fill the hole and smooth the patch so that it follows the shape of the tooth.
The video shows an older version of MeshInspector; the tool names below are the current ones.
Steps to remove brackets
1. Open the Triangles Selector
- Select the scan in the Scene tree.
- Click the arrow next to Select › Select Primitives and choose Triangles Selector.
- Set Mode to Polygon Model: you outline the area by clicking points on the surface.
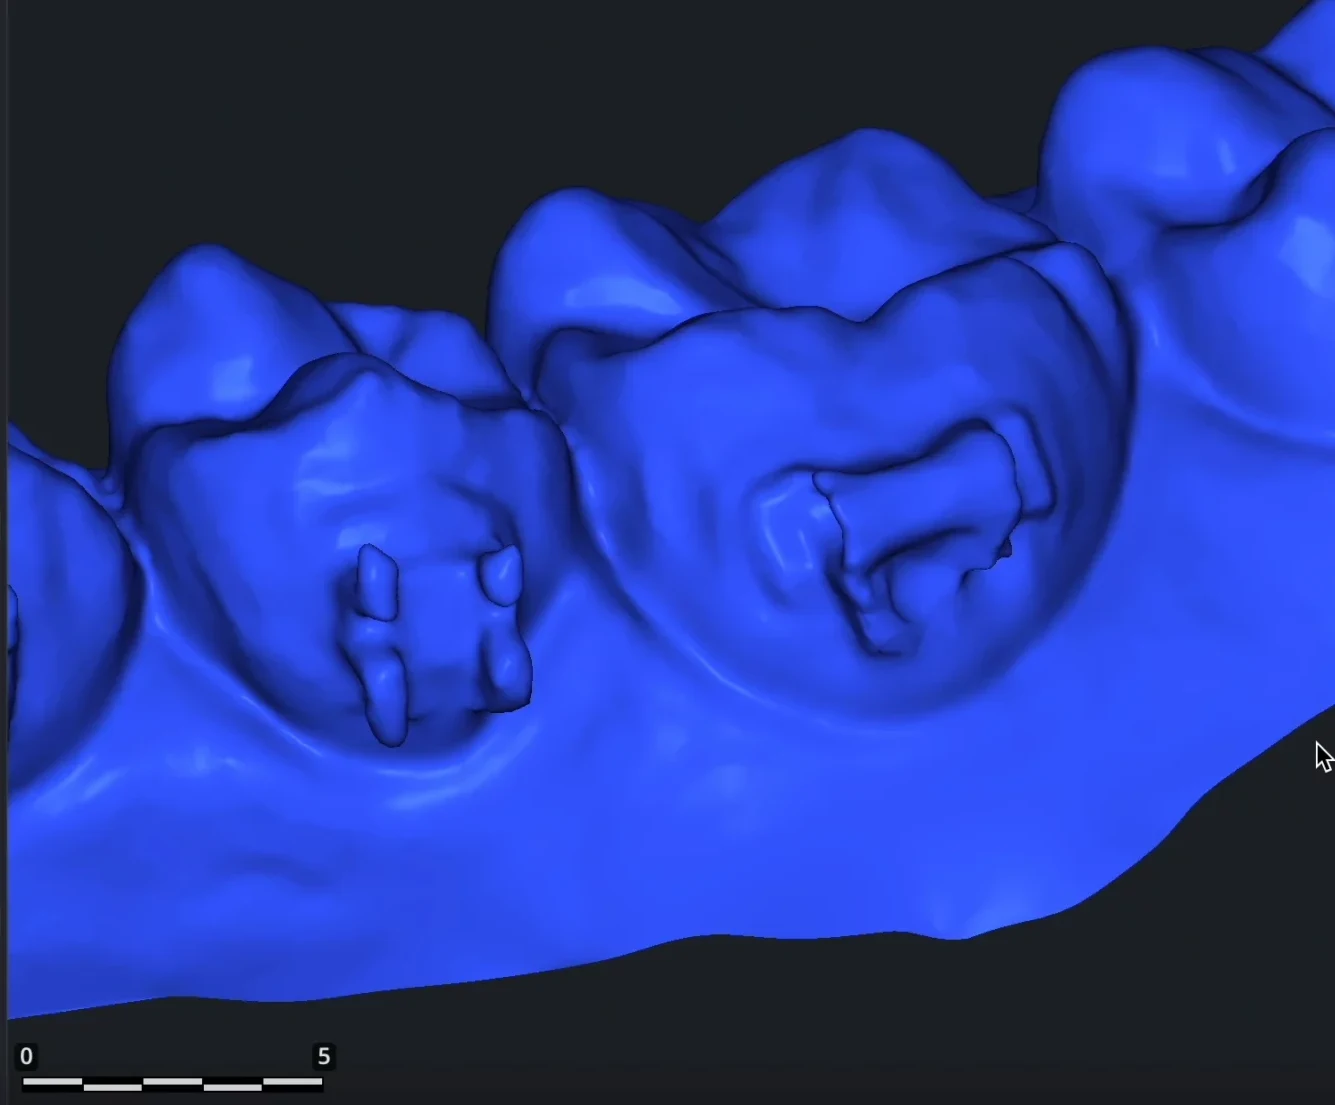
2. Outline the area to remove
- Click points on the tooth around the bracket.
- To close the outline, click the first point again or press Enter. The area inside becomes selected.
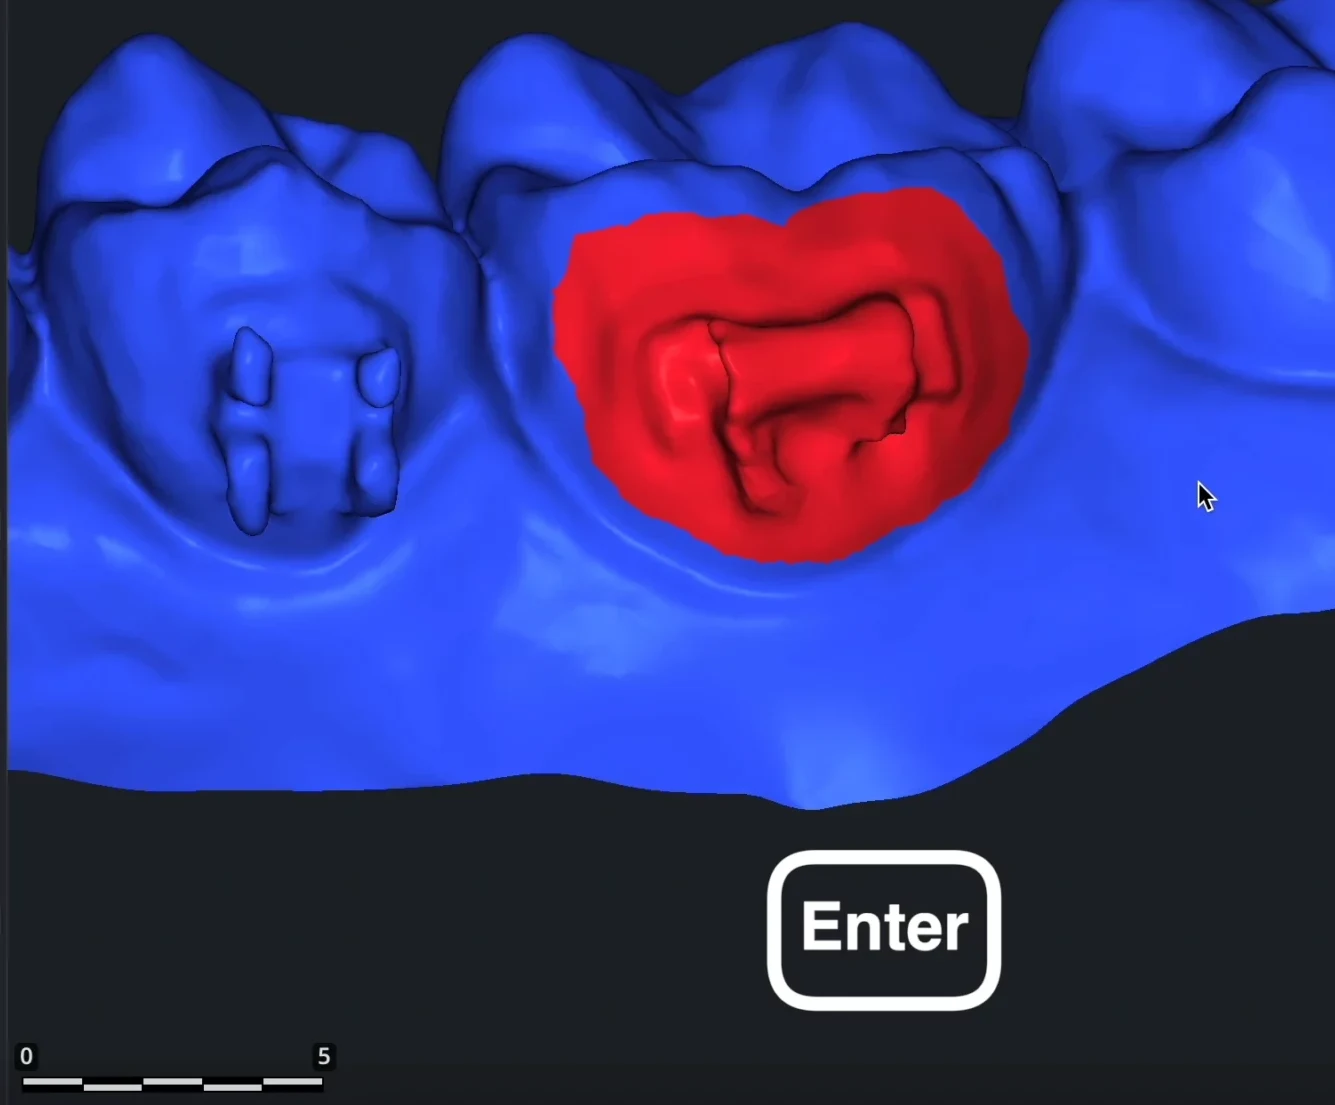
See Triangles Selector for the other modes and the modifier keys.
3. Delete the selected area
Click Select › Delete Selected. The bracket is gone, and a hole is left in the tooth.
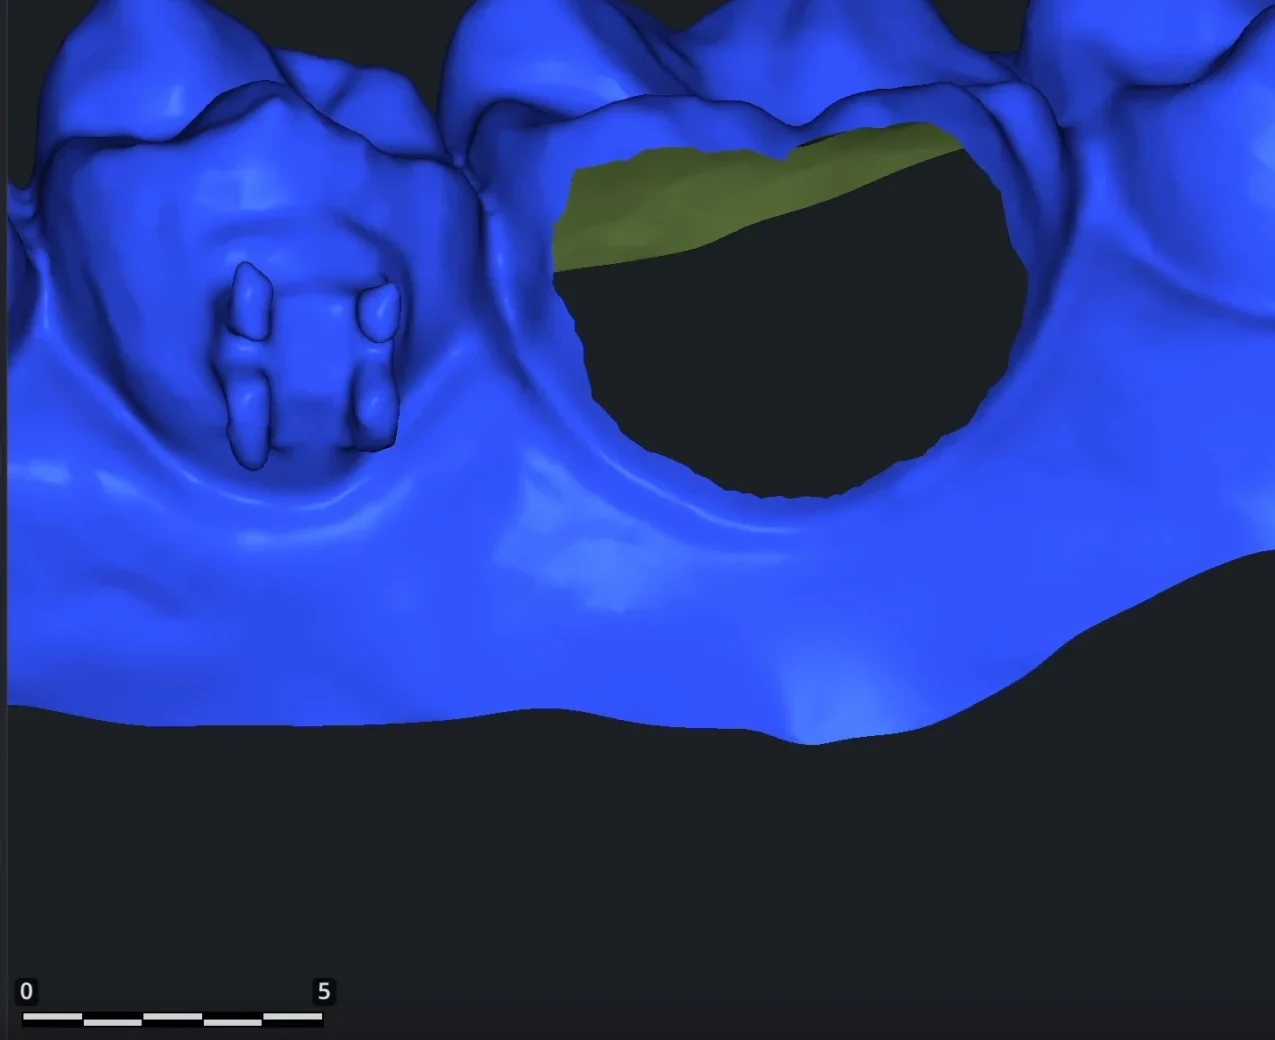
4. Fill the hole
- Click Mesh Repair › Fill Holes and choose the Fill single mode.
- Keep the Fill Type Smooth (the default) or choose Natural: both make a smooth patch for curved surfaces such as teeth.
- Point to the edge of the hole and click it.
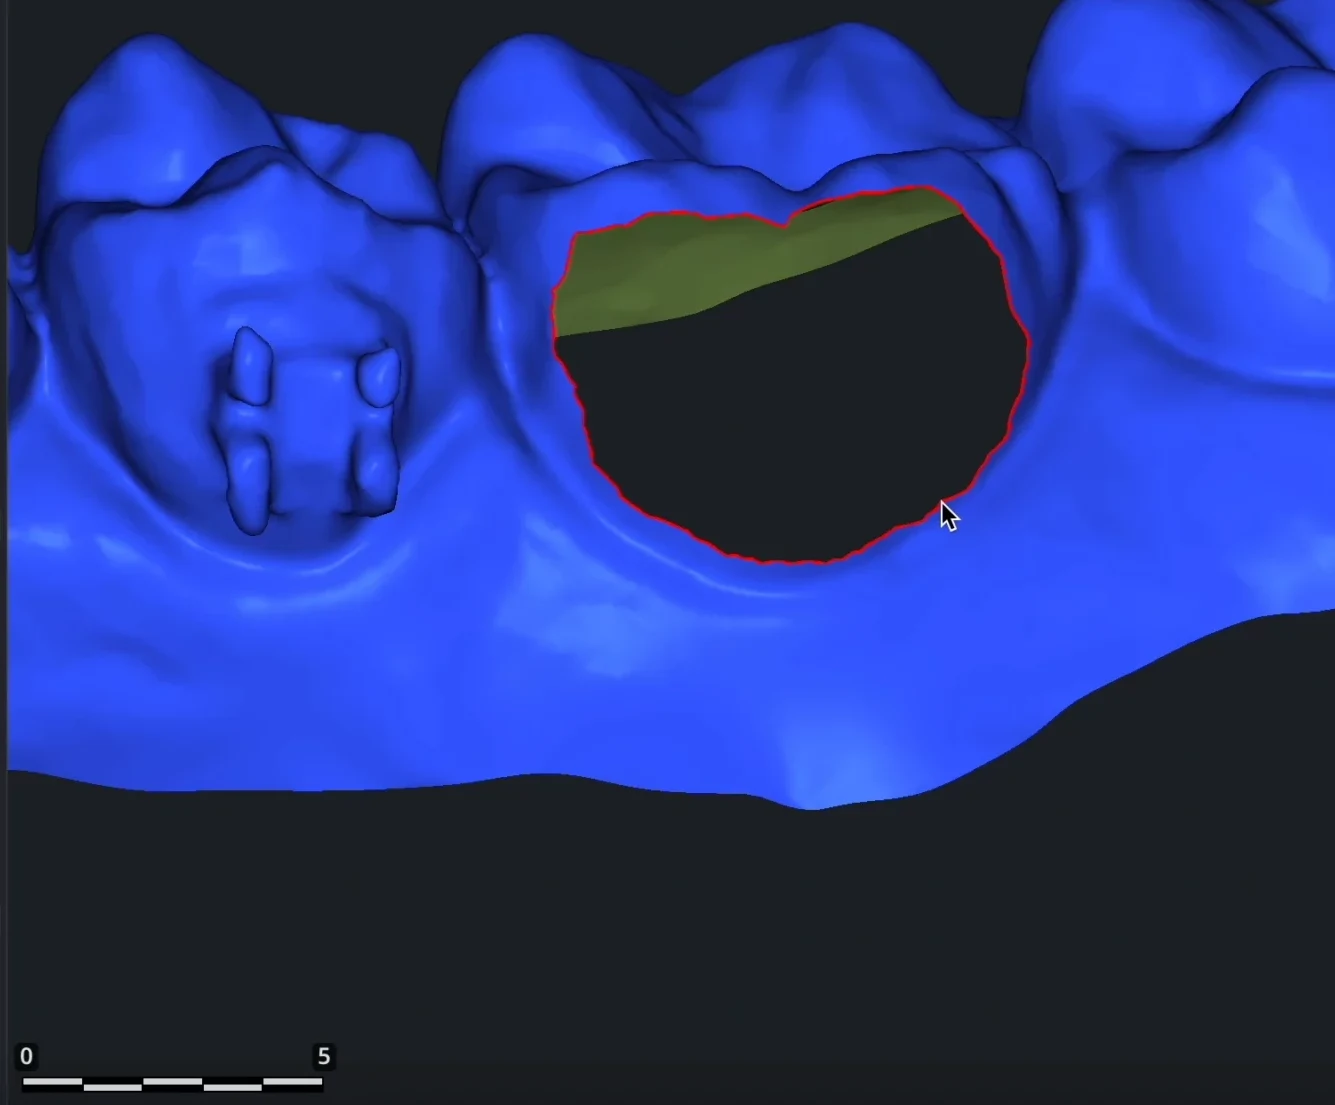
See Fill Holes for all fill types and settings.
5. Refine the filled area
The patch may still look flatter than the tooth. To blend it in:
- Select the patch, for example with the Triangles Selector, and click Select › Expand Selection once or twice to take in a ring of the surface around it.
- Click Mesh Repair › Re-position, keep Positioning Type Smooth Everywhere and click Apply. The vertices of the area move so that it becomes smooth inside and on its border.
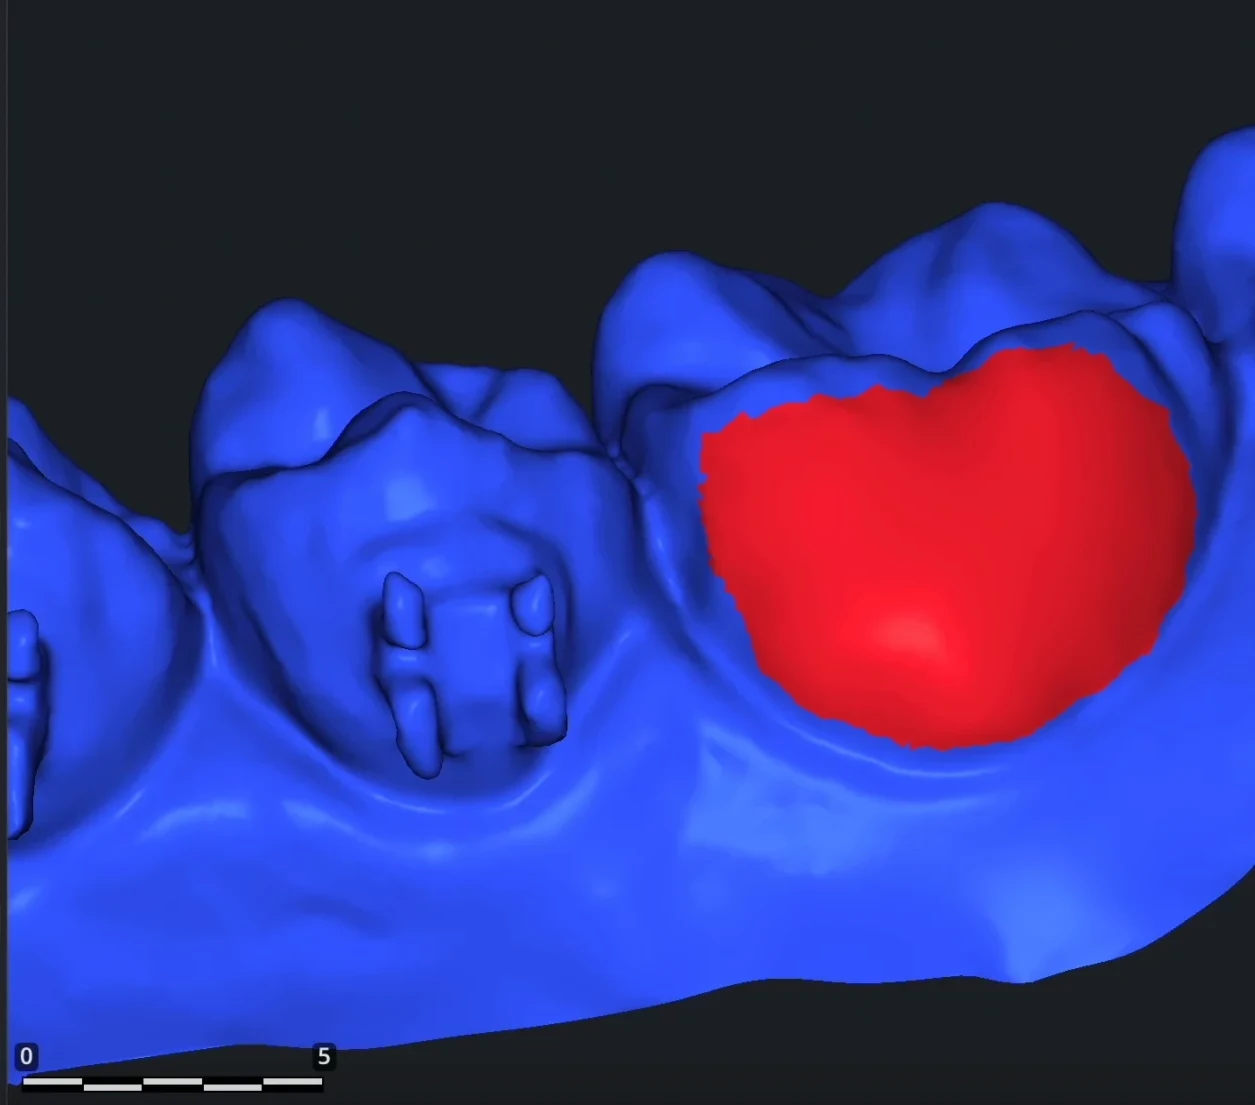
See Re-position.
6. Smooth and finalize
For the final touch, click Mesh Edit › Brush and choose the Smooth mode. Gently stroke the area to smooth it; use Add or Remove to add or remove material where the tooth needs it. To change the brush size, hold Ctrl (Cmd on macOS) and scroll, or set the Radius. See Brush.
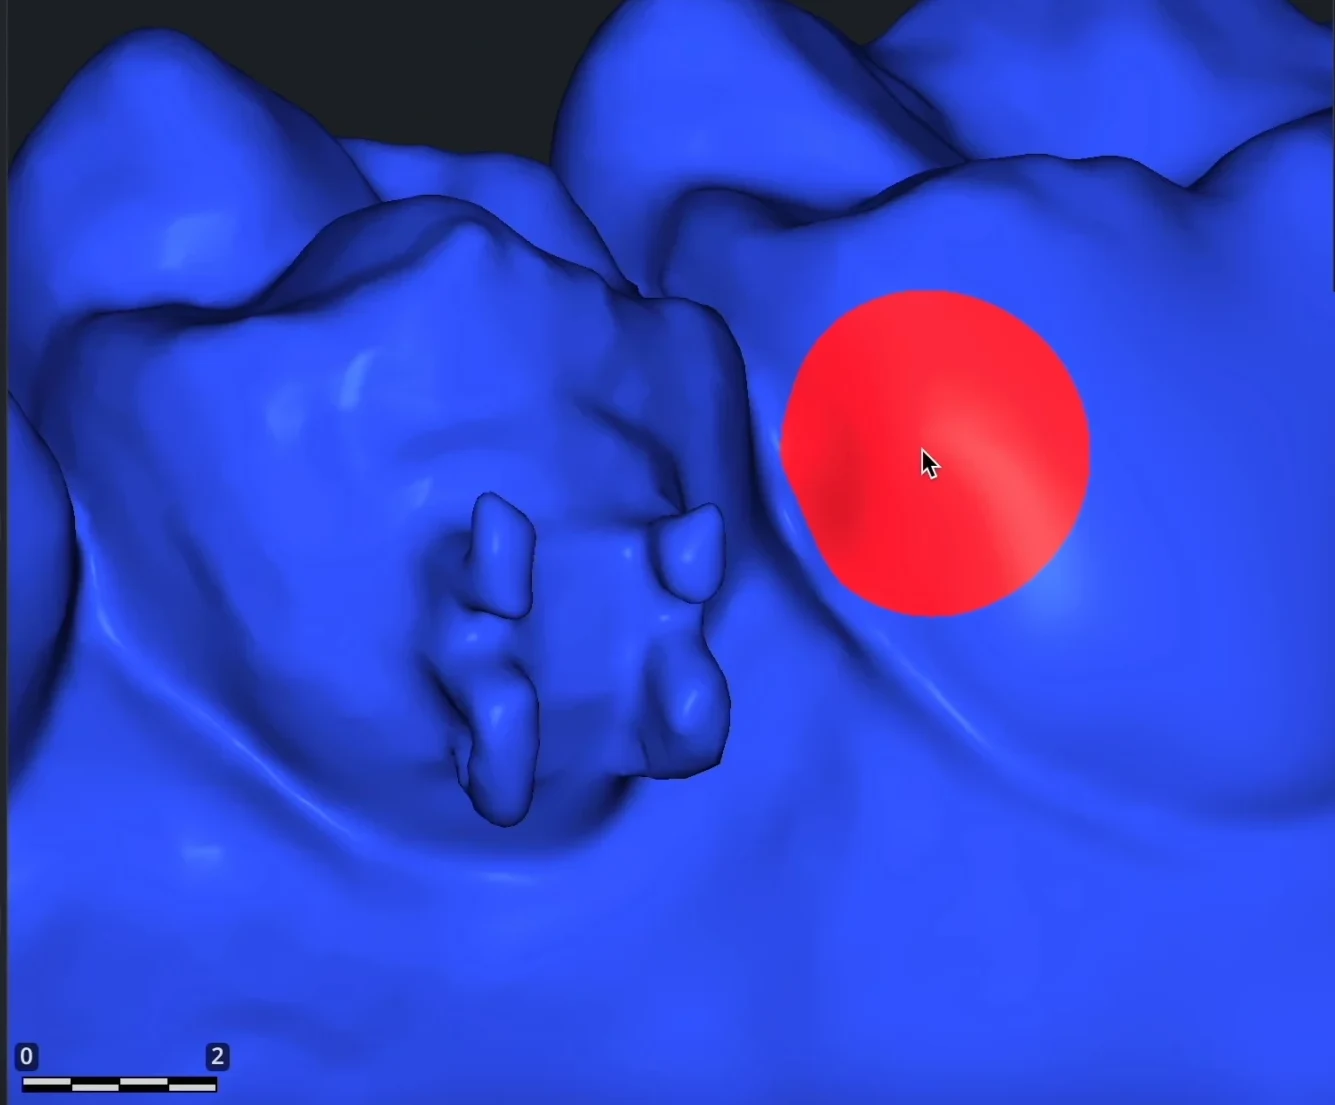
Removing many brackets at once
You can cut out all brackets first and then fill all holes in one go:
- Remove every bracket as in steps 1–3.
- Click Mesh Repair › Fill Holes and choose the Fill All mode.
- Exclude the holes that must stay open, such as the open bottom edge of the scan: Ctrl+click the edge (Cmd+click on macOS). Excluded holes turn dark red.
- Click Fill All Holes.
- Refine and smooth each patch as in steps 5 and 6.
To prepare the cleaned scan for printing, continue with Preparing a dental model for 3D printing.


